How to easily add a favicon to a Next.js app
Adding a favicon to a website enhances usability and branding. It helps identify the website in browser tabs and bookmarks, improving user recognition and trust.
Let’s learn how to quickly add a favicon image to a Next.js app
In this article
- Add favicon automatically in Next.js 13 App Router
- Add favicon automatically in Next.js Pages Router
- Set Next.js favicon statically in Next.js 13 App Router
- Set Next.js favicon with HTML in Pages Router
- Add favicon with HTML in Next.js 13 App Router
Add favicon automatically in Next.js 13 App Router
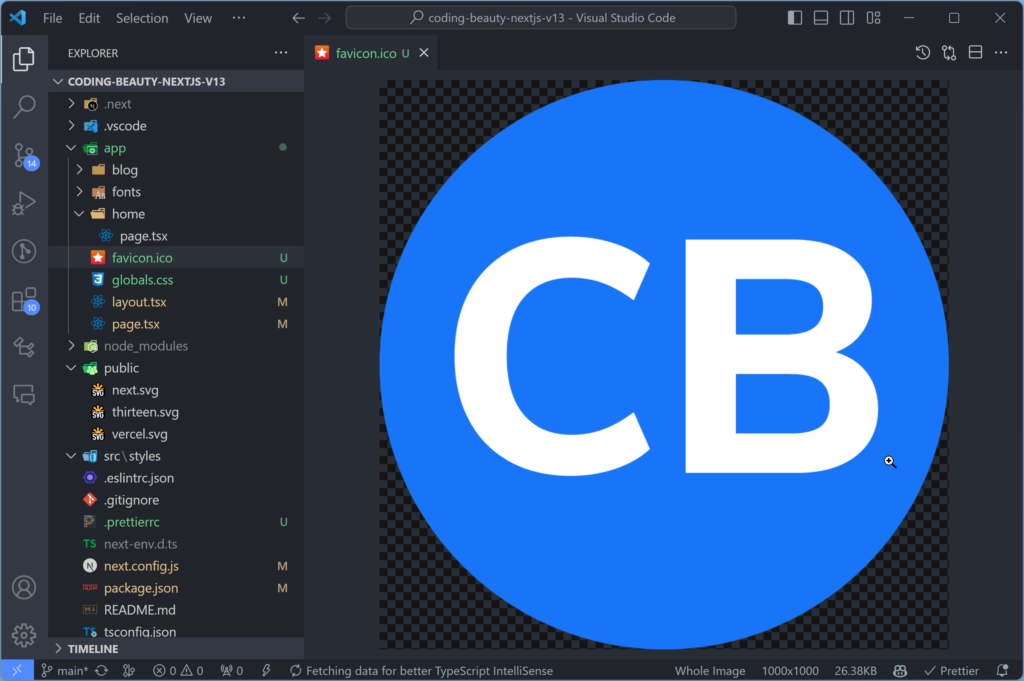
To add a favicon in Next.js 13 App Router, add a favicon.ico file to the app/ directory. Next.js will automatically detect favicon.ico and display it on the page.
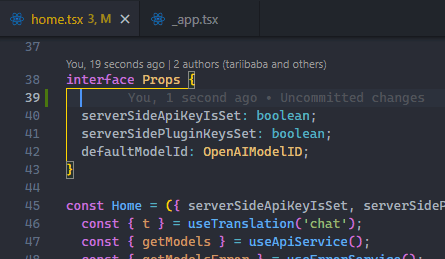
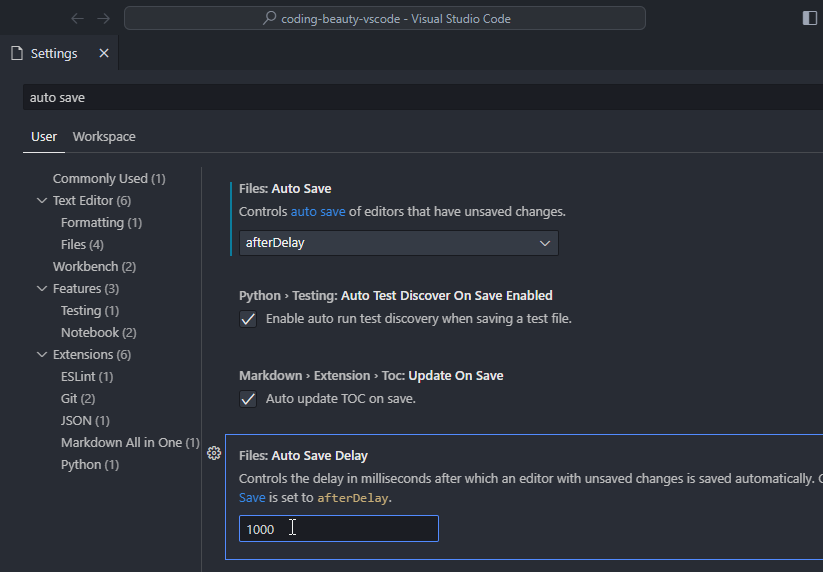
Here we’ve added the favicon.ico to our VS Code Next.js project.
And this is all we need to do – here’s layout.tsx:
import { Metadata } from 'next';
import './globals.css';

export default function RootLayout({
  children,
}: {
  children: React.ReactNode;
}) {
  return (
    <html lang="en">
      <body>{children}</body>
    </html>
  );
}
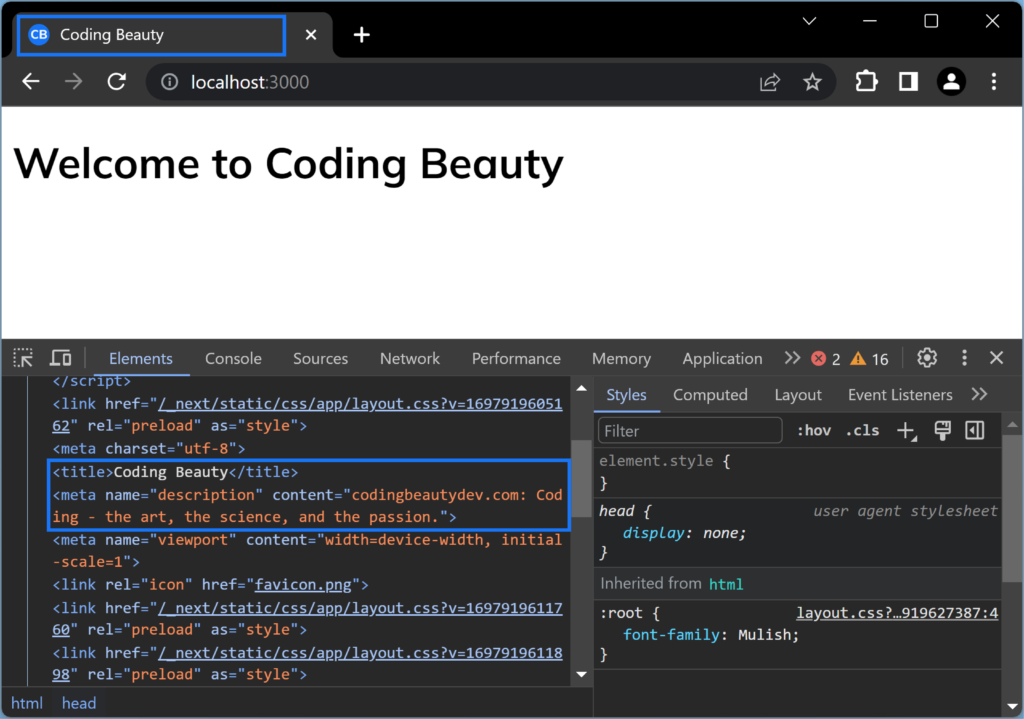
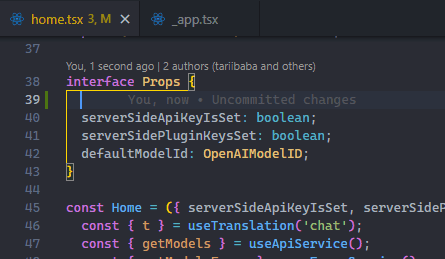
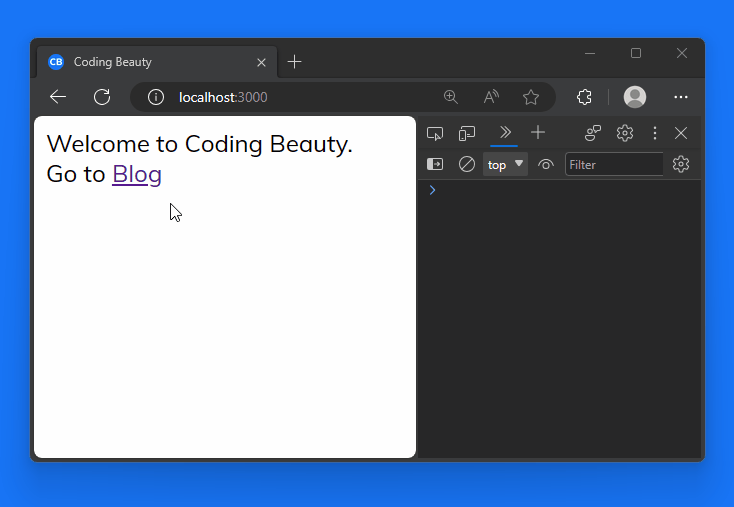
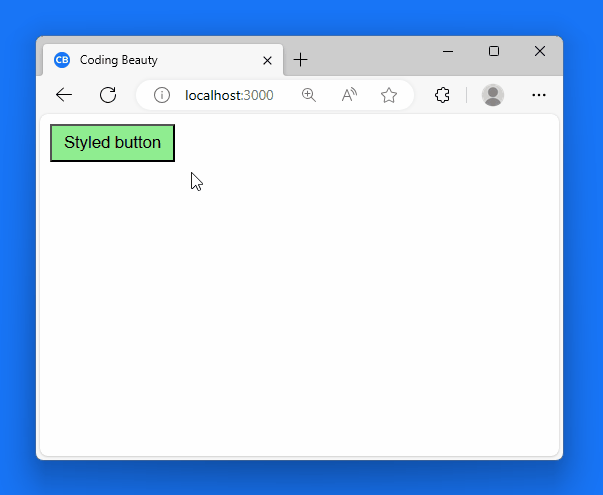
And we’ll instantly see the image next to the page title in the browser tab:

Apart from favicon and .ico, Next.js also auto-discovers the following file name and extension combinations in the app/ directory
iconwith.ico,.jpg,.jpeg,.png, or.svgextension.app-iconwith.jpg,.jpeg,.pngextension.
You can rename PNGs to .ico files and they will still work.
Add favicon automatically in Next.js Pages Router
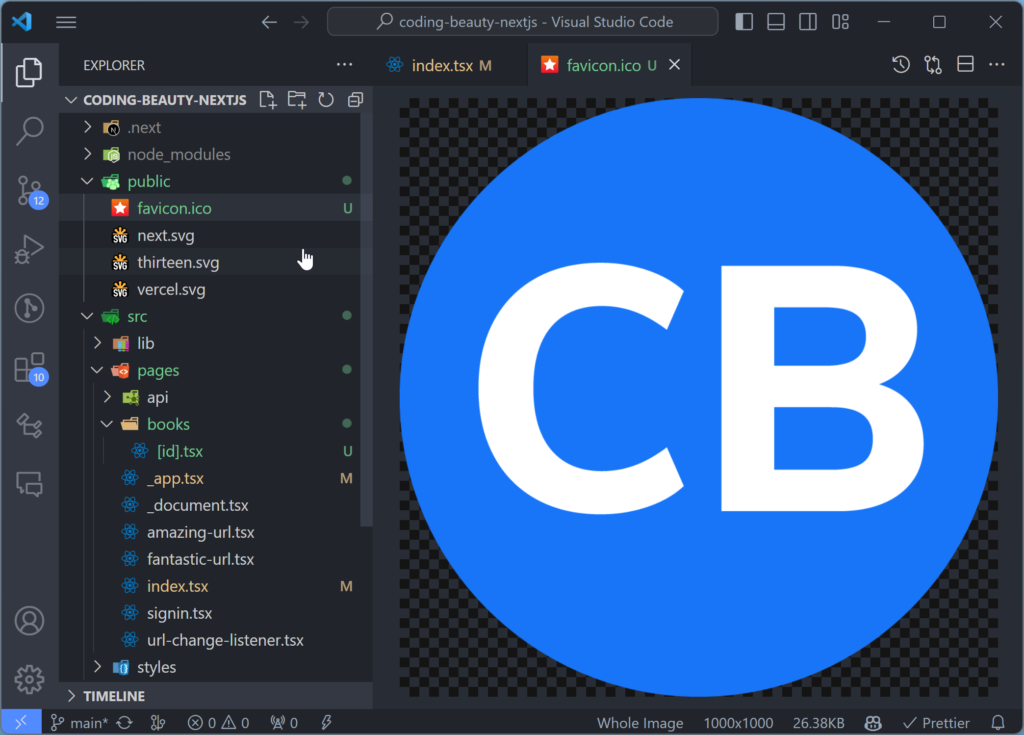
To add a favicon automatically in the Next.js pages directory, place a favicon.ico file in your public/ directory, and your browser will automatically detect the file for the site icon.
If your image file isn’t a .ico, you’ll need to either rename it to favicon.ico, or manually specify the filename.
Set Next.js favicon statically in Next.js 13 App Router
To add a favicon to a Next.js 13 app, you can also export a Metadata object with an icons property in your layout.tsx file:
import { Metadata } from 'next';
import './globals.css';

export const metadata: Metadata = {
  icons: {
    icon: '/icon.png',
  },
};

export default function RootLayout({
  children,
}: {
  children: React.ReactNode;
}) {
  return (
    <html lang="en">
      <body>{children}</body>
    </html>
  );
}
The image file should be in your public directory.
Set Next.js favicon with HTML in Pages Router
To add a site icon in the Next.js pages or app directory, use the HTML <link> tag in your _document.tsx or _document.js file, just like in vanilla HTML:
import { Html, Head, Main, NextScript } from 'next/document';

export default function Document() {
  return (
    <Html lang="en">
      <Head>
        <link rel="icon" href="/favicon.png" />
      </Head>
      <body>
        <Main />
        <NextScript />
      </body>
    </Html>
  );
}
The favicon should be in your public directory.
Add favicon with HTML in Next.js 13 App Router
You can also use the HTML <link> tag to add a favicon in a project using the Next.js app directory, in your layout.tsx file:
import './globals.css';

export default function RootLayout({
  children,
}: {
  children: React.ReactNode;
}) {
  return (
    <html lang="en">
      <head>
        <link rel="icon" href="/app-icon.jpg" />
      </head>
      <body>{children}</body>
    </html>
  );
}
The favicon should be in your public directory.