NEW: Built-in TypeScript support in Node.js – Finally
Exciting news today as native TypeScript support finally comes to Node.js!
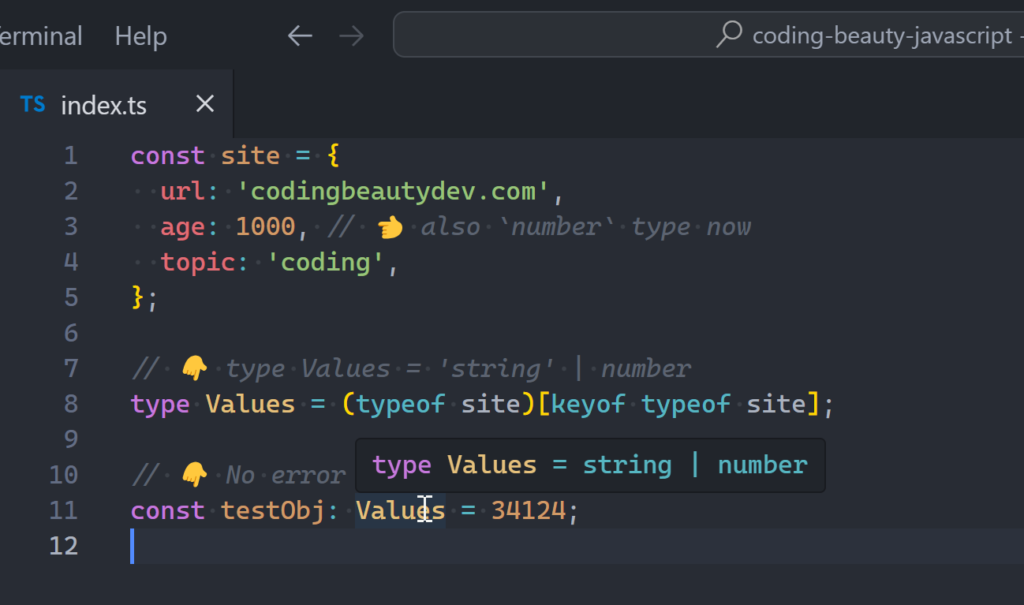
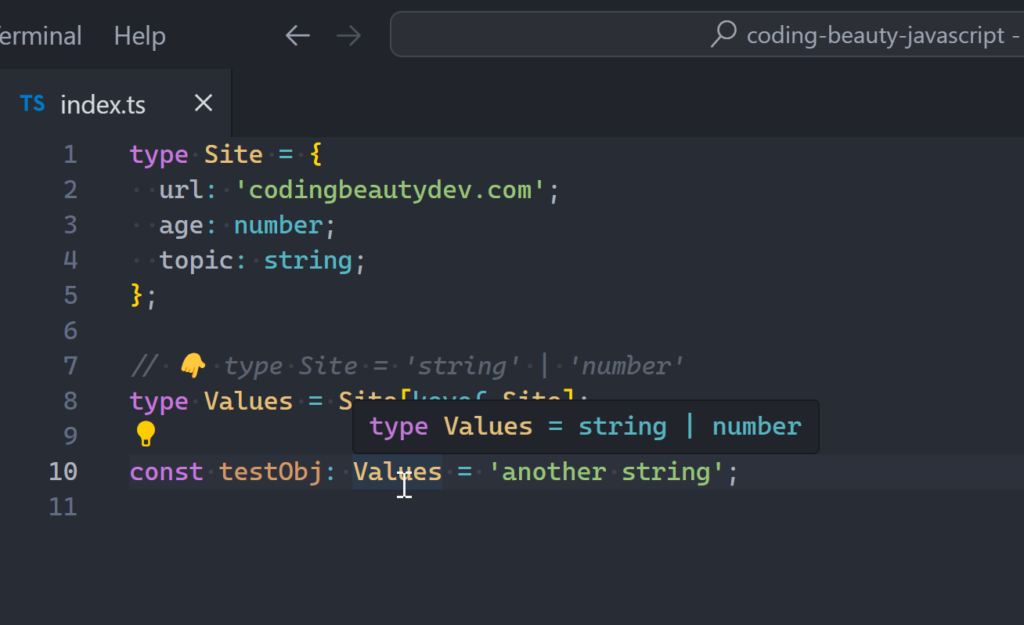
Yes you can now use types natively in Node.js.
So throw typescript and ts-node in the garbage.
❌Before now:
Node.js only ever cared for JavaScript files.
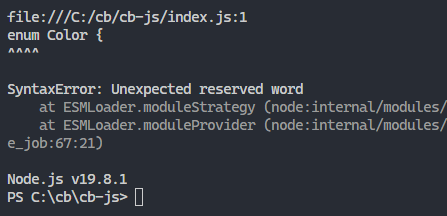
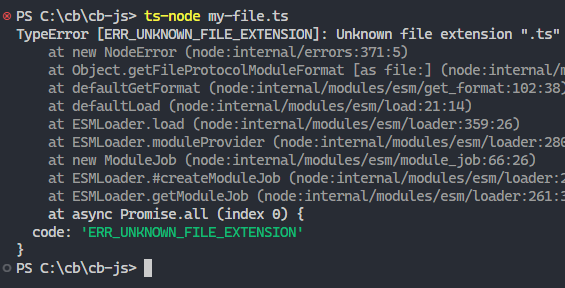
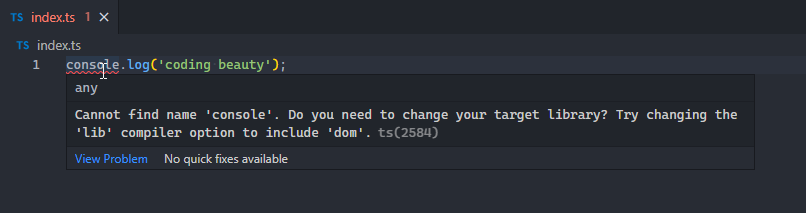
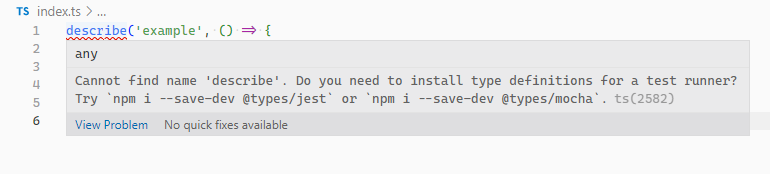
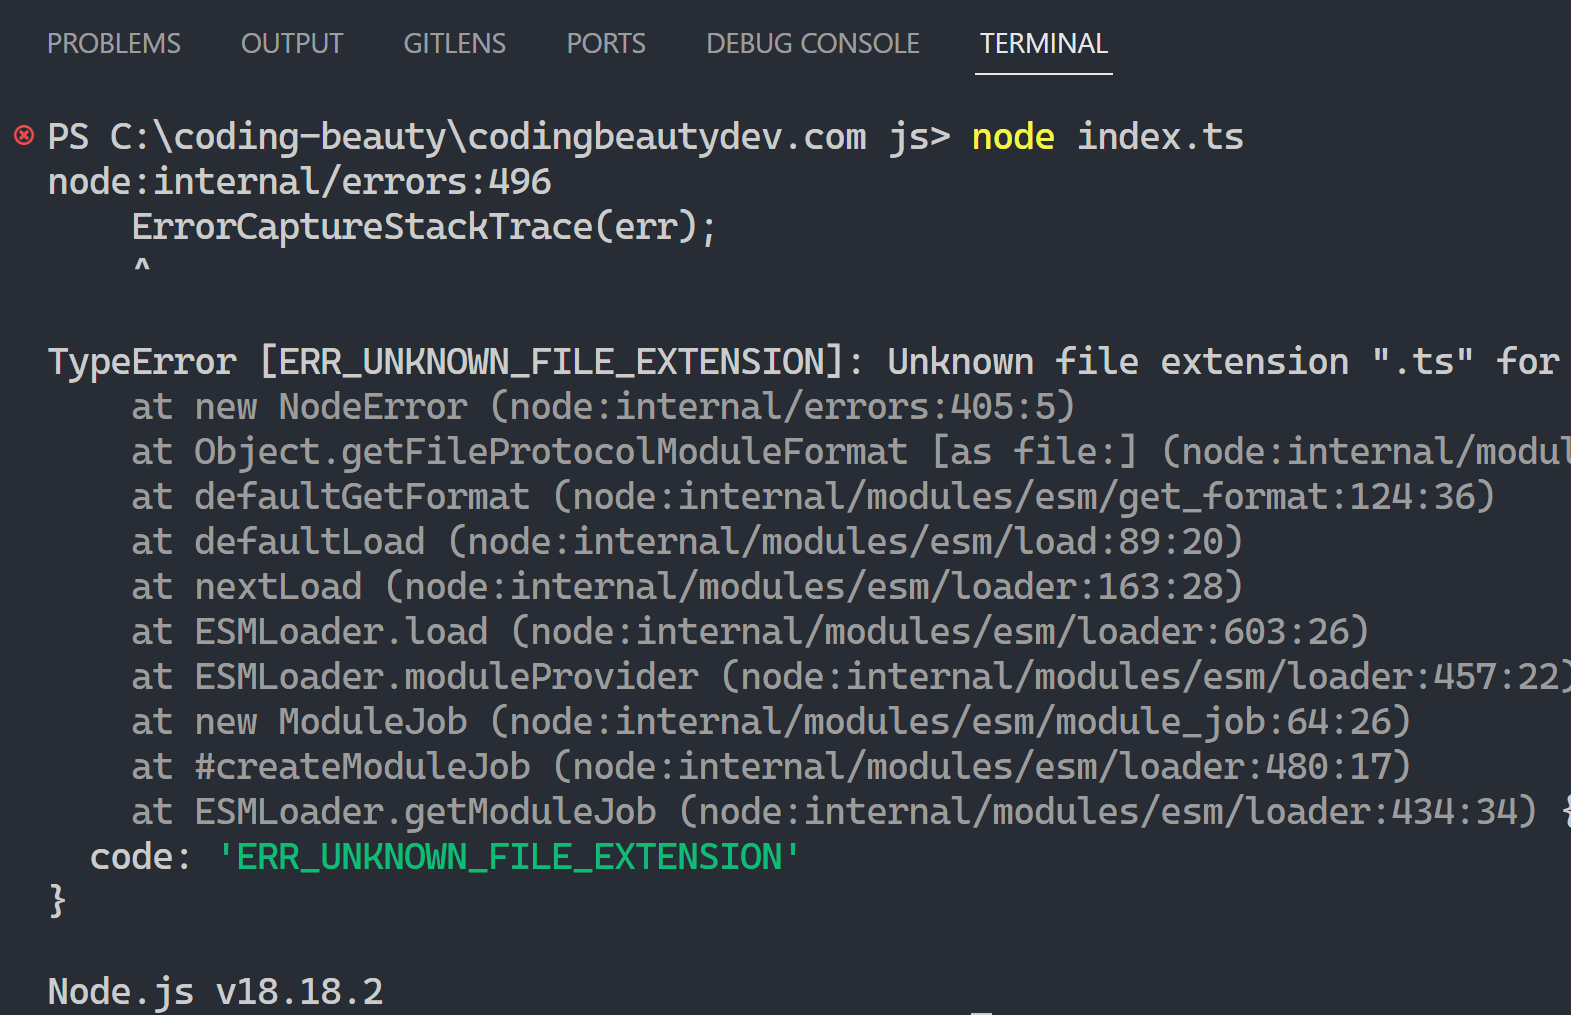
This would never have run:
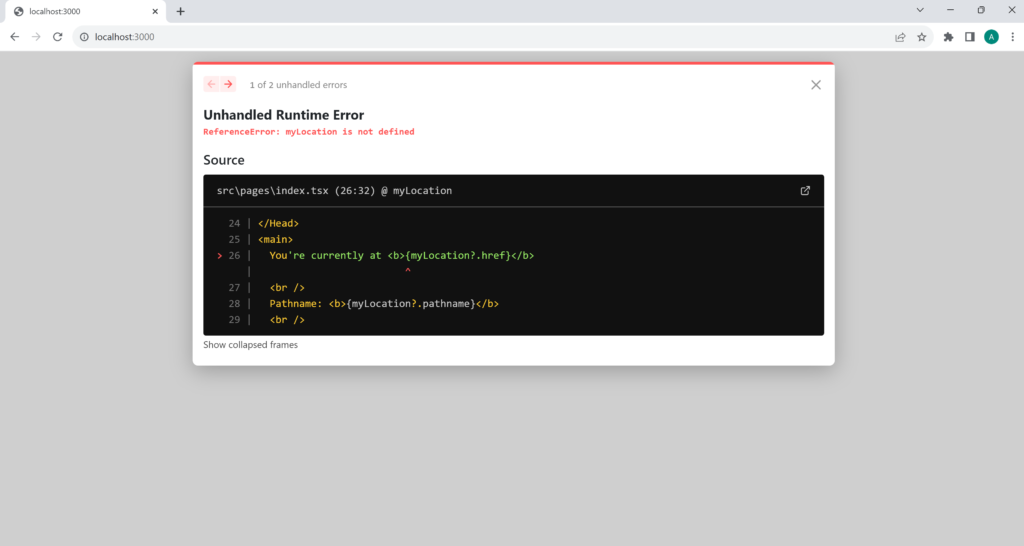
Try it and you’d get this unpleasant error:
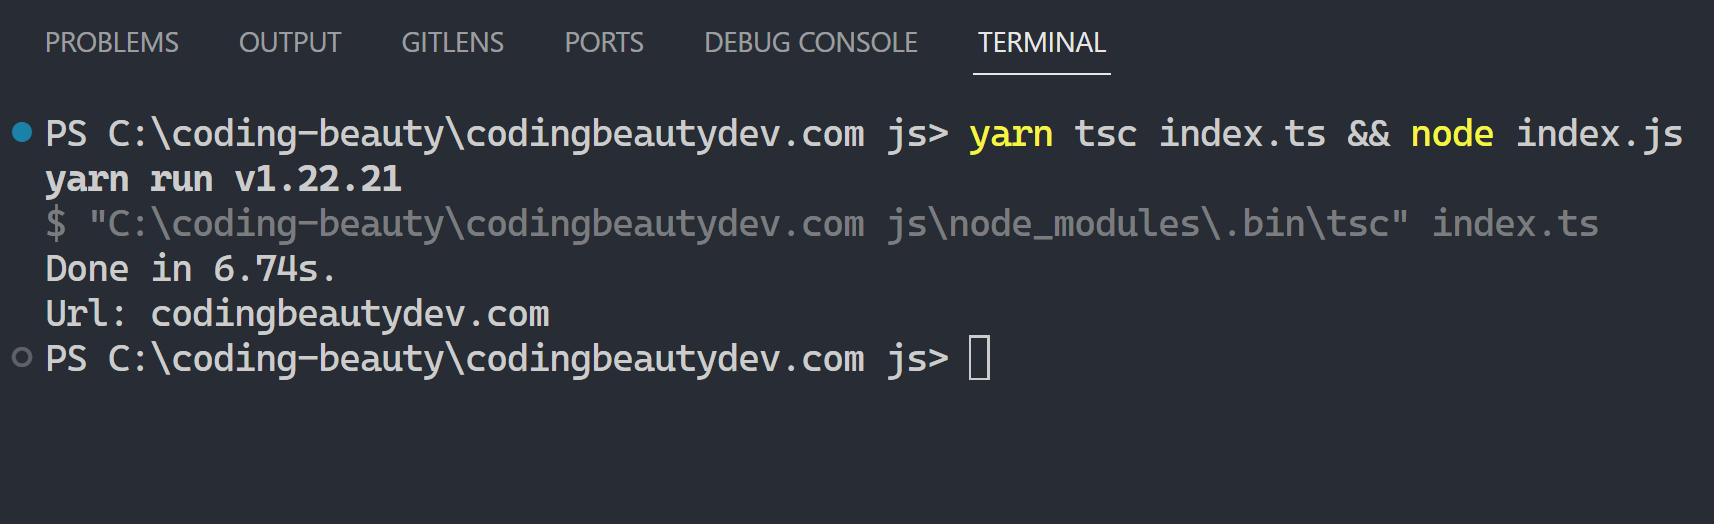
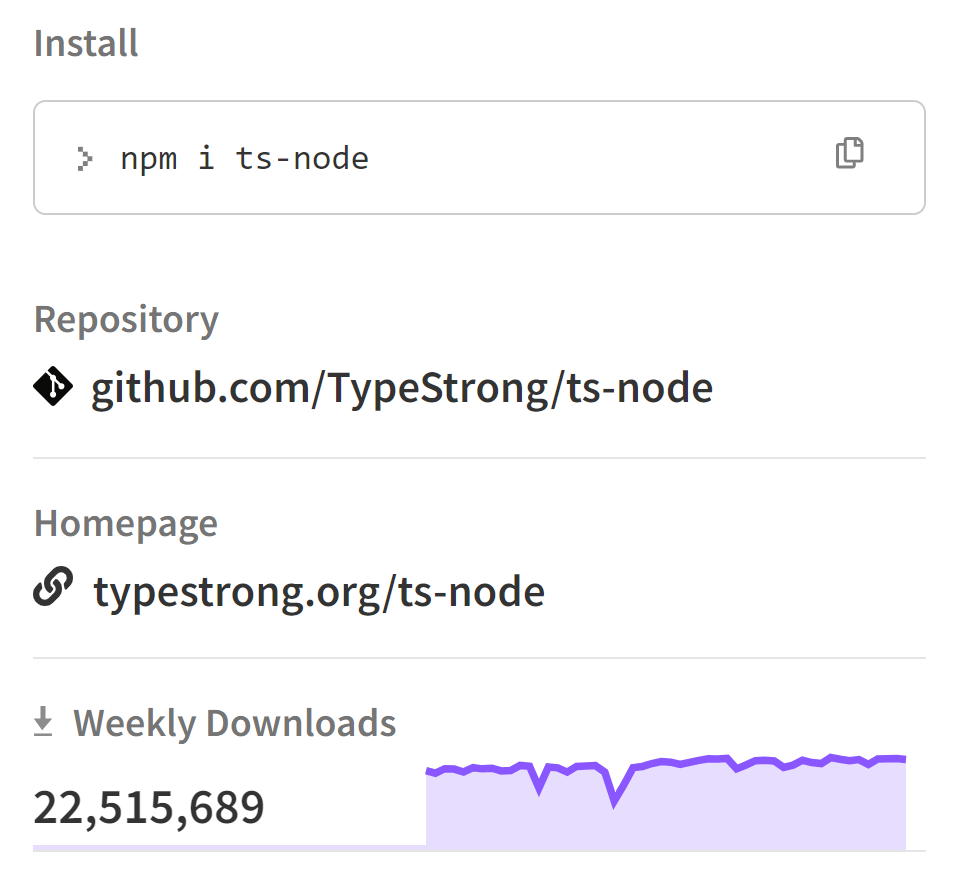
Our best bet was to install TypeScript and compile with tsc.
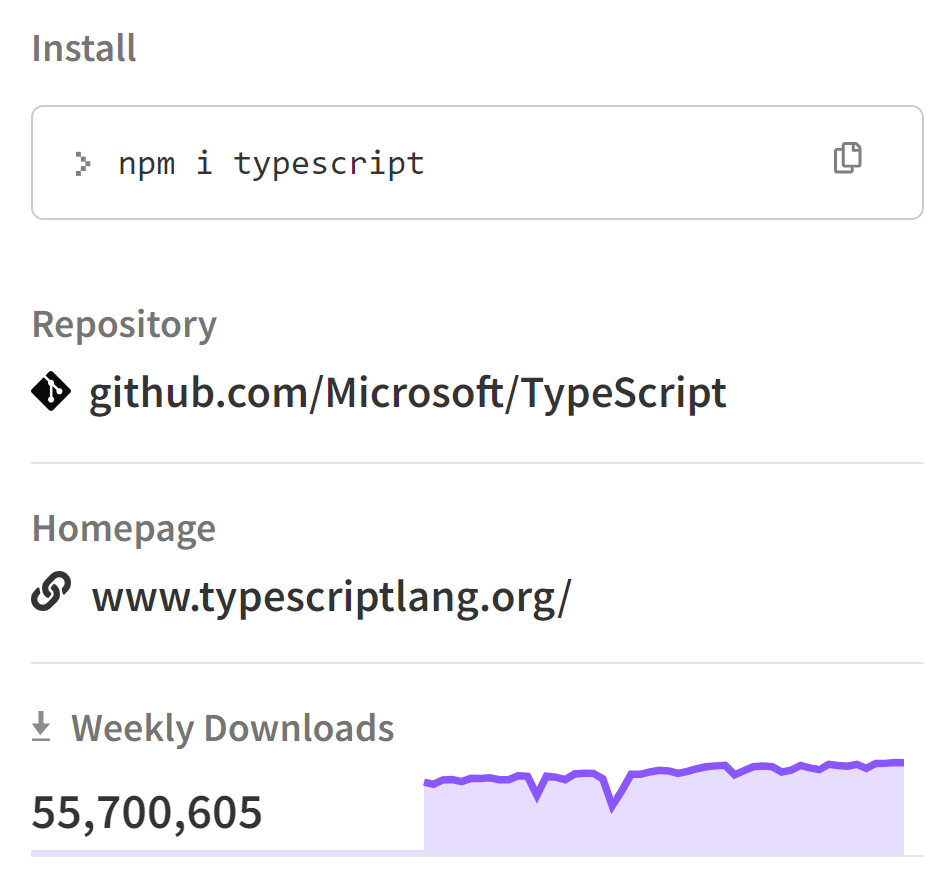
And millions of developers agreed it was a pretty good option:
But this was painful — having to install the same old package and type out the same command over and over again.
Extra compilation step to JS and having to deal with TypeScript configurations and stuff.
Pretty frustrating — especially when we’re just doing a bit of testing.
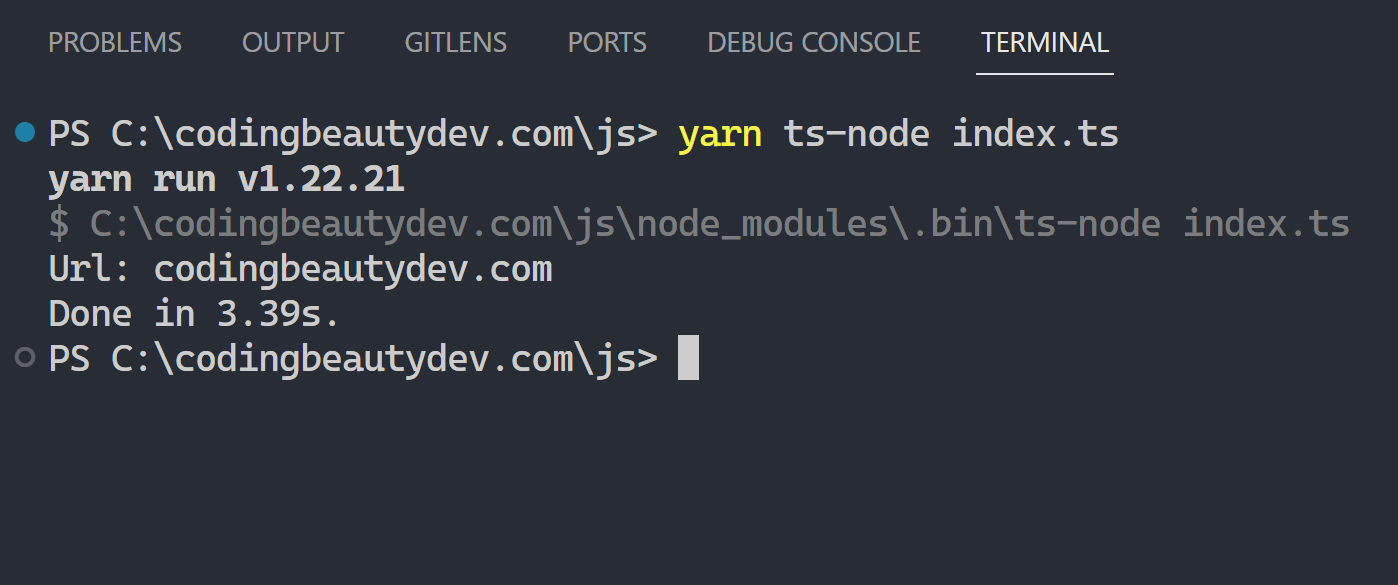
That was why ts-node arrived to try to save the day — but it still wasn’t enough.
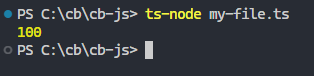
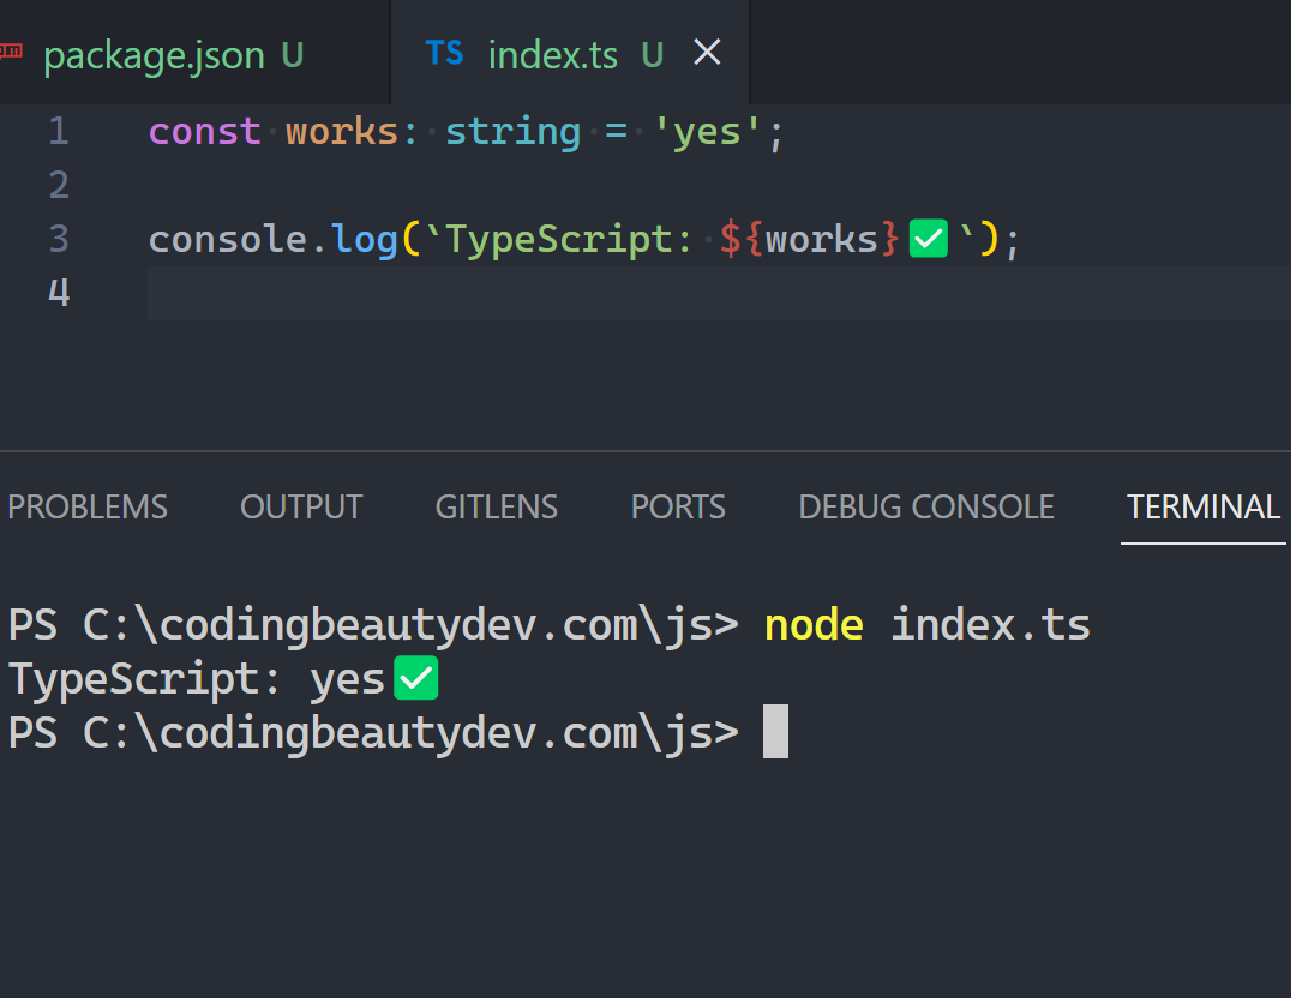
We could now run the TypeScript files directly:
We could even start an interactive session on the fly like we’d do with the standalone node command:
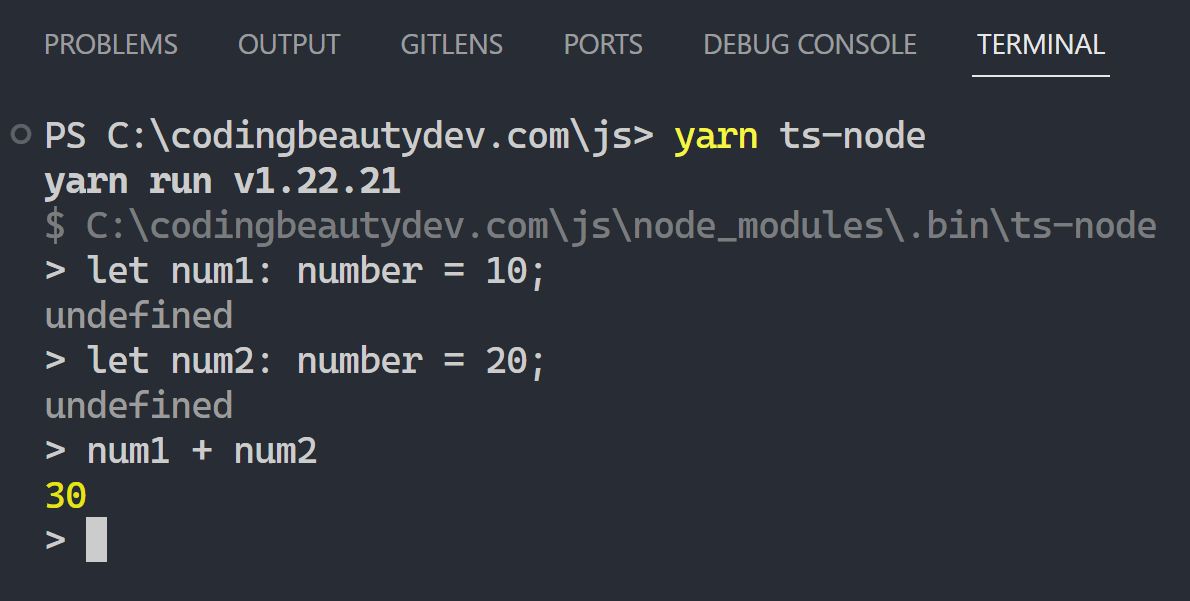
And everyone loved it:
But it was still an extra dependency, and we still had to install typescript.
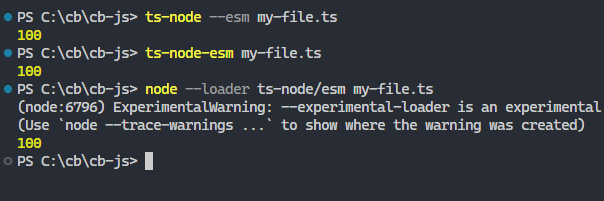
We still had more subtle intricacies to be aware of, like how to use ts-node for ES modules with the --esm flag:
✅Now:
All this changes now with all the brand-new upgrades now in Node:
- Native built-in TypeScript support.
- Zero dependencies
- Zero intermediate files and module configurations

Now all our favorite JS tools like Prettier, Next.js, and Webpack can have safer and intellisense-friendly config files.
Okay almost no one has Webpack in their favorite tools list but still…
Look we already have pull requests like this to support prettier.config.ts in Prettier — and they’re going to be taking big steps forward thanks to this new development.
How does it work behind the scenes?
Support for TypeScript will be gradual, so right now it only supports types — you can’t use more TypeScript-y features like enums (although who uses enums these days).
It uses the @swc/wasm-typescript tool to internally strip the TypeScript file of all its types.
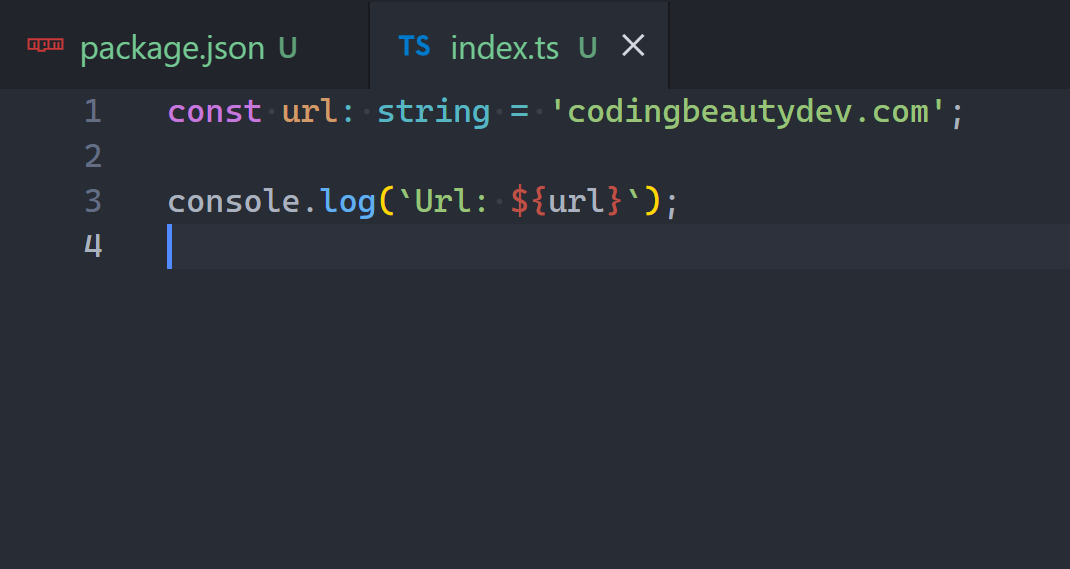
So this:
const url: string = 'codingbeautydev.com';

const capitalized: string = url.toUpperCase();

console.log(`Capitalized: ${capitalized}`);
Turns into this:
const url = 'codingbeautydev.com';

const capitalized = url.toUpperCase();

console.log(`Capitalized: ${capitalized}`);
How to start using TypeScript in Node.js
Early beginnings like I said, so it’s still experimental and for now you’ll need the --experimental-strip-types flag:
node --experimental-strip-types my-fileThis will be in an upcoming release.
Final thoughts
Built-in TypeScript is a serious power move to make Node.js a much more enjoyable platform for JS devs. I’ll definitely be using this.
Even though the support is not yet as seamless as in Bun or Deno, it makes a far-reaching impact on the entire JavaScript ecosystem as Node is still the most popular JS backend framework by light years.