10 must-have skills to become a top 1% web developer
10 essential skills every web developer should have…
From web basics you may be familiar with already; then going on to crucial skills like working with browser dev tools and coding rapidly with AI.
Notice how the focus is on real-world action instead of just theoretical knowledge — because that’s what matters.
1. HTML essentials: Create a basic functional web page
All about the core skeleton of a website.
How to:
- Create an HTML page in an editor & open it in the browser
- Set page title & icon
- Create paragraphs of text
- Create headings
- Create links to other pages
- Display images
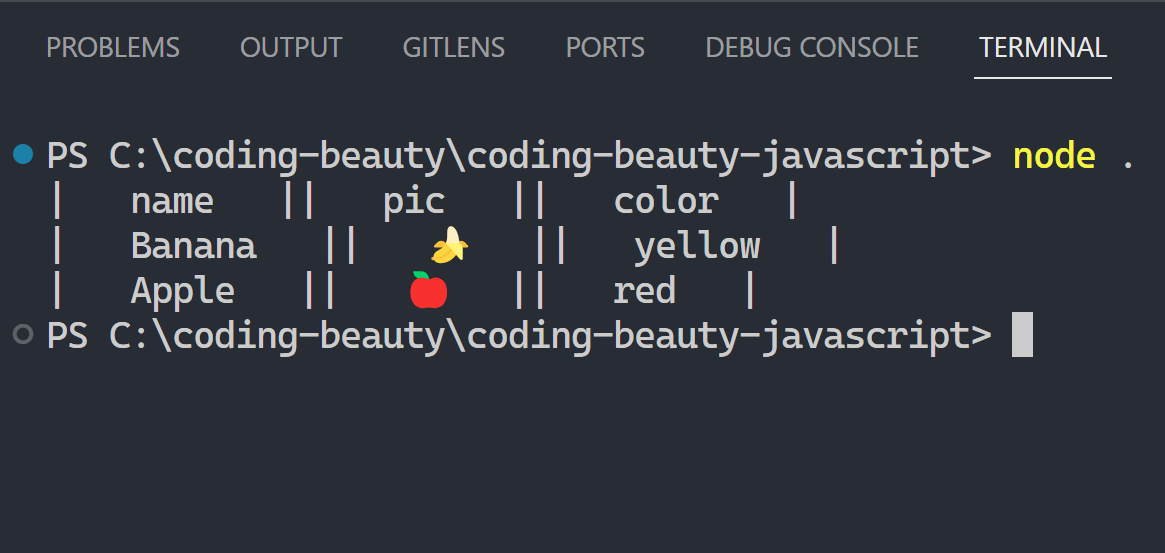
- Display tabular data
- Show lists of elements
- Handle input with forms
- Create comments & comment out code
- Make your page more meaningful with Semantic HTML
Some people think semantic HTML is useless because of CSS but they’re wrong.
It’s still crucial for accessibility and explaining your page to search engines to rank high on the results page.
<!-- tells search engine that the "AI singularity" is a time -->

<time datetime="2025-01-07">AI singularity</time> is
coming sooner than you think!
Without this you end up like those devs who use <div> for everything.
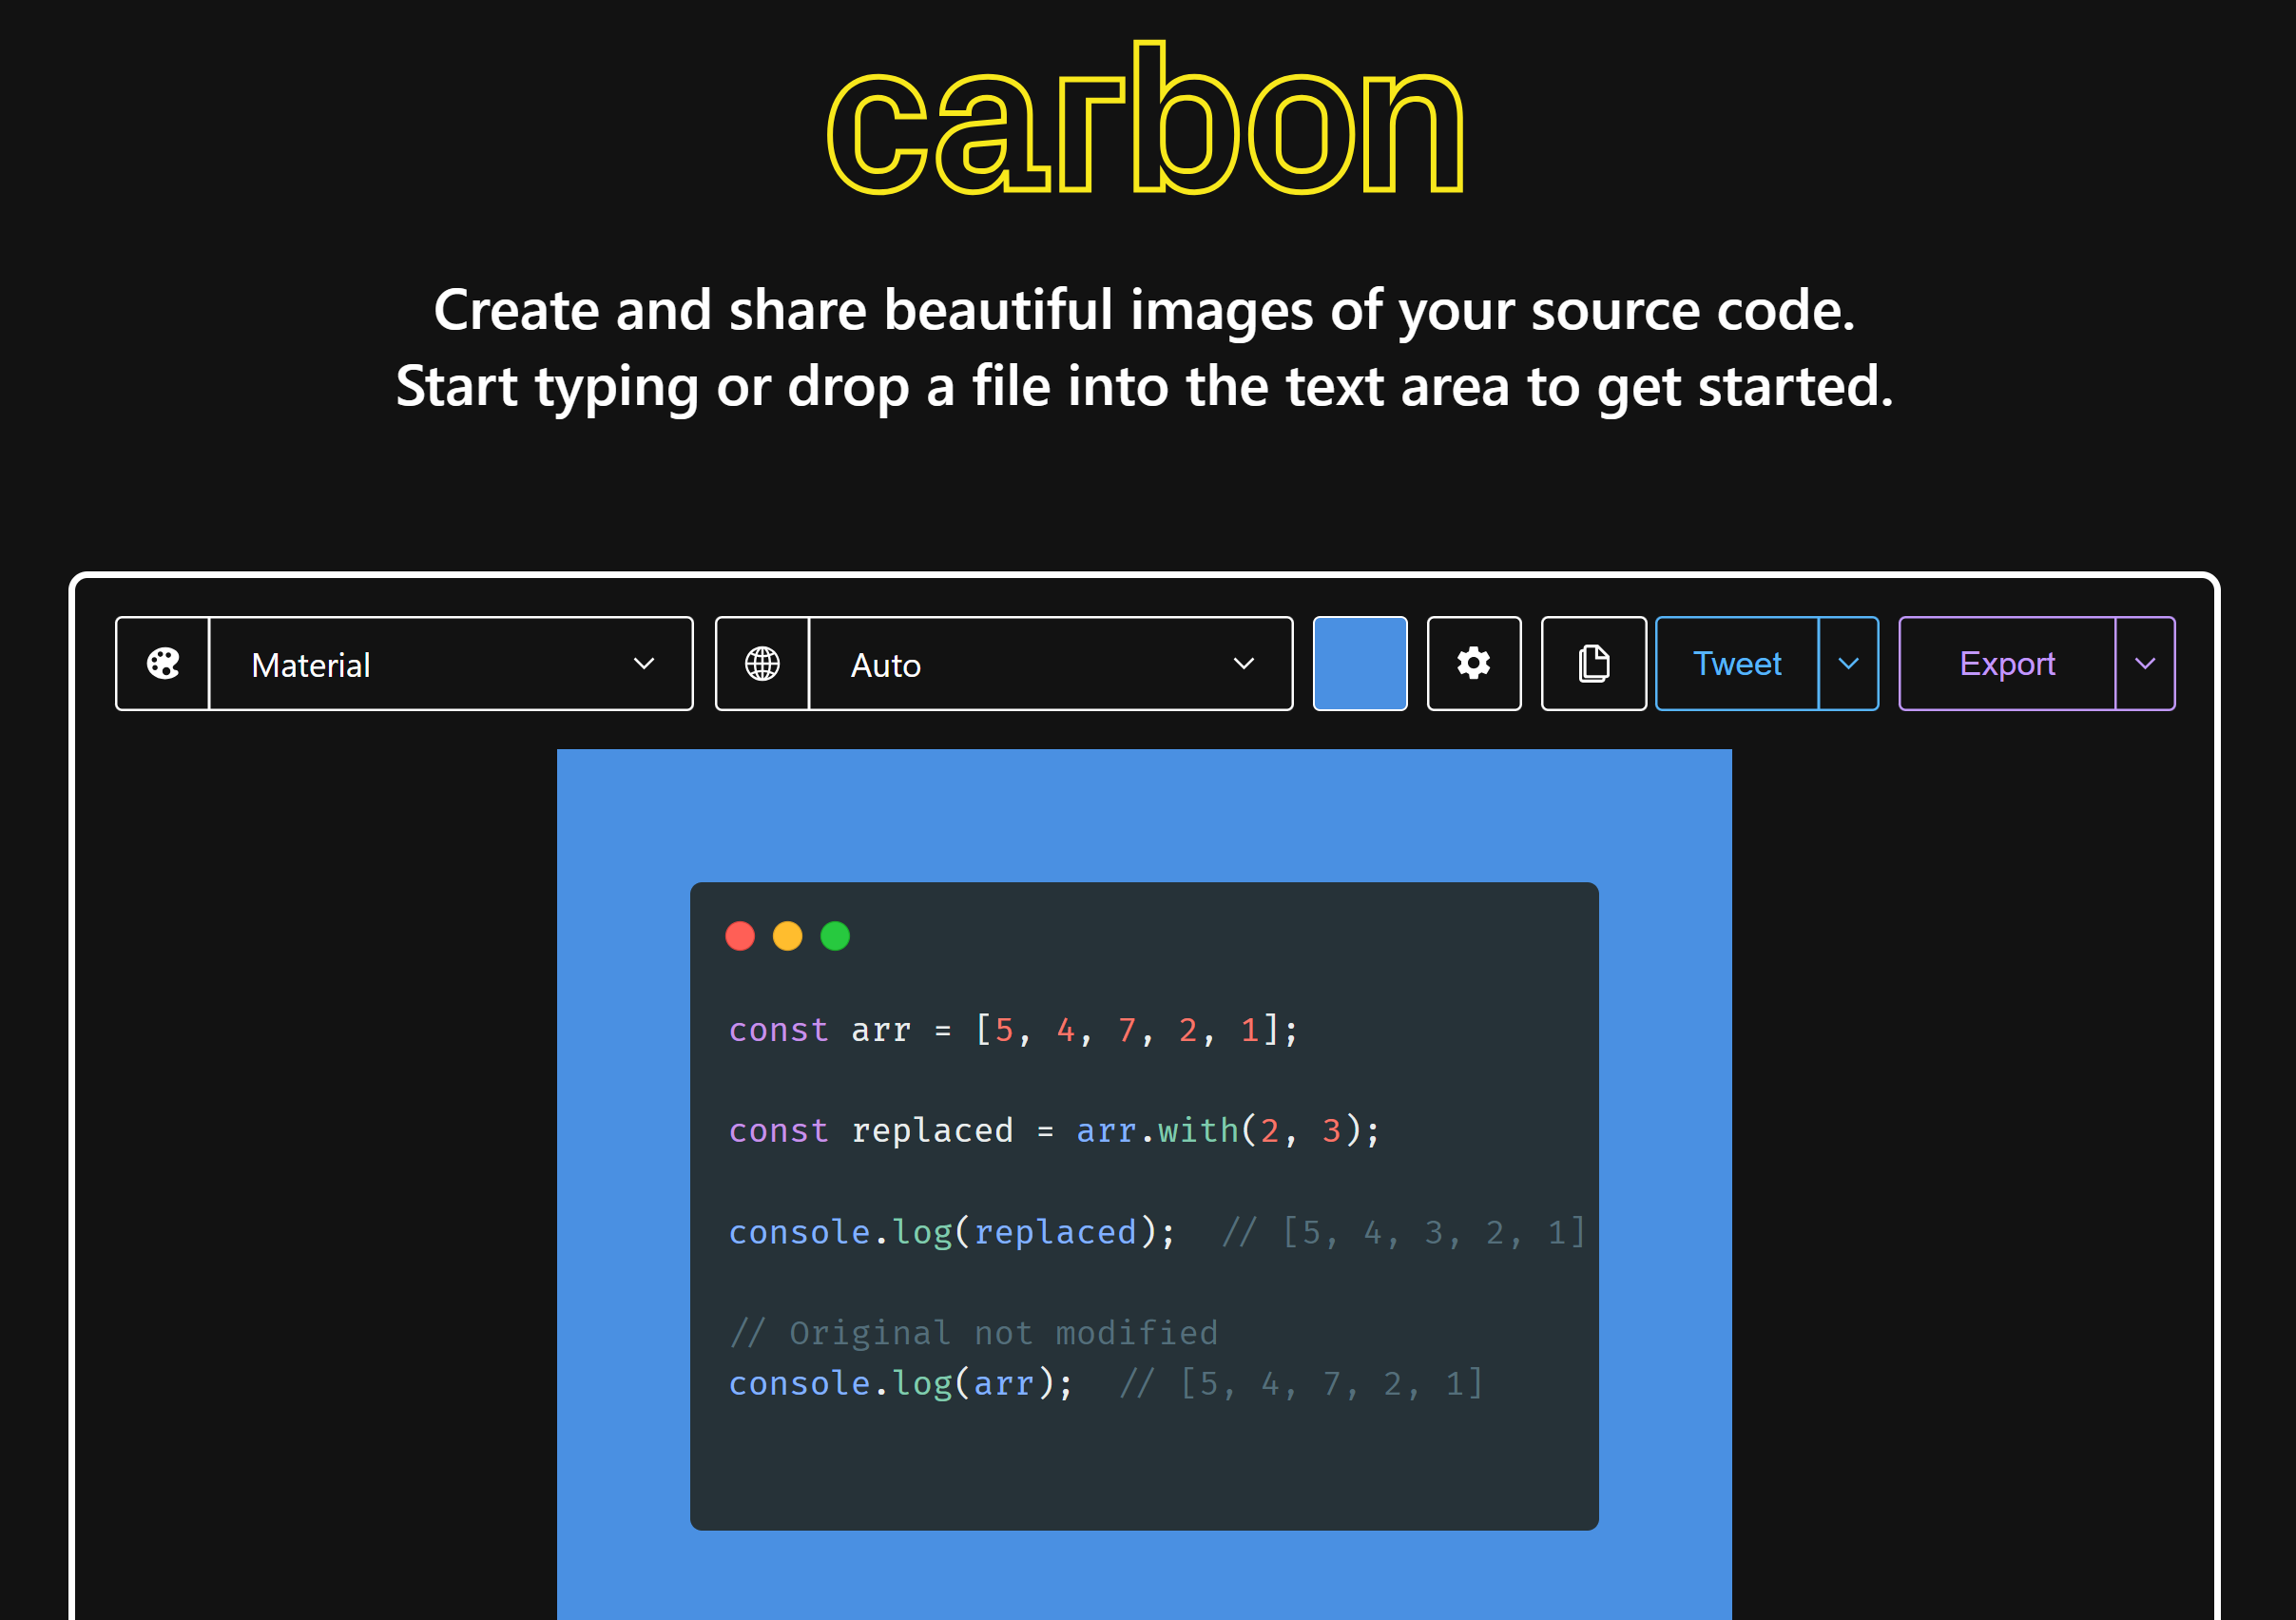
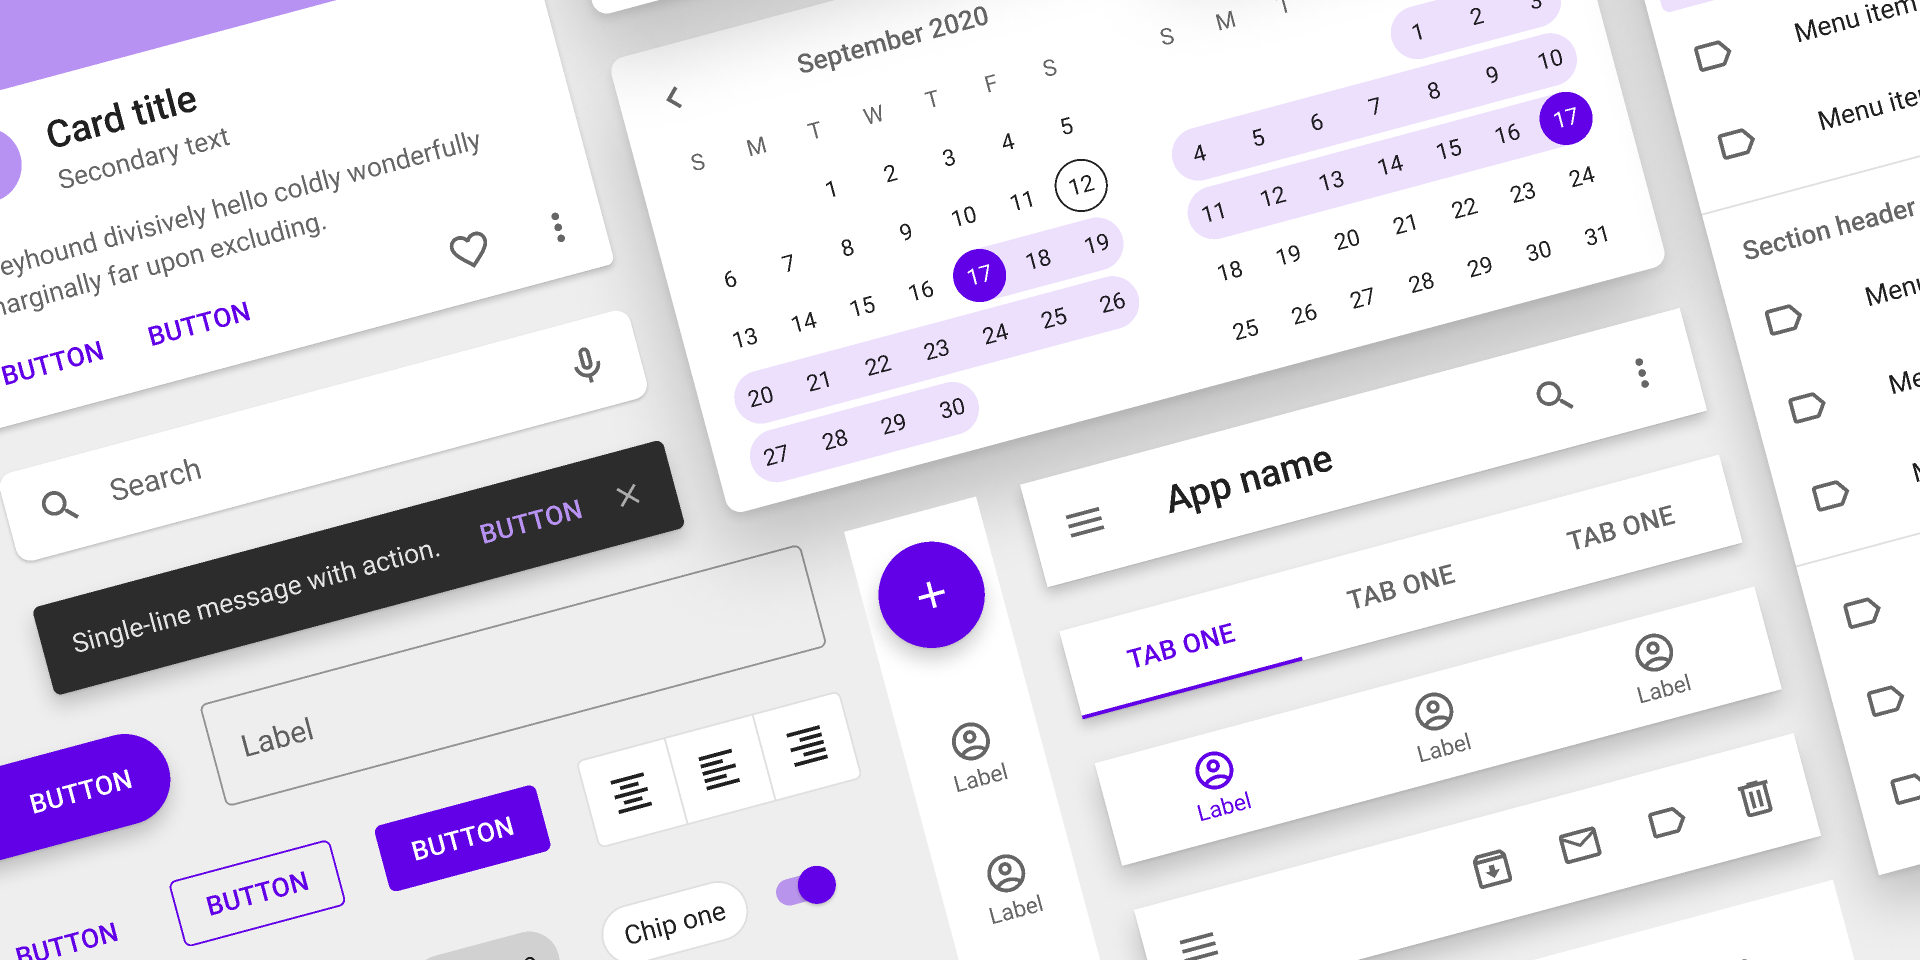
2. CSS essentials: Style the web page
That’s how you can go from this:

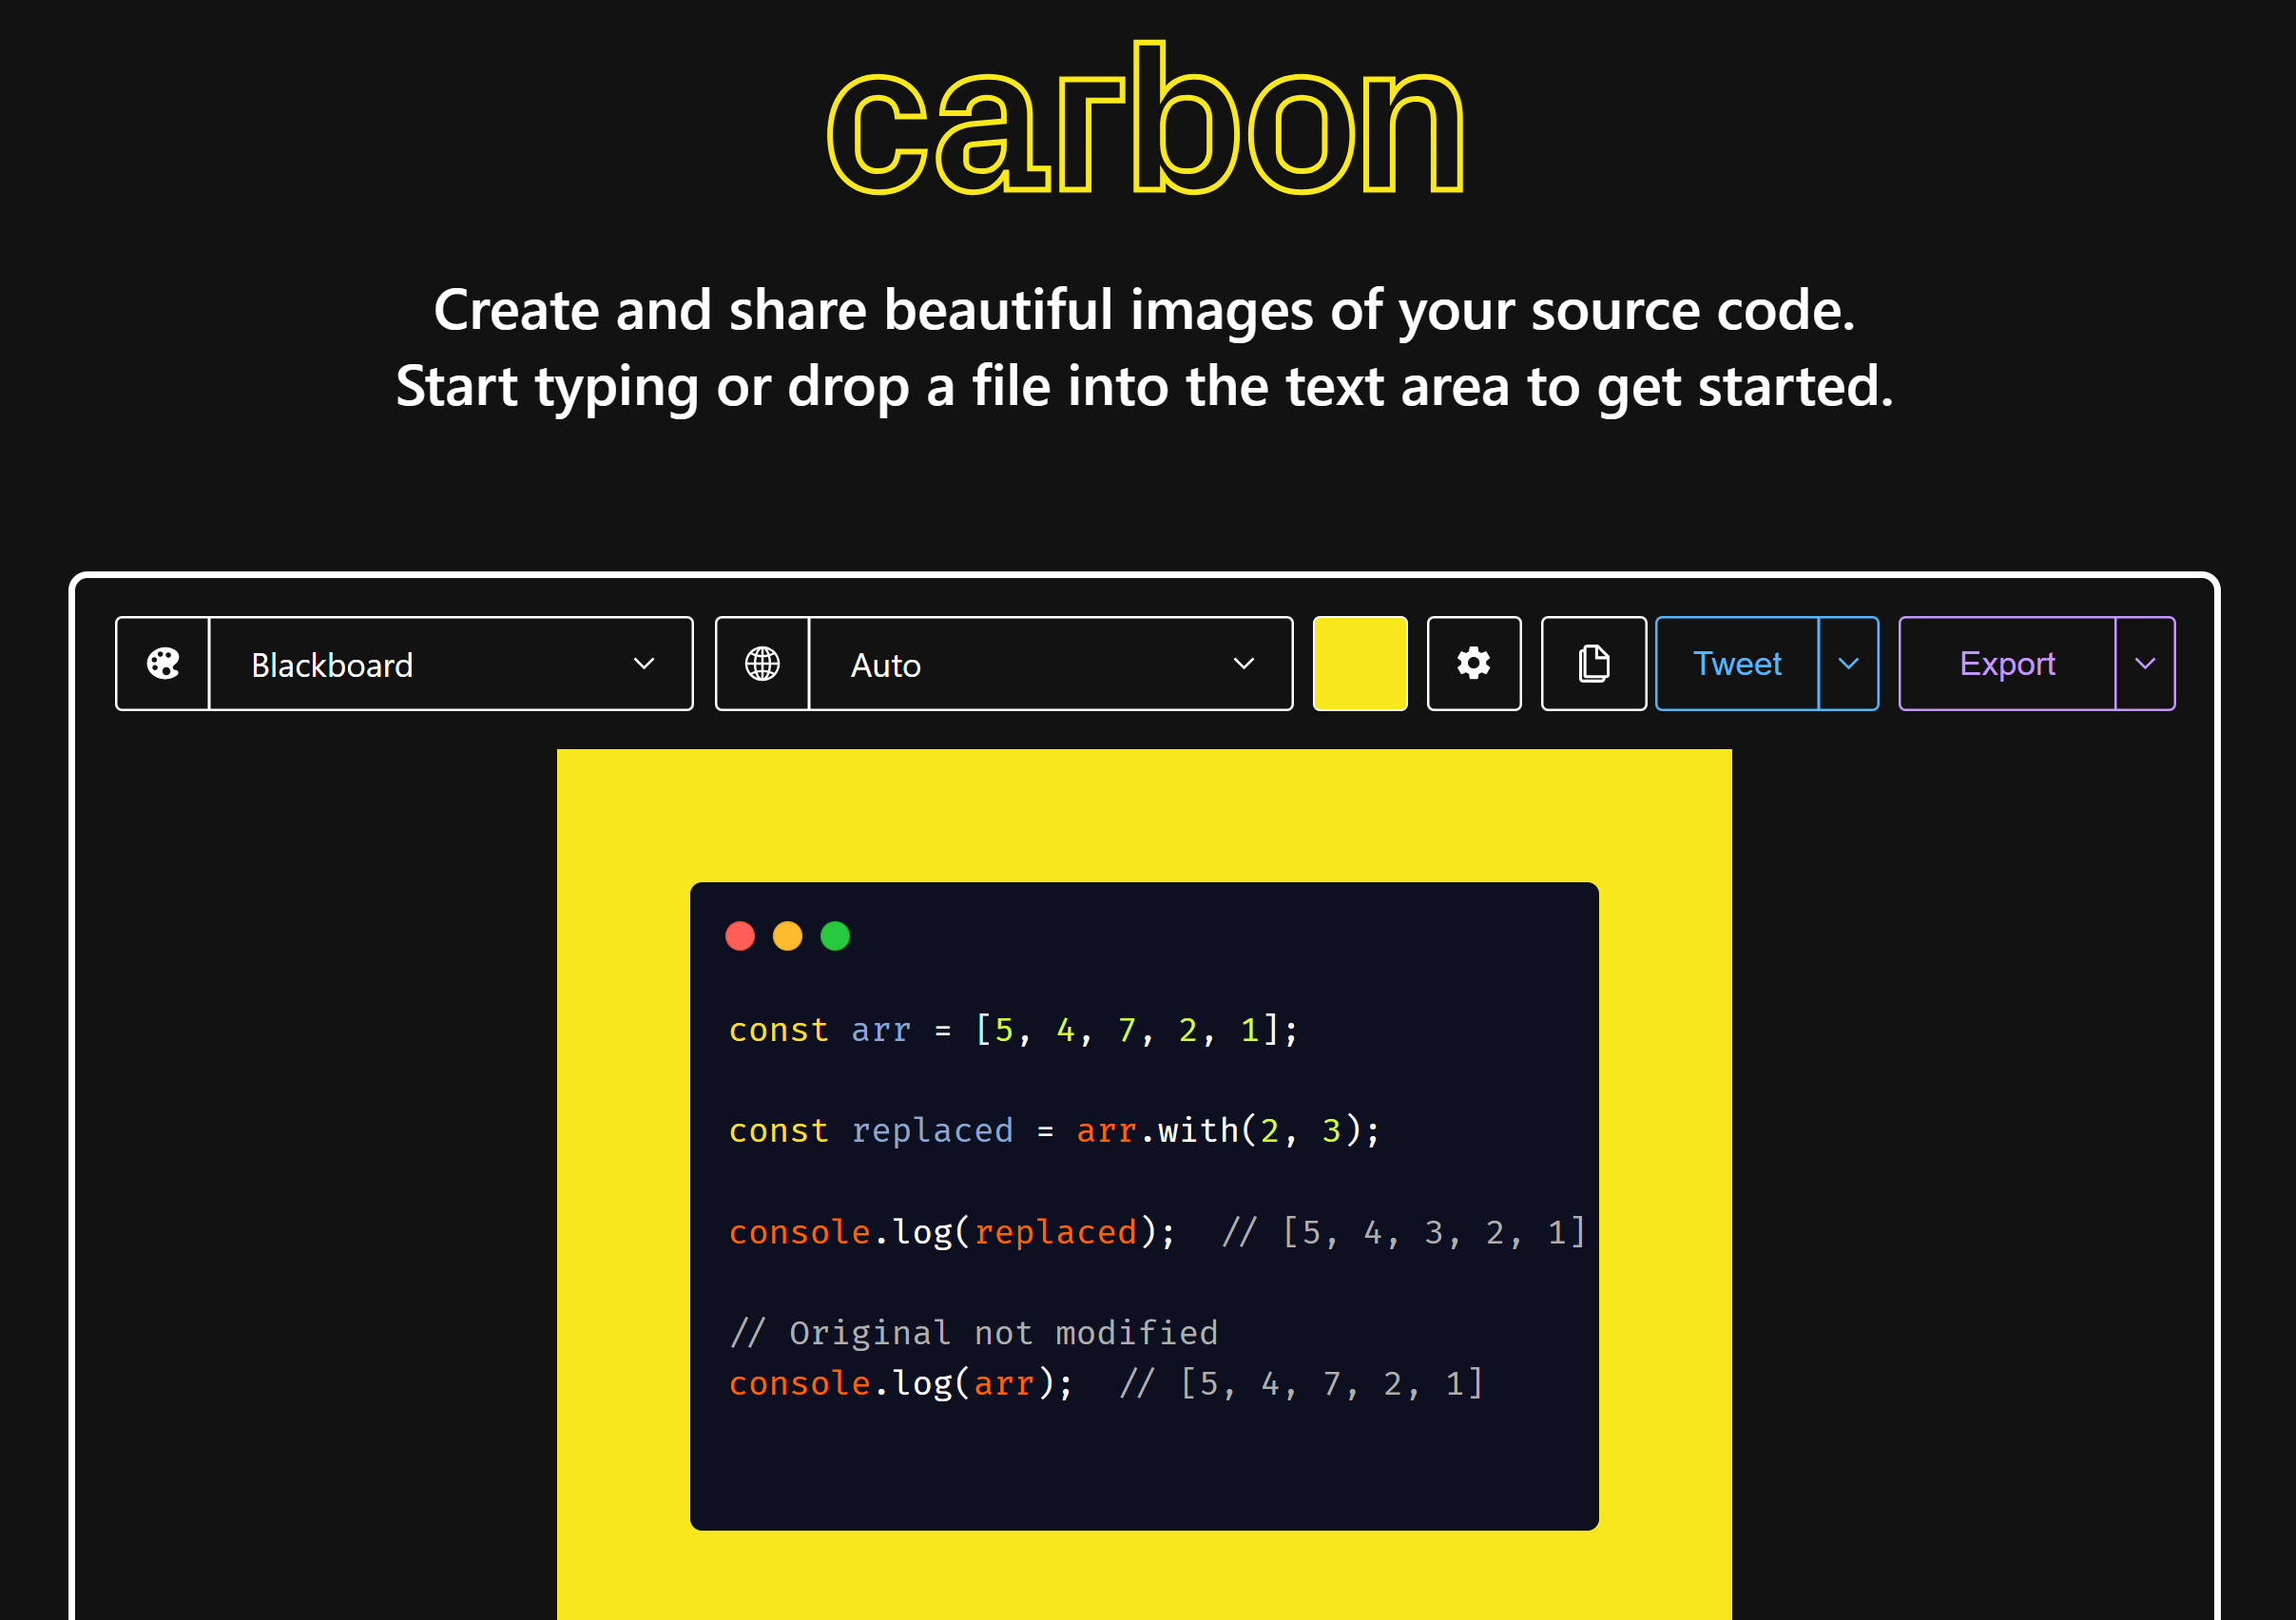
To this:

Enriching the skeleton with life.
How to:
- Add styles to a page
- Add colors: Fills, gradients, opacity, foreground vs background colors
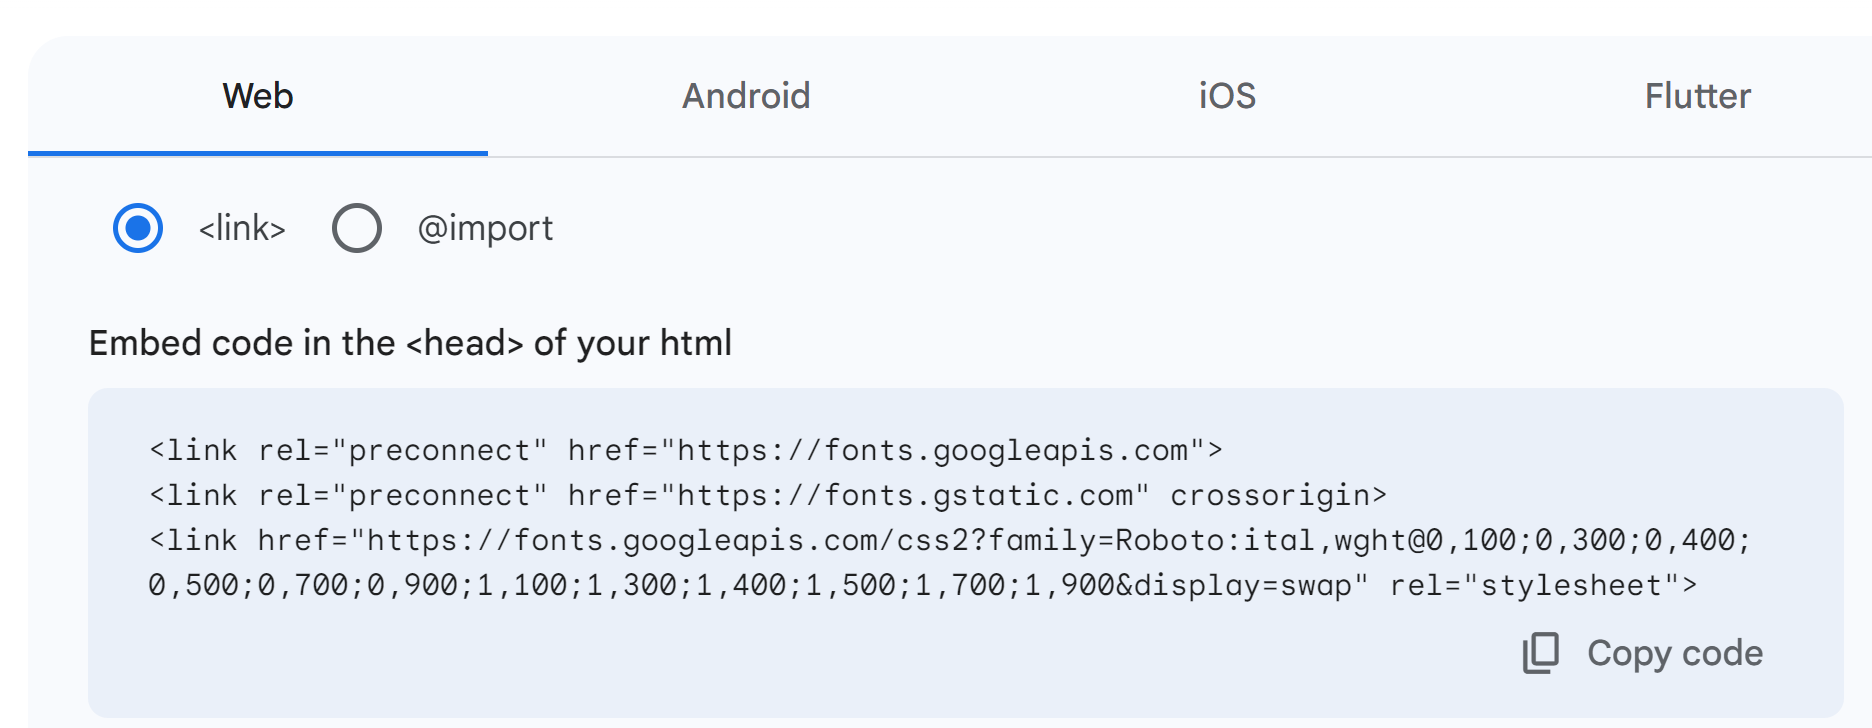
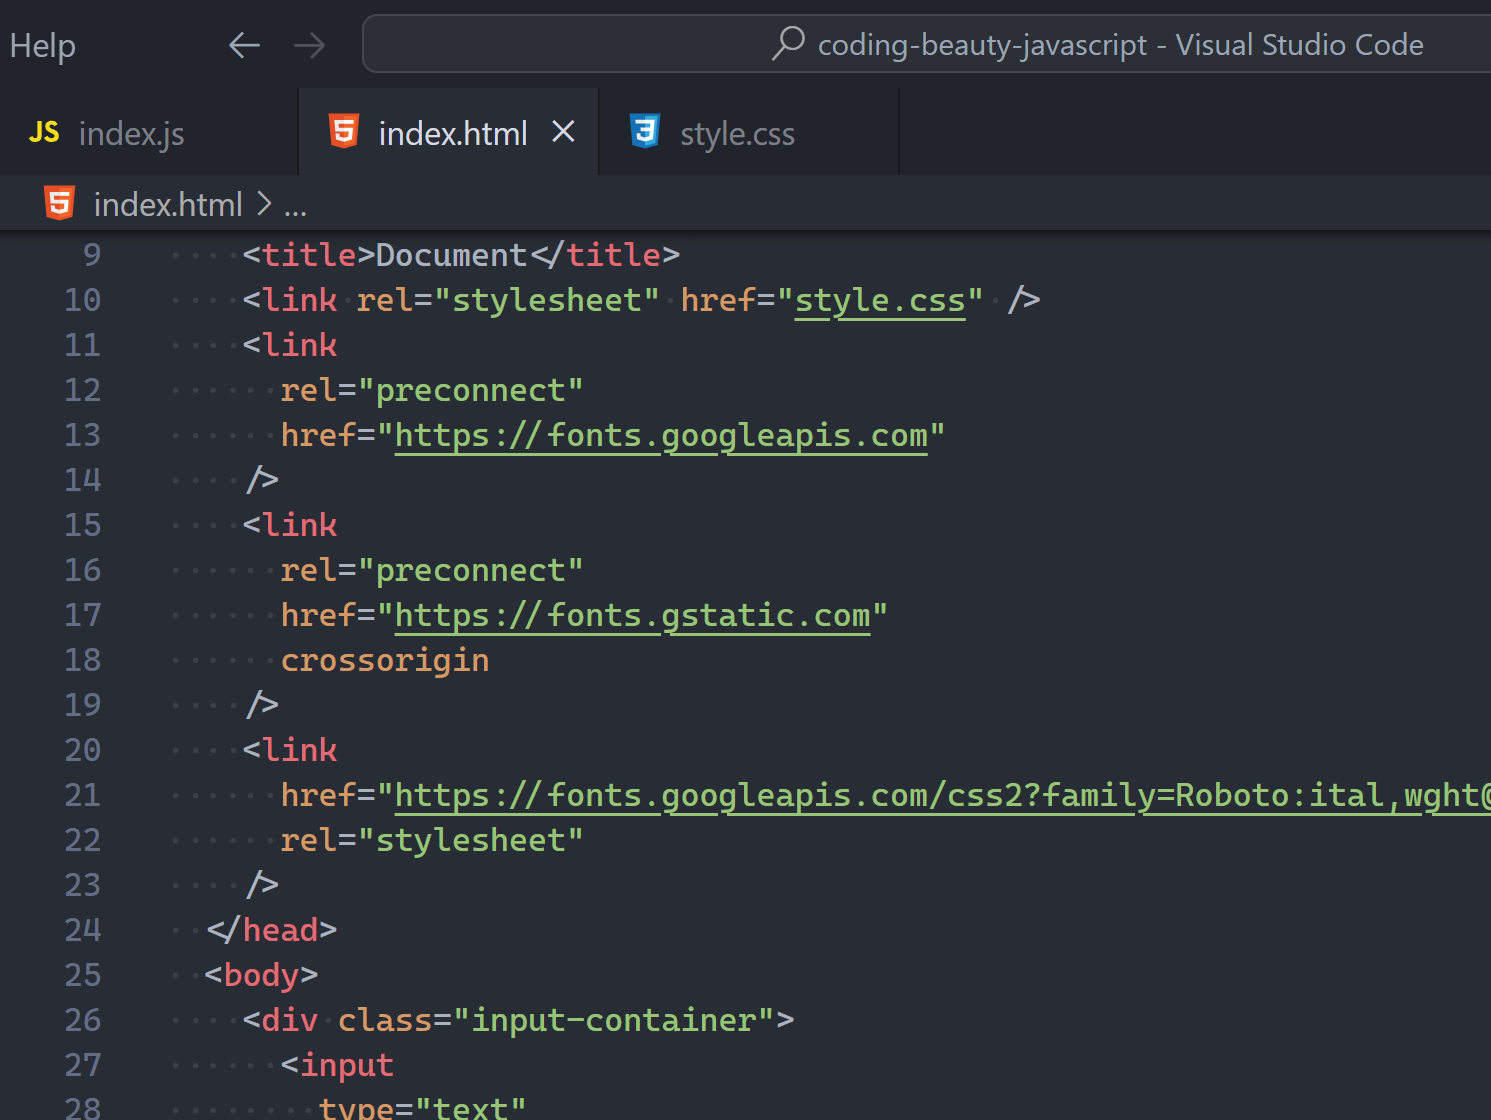
- Customize fonts: Font family, size, styles, weight, web-safe fonts, Google Fonts
- Create layouts: Margin & padding, visual stacking, relative alignments
- Add and customize backgrounds
- Add flair with animations and transitions
- Style particular states and parts of elements: Pseudo-selectors and pseudo-classes
- Customize shape: outline & borders, height, width,
- Reuse styles: CSS variables
- Make your page look great for all screen sizes: breakpoints, responsive images,
- Style faster with frameworks: Tailwind, Sass
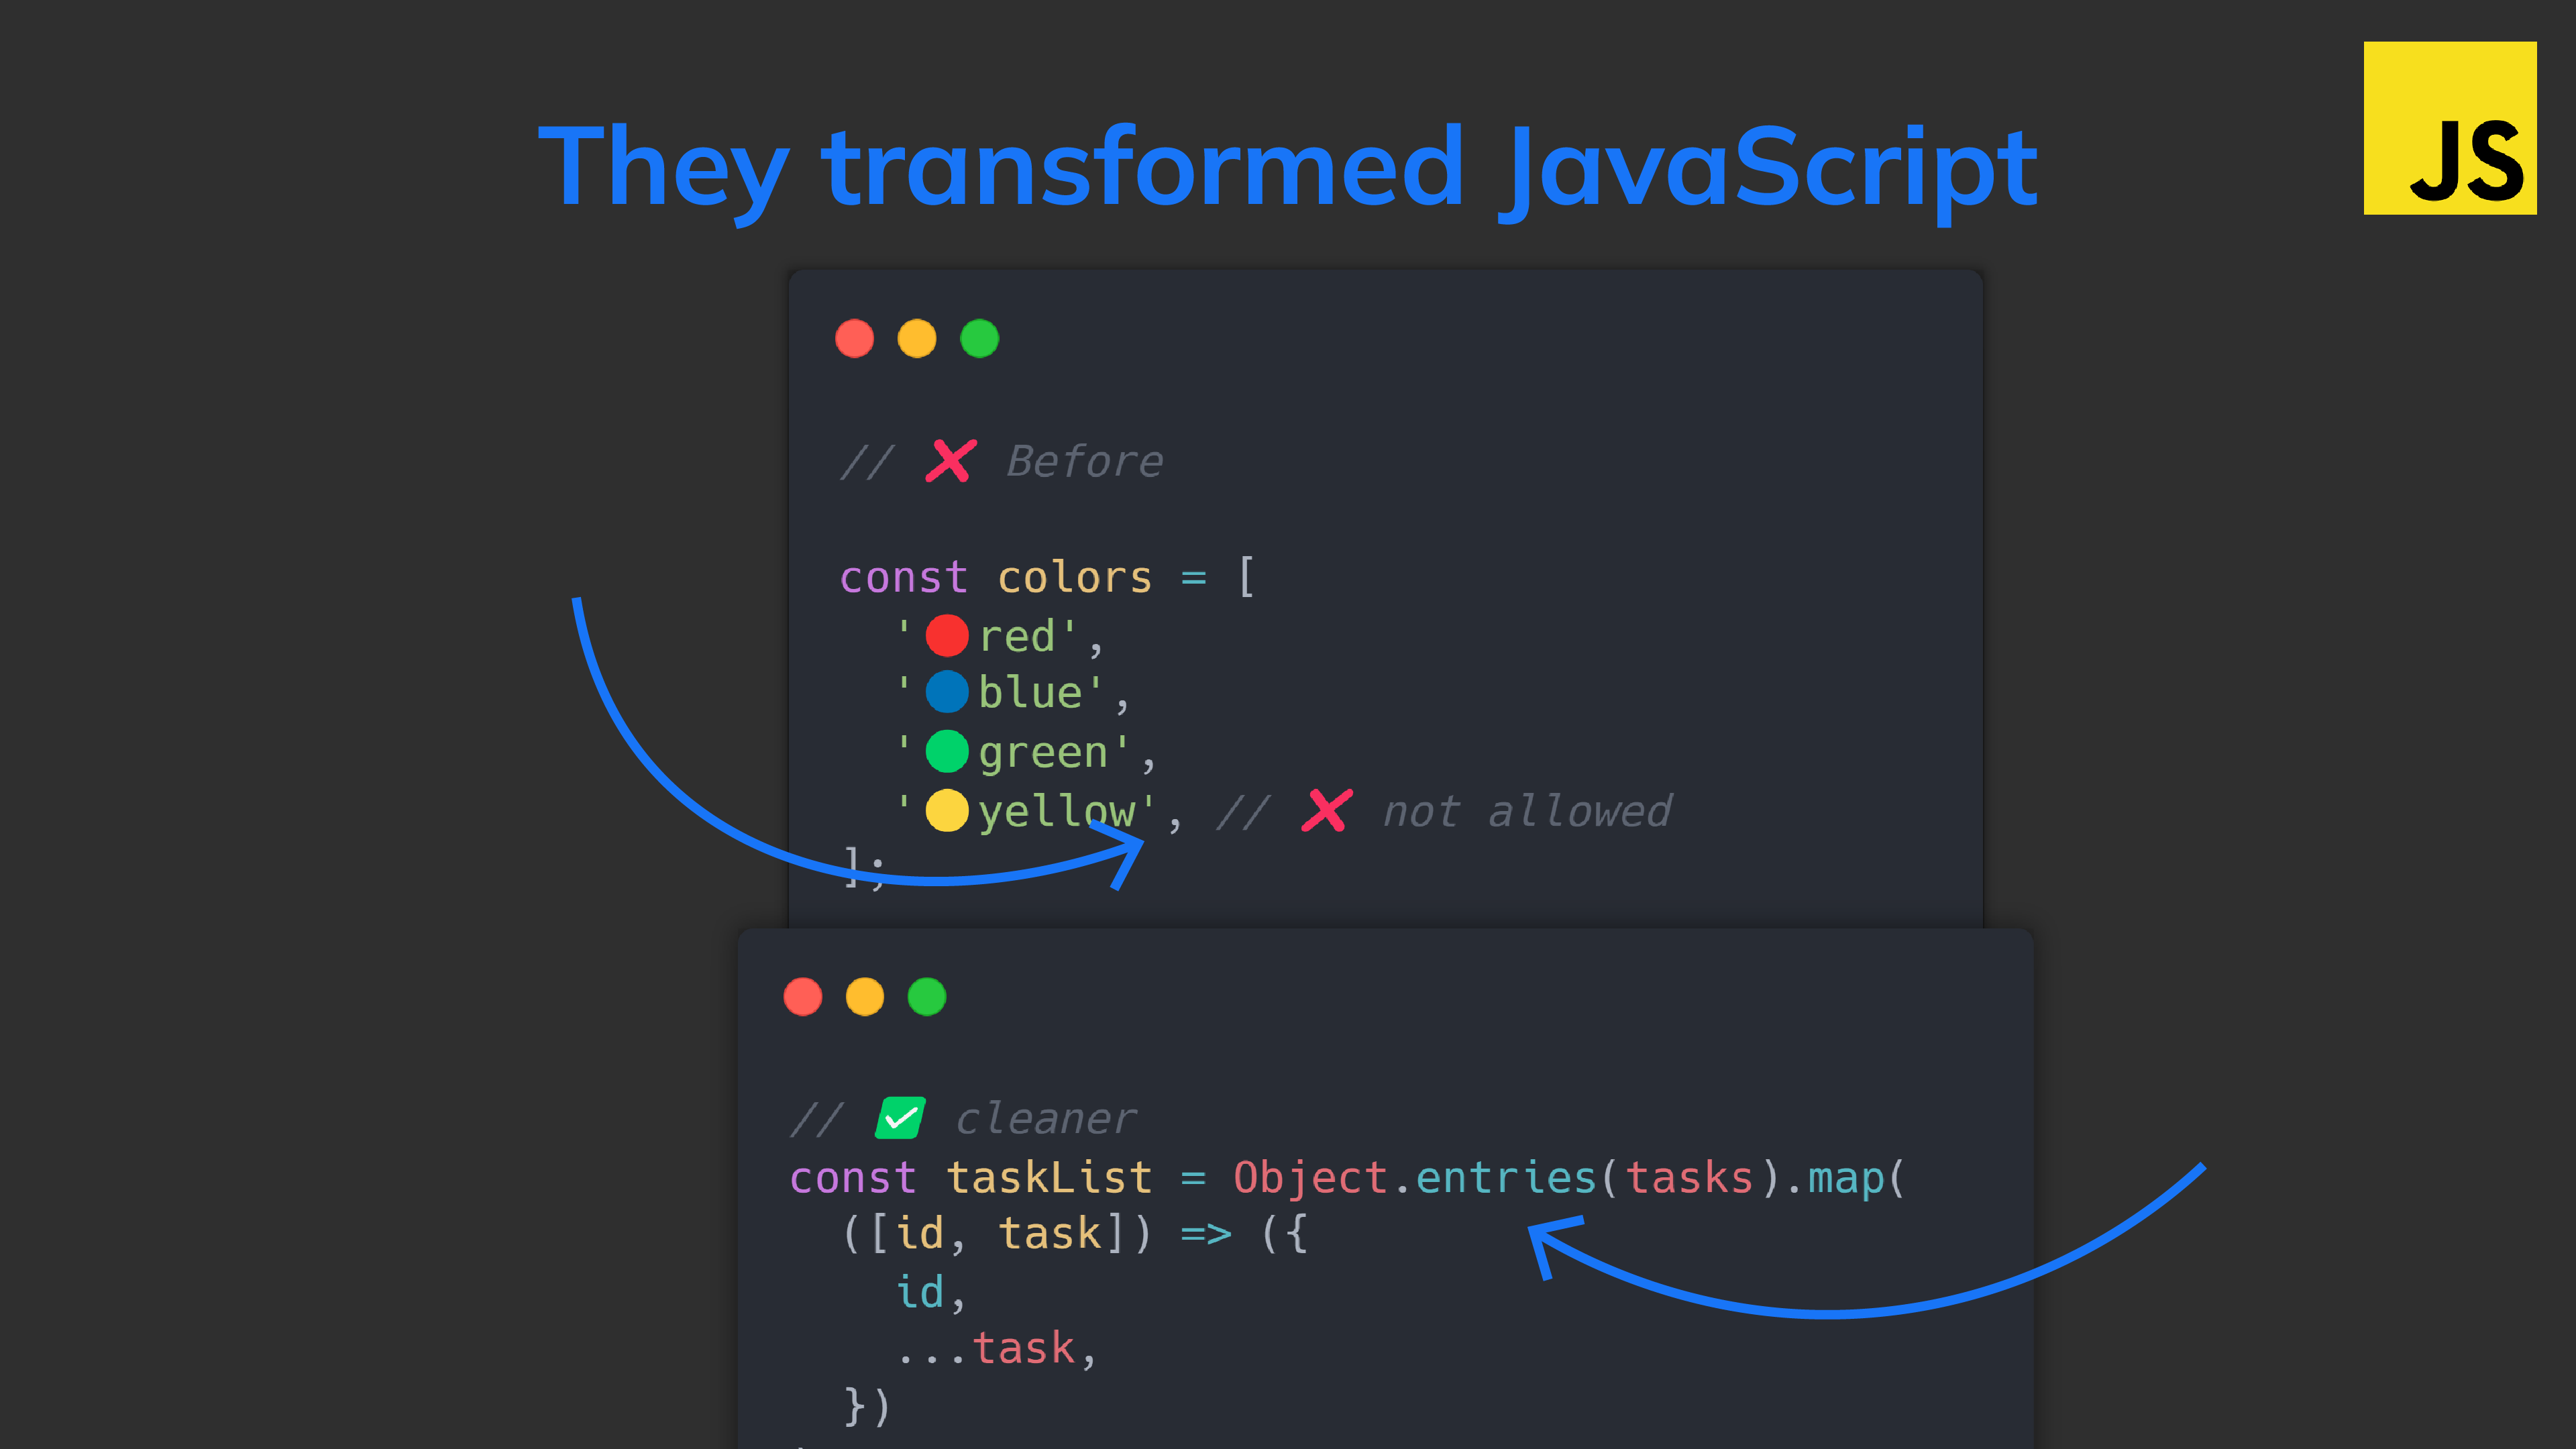
3. JavaScript essentials
How to add interactivity to your web pages and make things happen:
Basics
If you’re new to coding:
How to:
- Think about programming
- Add JavaScript code to a page
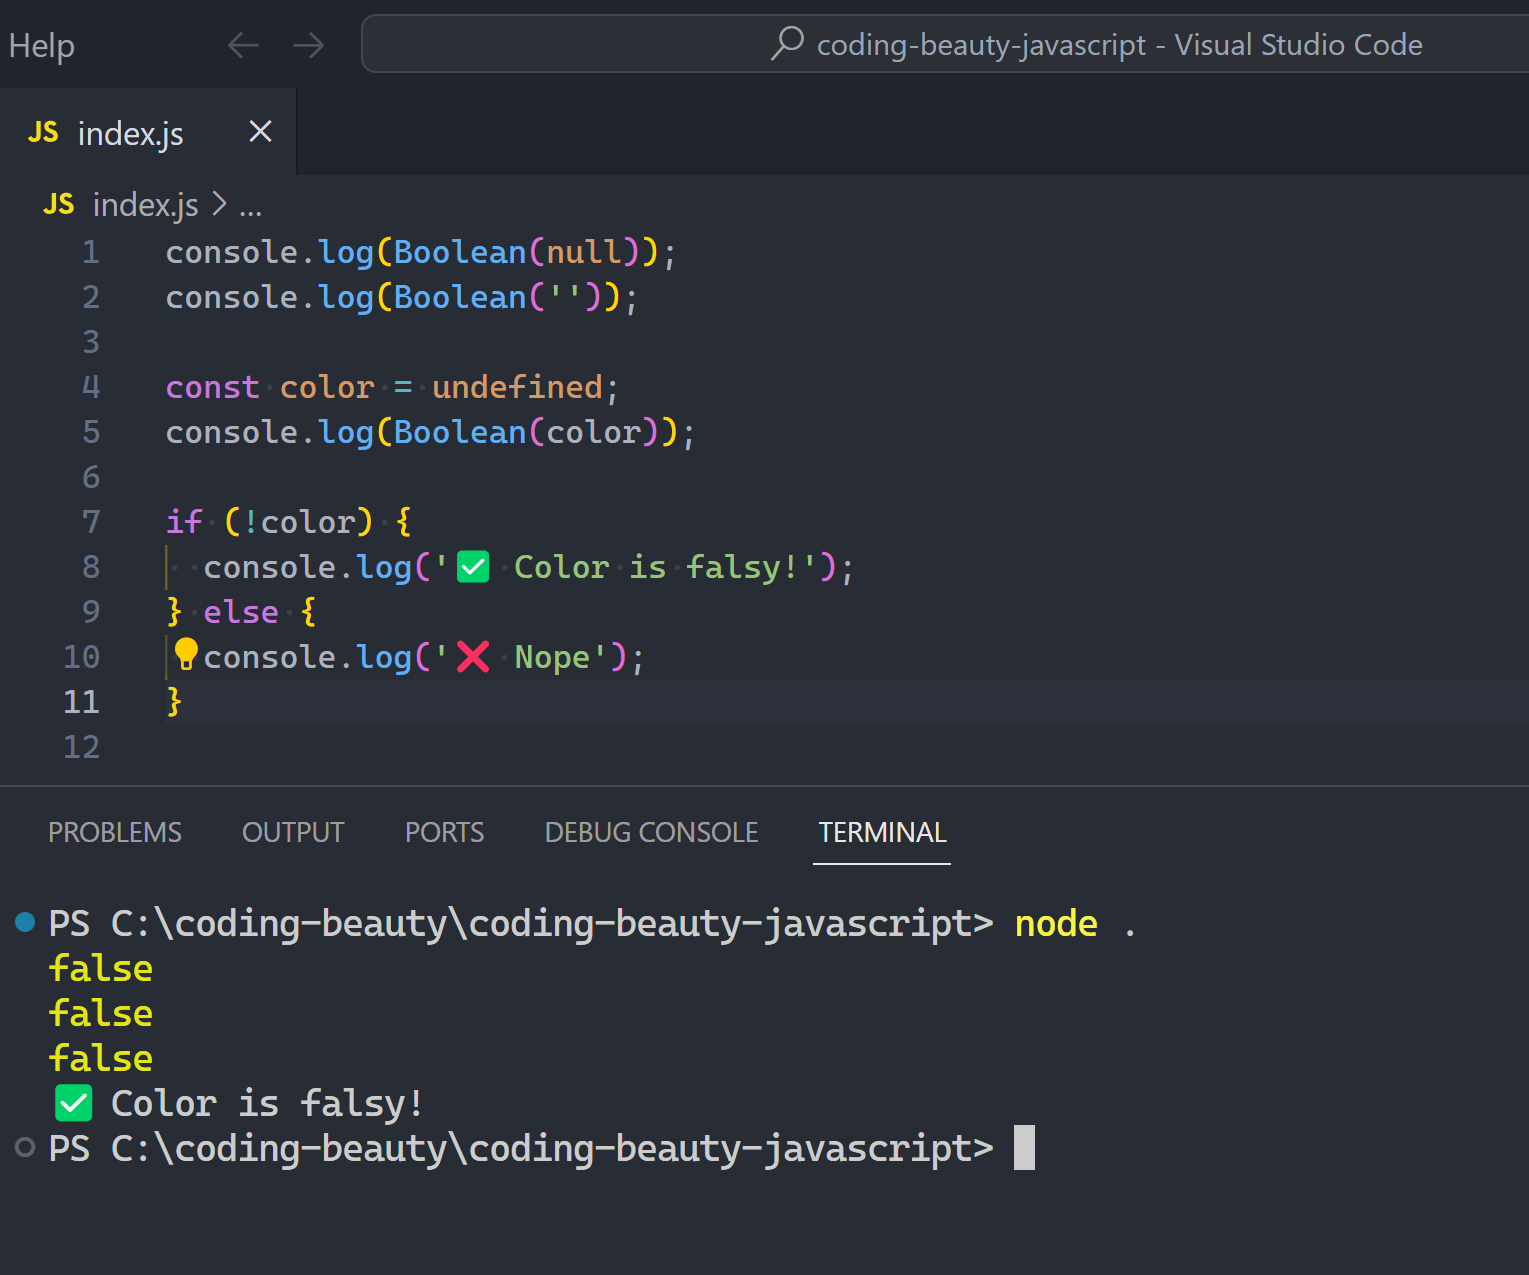
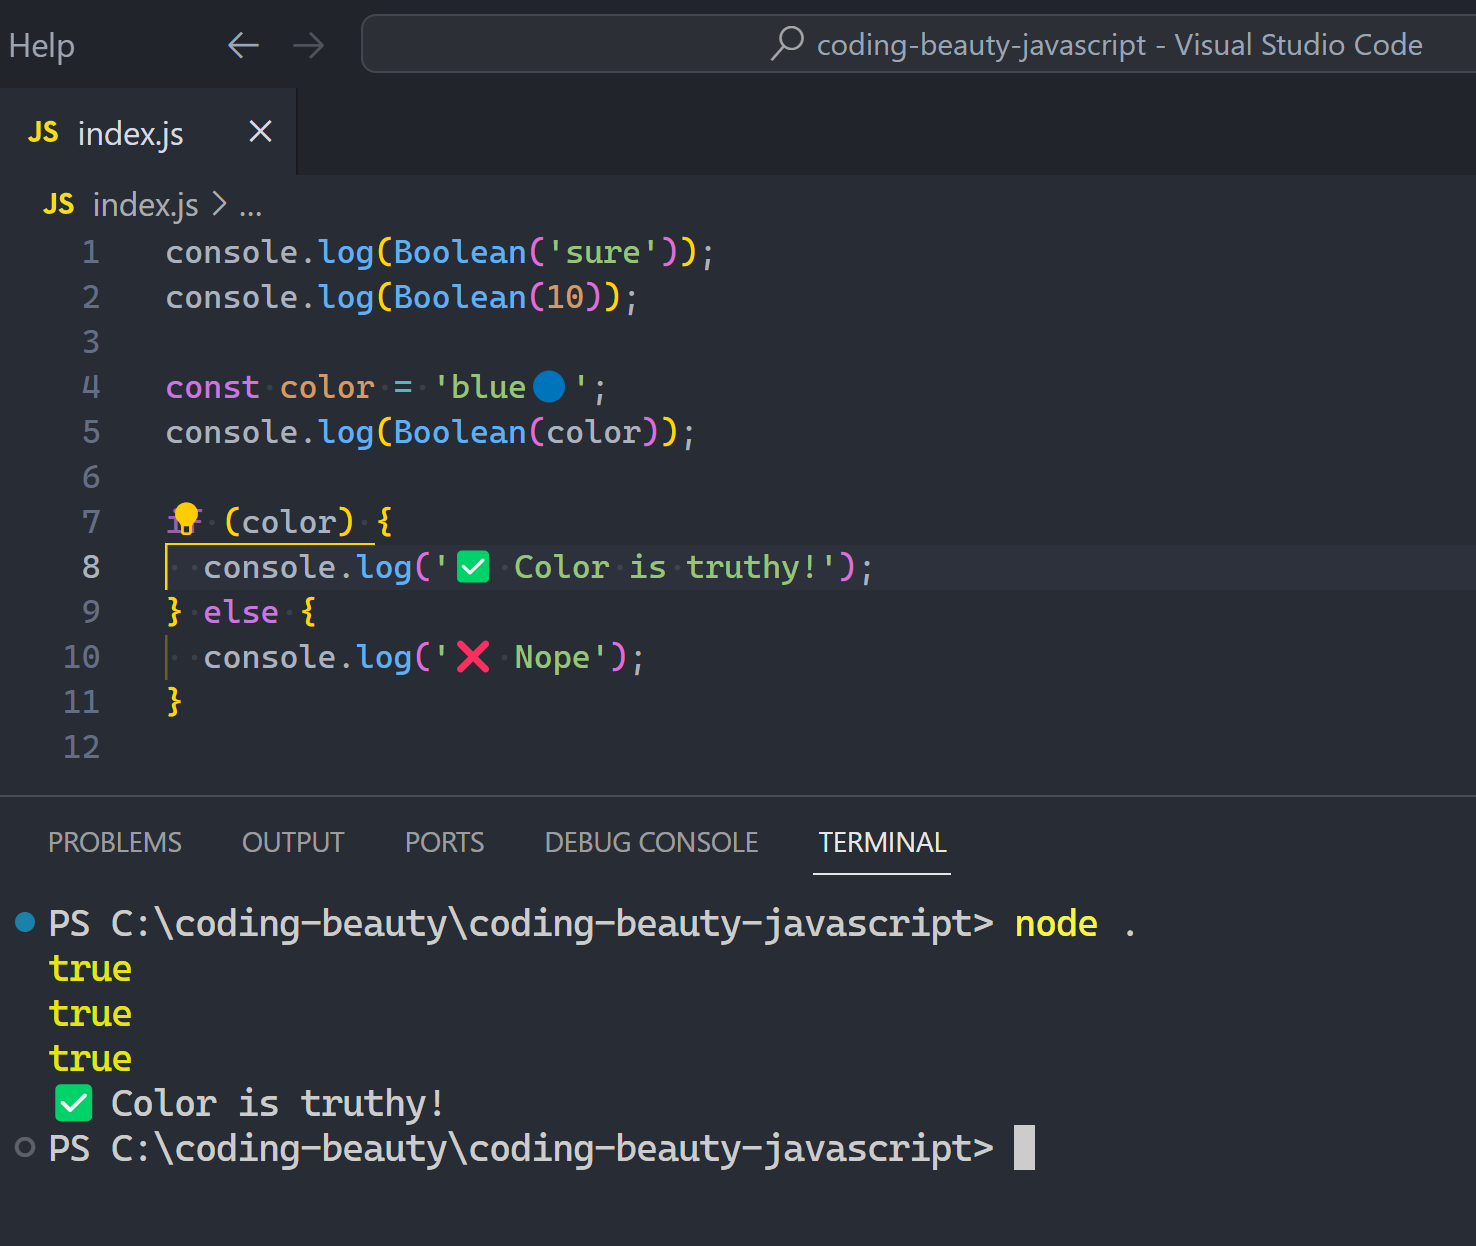
- Print output:
alert(),innerHTML, console logging
- Manage data — Create, use, update, and print variables: data types, scopes
- Create comments & comment out existing code
- Reuse actions: Create & call functions: syntax, parameters & arguments, return values, types, scopes
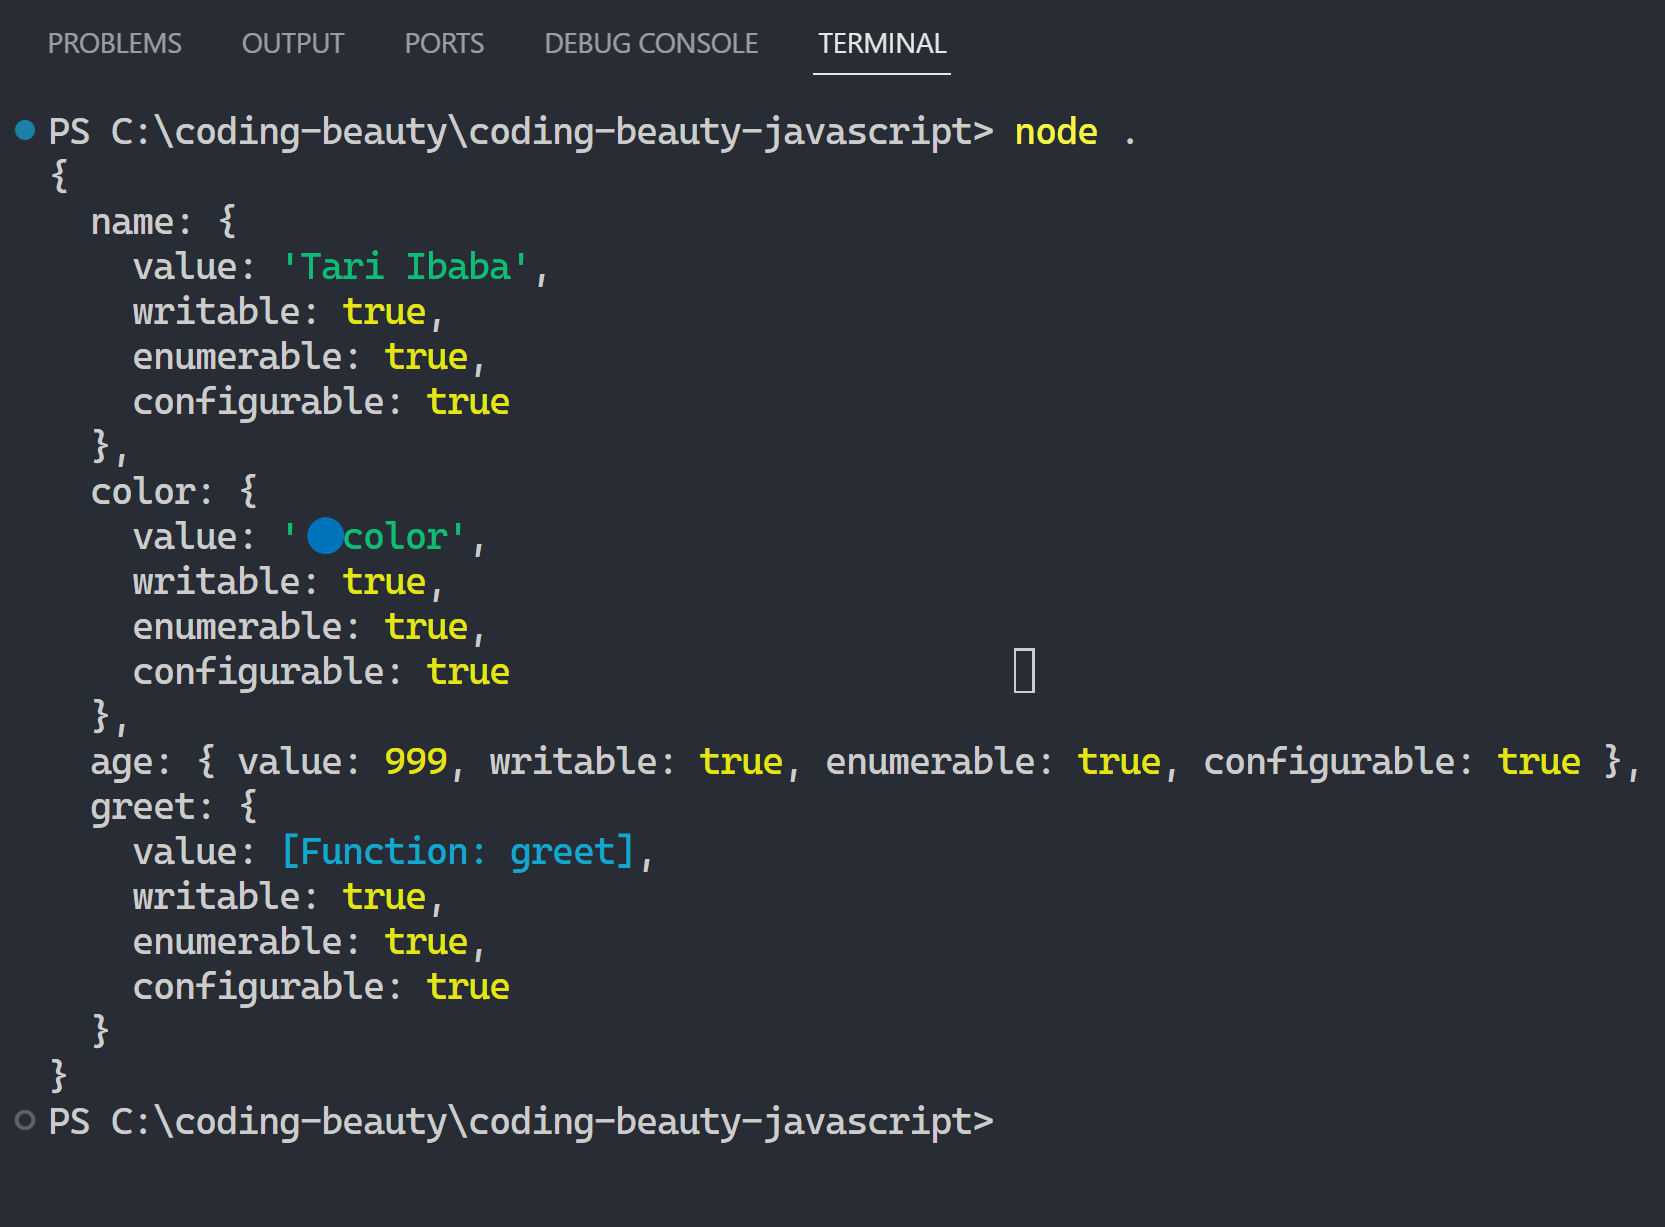
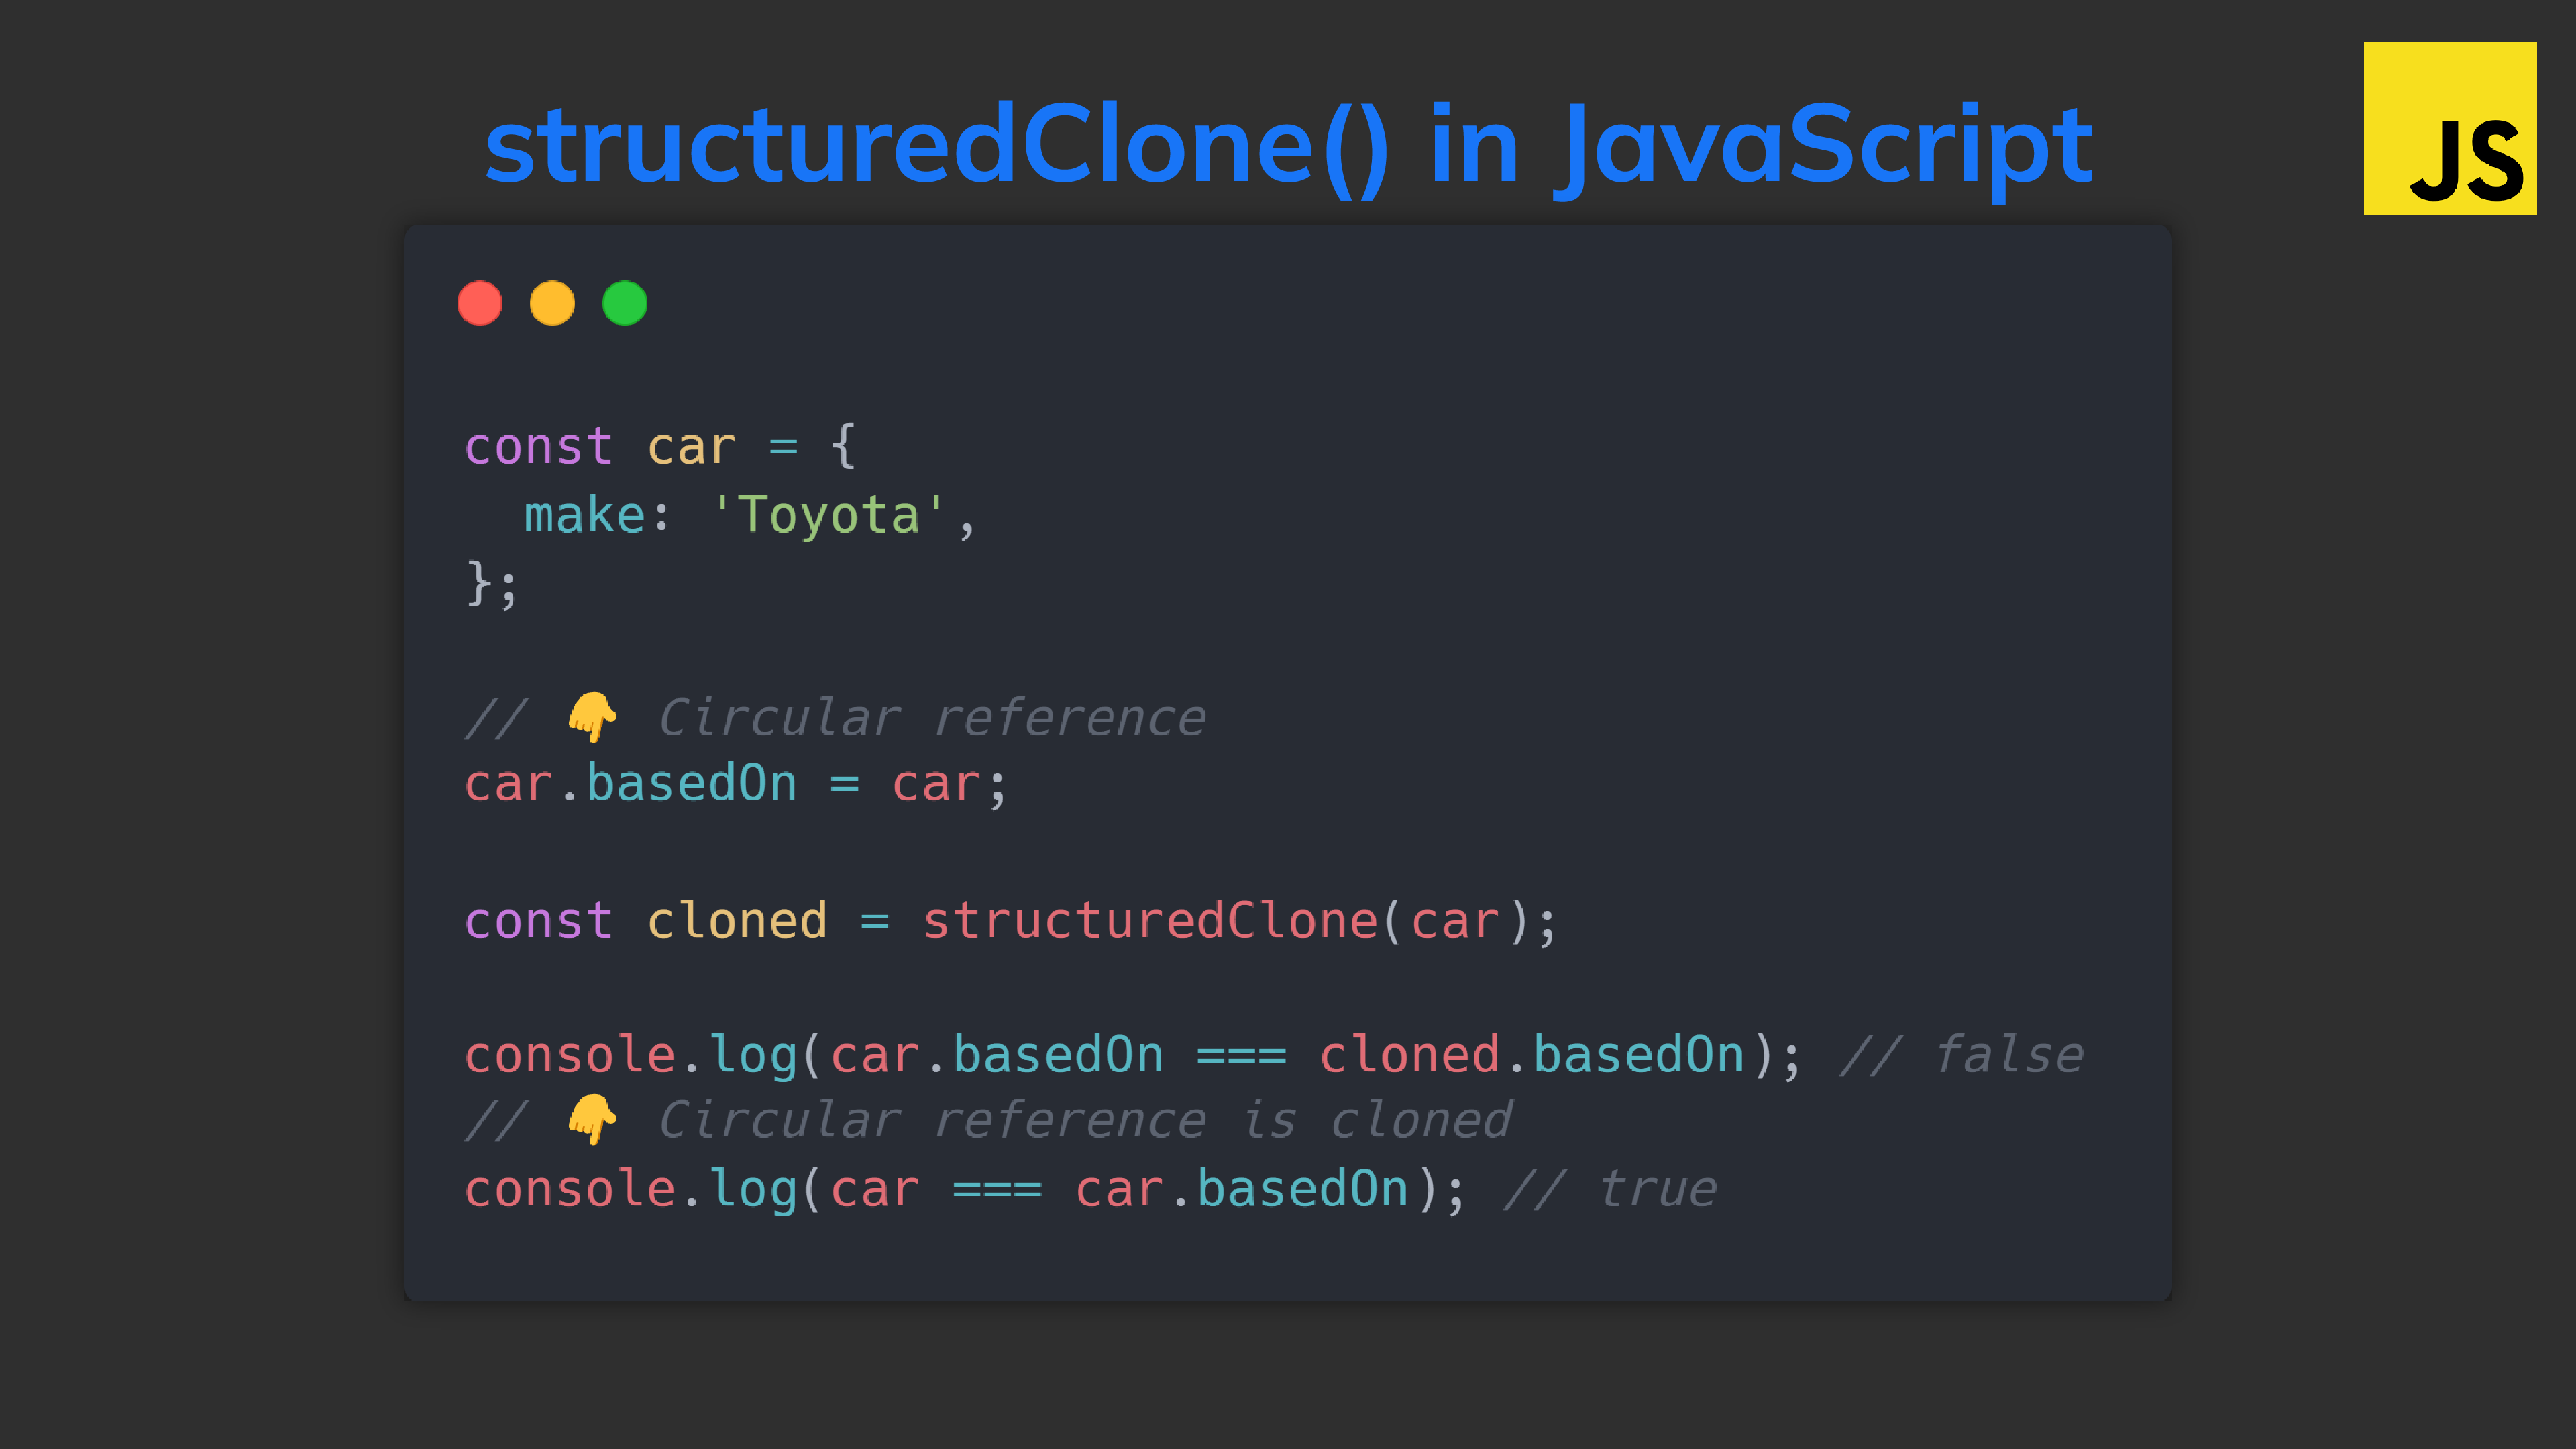
- Create objects to represent real-world entities: data & variables, actions & methods, nested objects
- Select and manipulate elements on a page:
getElementById,querySelector, use methods & properties, etc.
- Handle input & events: on a web page, etc.
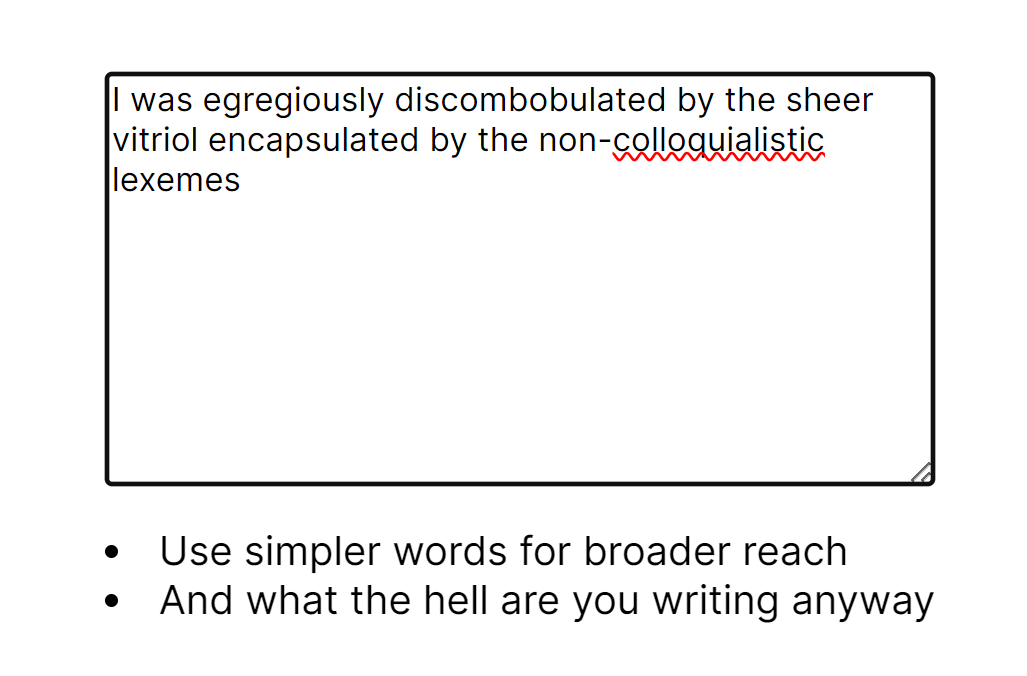
- Manipulate text with strings: multiline, substrings, case, concatenate, interpolate, split & join, trim & pad, search & replace, regex
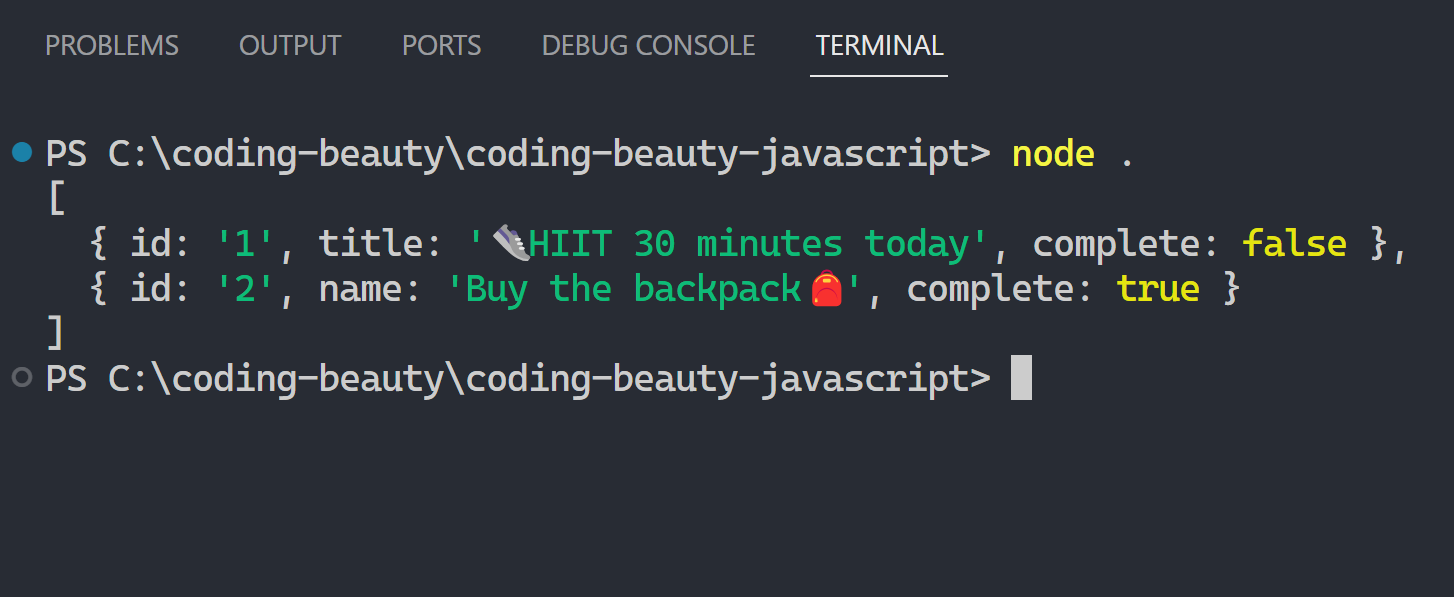
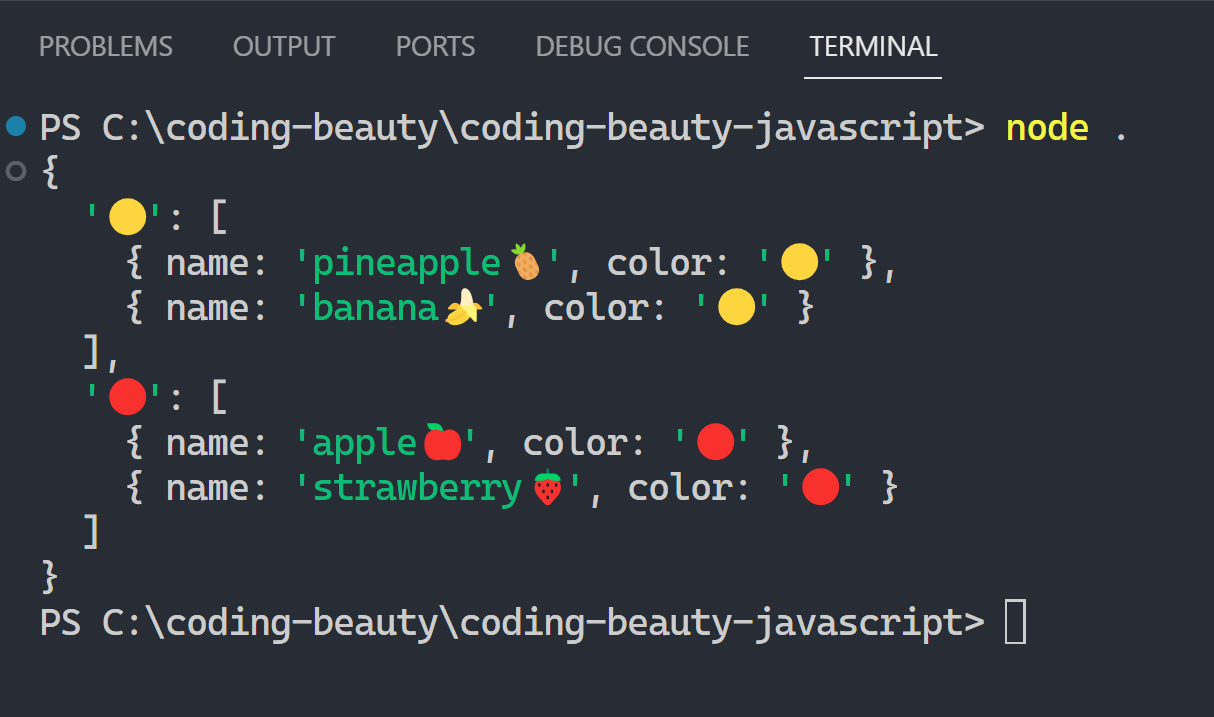
- Use lists: initialize, add, update, remove, iterate, transform, search, filter, sort, reverse
- Use date and time: Create, update, format & display
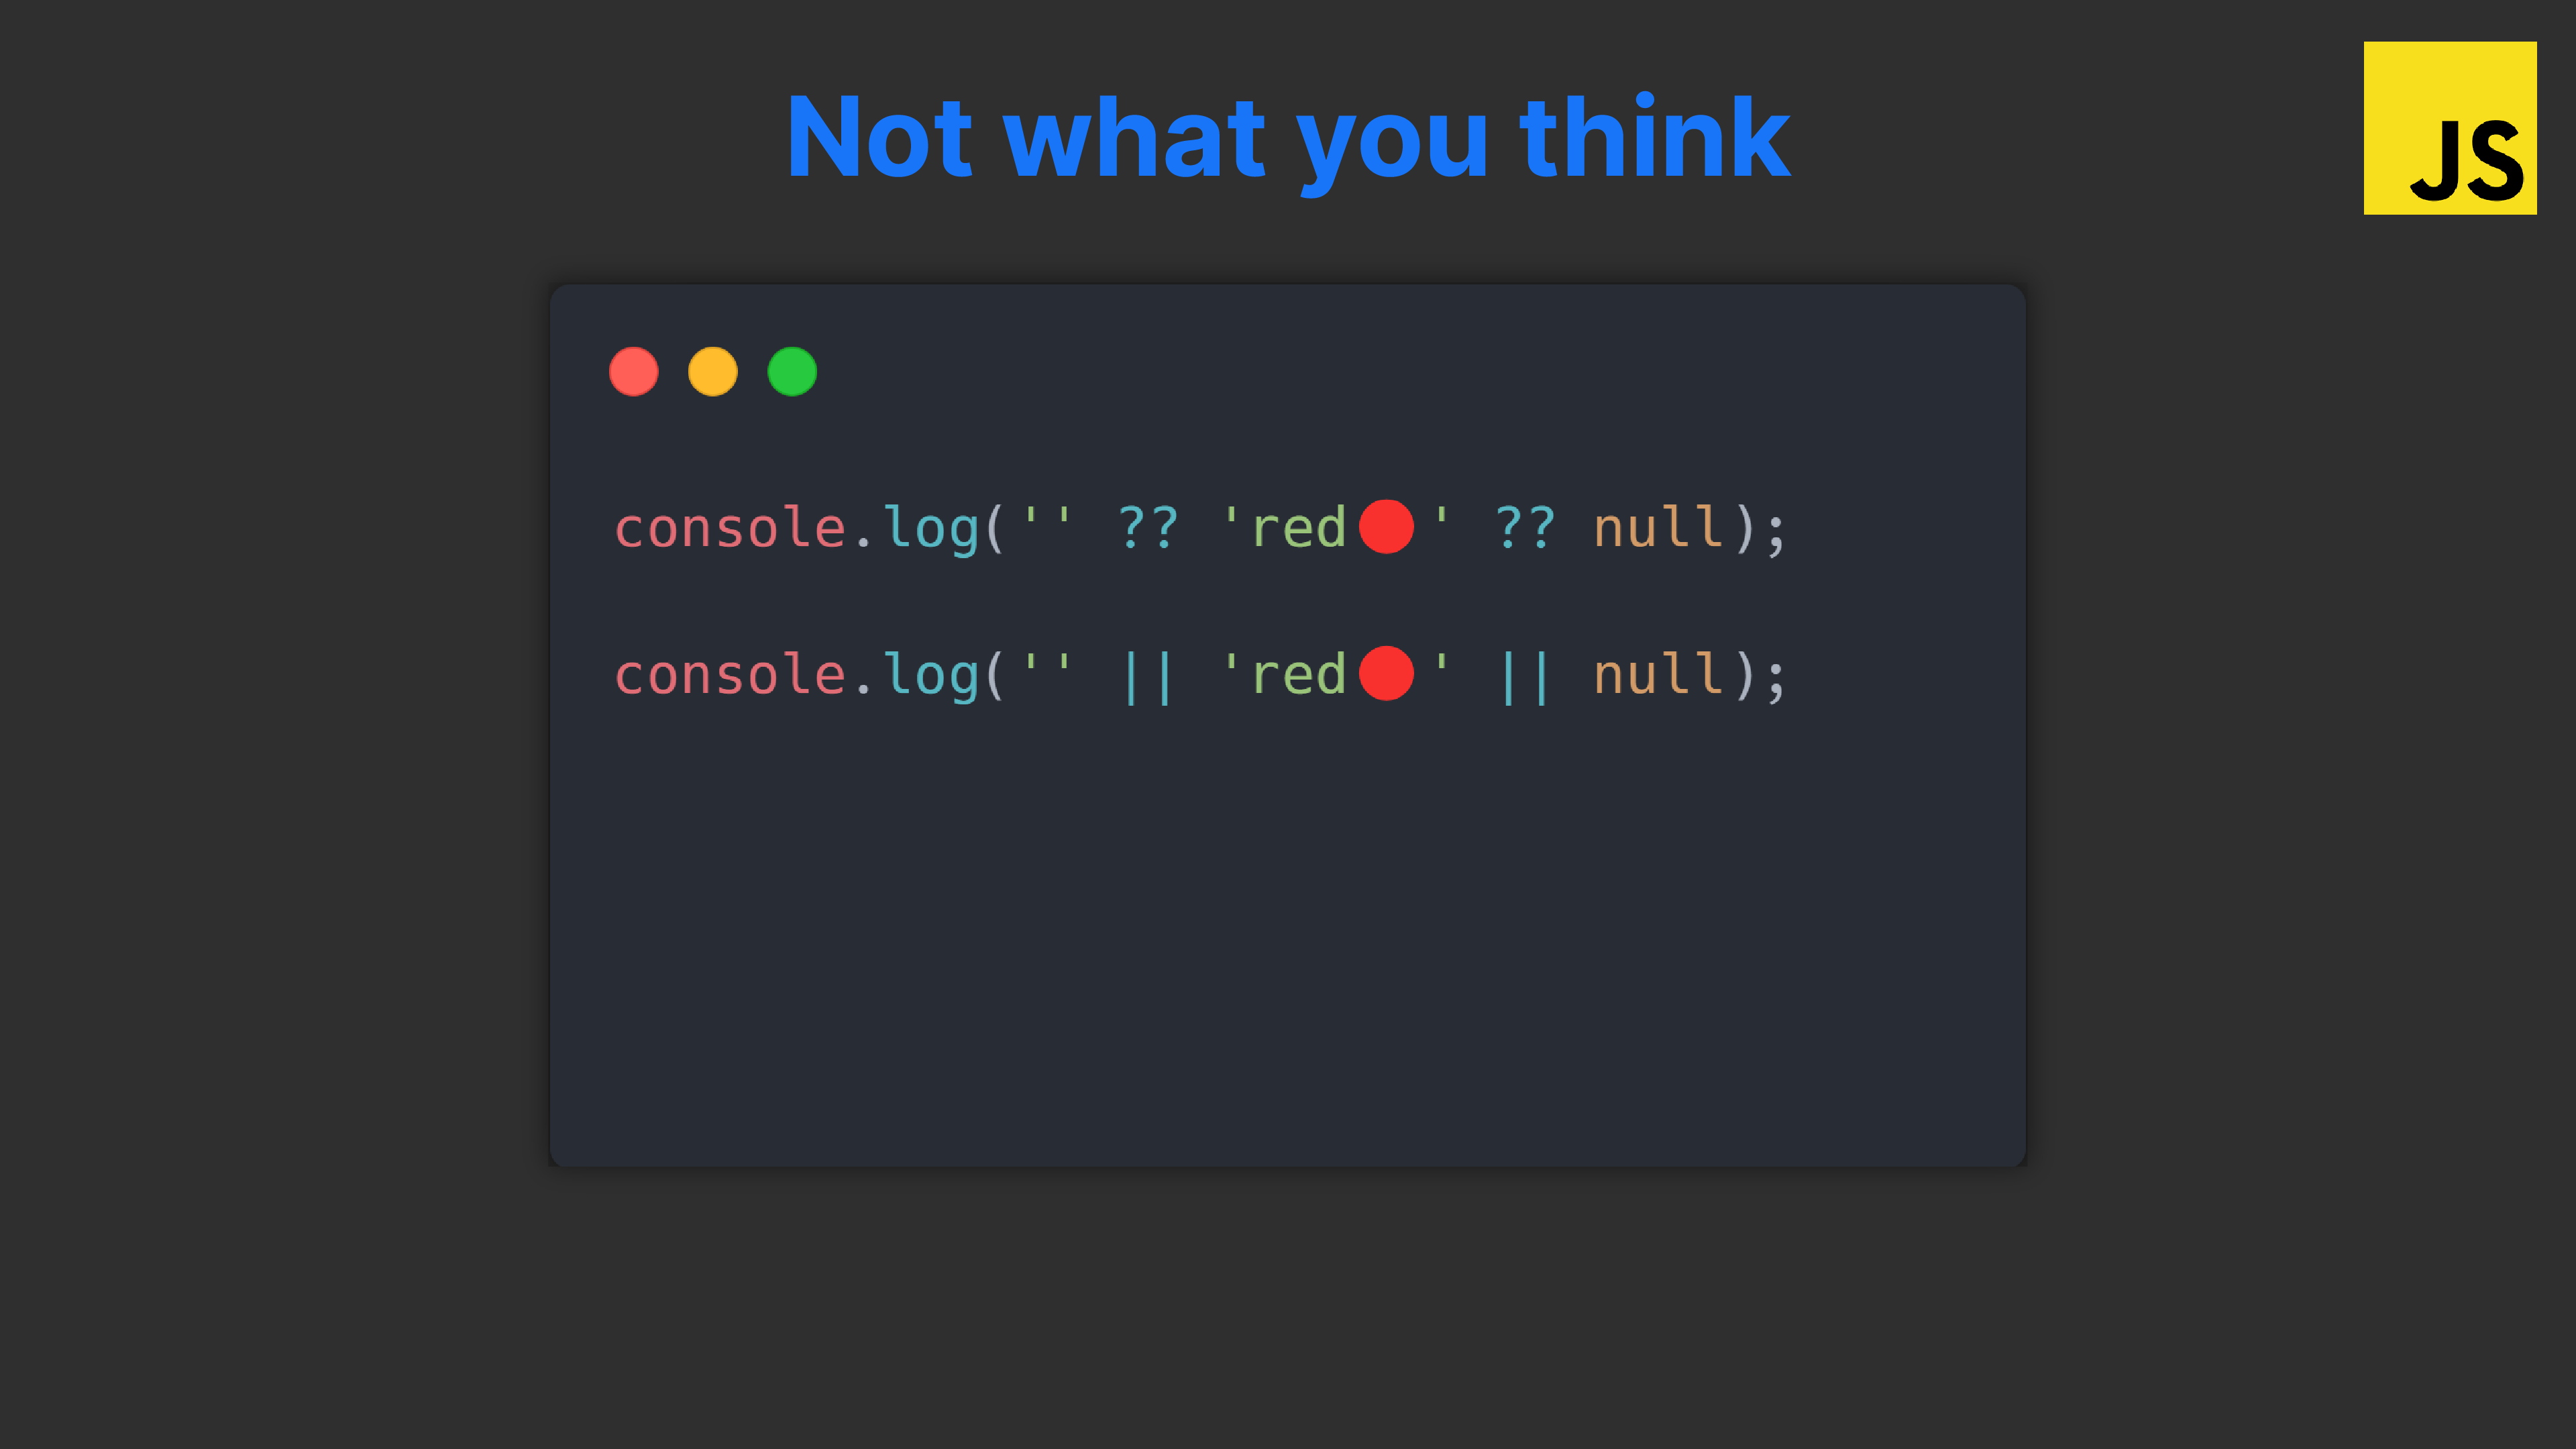
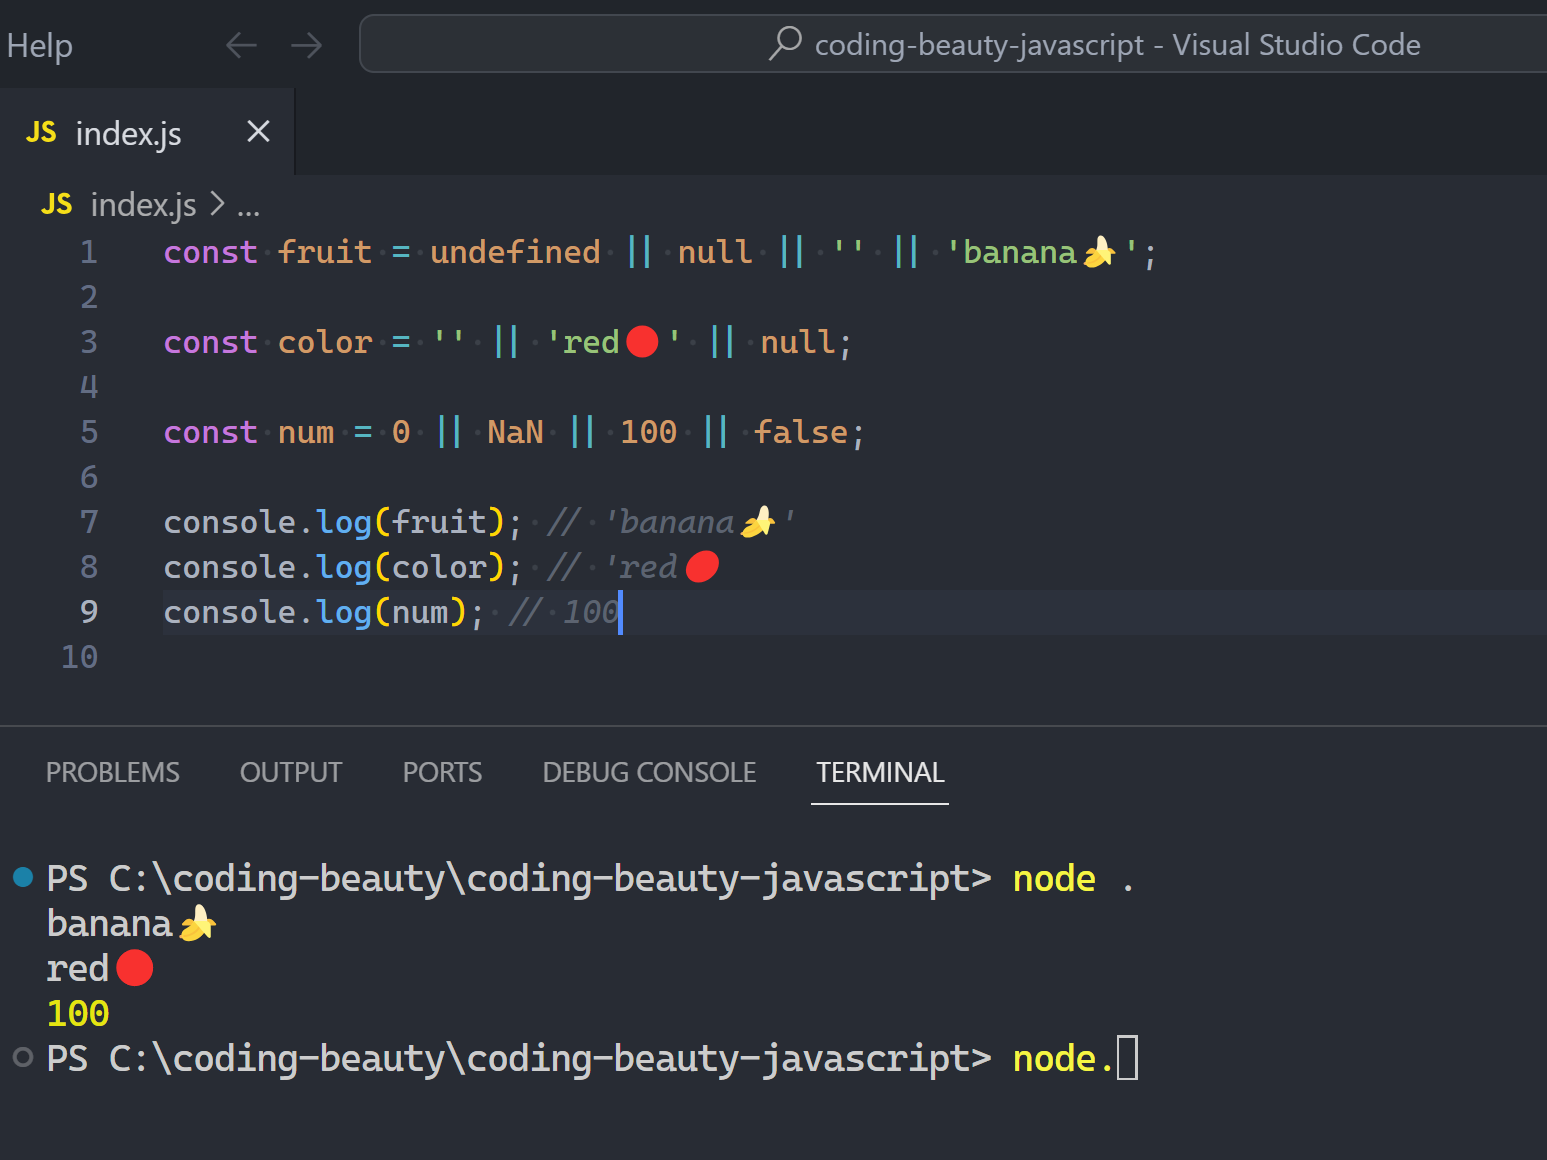
- Get data or do action conditionally: if/else, switch, ternaries, dictionary selection
- Indefinitely do action conditionally: while, do while, for, break, continue
- Upgrade your dev experience with TypeScript: types, generics, interfaces, transpiling, configuring, etc.
Develop for the client-side
You may know coding basics in & out but can you write JS code specifically for the browser?
How to:
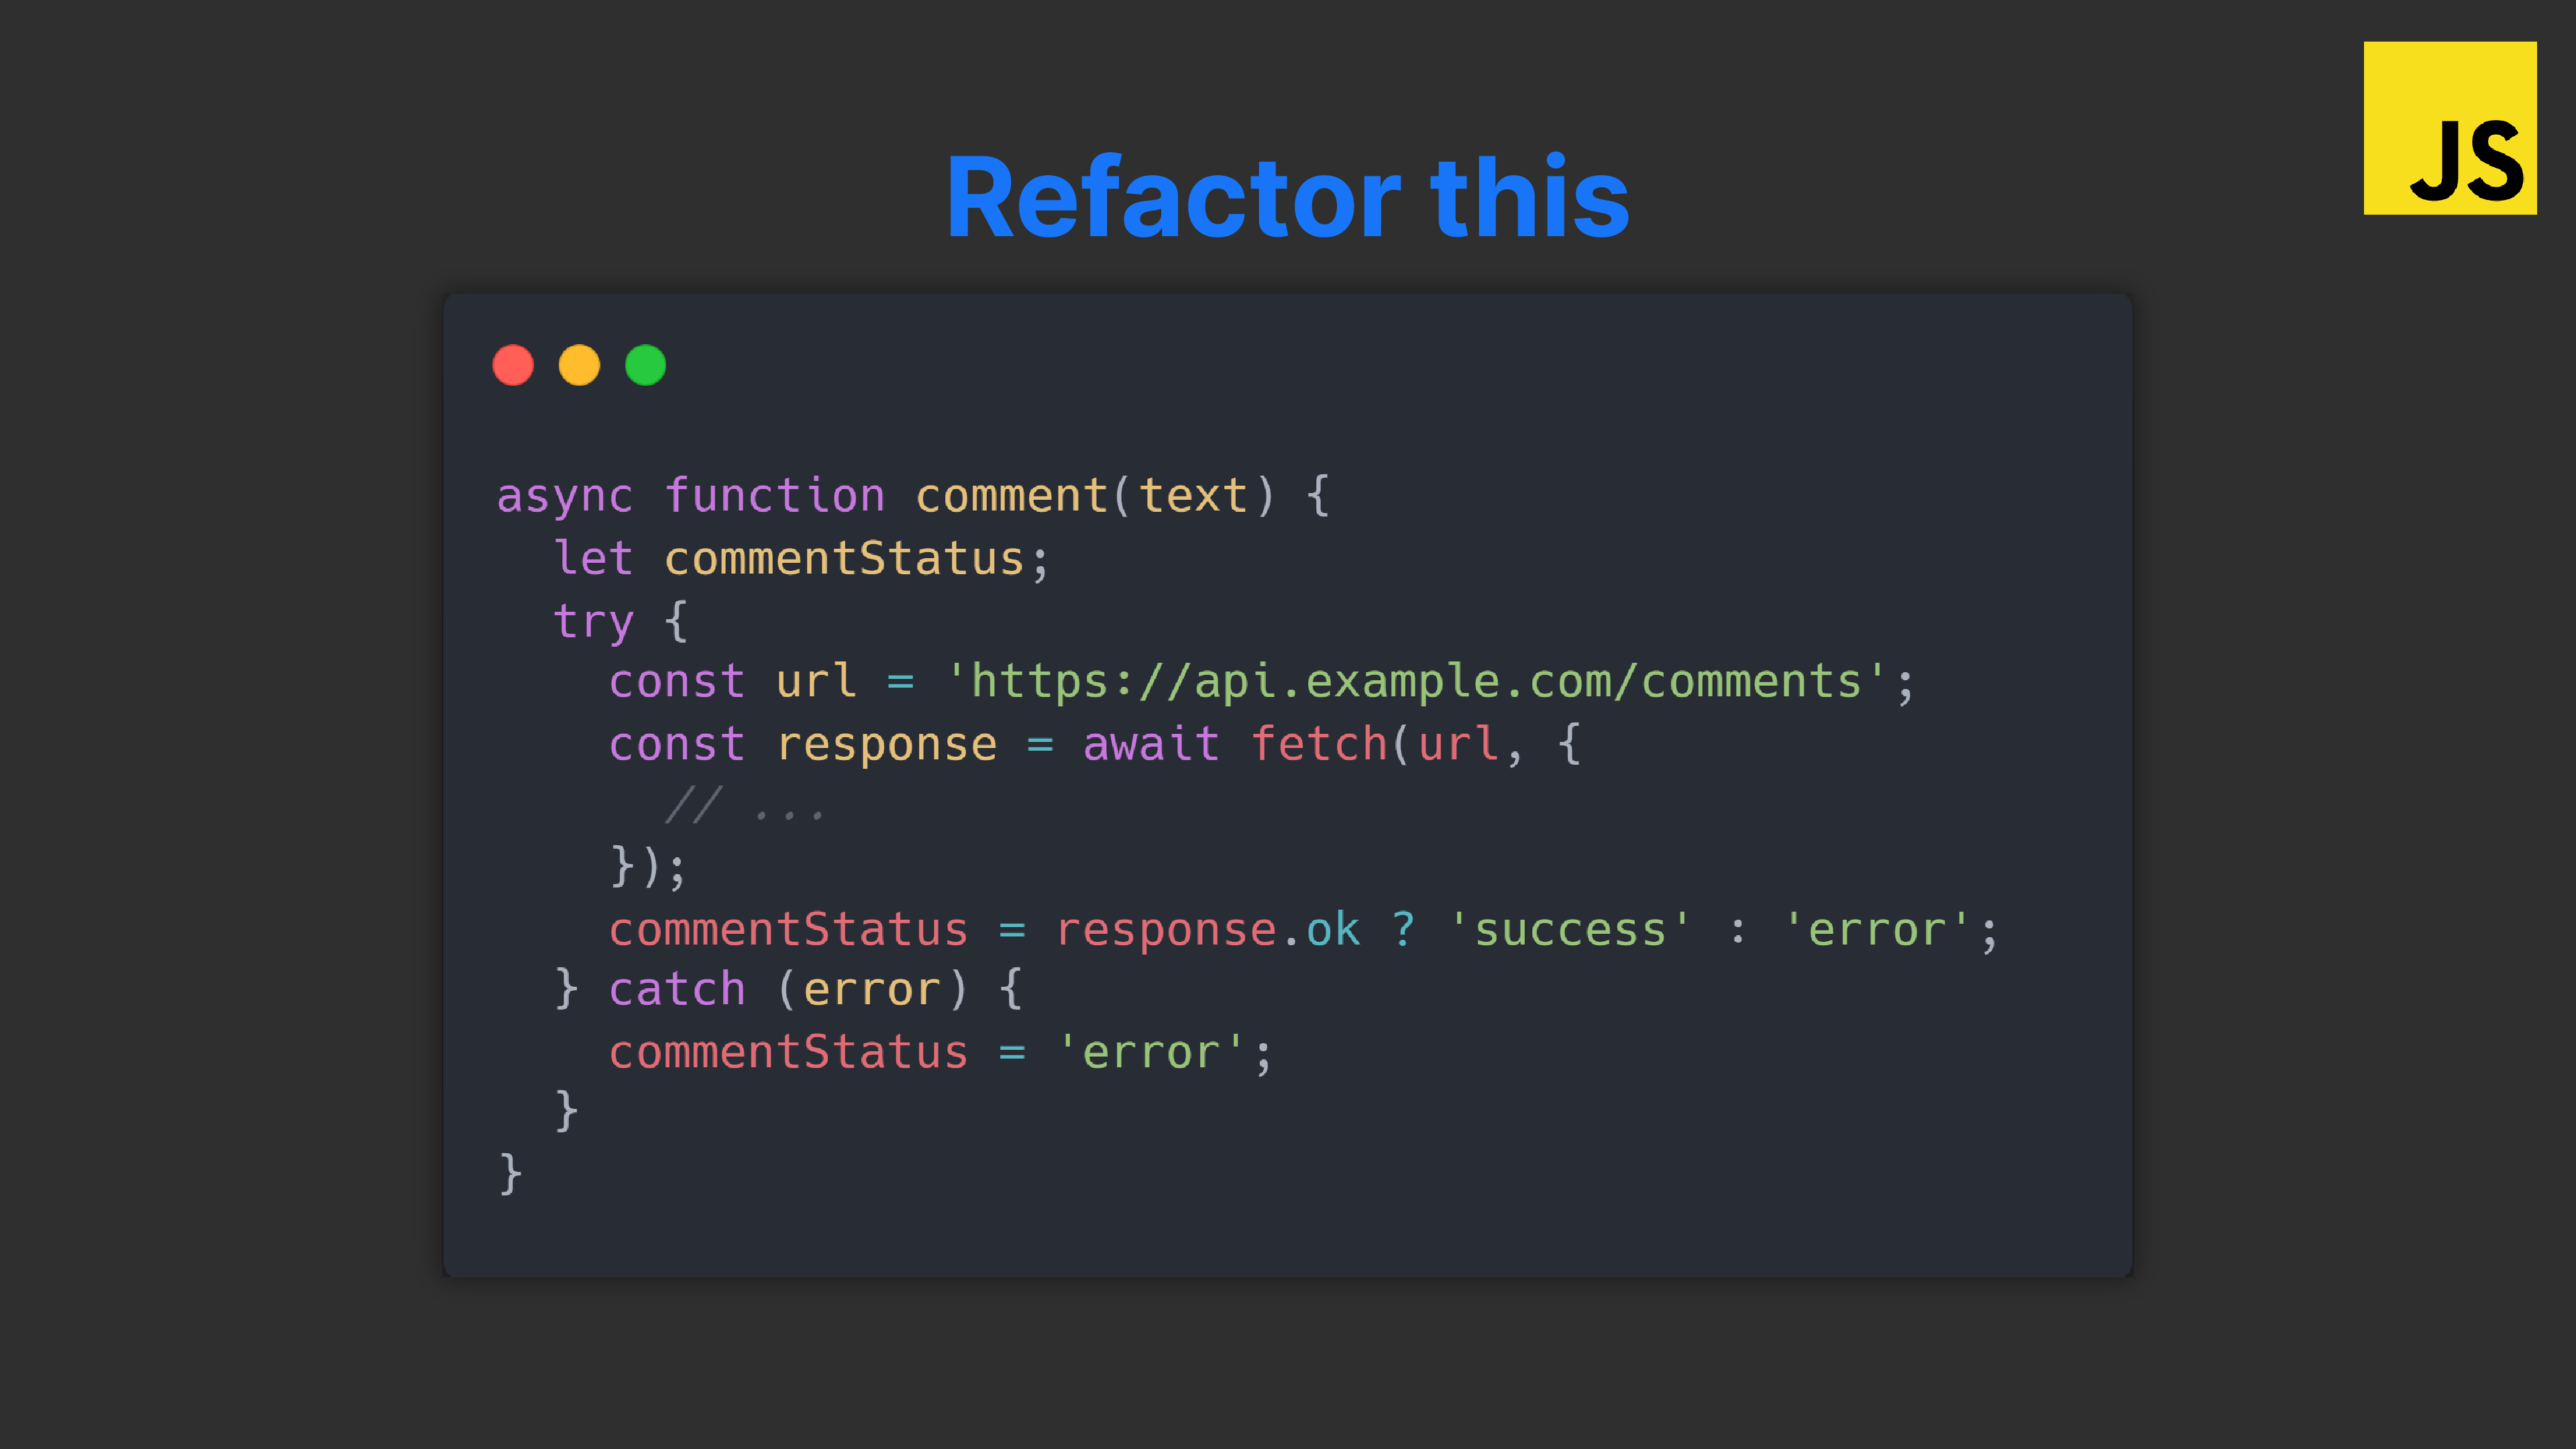
- Make network requests to a server:
fetch()API, HTTP verbs, send & get data
- Handle UI states: empty, loading, error, partial, ideal
- Store data locally: cookies, Local Storage, Session Storage, etc.
- Organize and package code: modules & module bundlers
- Handle form input
- How to code faster with NPM packages
4. Improve quality of life with dev tools
How to:
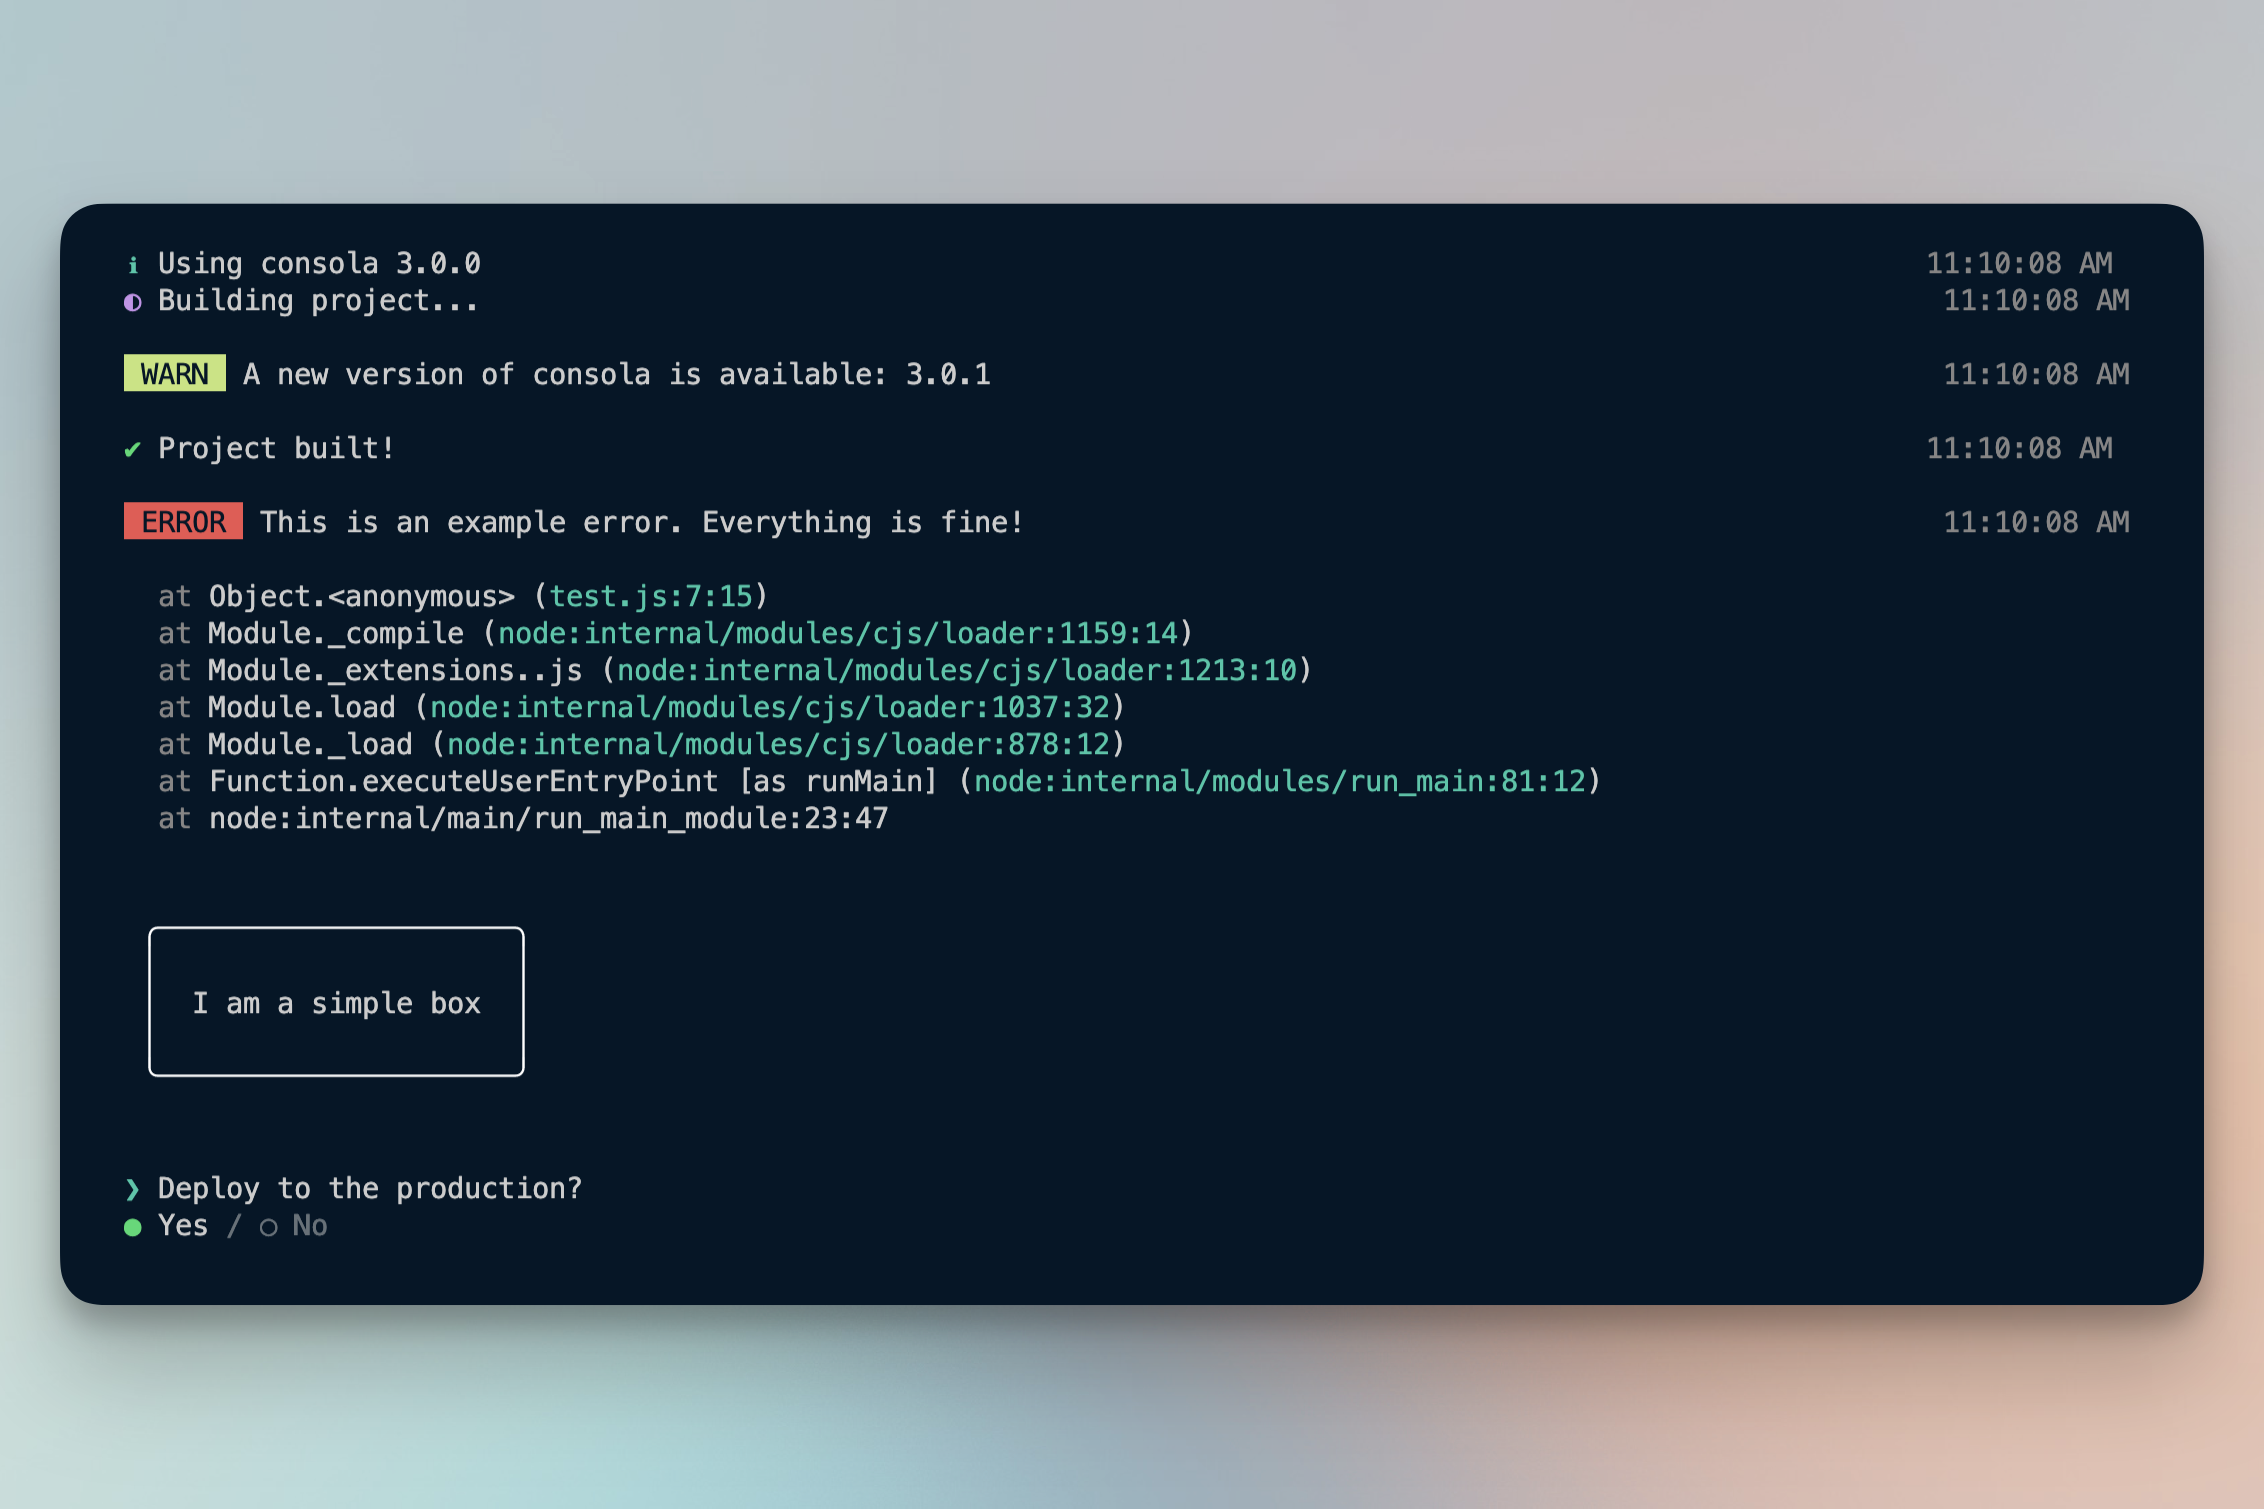
- Create, inspect, & filter console logs: info, errors, warnings
- Add temporary scripts & actions
- Inspect, select & debug HTML elements
- Inspect & temporarily modify styles
- Monitor network requests
- Test your pages on multiple screen sizes
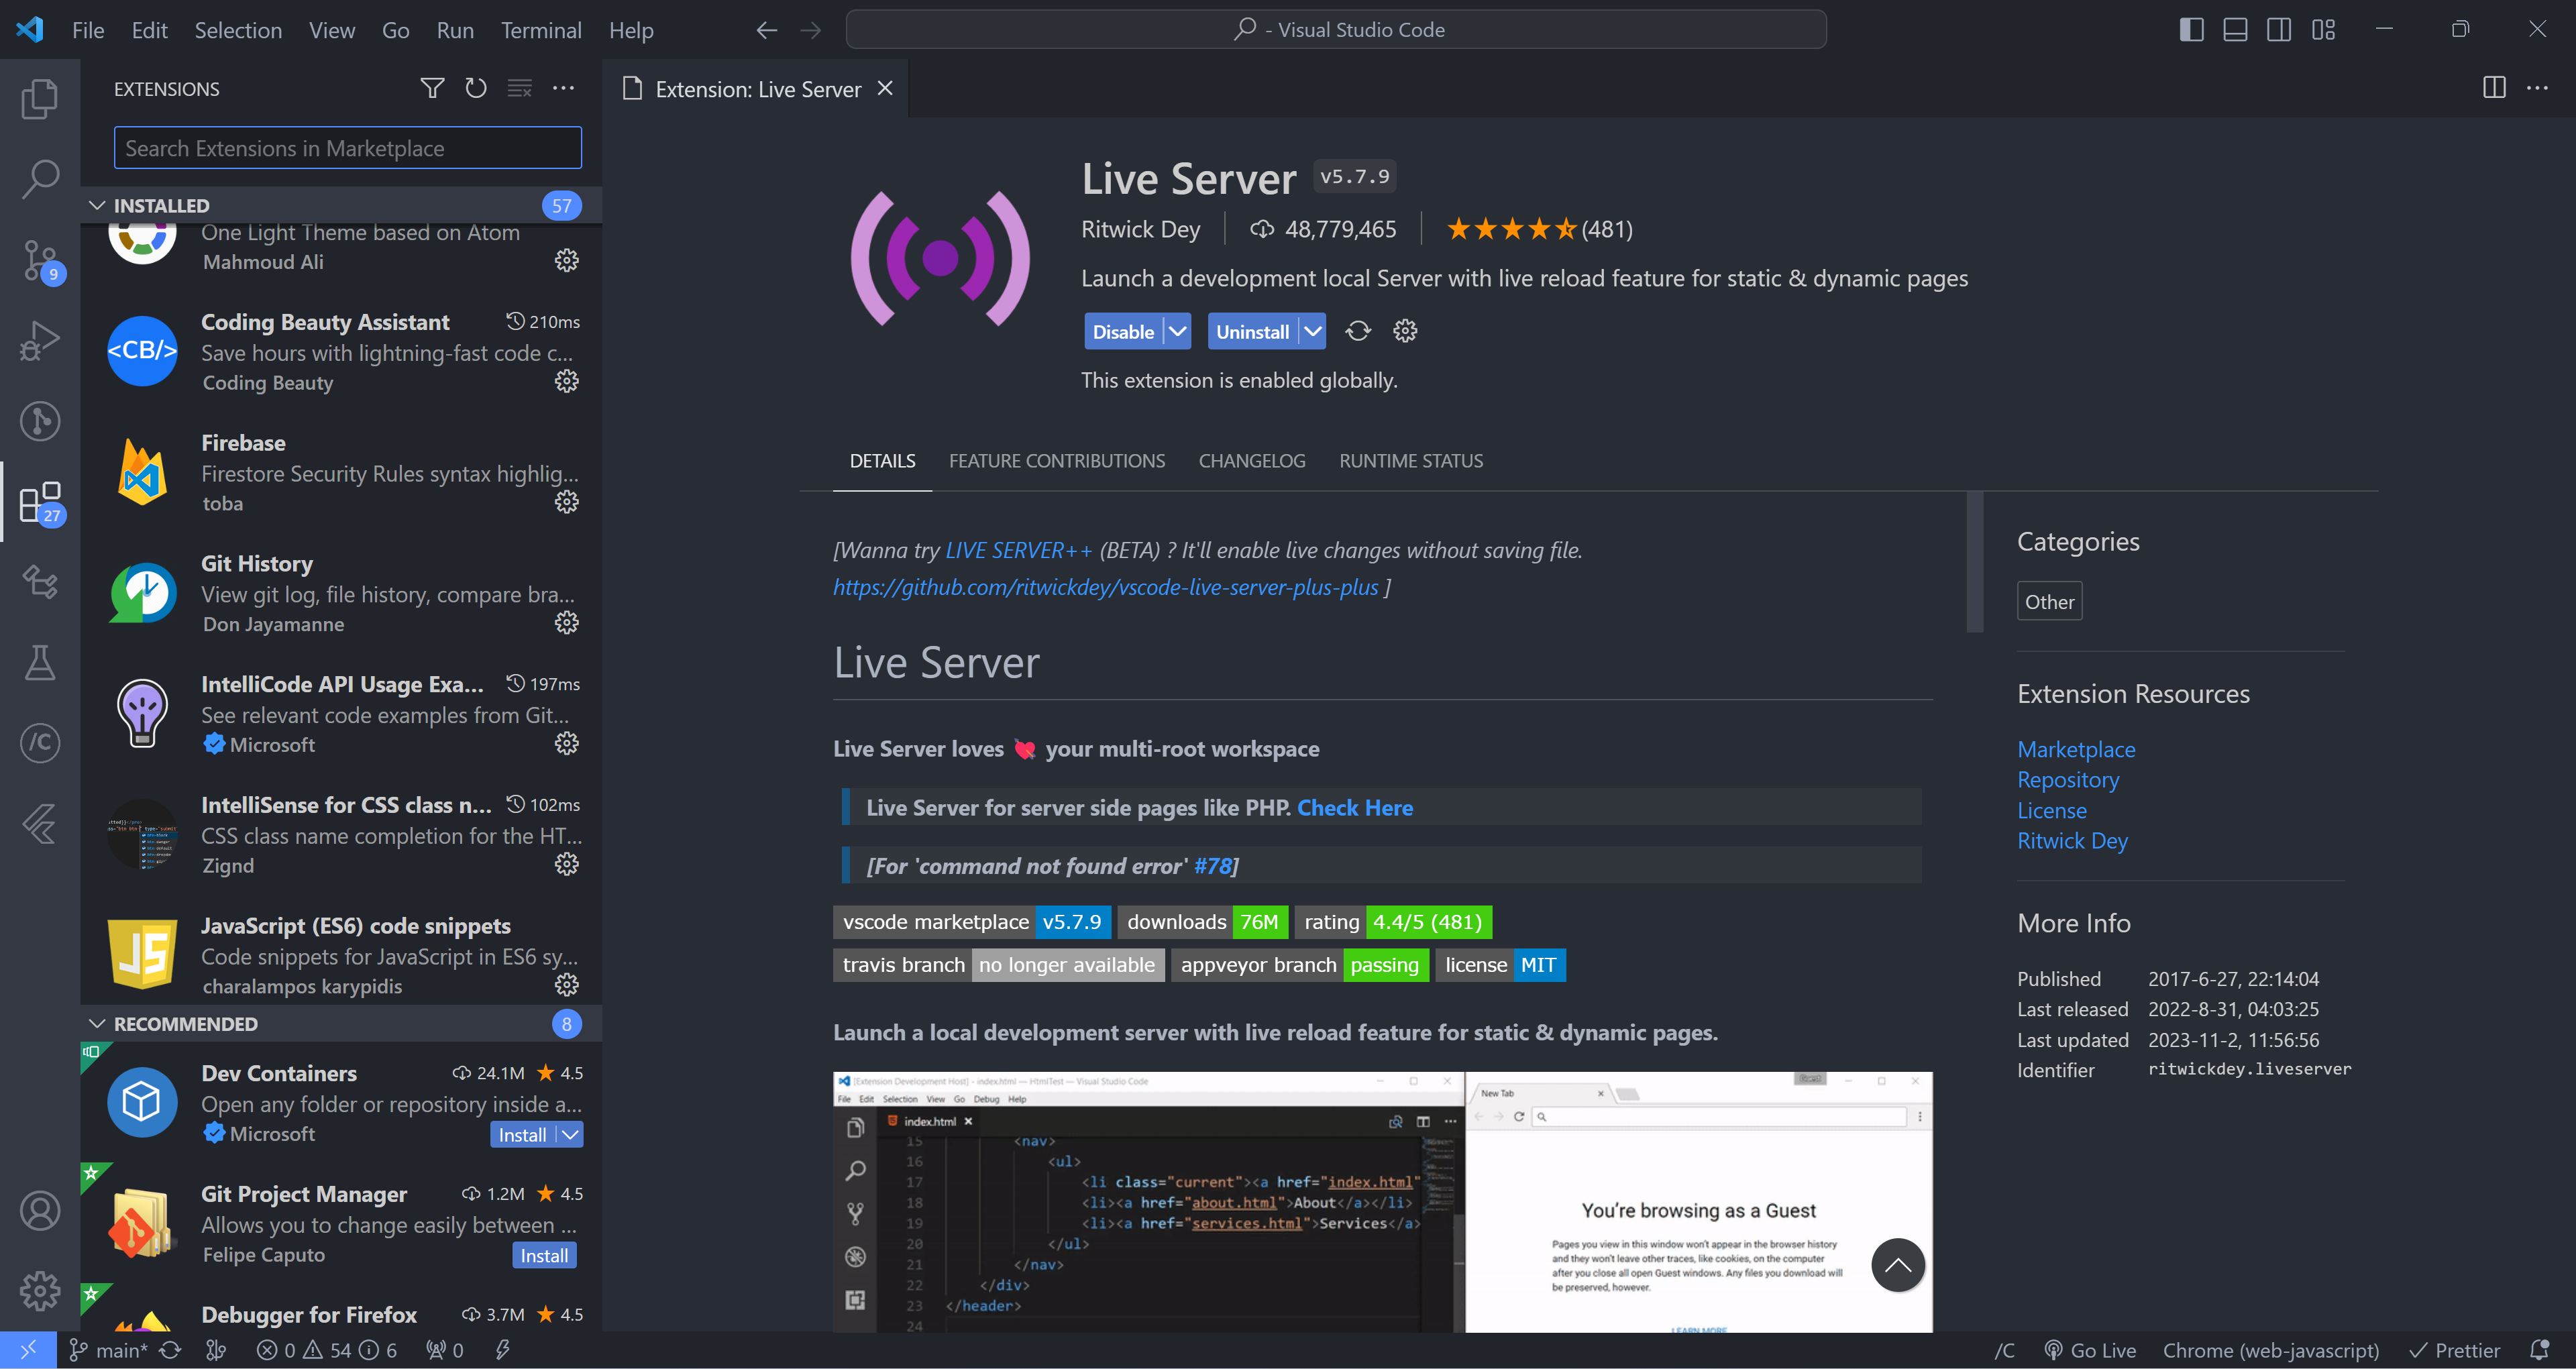
- Install editor extensions to develop faster
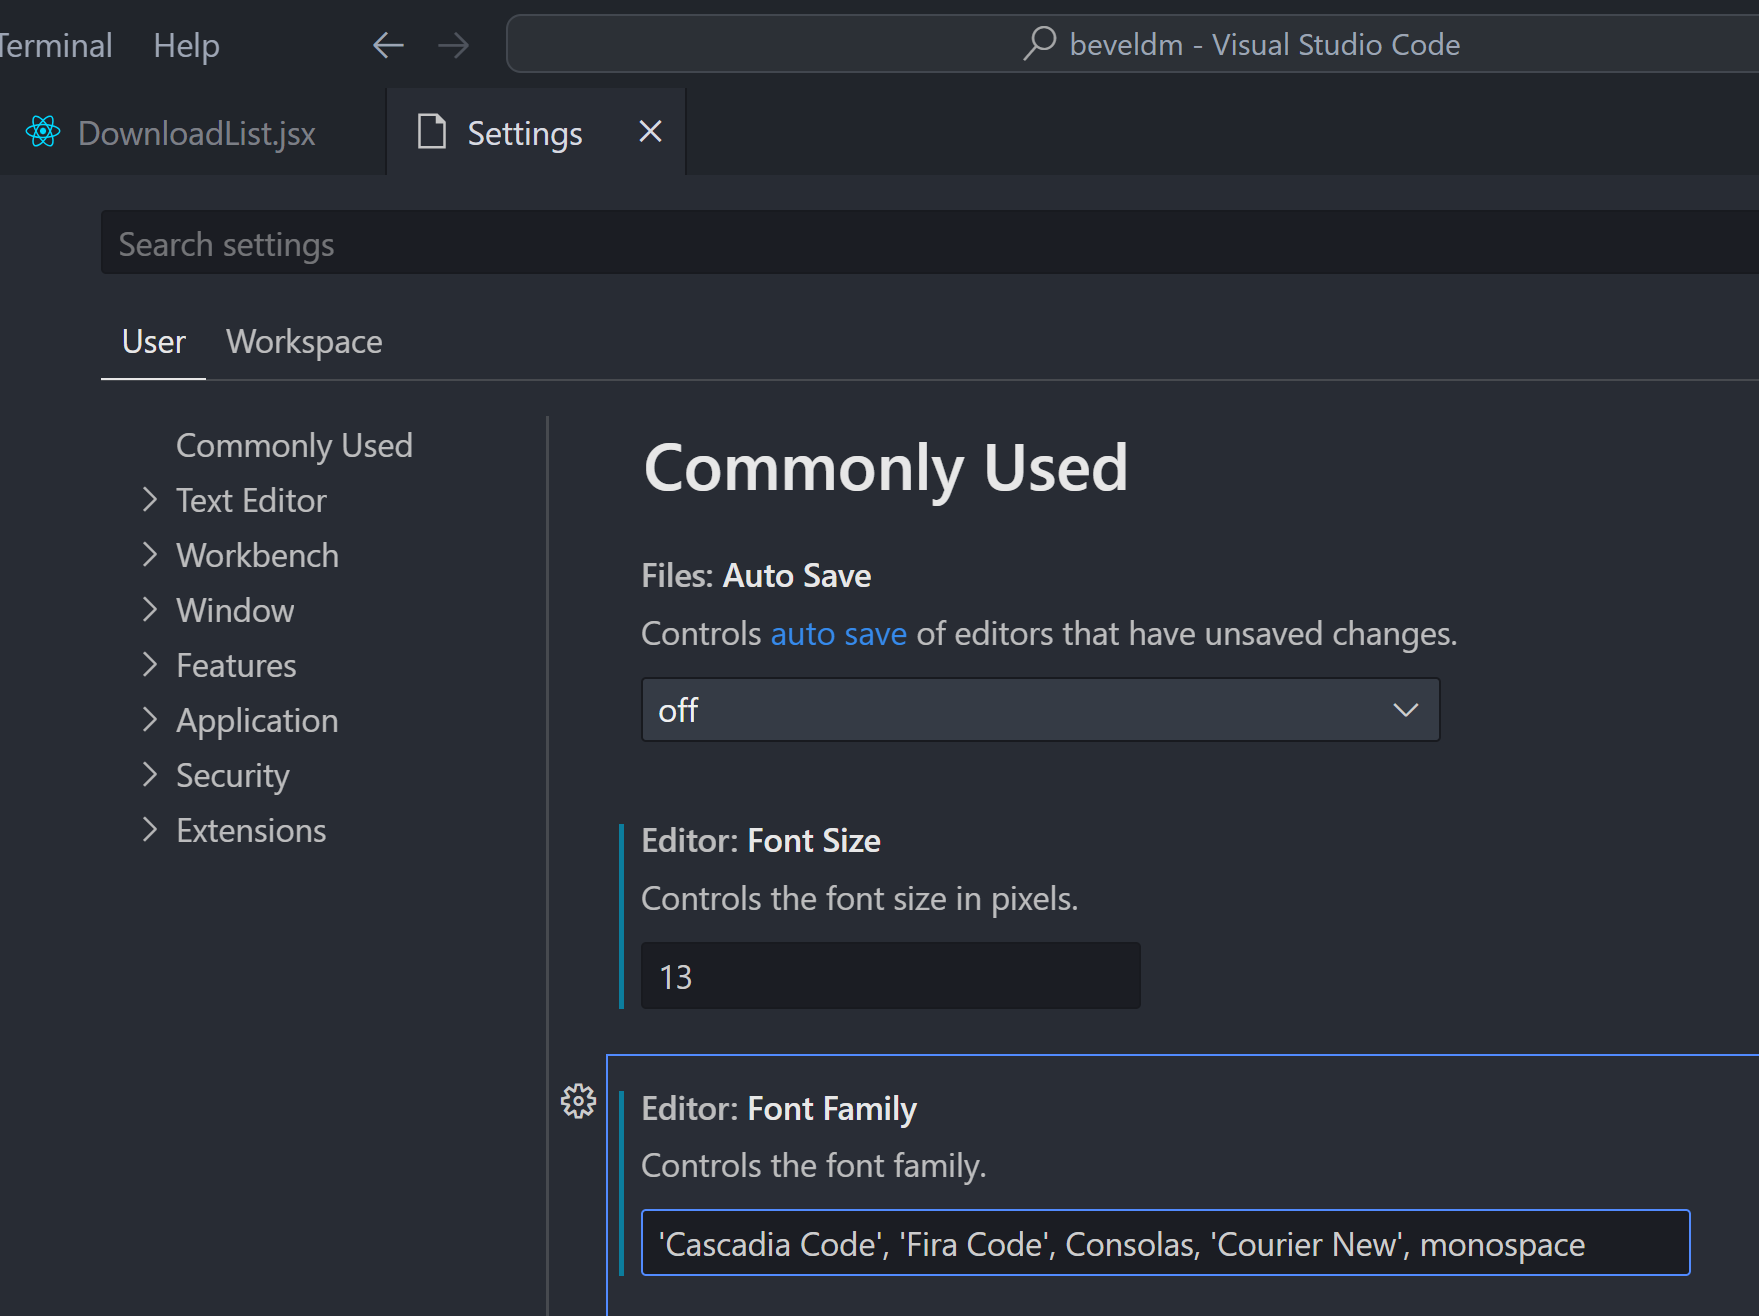
- Customize editor themes, fonts, and settings to enjoy development more
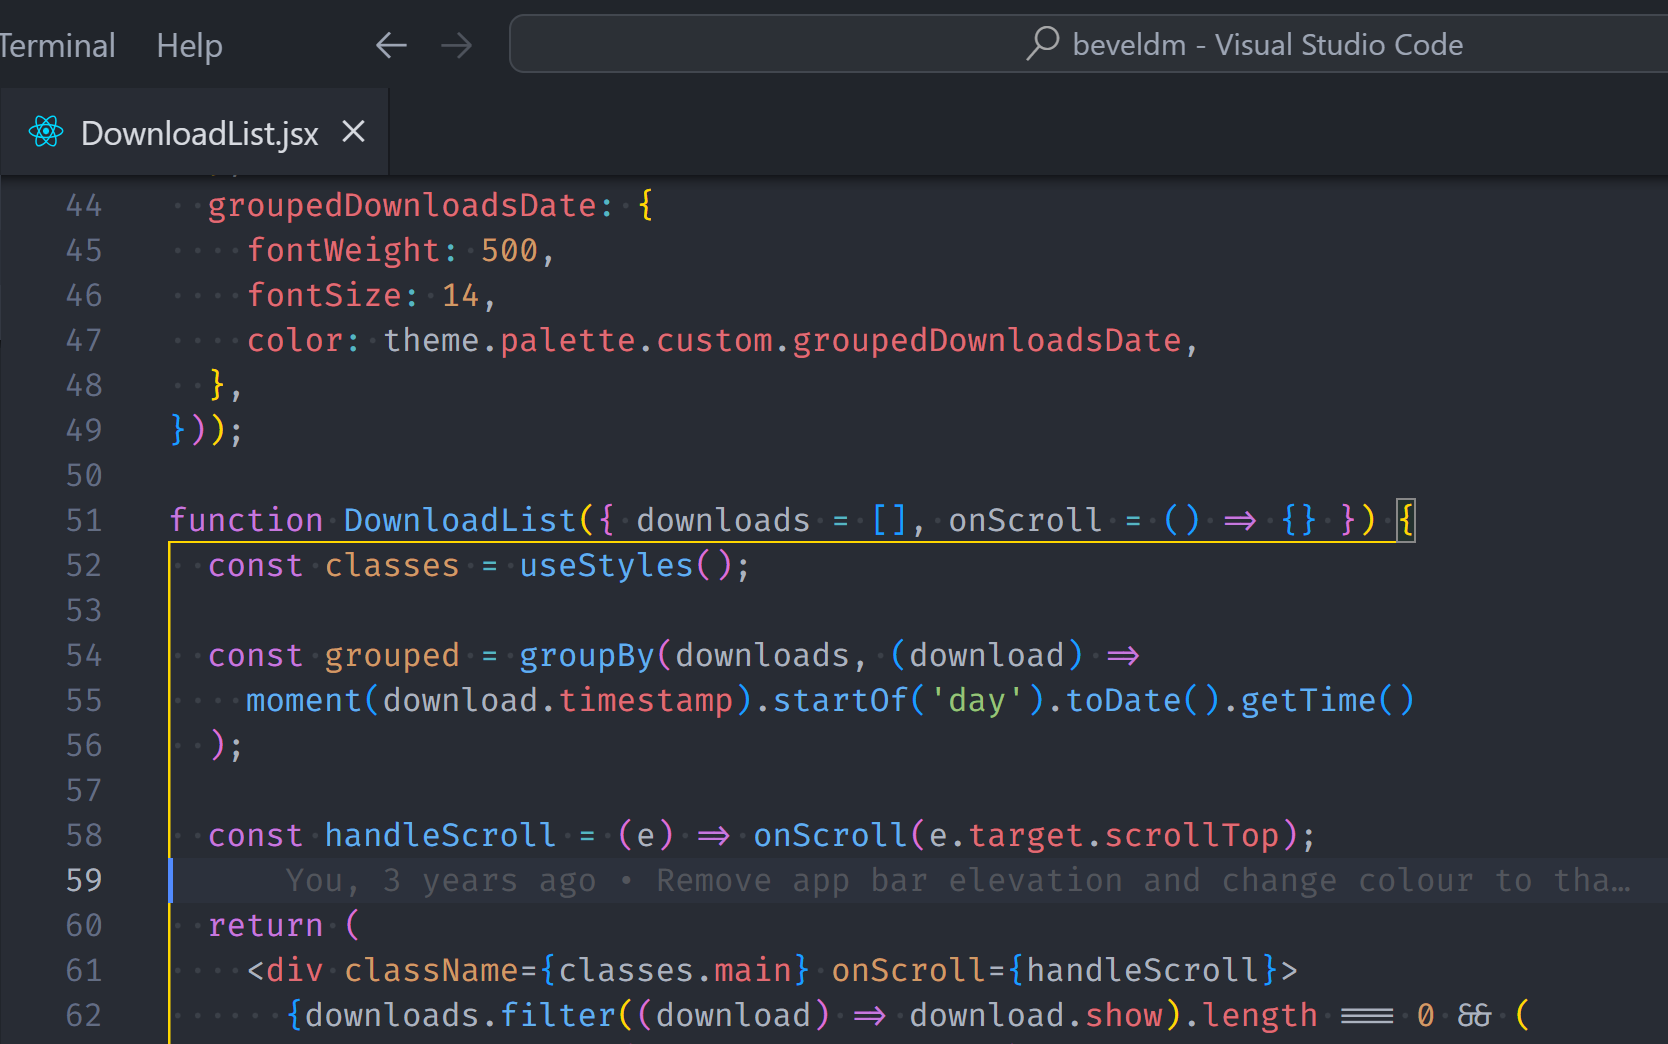
- Use an integrated debugger
- Code faster with snippets: including Emmet
- Develop faster with keyboard shortcuts
- Use AI to develop faster
5. Improve site performance
How to:
- Measure performance
- Improve perceived performance
- Improve Core Web Vitals: LCP, CLS, INP
- Optimize general resource delivery: caching,
- Optimize images: compressing, WebP
- Lazy load images & video
- Optimize CSS
- Optimize web fonts: compressing, swapping, etc.
6. JavaScript framework: Develop faster
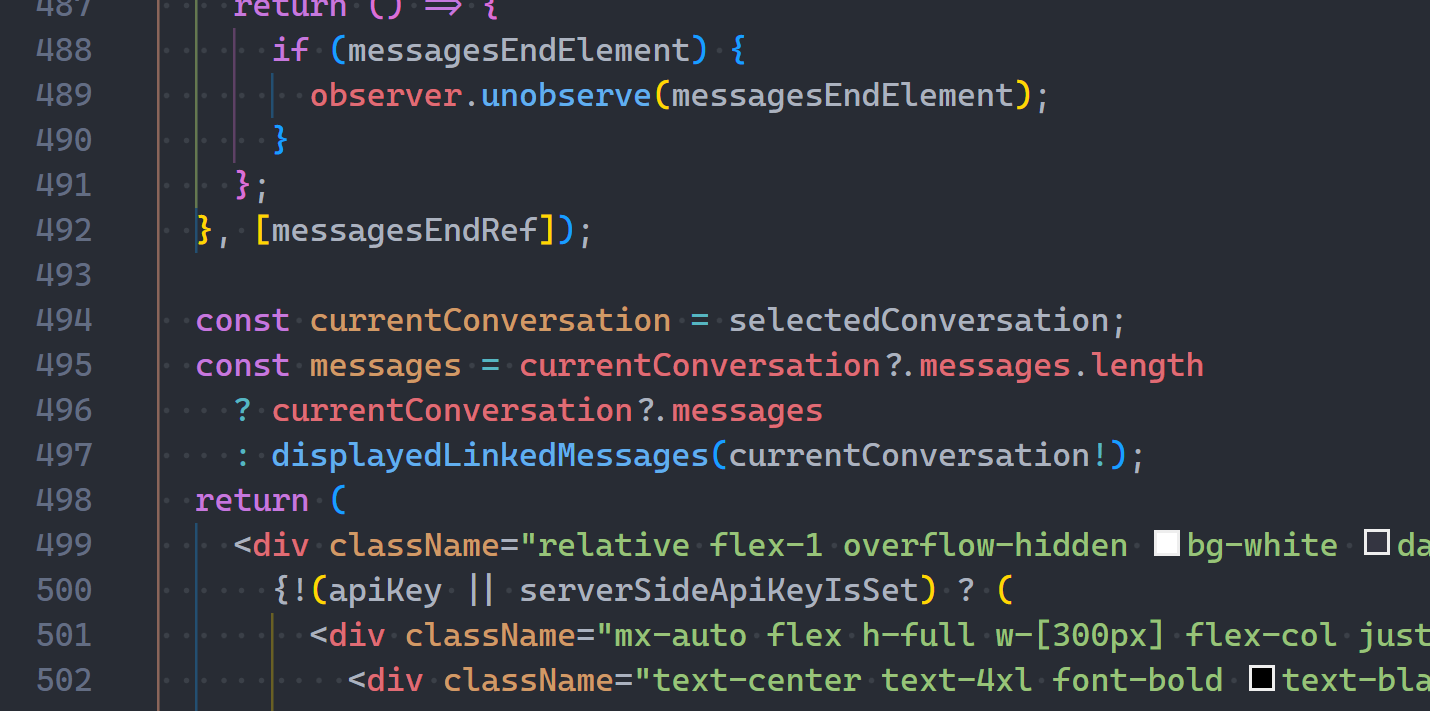
Whether it’s React, Angular, or Vue, they all have the same fundamental concepts:
How to:
- Create and reuse components
- Accept & display data in components: data binding, conditional rendering, etc.
- Manage state in a component
- Display & update list data
- Handle events from components
- Handle side effects and external data changes & state changes
- Manage app-level state — independent from components
- Handle form input
- Style components
- Handle SPA navigation with frontend routing
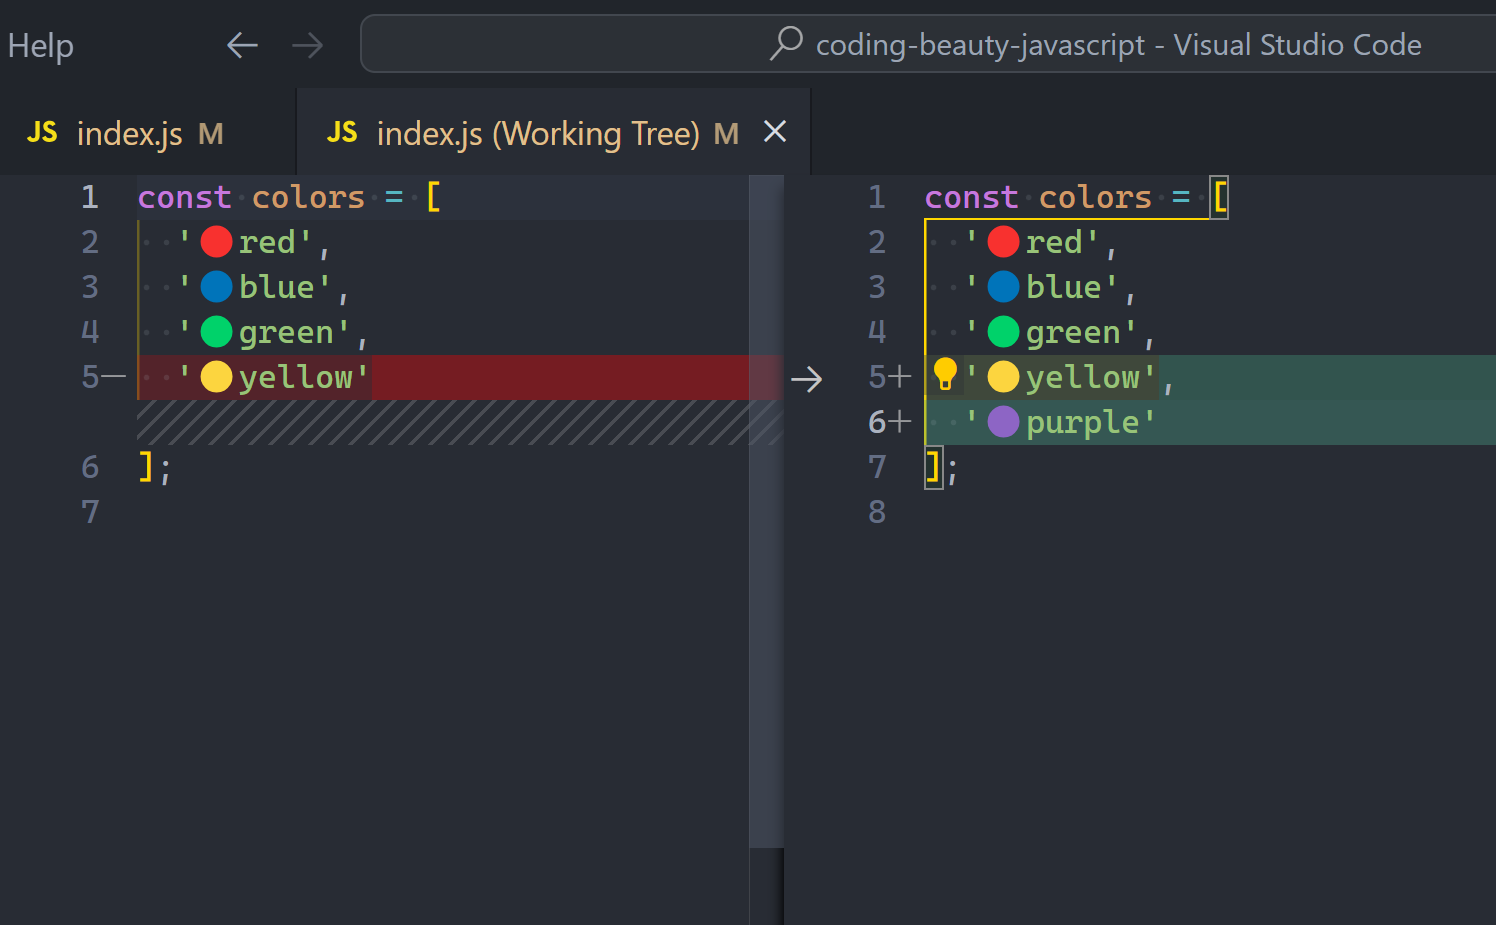
7. Version control: Track changes
Version control makes it easy to track changes across your codebase and experiment.
How to:
- Create a local repo to store code & assets
- Stage and commit files & changes: best practices, etc.
- Ignore files with
.gitignore
- Check out previous commits
- Create new branches: from latest or previous commits
- Merge branches: resolving merge conflicts, etc.
Git & GitHub
How to:
- Create your own GitHub repo: README.md, licenses, etc.
- Use remotes: Create, push, pull, remove
- Clone a repo from GitHub
- Fork a GitHub repo
- Make pull requests to a GitHub repo
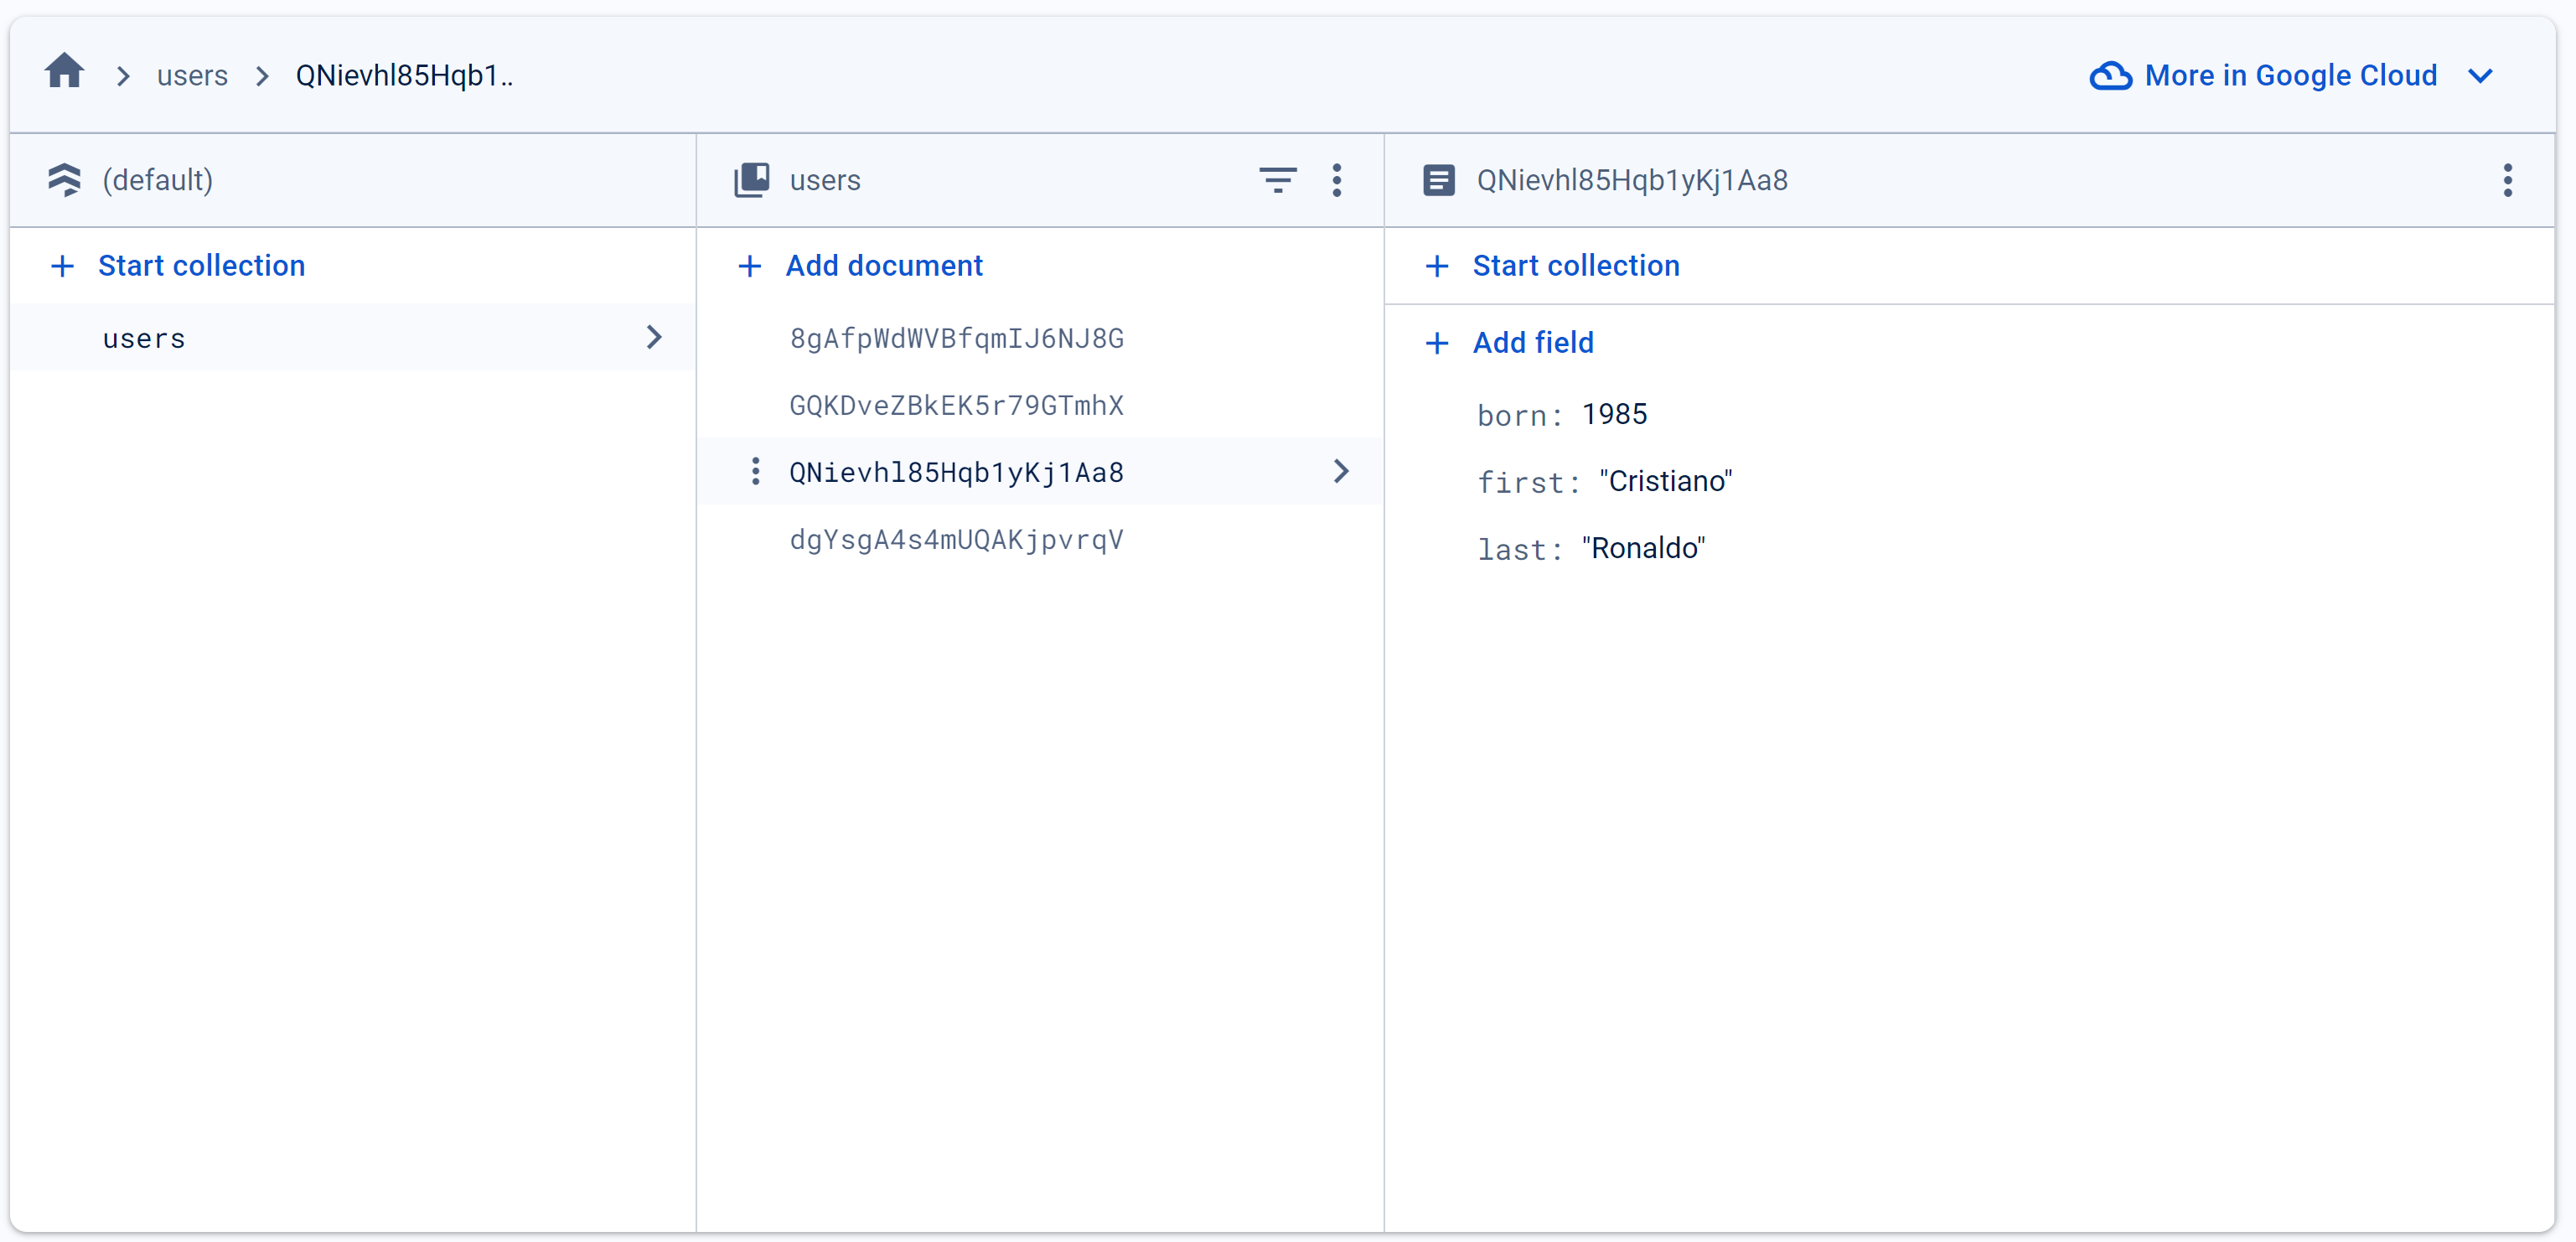
8. Manage data in a database
Even if you’re dedicated to frontend, knowing these will refine your understanding of data processing & manipulation.
How to:
- Design a schema for the data
- Implement schema: tables, keys, data types, foreign keys, collections (NoSQL)
- Add data to the database
- Read data: joins, filter, sort, search, aggregate
- Update data
- Delete data
9. Develop for the server-side
How to:
- Respond to a request: URLs, using the header & body
- Manage logs: Create, inspect
- Create a RESTful API: HTTP verbs, status codes
- Fetch data from other APIs
- Send requests to a database: Create, read, update, delete
10. General but crucial
How to:
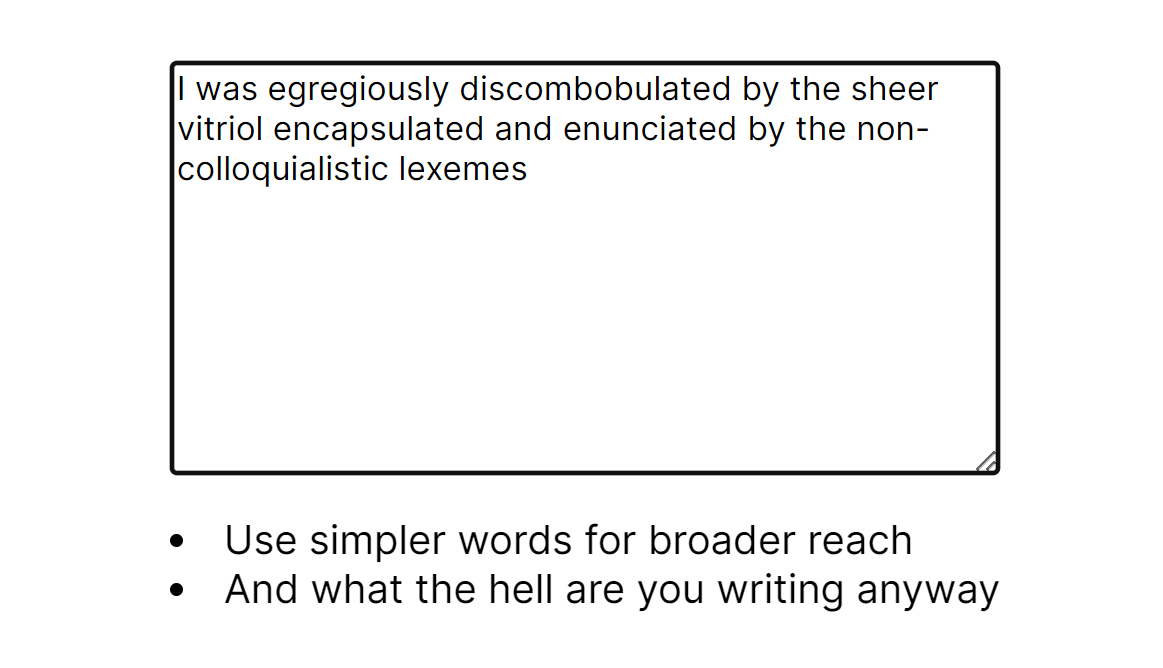
- Learn rapidly on demand
- Solve problems independently from code
- Communicate: with designers, clients & other devs
- Debug: and be patient
- Search for information on demand: and process it for your needs
Final thoughts
Once you learn all these you’ll be able to build 99% of web apps and sites from start to finish with great speed and high quality of life.