Claude Code finally fixed its biggest flaw — this is huge
Every single developer using Claude Code is about to get way more powerful & productive than they already are.
This new Claude Code update finally fixes a major issue that’s been negatively impacting its accuracy for several months now — and many of us were never even aware.
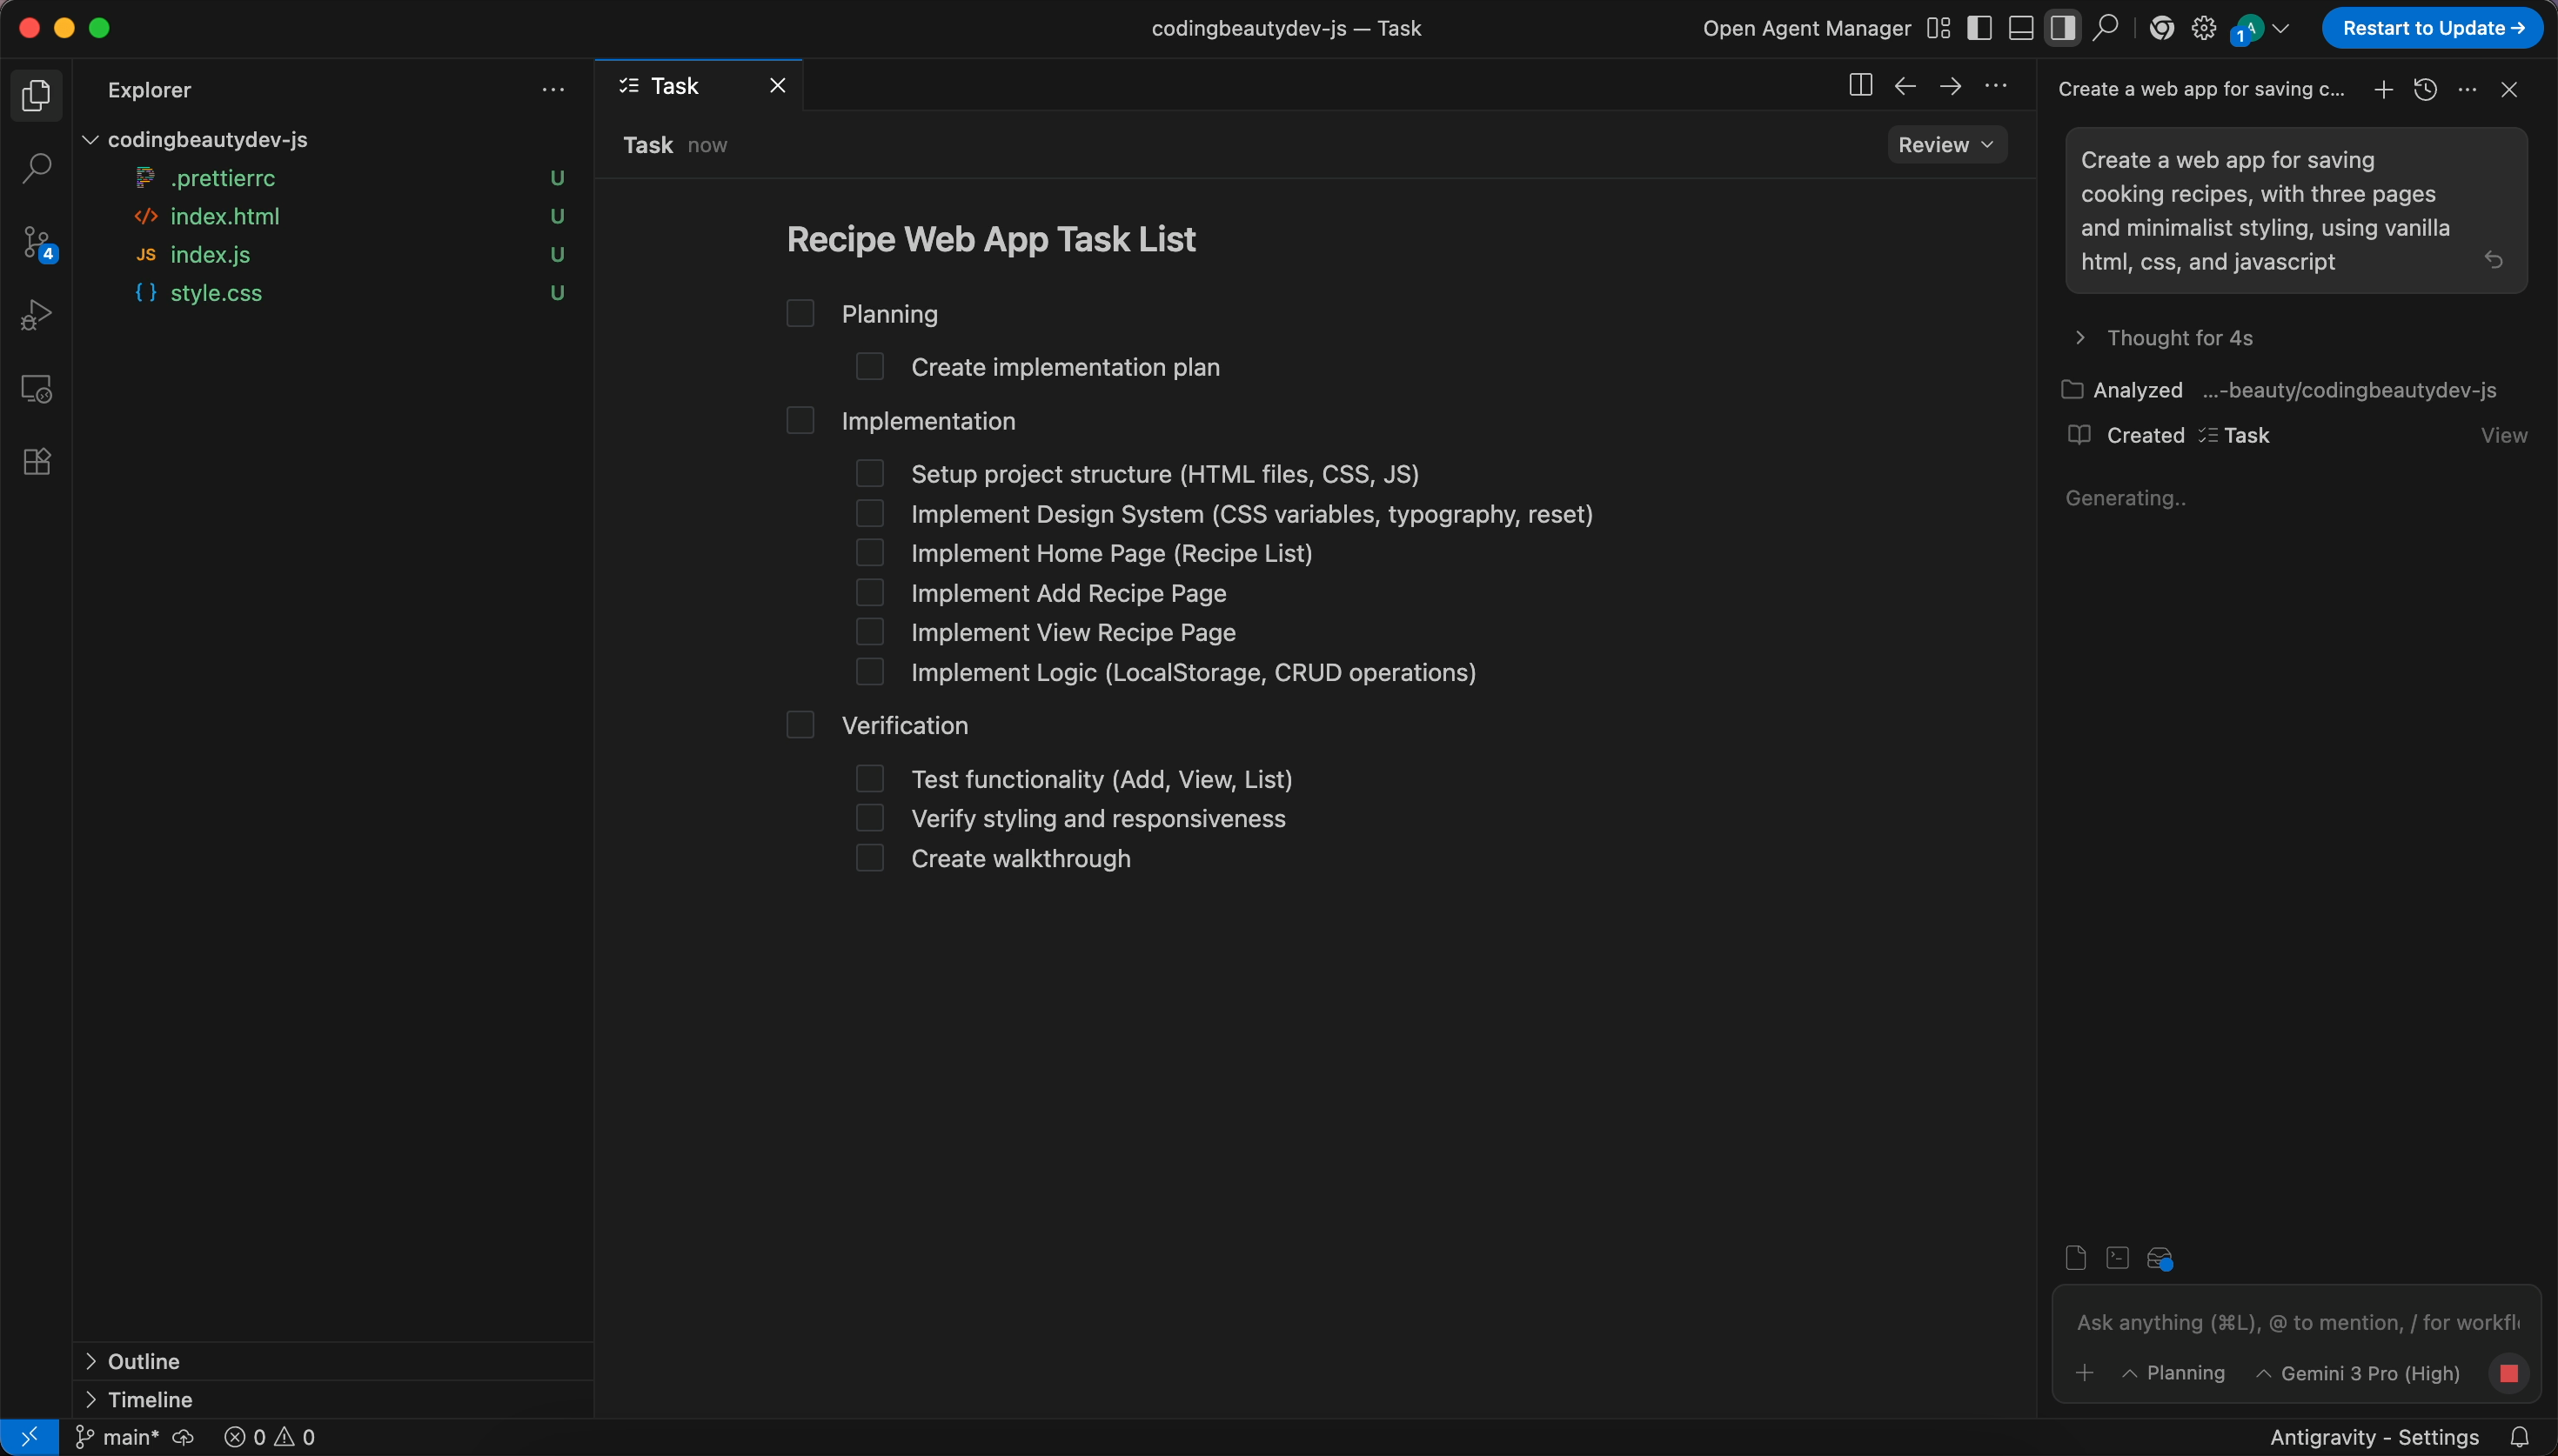
All this time, Claude Code has been bloating up your context in the background with unnecessary data from every single one of your MCP servers.
It didn’t matter whether you actually used them or not in any given prompt — if you have 100 MCP servers, it would dump all the complex tool definitions and metadata for all of them into your context, with no exceptions.
Drowning out context that actually matters and lowering the accuracy.
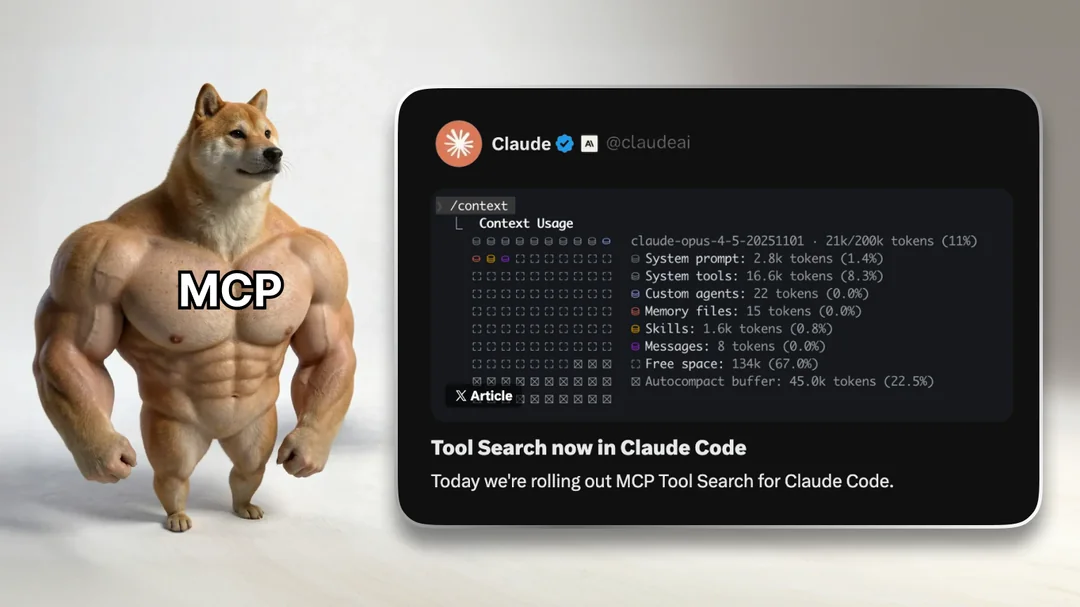
But now with new Tool Search feature in Claude Code, this problem is finally gone forever.
They’ve fixed everything — and they did it in such an amazing way — web developers would be jealous.
The old MCP experience was quietly broken
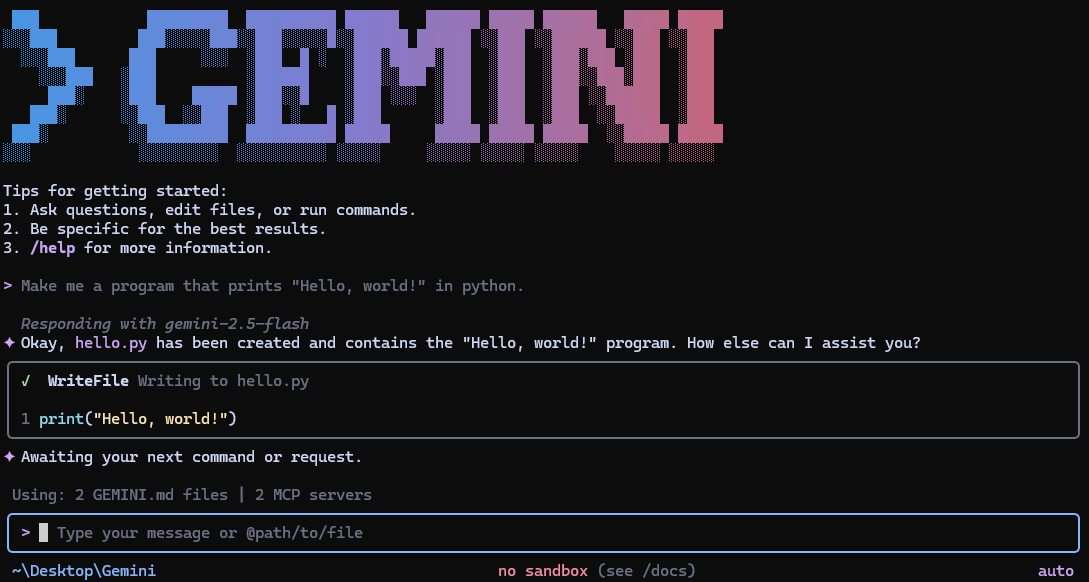
Here’s what was happening before:
- You connect a few MCP servers
- Each server exposes a bunch of tools
- Claude loads all of them at startup
- Your context window gets eaten alive
- Tool selection gets worse as your tool list grows
So even before Claude starts thinking about your actual code, it’s already wasting tokens on tool schemas you may never use in that session.
The more “power user” you became, the worse things got.
That’s backwards.
Tool Search changes everything — with a neat trick from web dev
With Tool Search enabled, Claude Code stops doing dumb work up front.
Instead of loading everything, it does this:
- Nothing is loaded at startup
- Claude keeps MCP tools out of context by default
- When a task comes up, Claude searches for relevant tools
- Only the tools it actually needs get pulled in
- Everything else stays out of the way
Same MCP. Same tools.
But with lazy loading: Massively better behavior.
This is exactly how modern AI tooling should work.
Why this is so huge
1. You instantly get more usable context
This is the obvious win — and it matters a lot.
Tool schemas can be massive. When you’re running multiple MCP servers, you’re talking thousands (sometimes tens of thousands) of tokens wasted on definitions alone.
Lazy loading gives that space back to:
- real code
- repo context
- actual reasoning
That alone makes Claude Code feel noticeably smarter.
2. Tool selection gets better, not worse
Too many tools hurt accuracy in another crucial way:
When a model sees a huge wall of tools, it’s harder for it to consistently pick the right one. Lazy loading narrows the decision space.
Claude now:
- searches for tools relevant to this task
- loads a small, focused set
- chooses more reliably
That’s not theoretical — it’s how Anthropic designed Tool Search to scale.
3. MCP finally scales the way you always wanted
Before this update, connecting more MCP servers felt risky:
“Am I about to blow up my context just by having this enabled?”
But now you can keep everything connected.
With lazy loading, unused MCP servers are basically free. They don’t cost context until Claude actually needs them.
That changes how you think about building and composing MCP ecosystems.
It turns on automatically (which is perfect)
Claude Code enables Tool Search automatically once your MCP tool definitions would take more than 10% of the context window.
That’s smart:
- small setups stay simple
- big setups get optimized
- no babysitting required
Very important: This changes how MCP servers should be written
Because Claude now searches for tools instead of seeing them all at once, your MCP server descriptions actually matter.
Good servers:
- clearly state what problems they solve
- make it obvious when Claude should use them
- have clean, intentional tool naming
Bad descriptions = your tools don’t get discovered.
Lazy loading turns MCP servers into discoverable “capabilities” instead of background noise.