This major IDE just got an amazing new coding CLI
Wow this is amazing.
Cursor just launched a powerful new CLI tool that brings its coding agent directly to your terminal— use in ANY IDE.
Get AI-powered assistance into any environment: shells, JetBrains, containers, CI pipelines.
This isn’t just a helper to launch the Cursor editor from the terminal like the old cursor command.
It’s a full-fledged, headless agent that can read and edit files, understand multi-file context, and even run shell commands—with your approval.
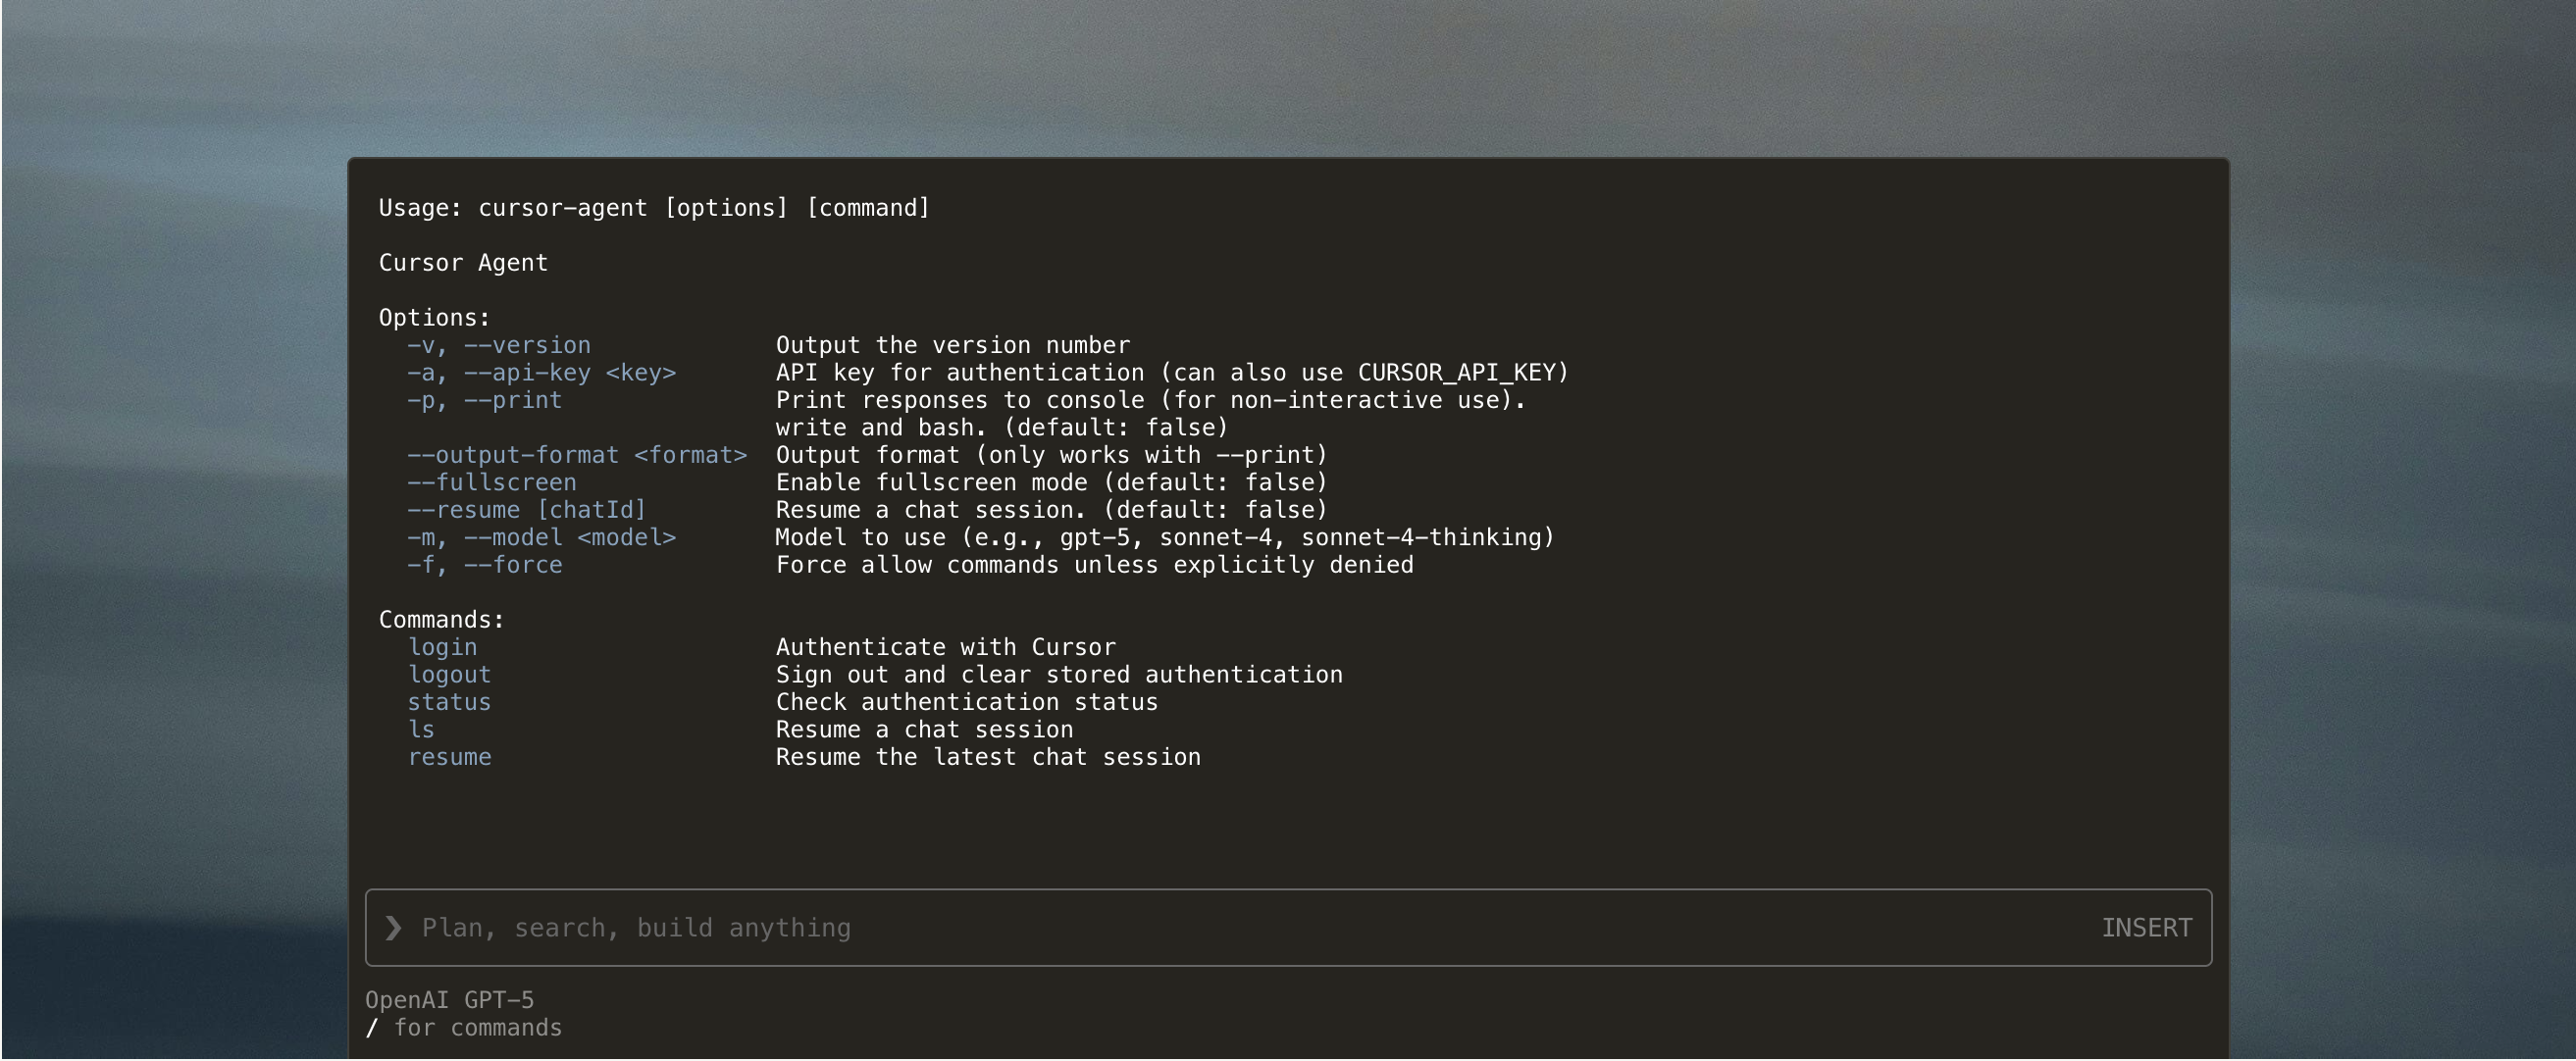
Interactive and print
The CLI operates in two distinct modes:
Interactive mode is like chatting with the agent in real time. You give it a goal, and it responds by showing code changes or proposing terminal commands. You can review each step, approve changes, and iterate—all from the terminal.
Print mode (non-interactive) is designed for automation.
It lets you run single-shot prompts and return output in text, json, or stream-json formats—perfect for scripts, pipelines, or CI jobs that need structured results.
You can switch modes using flags like -p and --output-format.
Session control and customization
The CLI isn’t just one-shot.
You can resume previous sessions with cursor-agent resume, list old chats with cursor-agent ls, and keep long-term context across sessions.
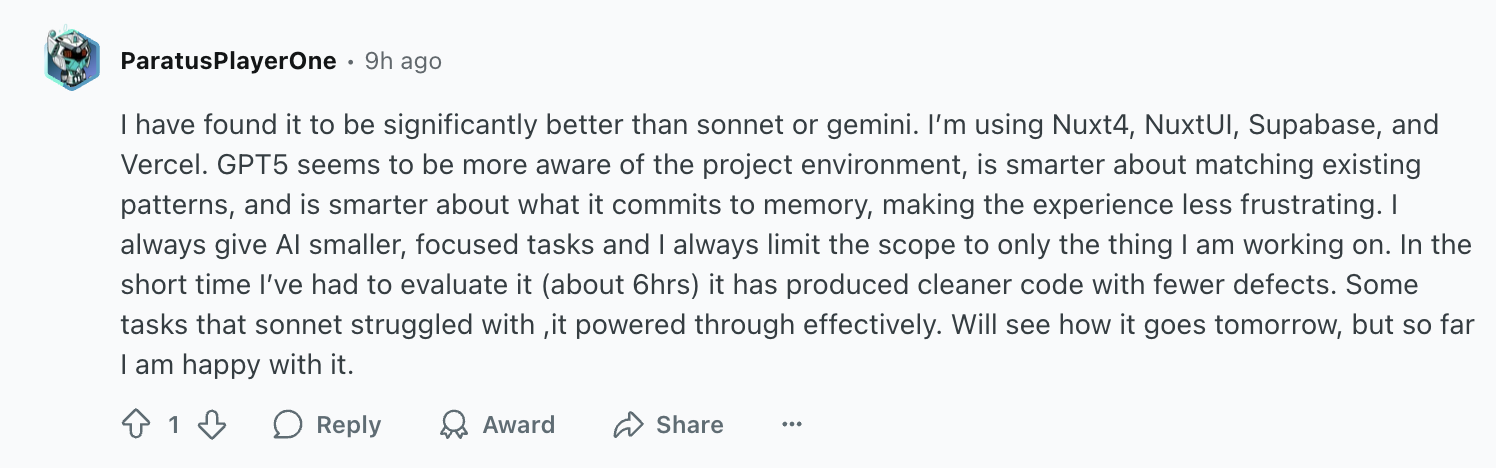
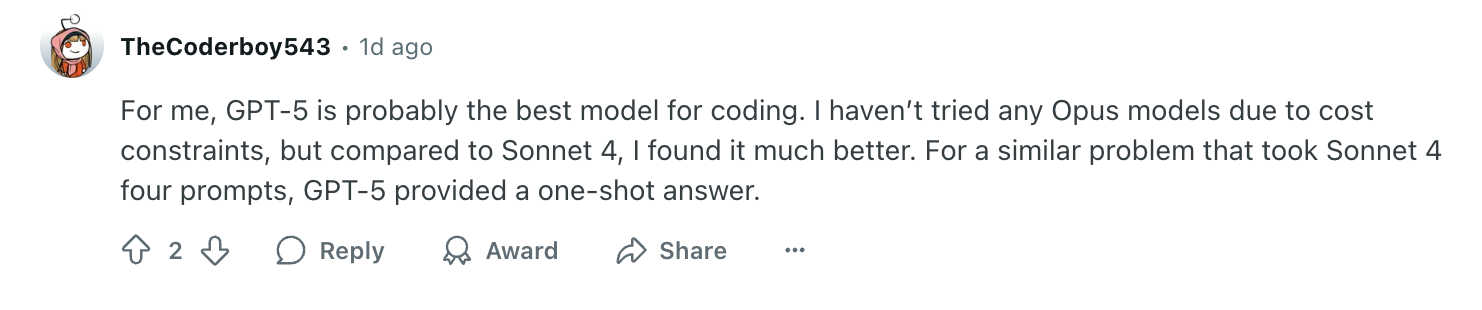
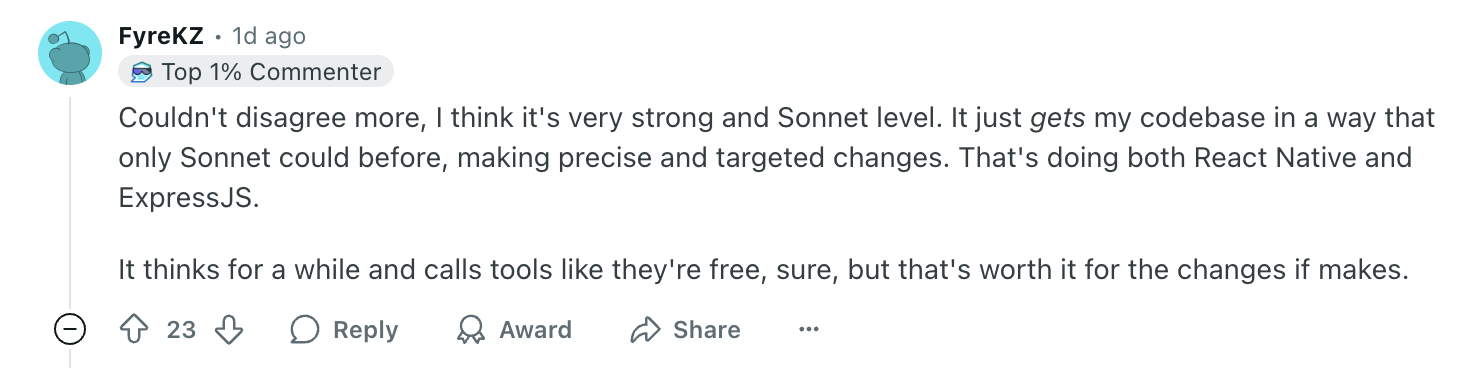
It also supports slash commands like /model, /resume, and /quit, and you can specify which model to use (like the new gpt-5) with the -m flag. This matches the model flexibility from the GUI version of Cursor.
Secure file and command access
In interactive mode, the agent can propose terminal commands—but you must approve them before execution. This gives you peace of mind and full control. In print mode (used in CI), the agent has write access, so it’s recommended only for trusted environments.
Authentication can be done through a browser flow (cursor-agent login) or with an API key (CURSOR_API_KEY) for headless usage in CI.
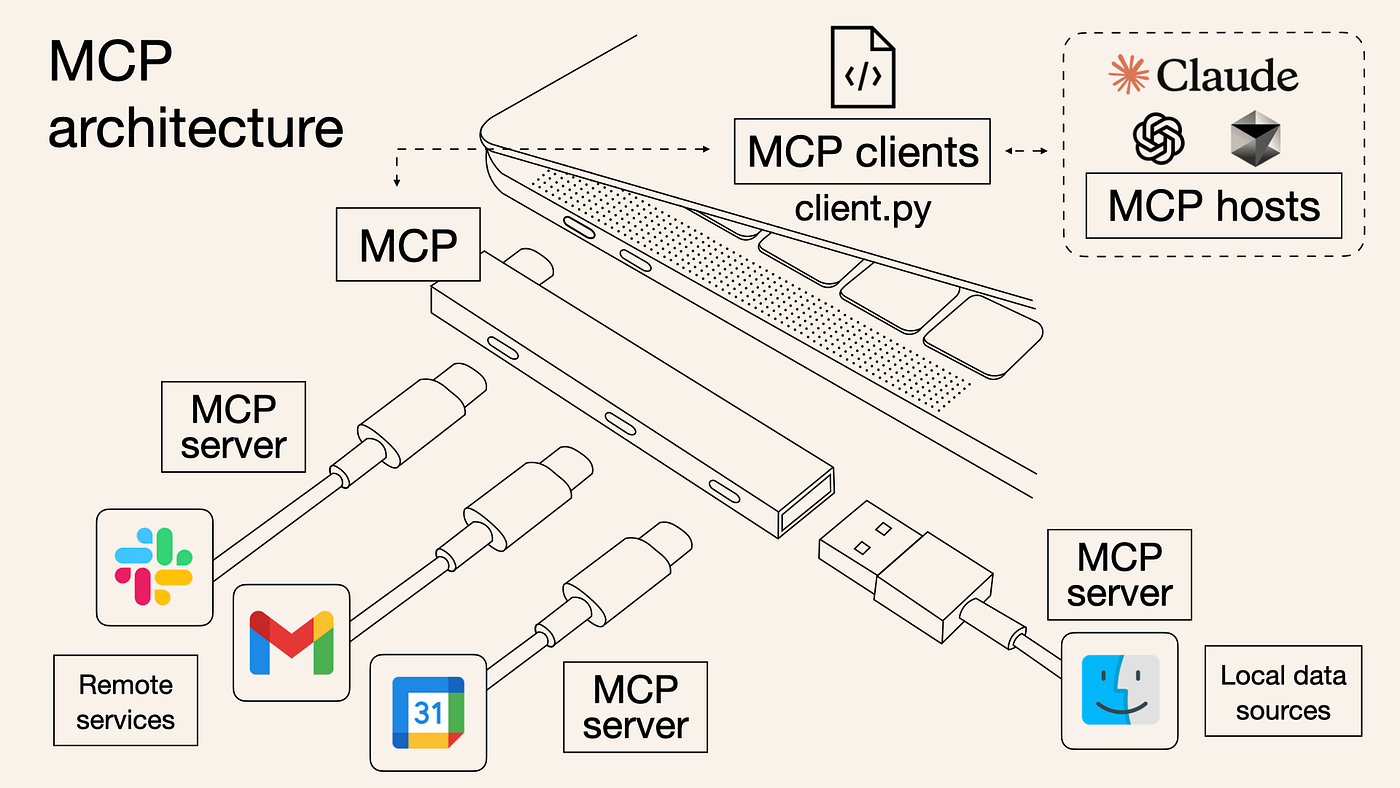
MCP support. Of course
The CLI integrates smoothly with Cursor’s project rules, including .cursor/rules, AGENTS.md, and mcp.json if you’re using the Model Context Protocol (MCP).
This lets you define tool access, coding guidelines, and resources just once and use them across both the GUI and CLI.
This also means you can define workflows and plug your agent into real APIs, databases, or file systems—enabling powerful, real-world automation.
Easy installation and setup
Installation is one-liner simple:
curl https://cursor.com/install -fsS | bash

cursor-agent login

# Start CLI with a prompt
cursor-agent chat "find one bug and fix it"
From there, you can start prompting, refactoring code, or reviewing pull requests—straight from your terminal.
Cursor’s new CLI turns its agent into a portable, flexible coding assistant that you can drop into any part of your workflow.
Whether you’re working in a minimalist terminal setup or building automation in CI or pairing it with your favorite editor this CLI opens the door to powerful, context-aware, headless development.
It’s currently in beta, so expect ongoing improvements—but if you want to bring intelligent, GPT-5-level coding into your daily terminal flow, this is the tool to try.