Google’s new Gemini CLI coding tool is an absolute game changer
Wow this is seriously revolutionary.
Google just destroyed Claude Code with their new Gemini CLI tool.
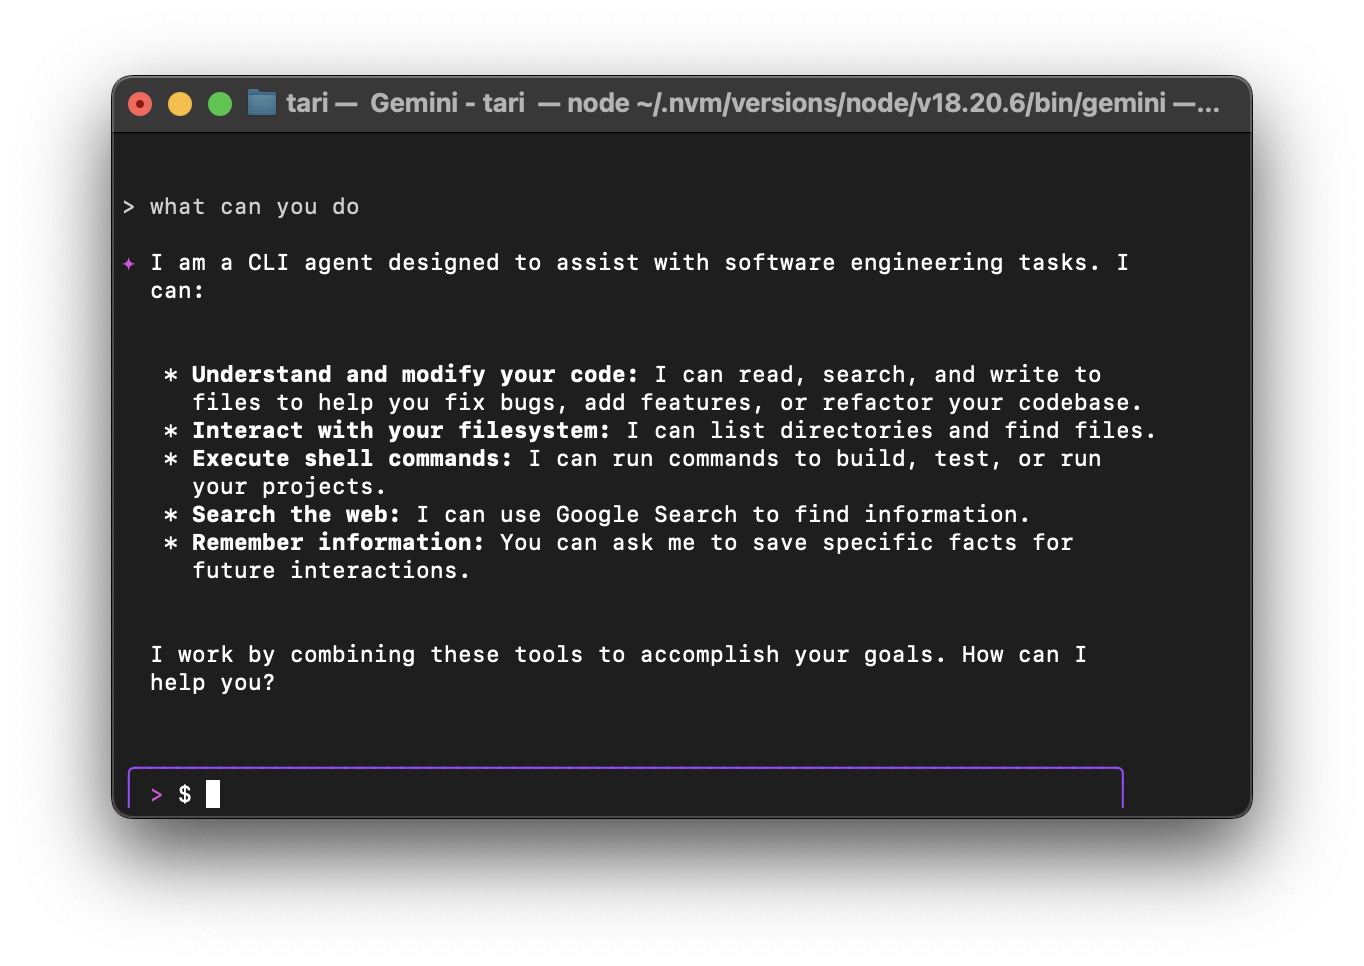
Now you have effortless access to the most powerful AI models on the planet right from your terminal.
Make intelligent agentic changes to your entire codebase.
Run series of power CLI commands with a simple prompt.
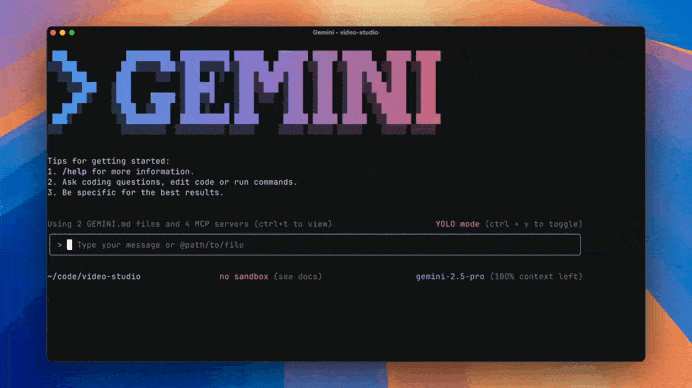
All you have to do is npm i -g @google/gemini :

And here’s the real killer blow to Claude Code — it’s FREE.
Okay not free free — like there’s a free tier but the limits are like super generous — trust Google… imagine how many millions they burn daily from all the people using their Gemini models.
You see free stuff like this is why we shouldn’t force Google to sell Chrome — and indirectly compromise their ad revenue cash cow that covers all these expenses.
60 free requests per minute – 1 request per second. There’s no way you’re going above that so I don’t want to hear anybody complaining.
And don’t complain about the 1000 requests per day either.
Remember this isn’t even something you’re constantly making requests to like you would for a code completion API as you type.
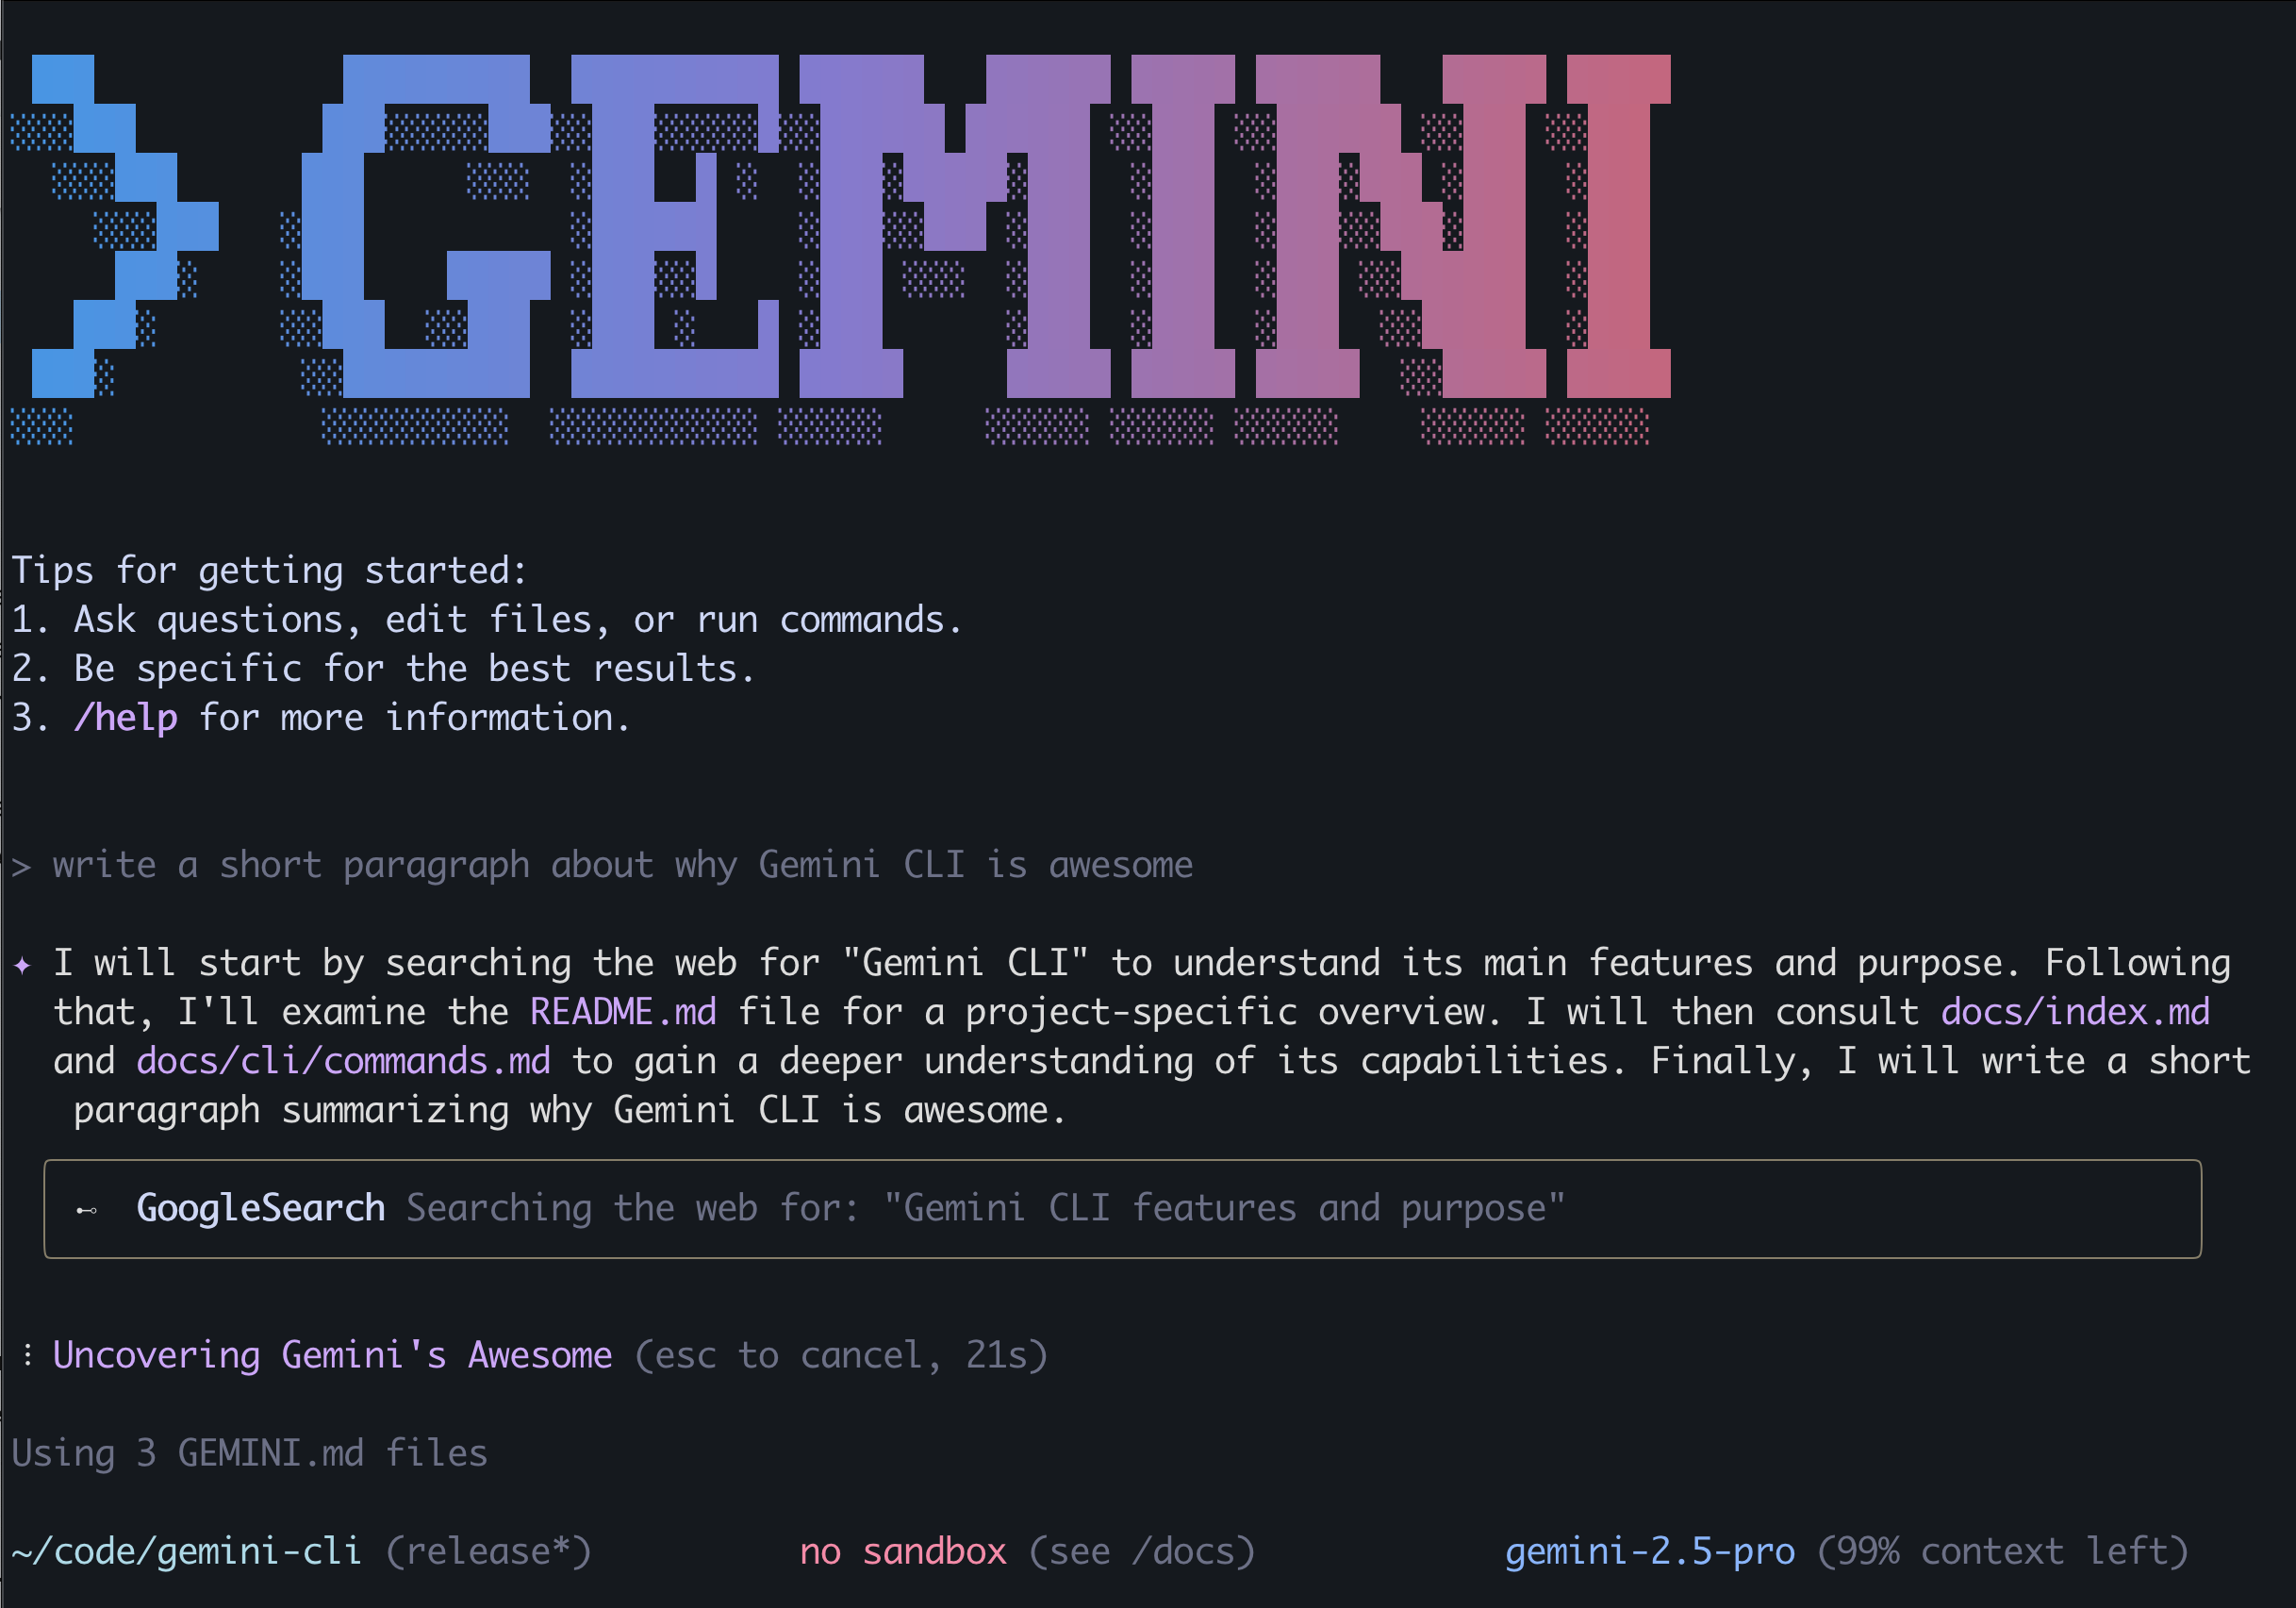
It’s a genius agentic AI that intelligently makes massive changes across your entire codebase at a time. With the 1 million token context window, it more than capable for handling most project codebases out there.
And not just changes but terminal commands.
Coming to the terminal basically now gives it first-class access to all the powerful CLI commands — include third-party CLI commands.
Anything you do in the command line, Gemini CLI can do — and far more of course.
Here’s a really powerful example: sometimes for a quick project or MVP I find myself making a bunch of not-so-related changes all over the place without committing.
Without Gemini CLI I might just get lazy and just bunch all of them together with super vague message like “Misc” or “Update”.
But now with a simple prompt, I can tell Gemini CLI to use the git command to intelligent make a series of commits based on all the various uncommitted changes in my codebase. With highly descriptive commit messages and conventional commits.
Major time savings. Saves effort. Less drudgery.
Not just commits — automate testing, documentation, deployment, fetching PRs, fixing new issues…
And of course it has powerful MCP support to drastically upgrade its capabilities.
Multimodal capabilities — including AI video generation from text prompts in the CLI like we saw in the demo.
For sure this is going to be one the most impactful new tools in the developer toolbox.