Shuffling algorithm in 1 line instead of 10: functional Fisher-Yates
Can we write the Fisher-Yates shuffling algorithm in a declarative and functional way with zero mutations, all in a single one-liner statement?!
Let’s find out.
The normal way of writing Fisher-Yates
Some time ago I was creating an indie card game for Android and I needed to shuffle the cards before sharing them to the user and opponents.
Well I didn’t know about the standard shuffling algorithms, so after some thought I came up with this:
But after reading more about Fisher-Yates on Wikipedia, I discovered serious problems with my algorithm:
// It was in C#, but like this
function shuffleArray(array) {
const clone = [...array];
for (let i = clone.length - 1; i > 0; i--) {
// Swap i with random item from 0..n
const randomIndex = Math.floor(
Math.random() * clone.length // ❌❌
);
const temp = clone[i];
clone[i] = clone[randomIndex];
clone[randomIndex] = temp;
}
return clone;
}
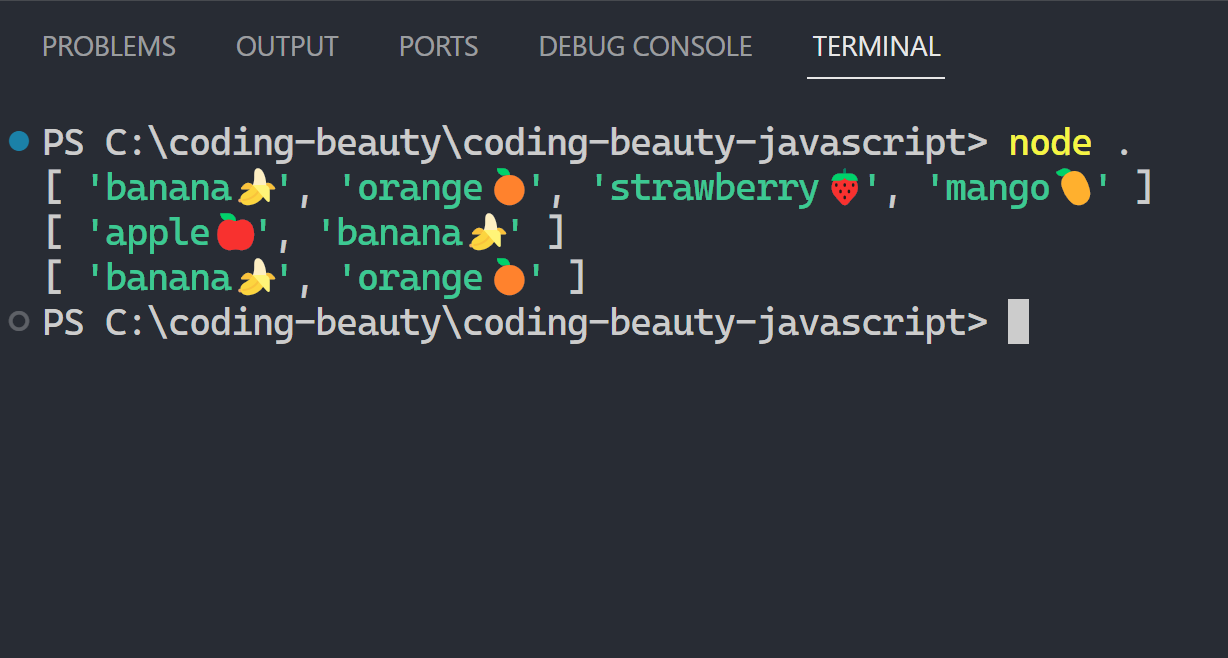
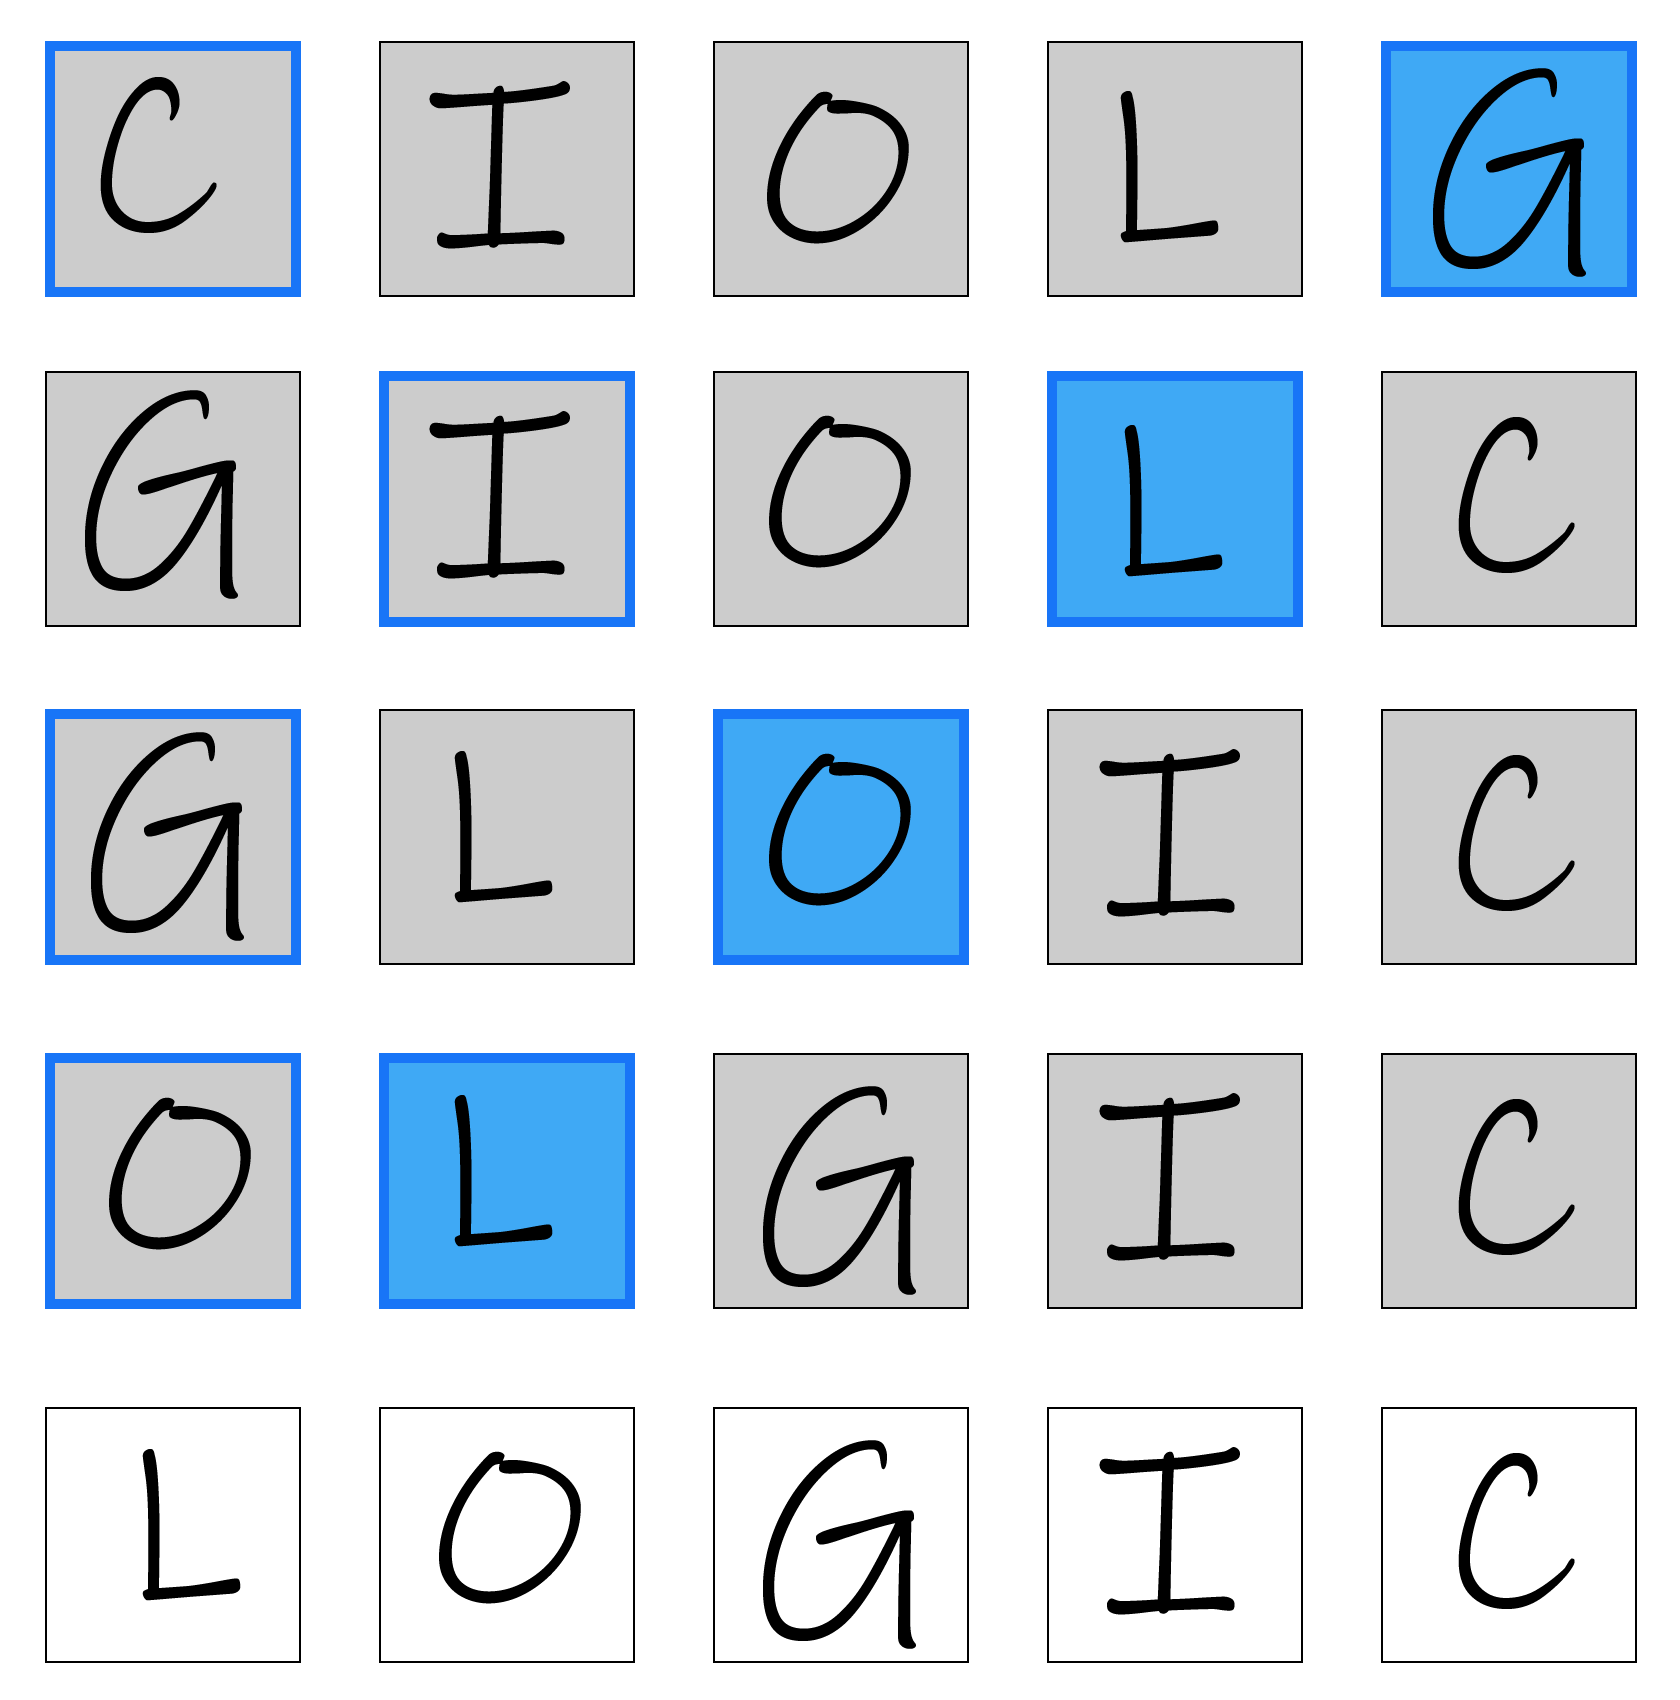
console.log(shuffleArray(['C', 'I', 'O', 'L', 'G']));
// [ 'I', 'L', 'O', 'G', 'C' ]
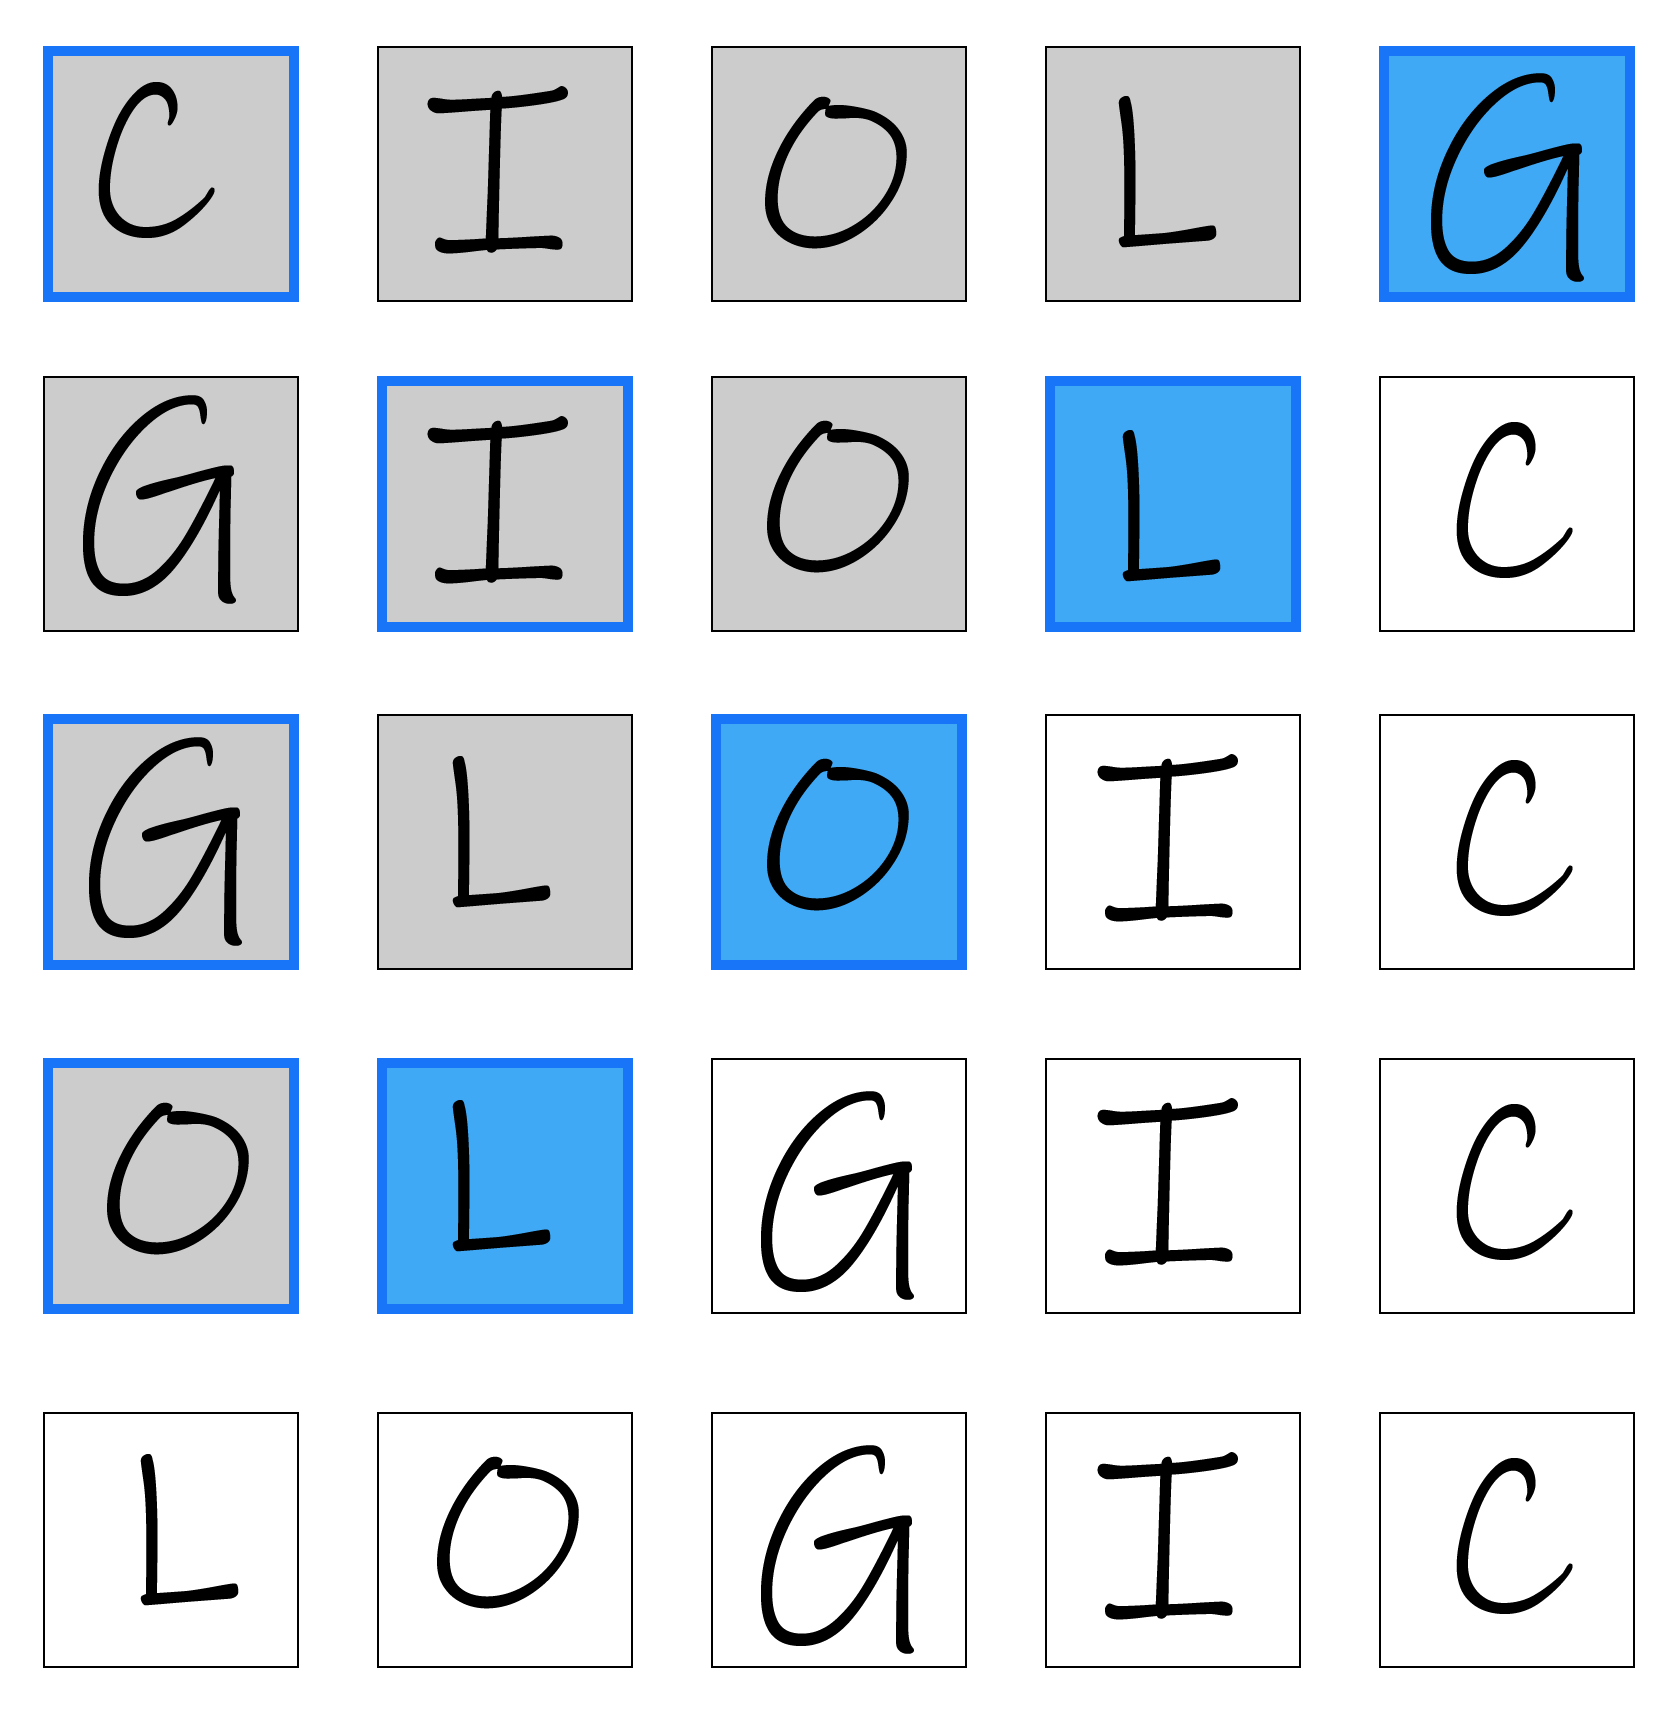
console.log(shuffleArray(['C', 'I', 'O', 'L', 'G']));
// [ 'L', 'O', 'G', 'I', 'C' ]
I was swapping each item with a random element in the range of 0..n, but this was wrong.
As explained here, this made it more likely for the array to get shuffled in particular ways.
The right way was to use the range 0..i to swap with the current element i in the loop.
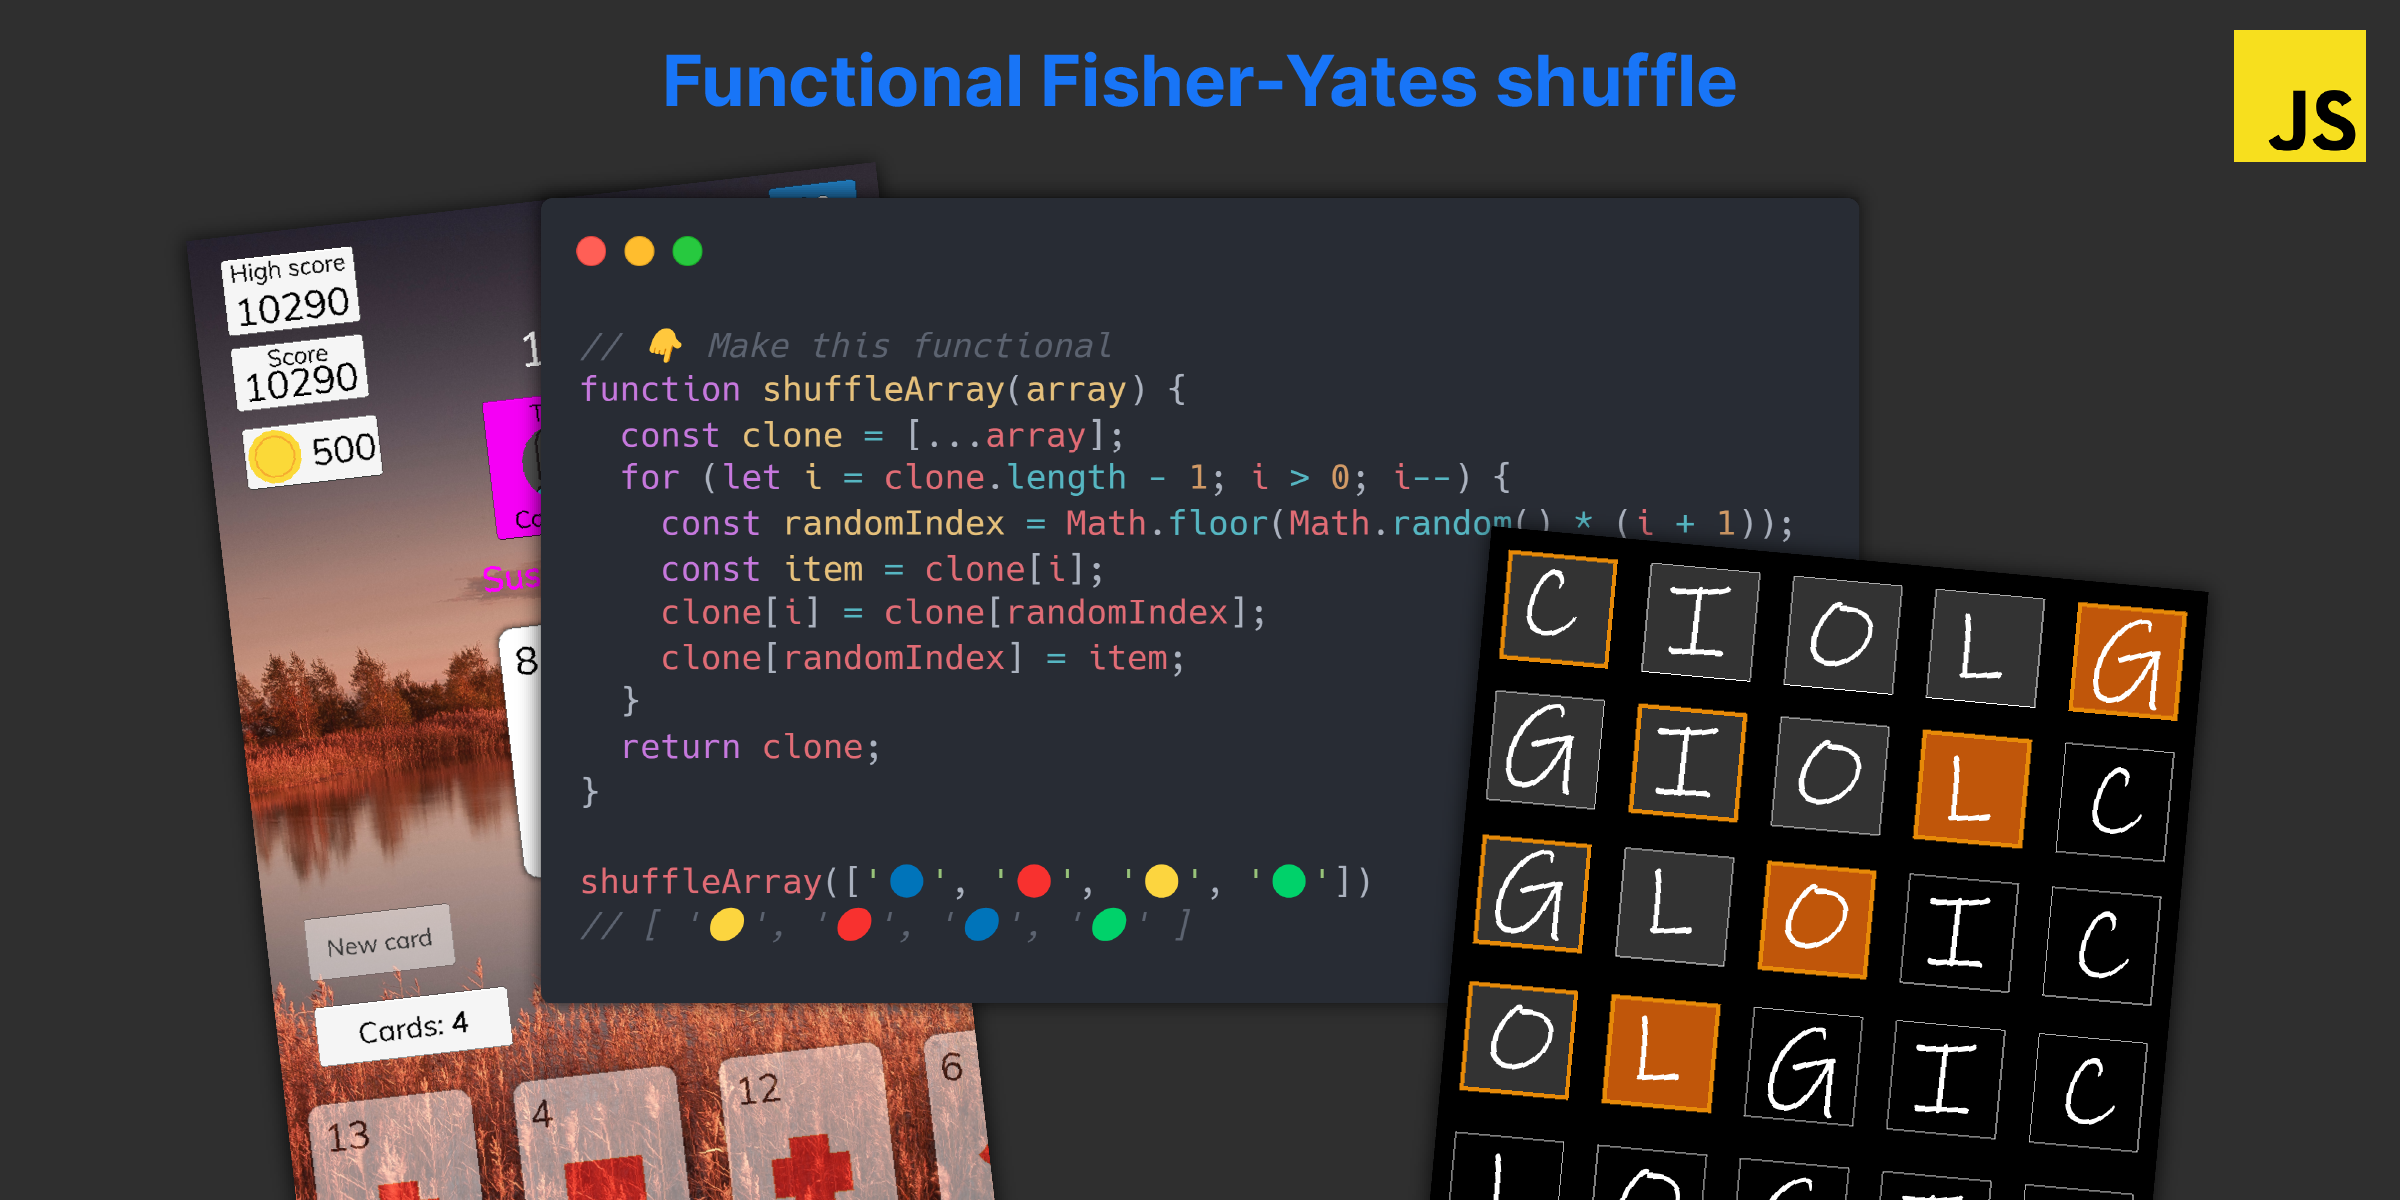
function shuffleArray(array) {
const clone = [...array];
for (let i = clone.length - 1; i > 0; i--) {
const randomIndex = Math.floor(Math.random() * (i + 1));
const item = clone[i];
clone[i] = clone[randomIndex];
clone[randomIndex] = item;
}
return clone;
}
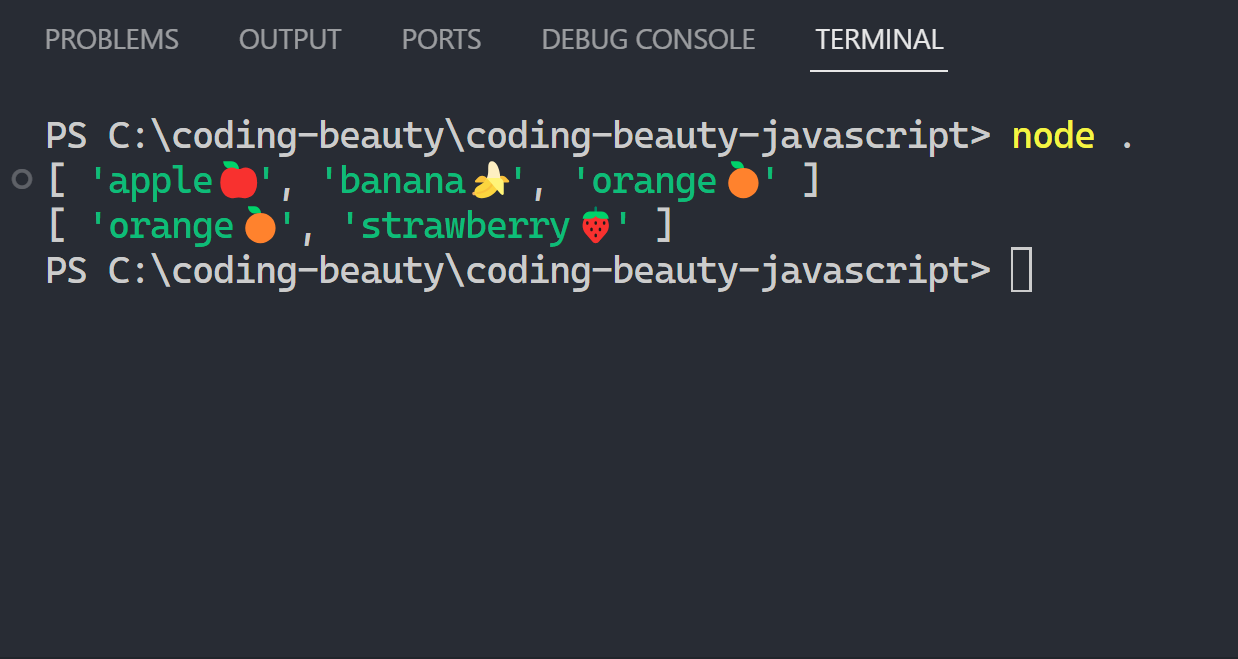
console.log(shuffleArray(['C', 'I', 'O', 'L', 'G']));
// [ 'G', 'L', 'I', 'C', 'O' ]
console.log(shuffleArray(['C', 'I', 'O', 'L', 'G']));
// [ 'L', 'O', 'G', 'I', 'C' ]With this I could make sure every possible shuffled result would have an equal chance of happening.
Functional, immutable, one-liner Fisher-Yates
How exactly are we supposed to go about this?
Can we try this?👇
const shuffleArray = (arr) =>
  arr.reduce((array, item, i) => {
    const randomIndex = Math.floor(
      Math.random() * arr.length
    );
    [arr[i], arr[randomIndex]] = [arr[randomIndex], arr[i]];
    return arr;
  });
No we can’t; We used ES6 swapping to shorten the code but we still mutated the array. And cloning doesn’t count.
We need to figure out a way to swap the array elements immutably – create a new array with items swapped.
Using conditionals we can easily come up with this:
const immutableSwap = (arr, i, j) =>
  arr.map((item, index) =>
    index === i ? arr[j] : index === j ? arr[i] : item
  );

const arr = ['B', 'E', 'A', 'U', 'T', 'Y'];

console.log(immutableSwap(arr, 2, 4));
// [ 'B', 'E', 'T', 'U', 'A', 'Y' ]
But we could also use Object.values like this:
const immutableSwap = (arr, i, j) => {
  return Object.values({
    ...arr,
    [i]: arr[j],
    [j]: arr[i],
  });
};

console.log(immutableSwap(arr, 3, 5));
// [ 'B', 'Y', 'A', 'U', 'T', 'E' ]
What’s next?
With the immutable swap worked out, our game plan is pretty straightforward:
- For each item
iin0..n, immutably select an index in0..ito swap withifor eachiin0..n - Loop through the array again and immutably swap each element with its assigned swapping pair.
For #1 we can easily use map() to create an array with the new random positions for every index:
const getShuffledPosition = (arr) => {
  return [...Array(arr.length)].map((_, i) =>
    Math.floor(Math.random() * (i + 1))
  );
};

/* [0, 2, 0, 1]
   swap item at:
 1. index 0 with index 0
 2. index 1 with index 2
 3. index 2 with index 0
 4. index 3 with index 1
*/
getShuffledPosition(['🔵', '🔴', '🟡', '🟢']);

getShuffledPosition(['🔵', '🔴', '🟡', '🟢']); // [0, 1, 1, 3]

getShuffledPosition(['🔵', '🔴', '🟡', '🟢']); // [0, 0, 2, 1]
What about #2?
We’re outputting an array, but we can’t use map again because the transformation at each step depends on the full array and not just the current element.
So we’ll use reduce():
const shuffleUsingPositions = (arr) =>
  getShuffledPosition(arr).reduce(
    (toShuffle, newPosition, originalIndex) =>
      immutableSwap(toShuffle, originalIndex, newPosition),
    arr
  );

shuffleUsingPositions(['🔵', '🔴', '🟡', '🟢'])
// [ '🔴', '🔵', '🟢', '🟡' ]
Not let’s de-abstract the immutable functions so we have a true and complete one-liner:
const shuffleArray = (arr) =>
  [...Array(arr.length)]
    .map((_, i) => Math.floor(Math.random() * (i + 1)))
    .reduce(
      (toShuffle, newPosition, originalIndex) =>
        toShuffle.map((item, index) =>
          index === originalIndex
            ? toShuffle[newPosition]
            : item === newPosition
            ? originalIndex
            : item
        ),
      arr
    );
Or – faster and more readable:
const shuffleArray = (arr) =>
  [...Array(arr.length)]
    .map((_, i) => Math.floor(Math.random() * (i + 1)))
    .reduce(
      (toShuffle, newPosition, originalIndex) =>
        Object.values({
          ...toShuffle,
          [originalIndex]: toShuffle[newPosition],
          [newPosition]: toShuffle[originalIndex],
        }),
      arr
);shuffleArray(['🔵', '🔴', '🟡', '🟢'])
// (3x)
// [ '🟡', '🔴', '🔵', '🟢' ]
// [ '🔴', '🟡', '🟢', '🔵' ]
// [ '🟡', '🔵', '🔴', '🟢' ]Just like you can always write a recursive algorithm as a loop, you can write every imperative iteration as a brilliant single-statement chain of array methods.
They all work perfectly.