How to HACK JavaScript with Well-Known Symbols (5 ways)
They call them well-known symbols – even though most developers have never used them or even heard of them.
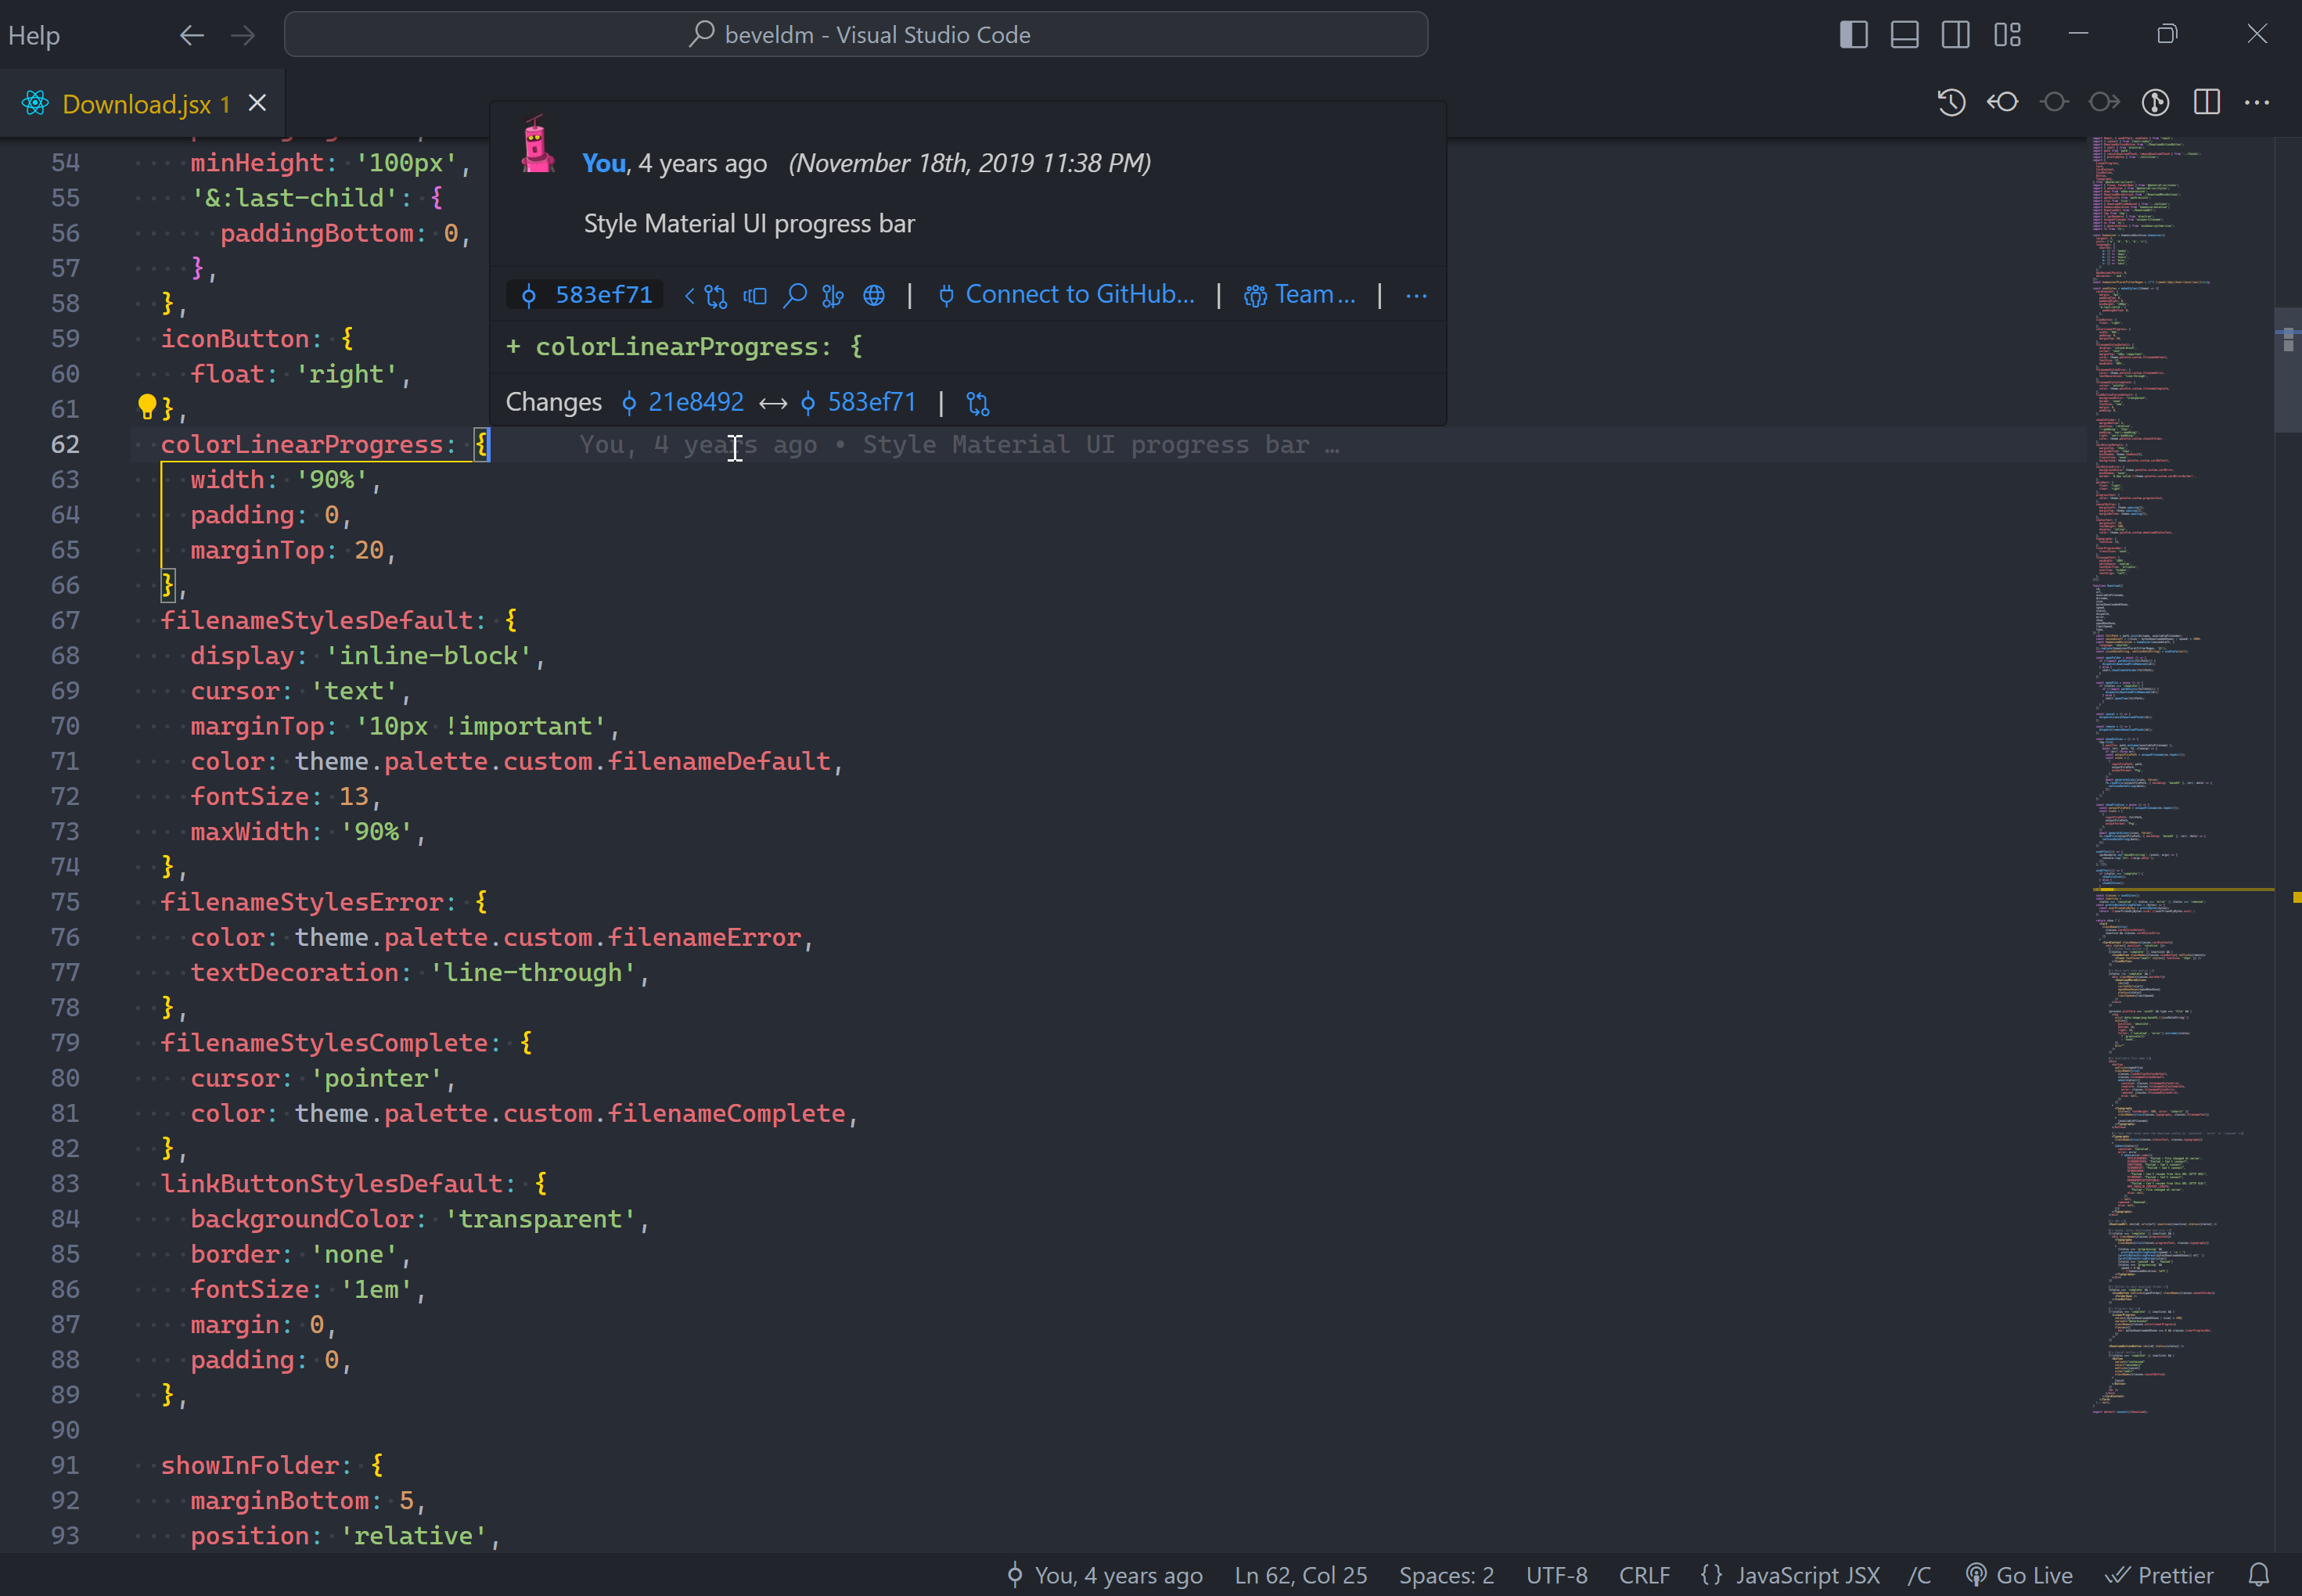
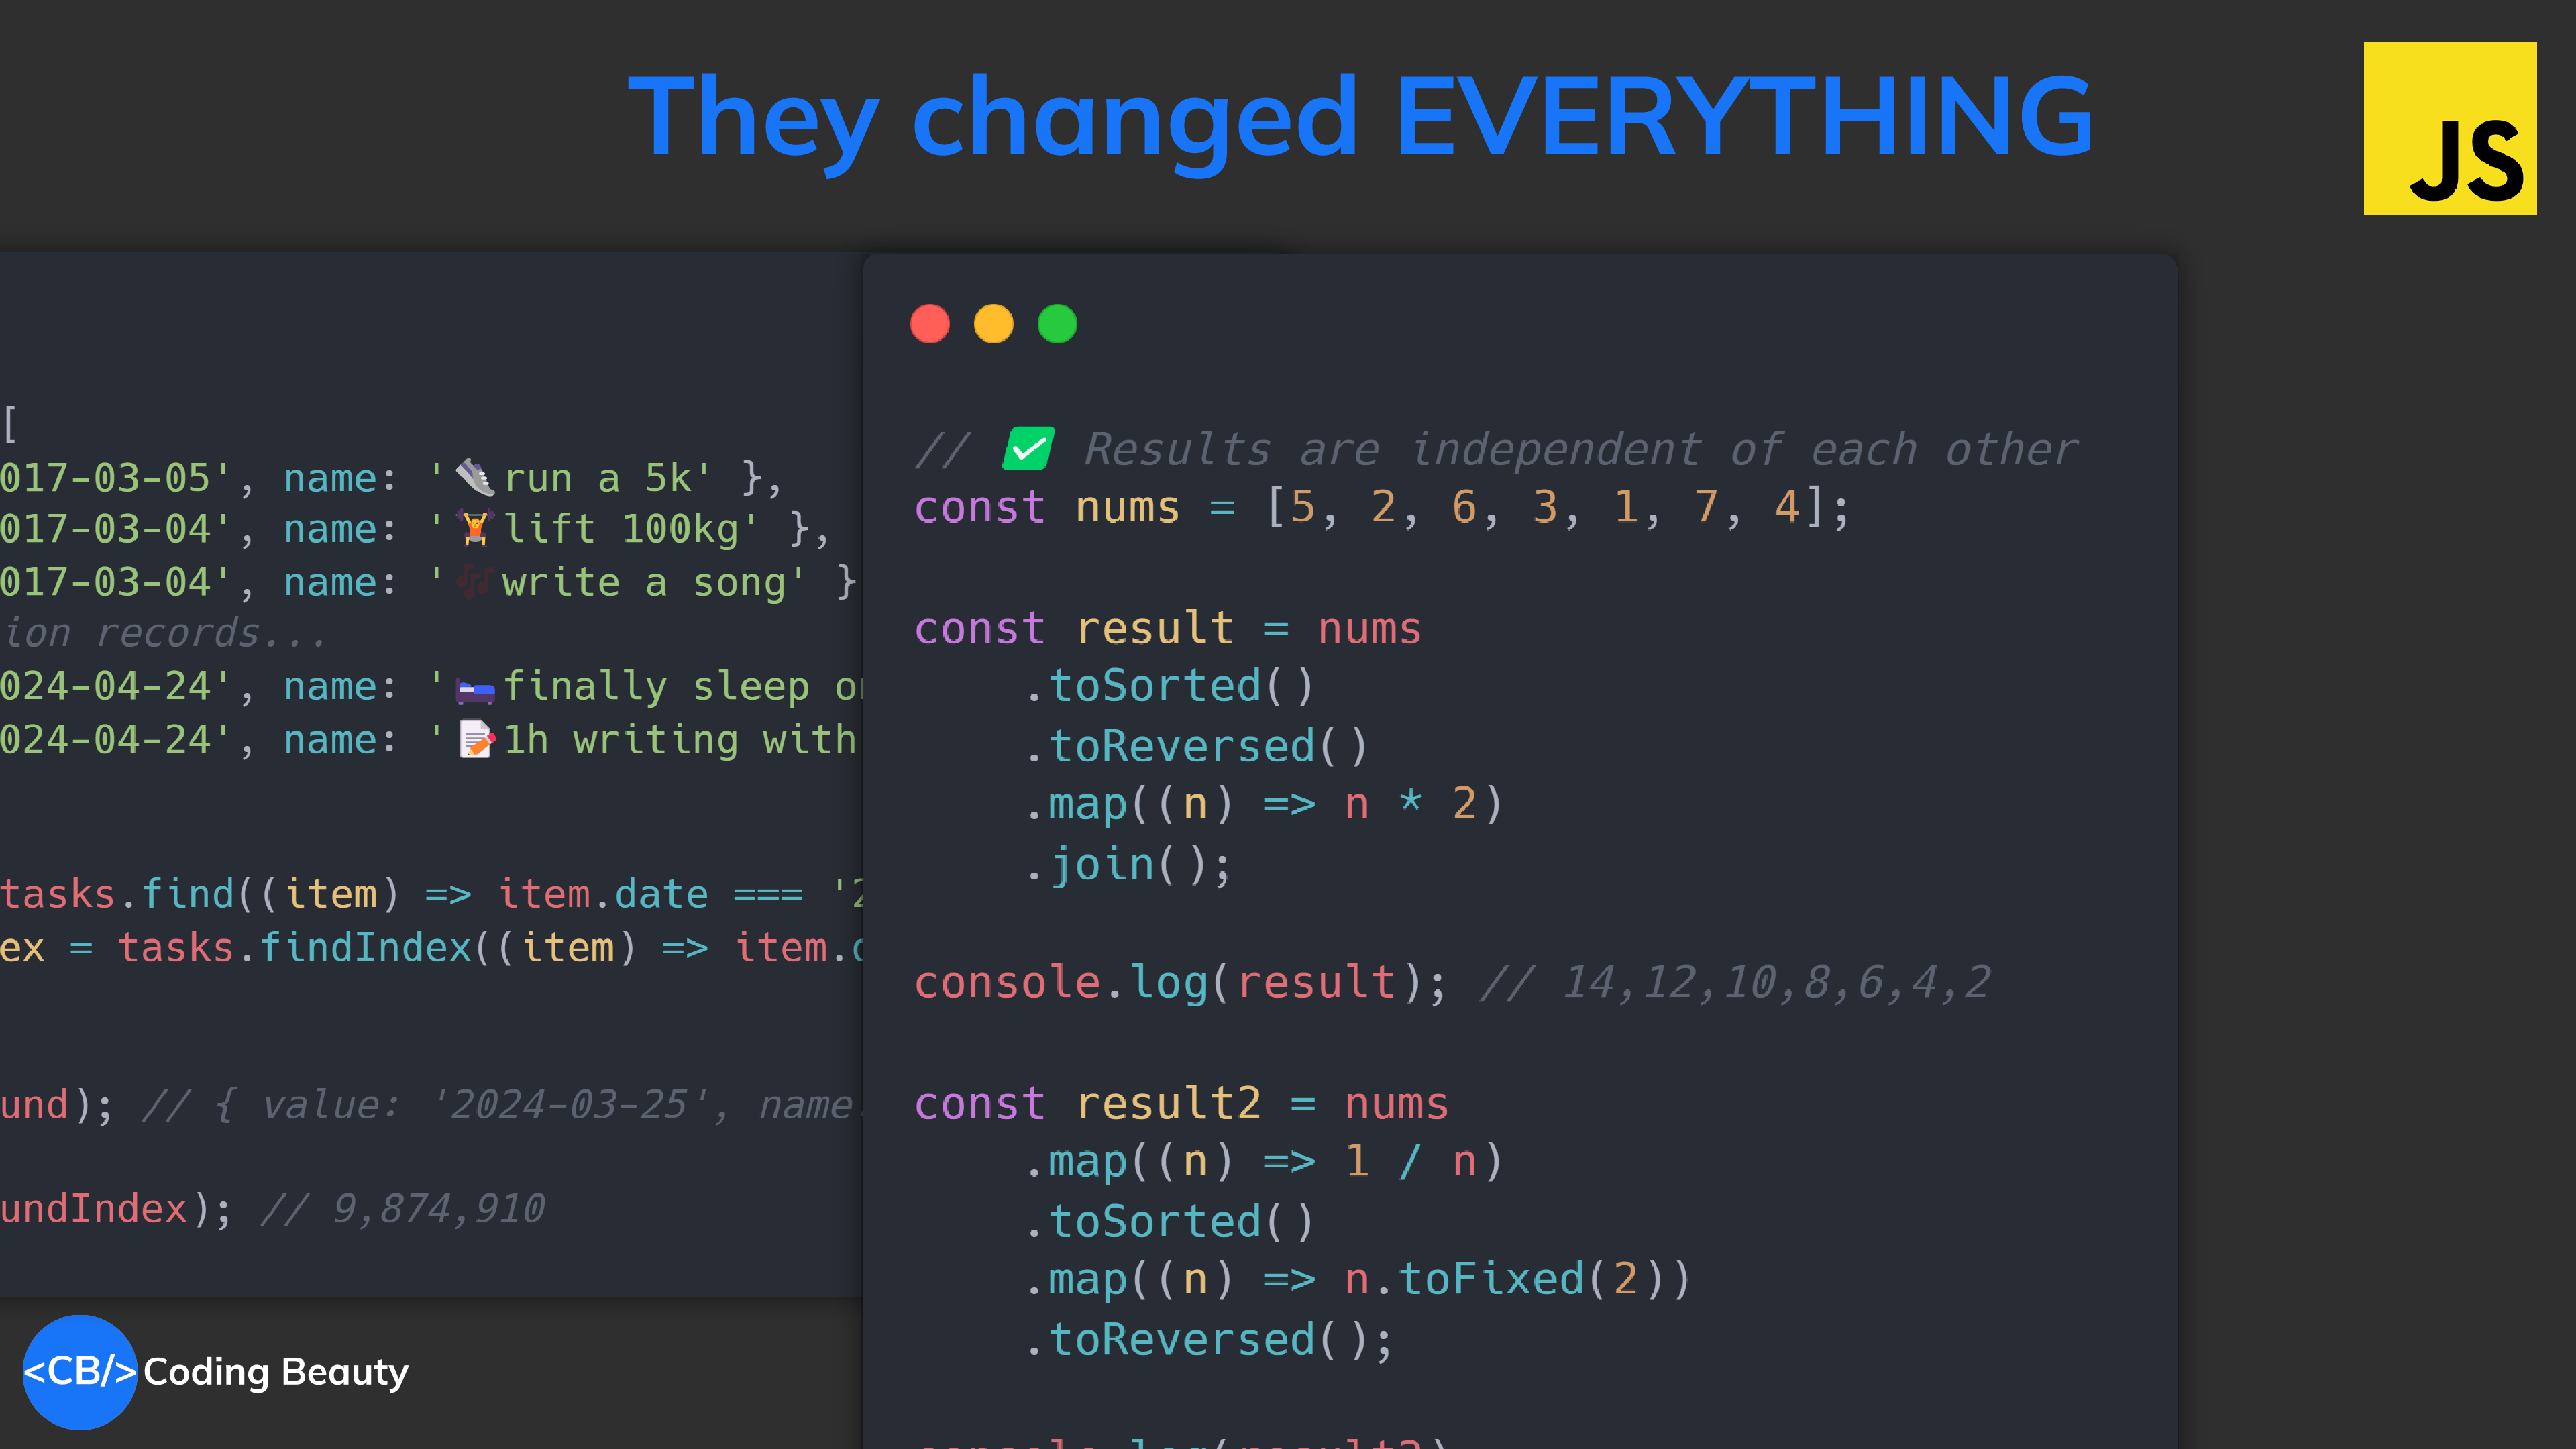
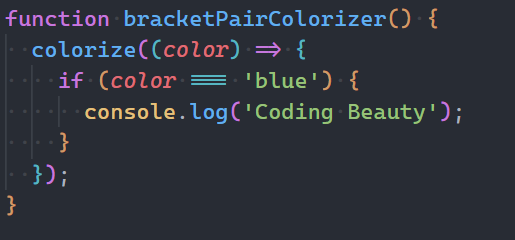
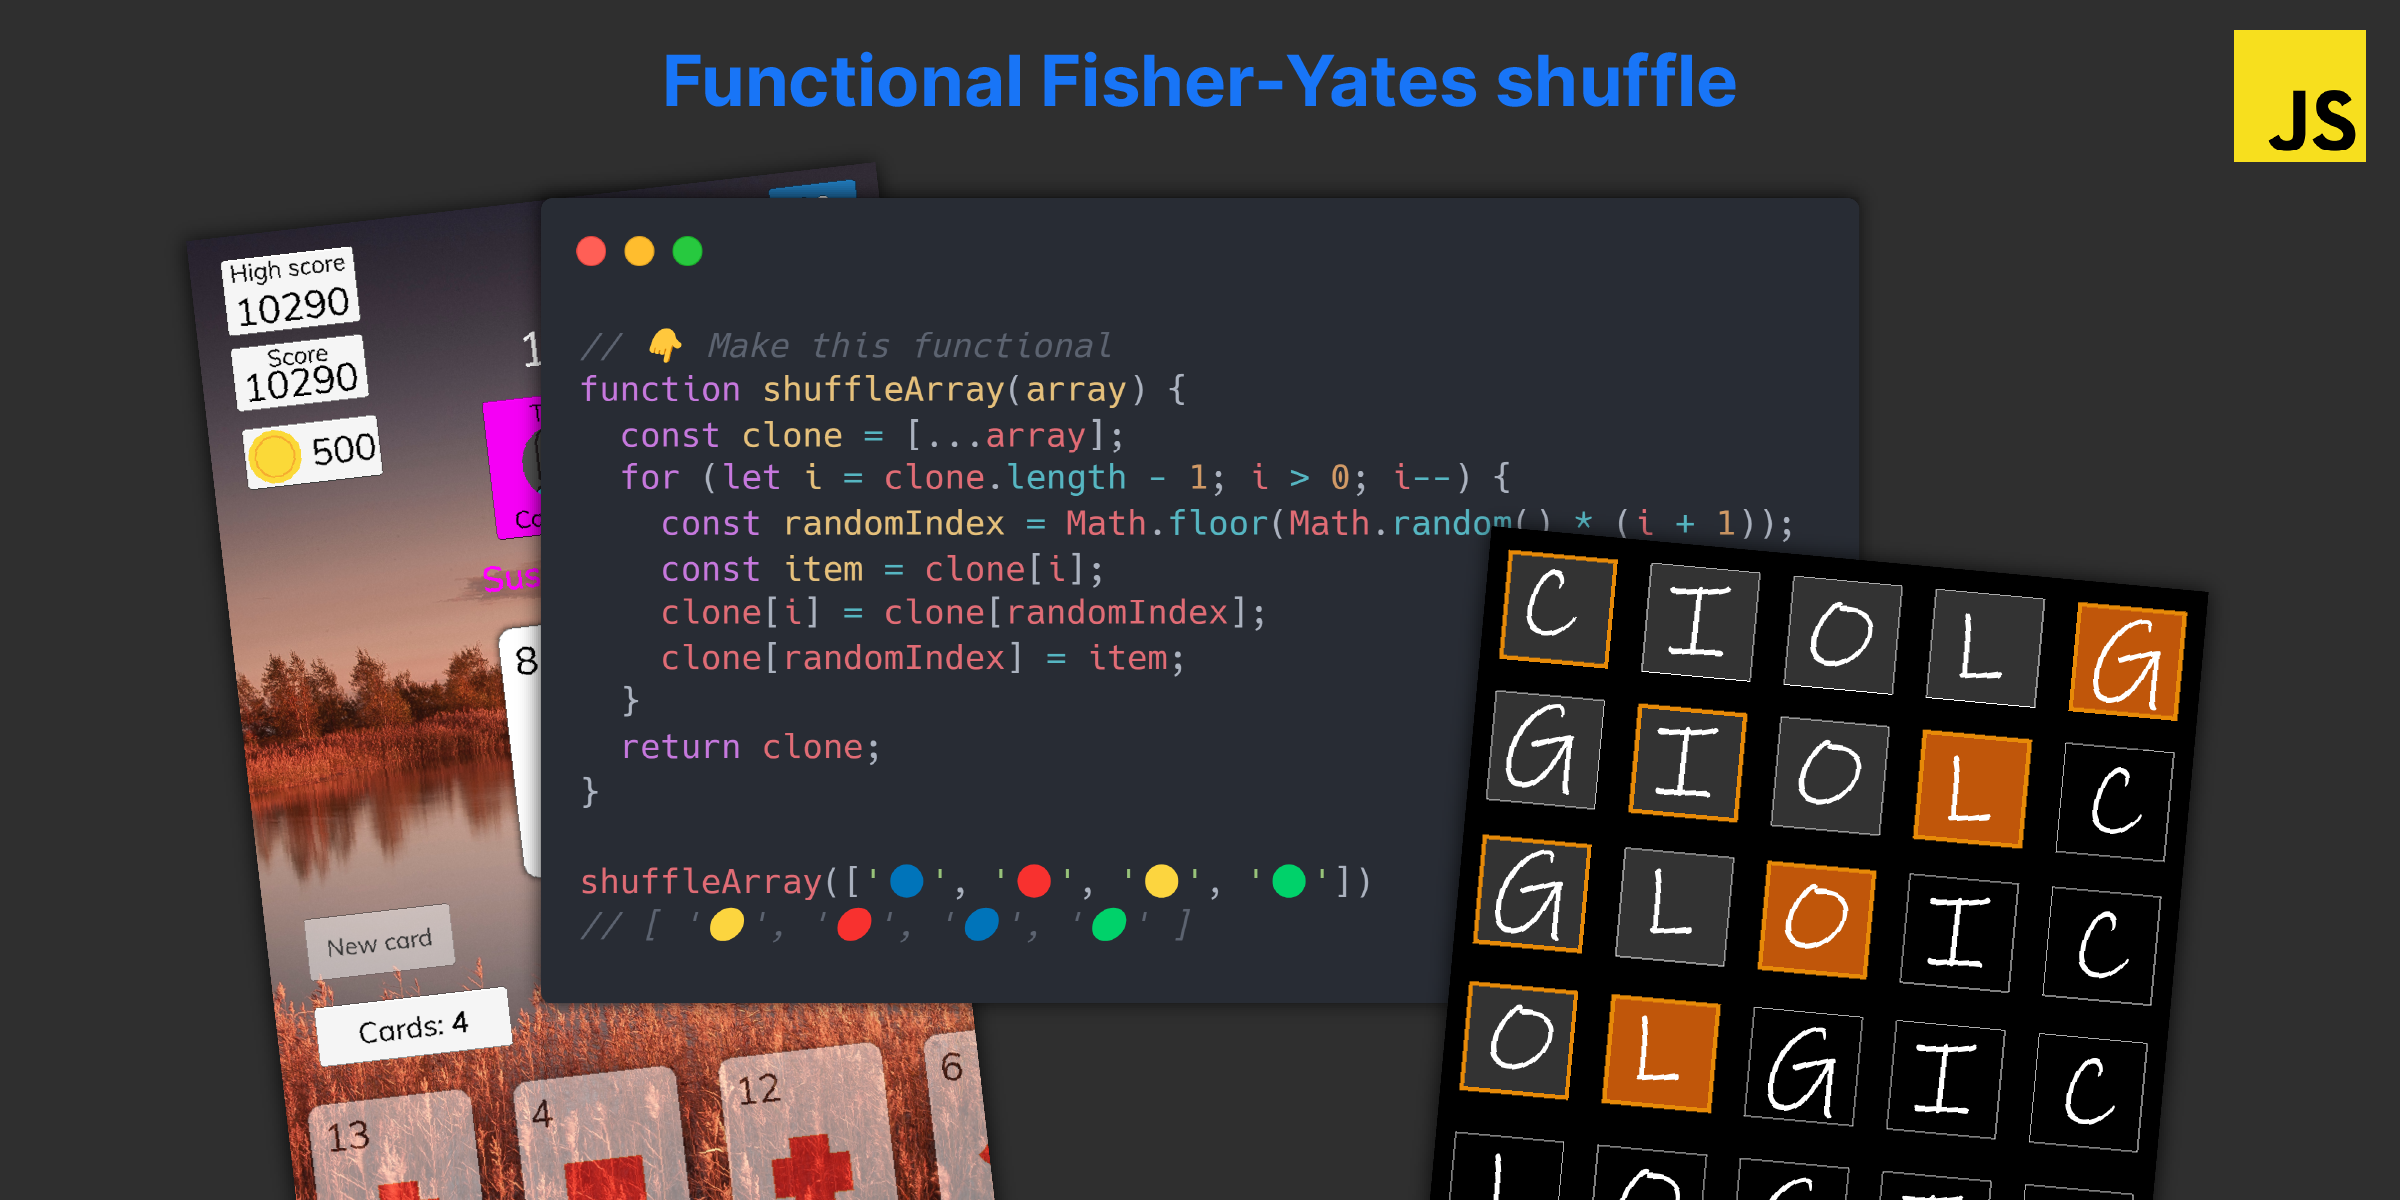
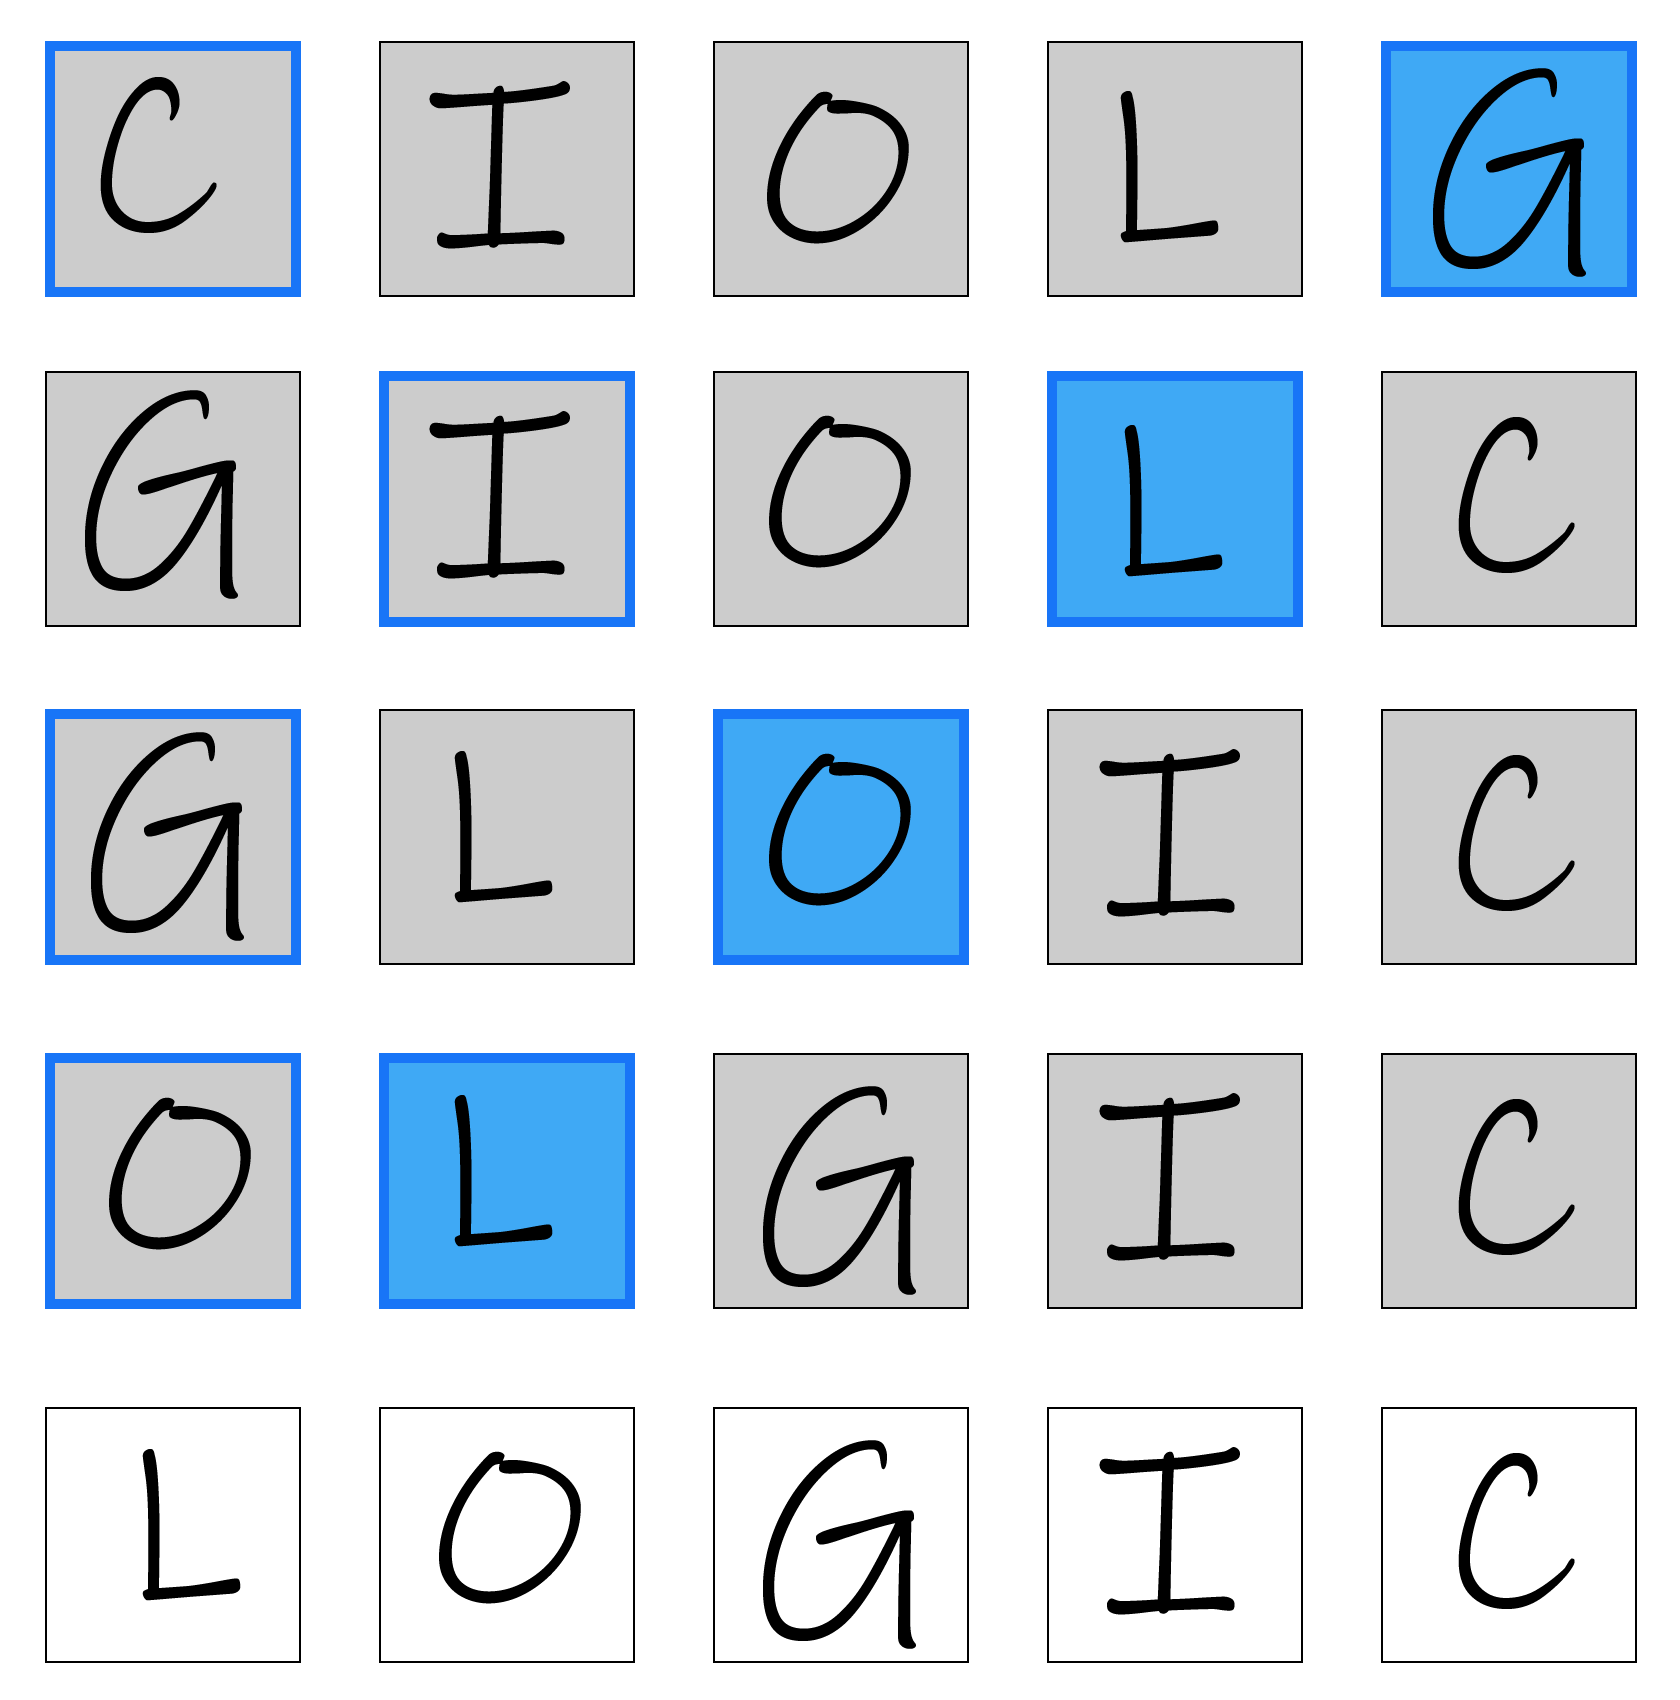
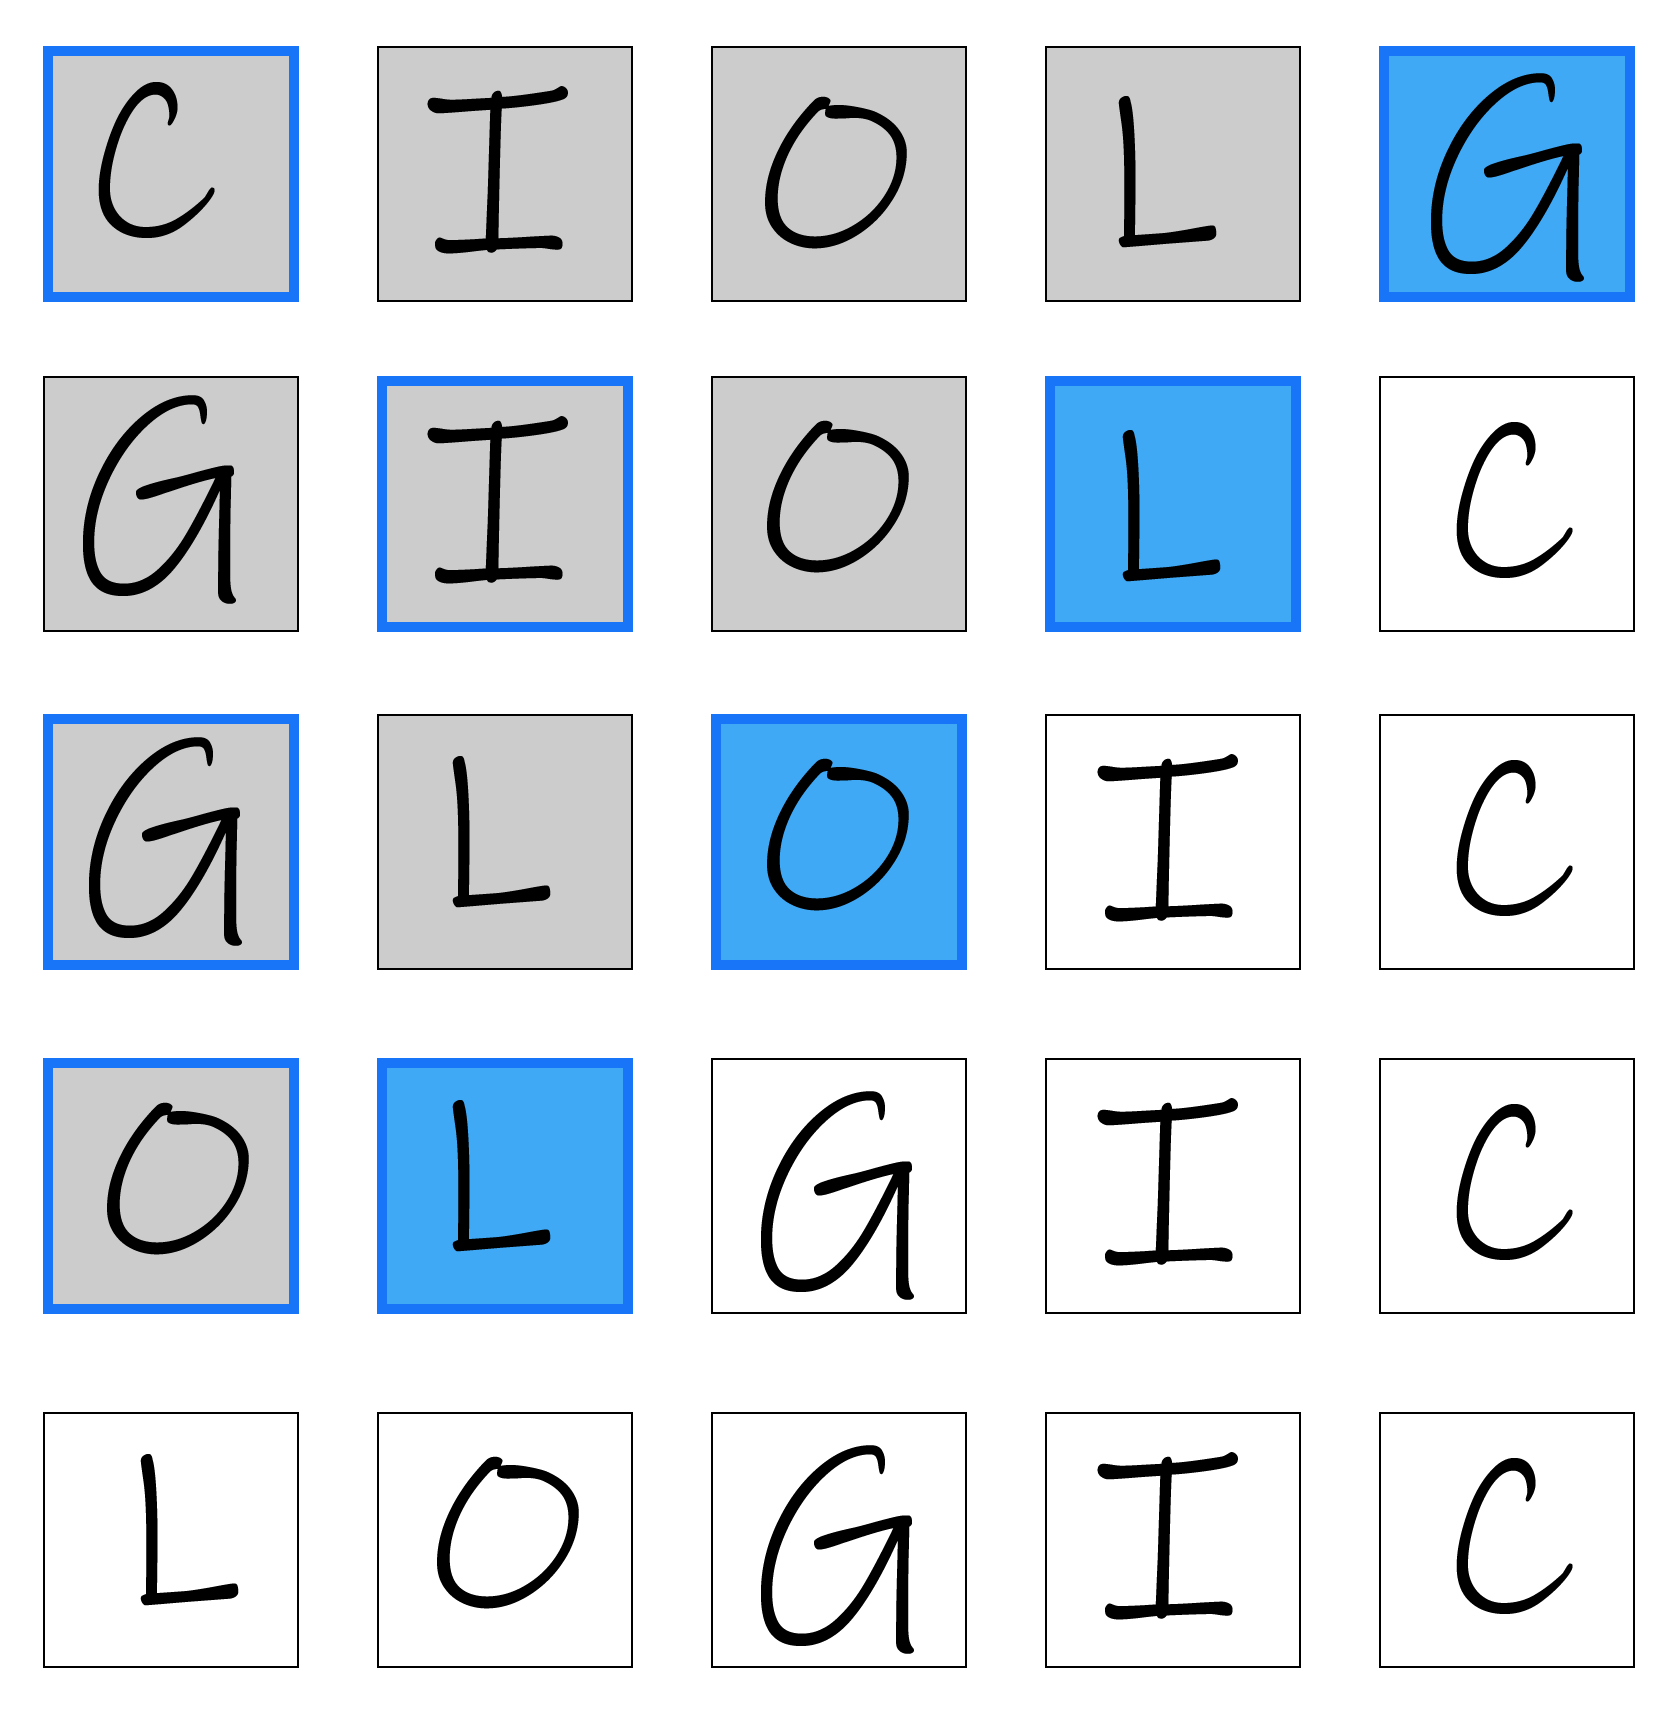
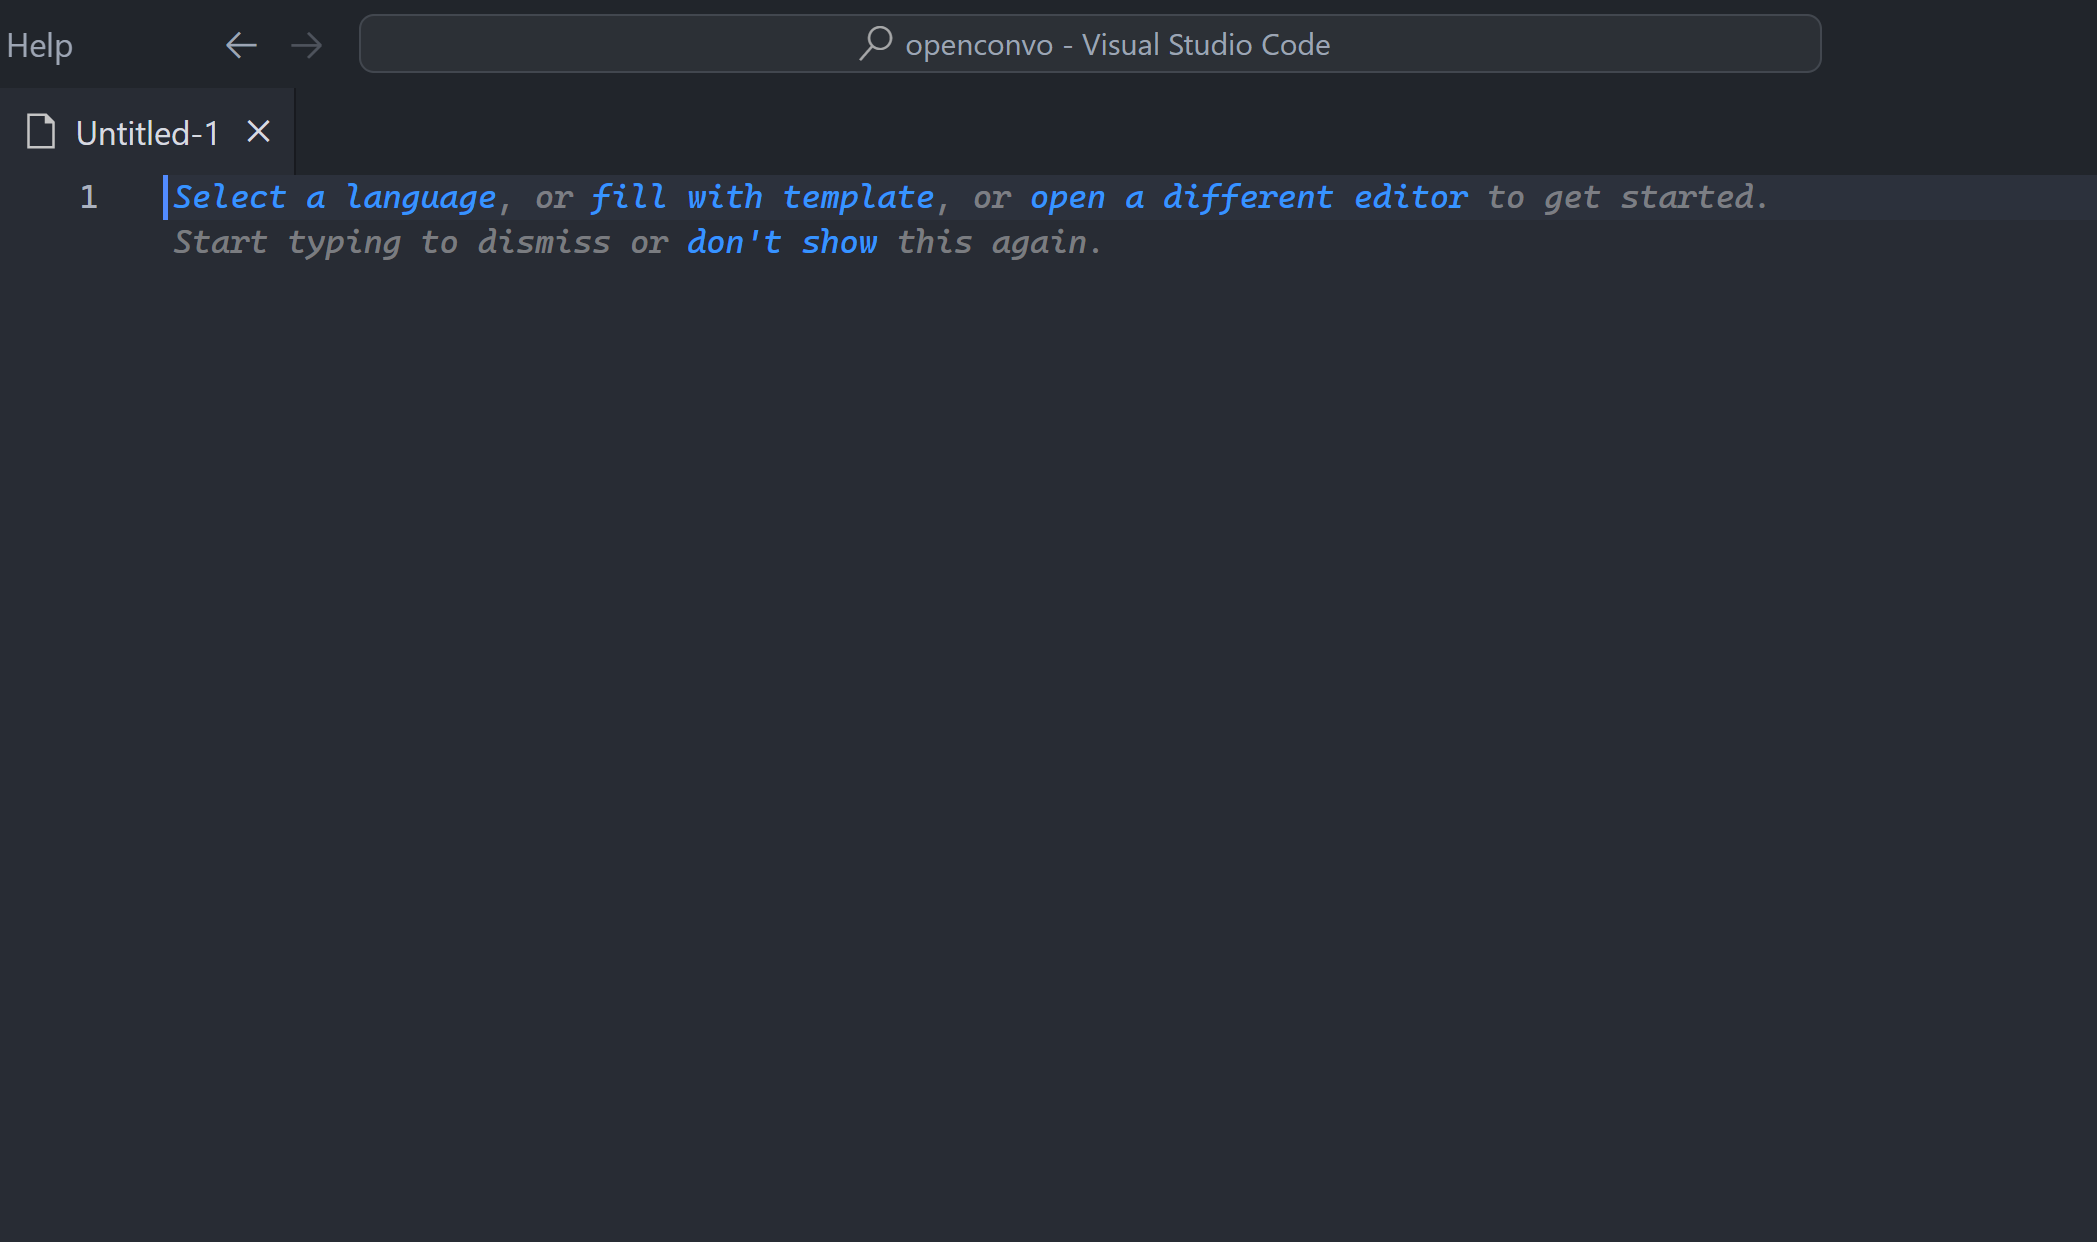
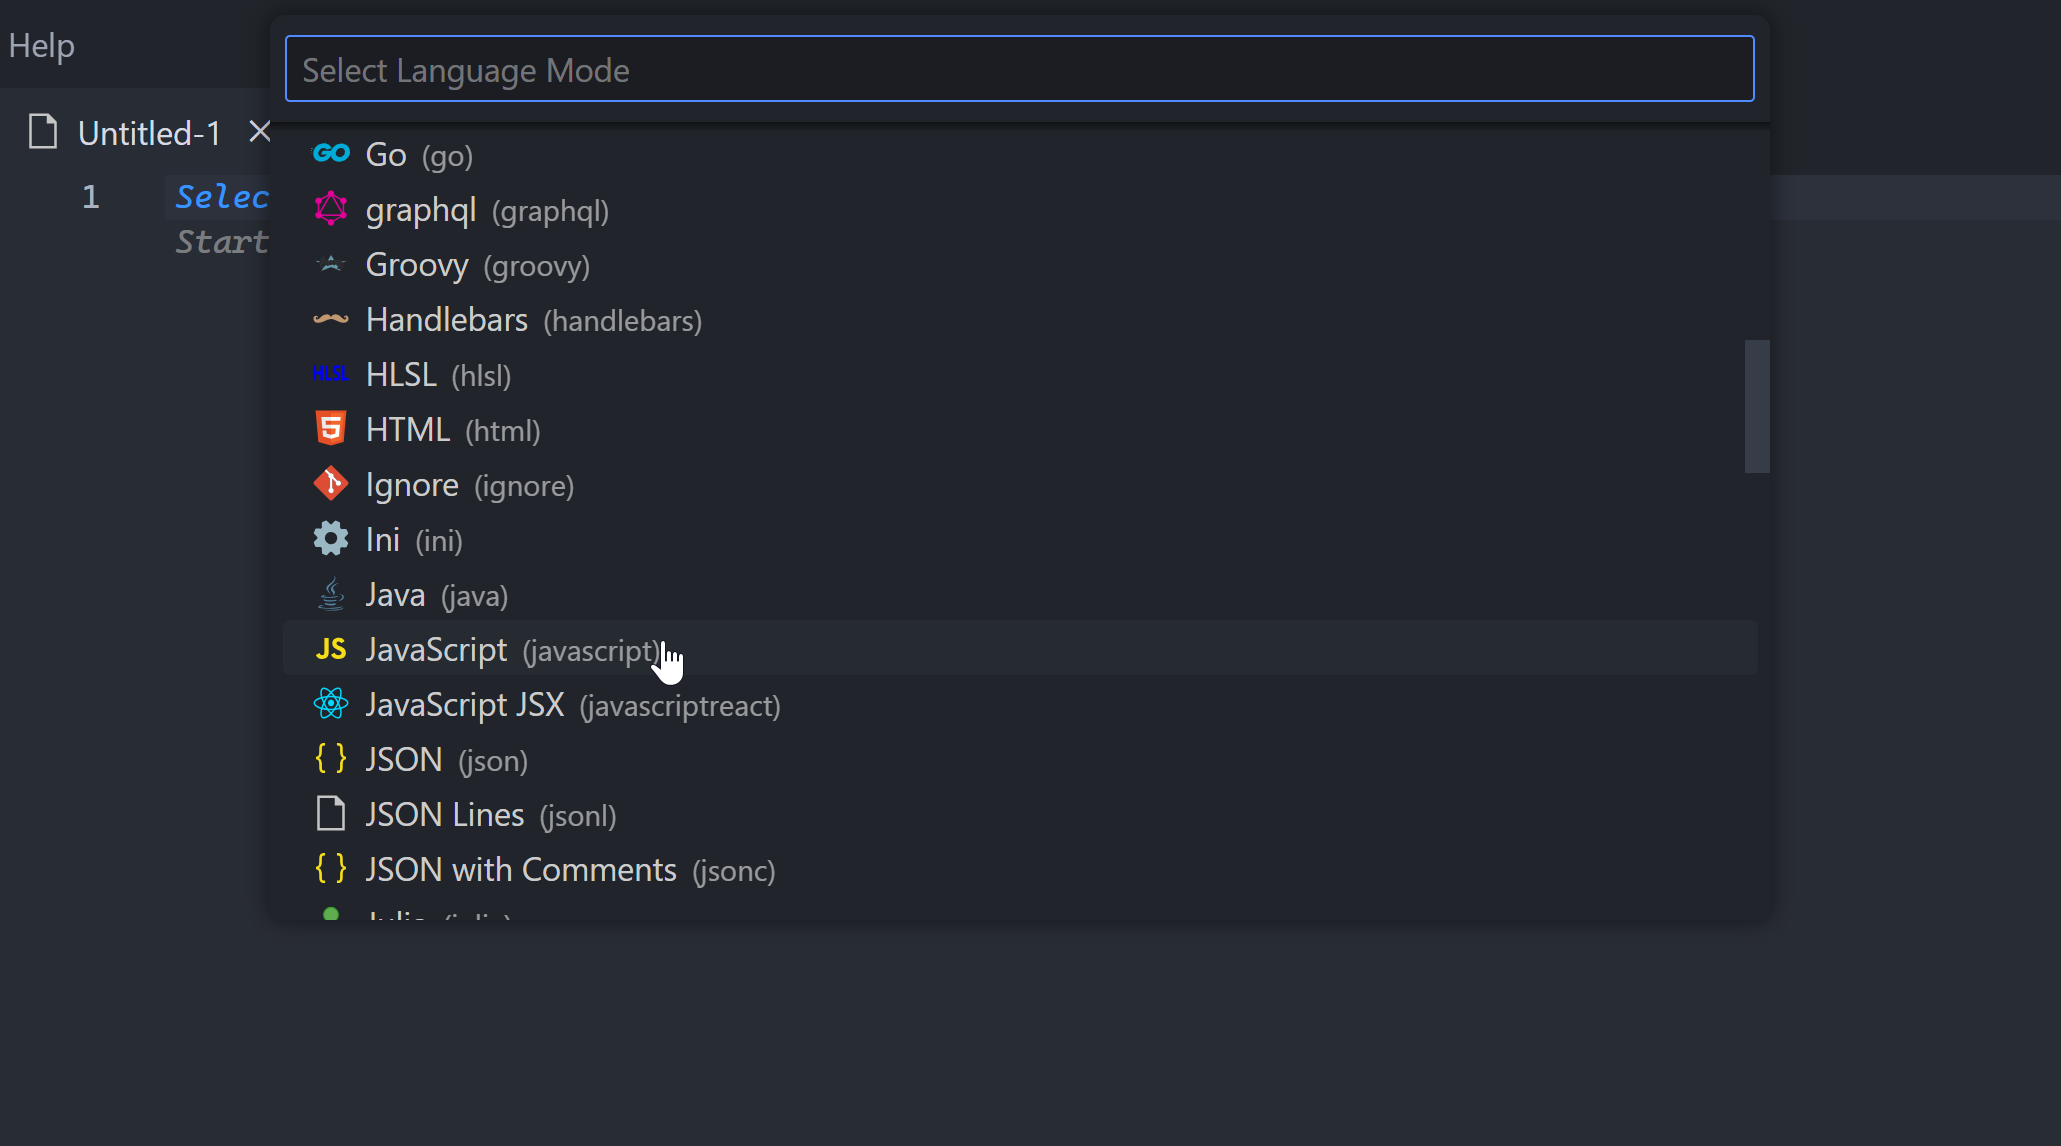
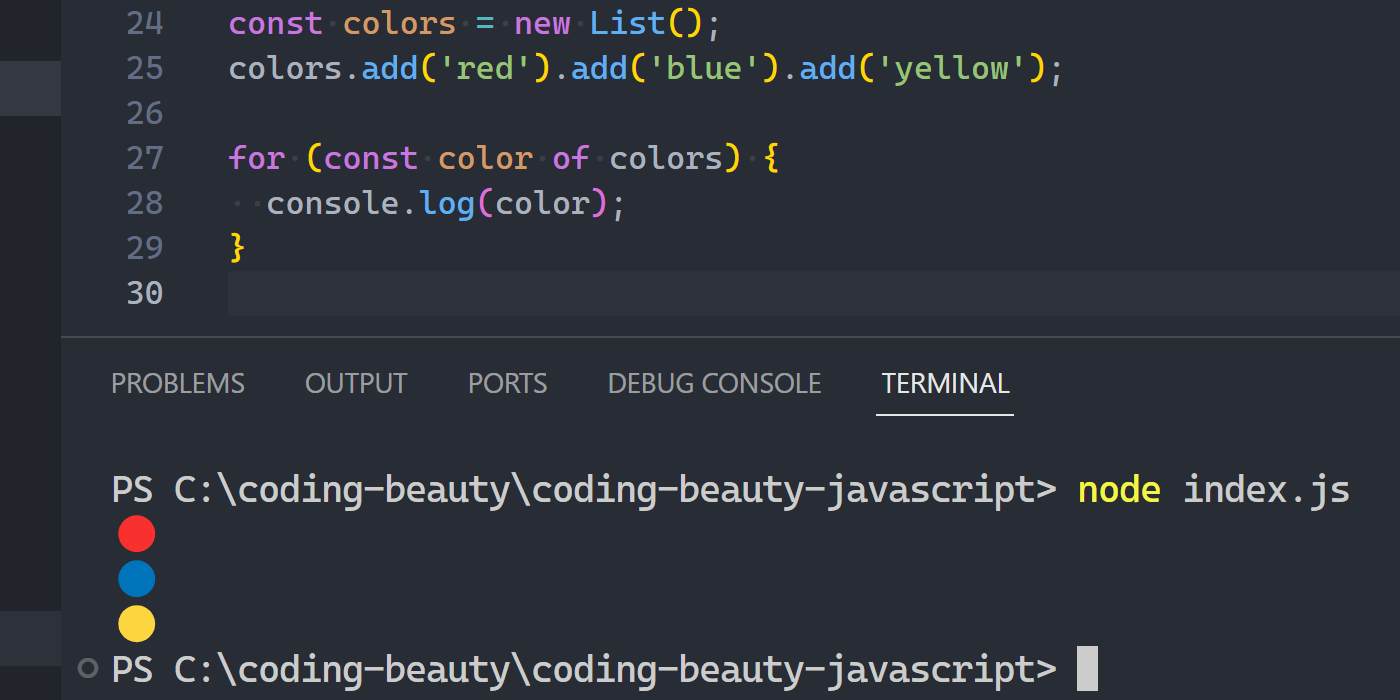
They’re a really cool feature you can use to make magic like this happen:
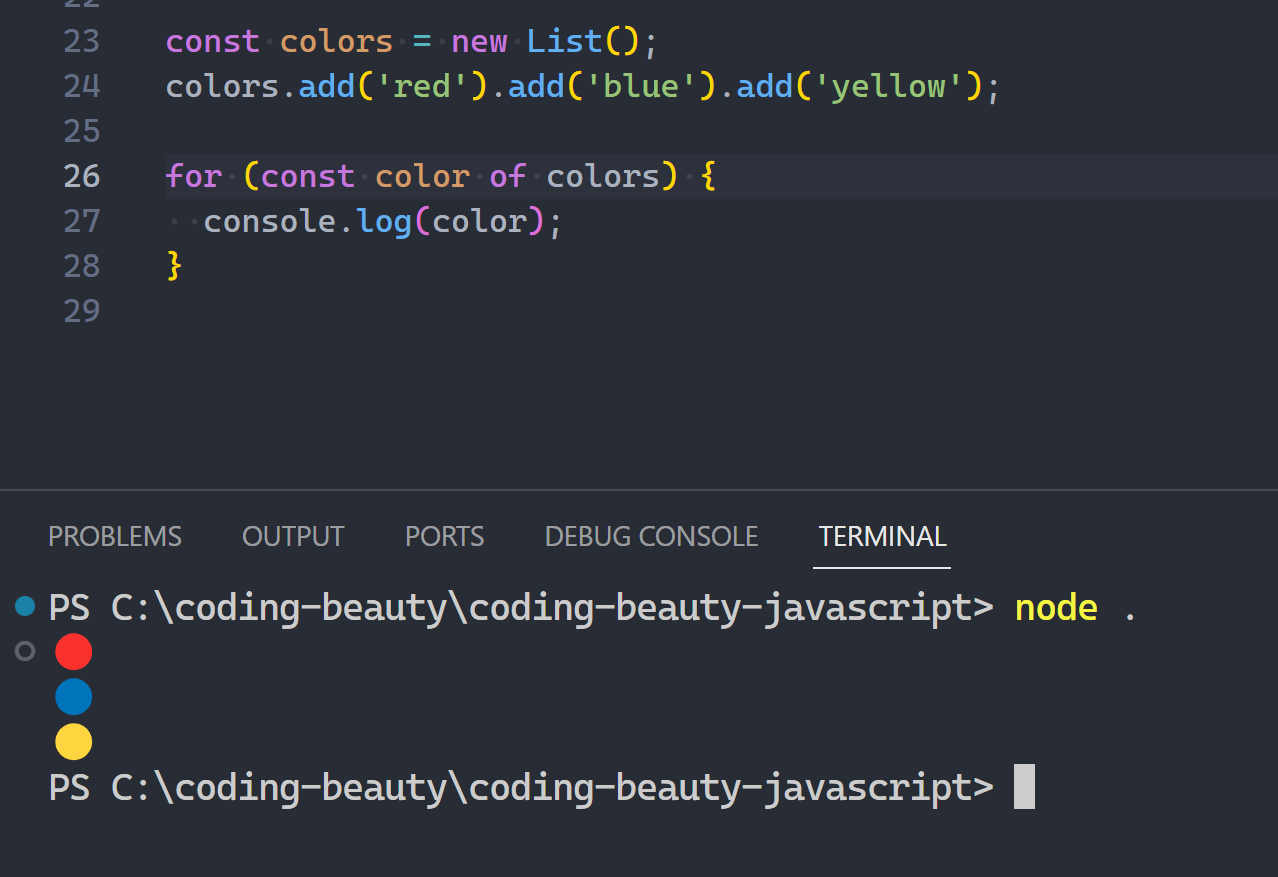
You’ll see how we built the List class with a well-known symbol to do this.
They’re all about completely customizing the normal behavior of built-in operations like for..of. It’s like operator overloading in C++ and C#.
Also all static methods of the Symbol class.
1. Symbol.hasInstance
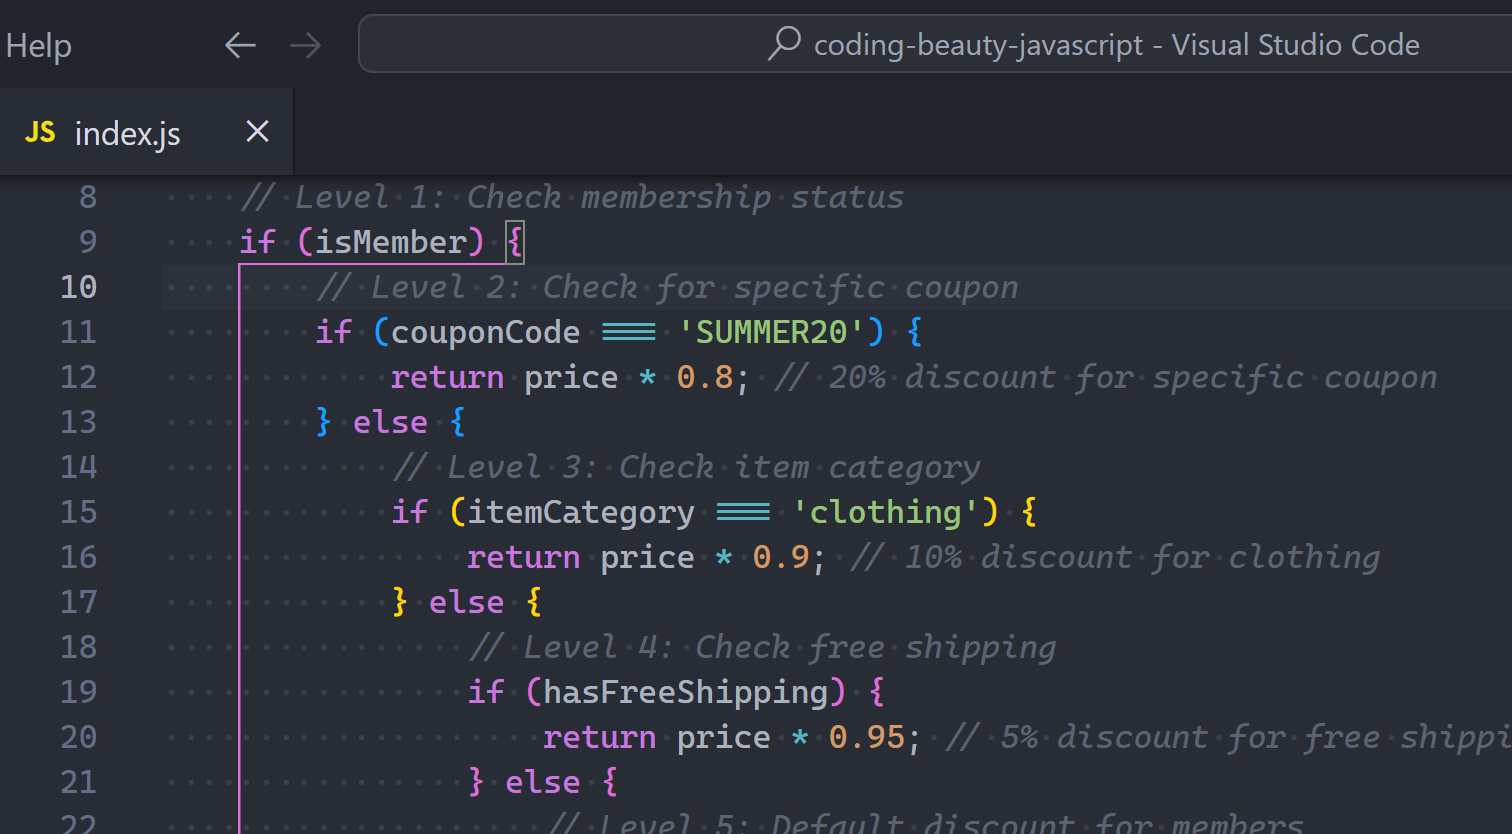
So first up we have Symbol.hasInstance: for easily changing how the instanceof operator behaves.
const person = new Person({
  name: 'Tari Ibaba',
  at: 'codingbeautydev.com',
});

// Because of Symbol.hasInstance
console.log(person instanceof Person); // ❌ false (!!)
console.log('Tari Ibaba' instanceof Person); // ✅ true
console.log('Person' instanceof Person); // ❌ false
Normally instanceof is all about checking if a variable is an instance of class.
class Person {
  constructor({ name, at }) {
    this.name = name;
    this.at = at;
  }
}

const person = new Person({
  name: 'Tari Ibaba',
  at: 'codingbeautydev.com',
});

console.log(person instanceof Person); // ✅ true
console.log('Person' instanceof Person); // ❌ false
console.log(person instanceof String); // ❌ false
This is as it should be. Pretty standard stuff.
But with Symbol.hasInstance we can completely transform how instanceof works:
class Person {
  constructor({ name, at }) {
    this.name = name;
    this.at = at;
  }

  static [Symbol.hasInstance](obj) {
    const people = ['Tari Ibaba', 'Ronaldo'];
    return people.includes(obj);
  }
}
Now a Person is no longer a Person, as far as instanceof is concerned.
const person = new Person({
  name: 'Tari Ibaba',
  at: 'codingbeautydev.com',
});

console.log(person instanceof Person); // ❌ false (!!)
console.log('Tari Ibaba' instanceof Person); // ✅ true
console.log('Person' instanceof Person); // ❌ false
What if we don’t want to completely override it, but instead extend it in an intuitive way?
We can’t use instanceof inside the symbol because that’ll quickly lead to an infinite recursion:
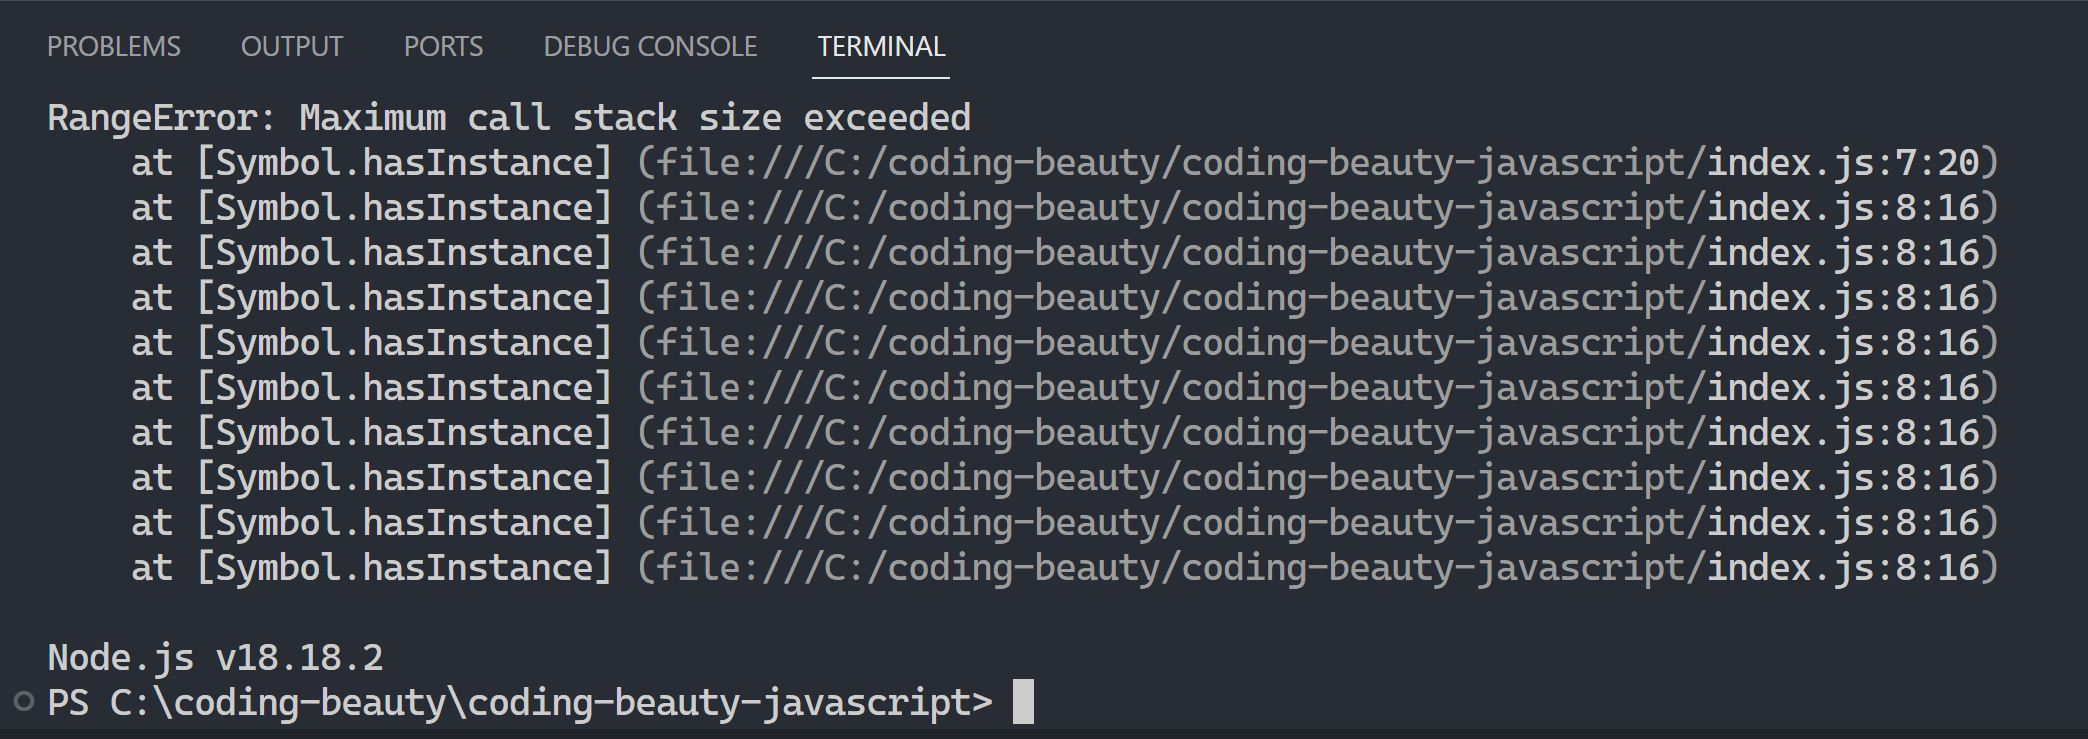
Instead we compare the special constructor property of the object to our own:
class Fruit {
  constructor(name) {
    this.name = name;
  }

  [Symbol.hasInstance](obj) {
    const fruits = ['🍍', '🍌', '🍉', '🍇'];
    // this == this.constructor in a static method
    return obj.constructor === this || fruits.includes(obj);
  }
}

const fruit = new Fruit('apple');
If you’re just hearing of .constructor, this should explain everything:
String.prototype.constructor.prototype.constructor === String // true2. Symbol.iterator
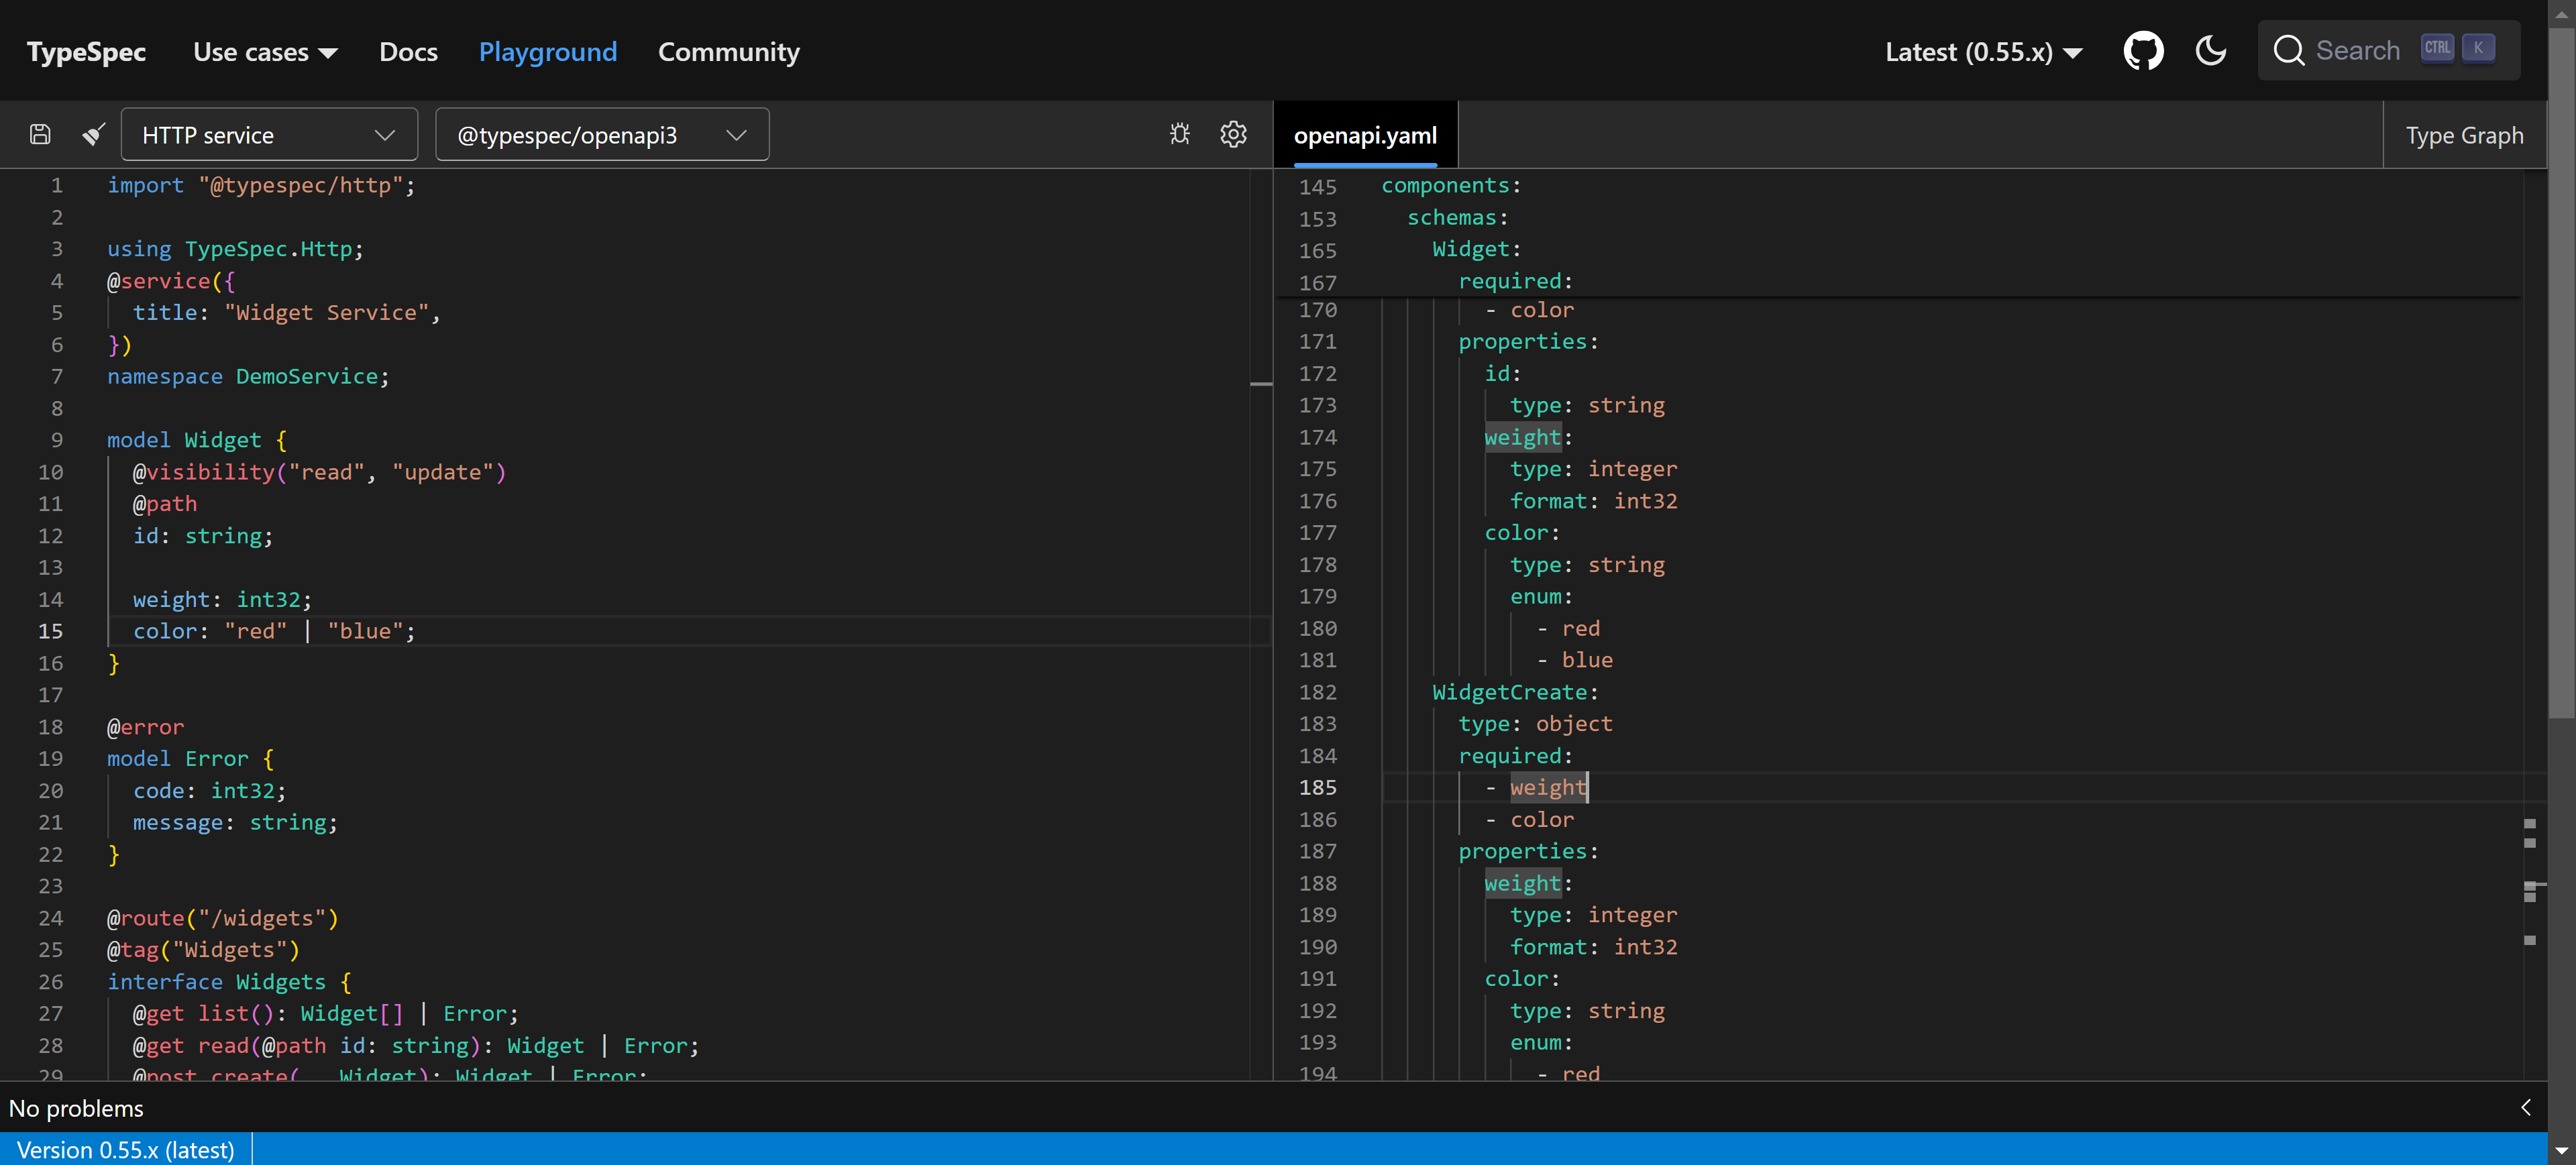
Our next hack is Symbol.iterator, for totally altering how and if loop works on an object.
Remember this:
We did this thanks to Symbol.iterator:
class List {
  elements = [];

  wordEmojiMap = {
    red: '🔴',
    blue: '🔵',
    green: '🟢',
    yellow: '🟡',
  };

  add(element) {
    this.elements.push(element);
    return this;
  }

  // Generator
  *[Symbol.iterator]() {
    for (const element of this.elements) {
      yield this.wordEmojiMap[element] ?? element;
    }
  }
}
We see generators crop up once again.
Any time we use for..of
const numbers = [1, 2, 3];

for (const num of numbers) {
  console.log(num);
}

/*
1
2
3
*/
This happens behind the scenes:
const iterator = numbers[Symbol.iterator]();

// for..of: Keep calling .next() and using value until done
console.log(iterator.next()); // Object {value: 1, done: false}

console.log(iterator.next()); // Object {value: 2, done: false}

console.log(iterator.next()); // Object {value: 3, done: false}

console.log(iterator.next()); // Object {value: undefined, done: true}
So with Symbol.iterator we completely changed what for..of does with any List object:
class List {
  // ...

  *[Symbol.iterator]() {
    for (const element of this.elements) {
      yield this.wordEmojiMap[element] ?? element;
    }
  }
}const colors = new List();
colors.add('red').add('blue').add('yellow');
const iterator = colors[Symbol.iterator]();
console.log(iterator.next()); // { value: '🔴', done: false }
console.log(iterator.next()); // { value: '🔵', done: false }
console.log(iterator.next()); // { value: '🟡', done: false }
console.log(iterator.next()); // { value: undefined, done: true }4. Symbol.toPrimitive
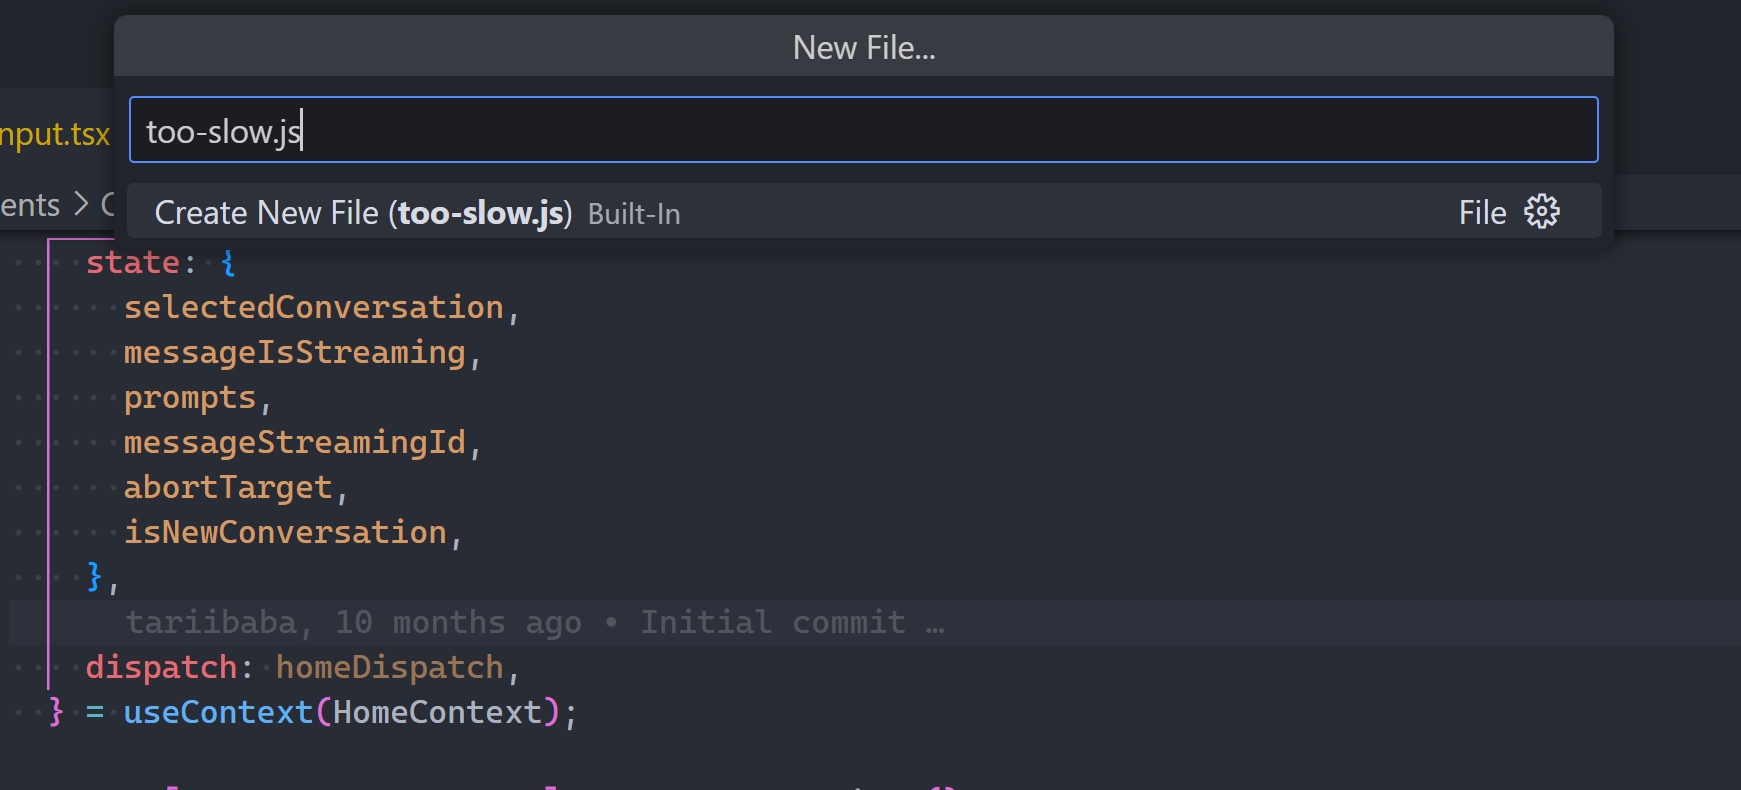
With Symbol.toPrimitive we quickly go from this:
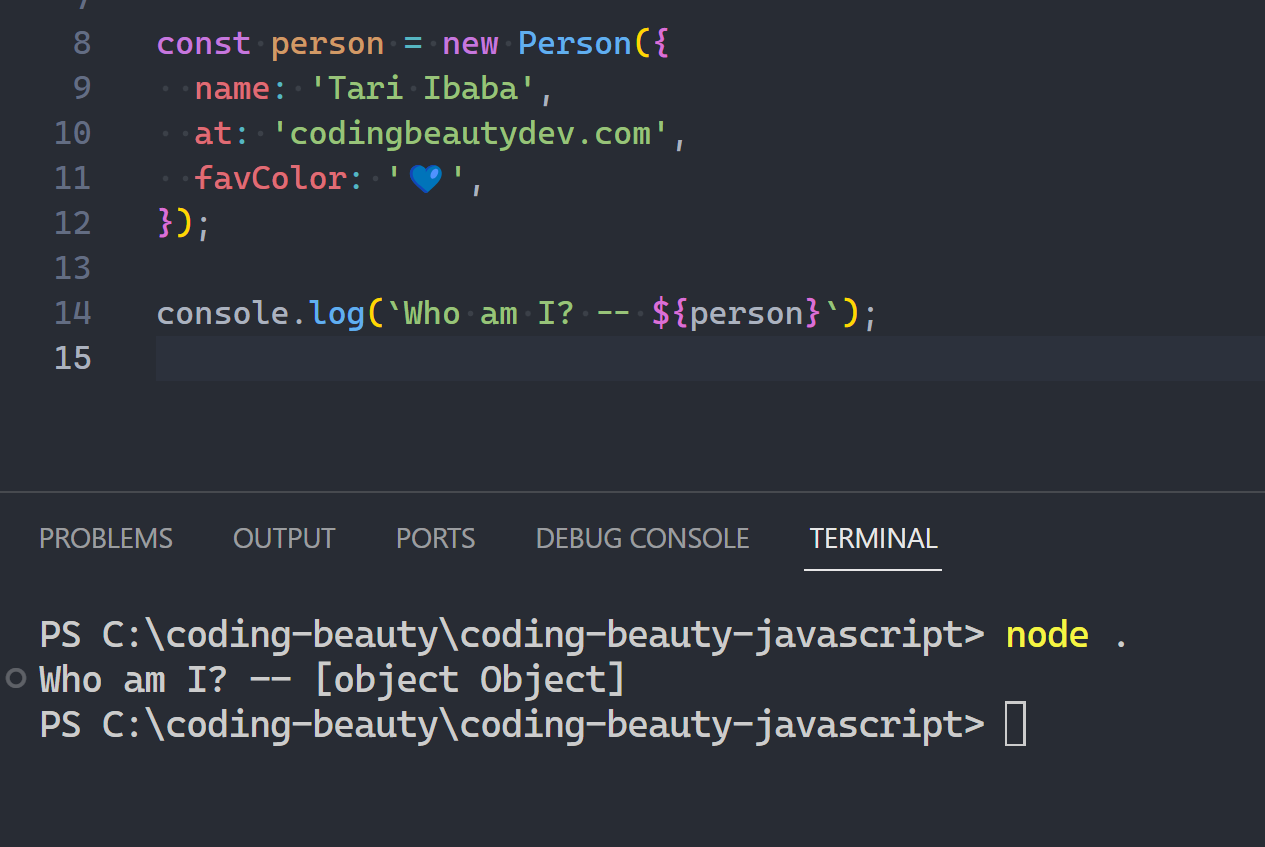
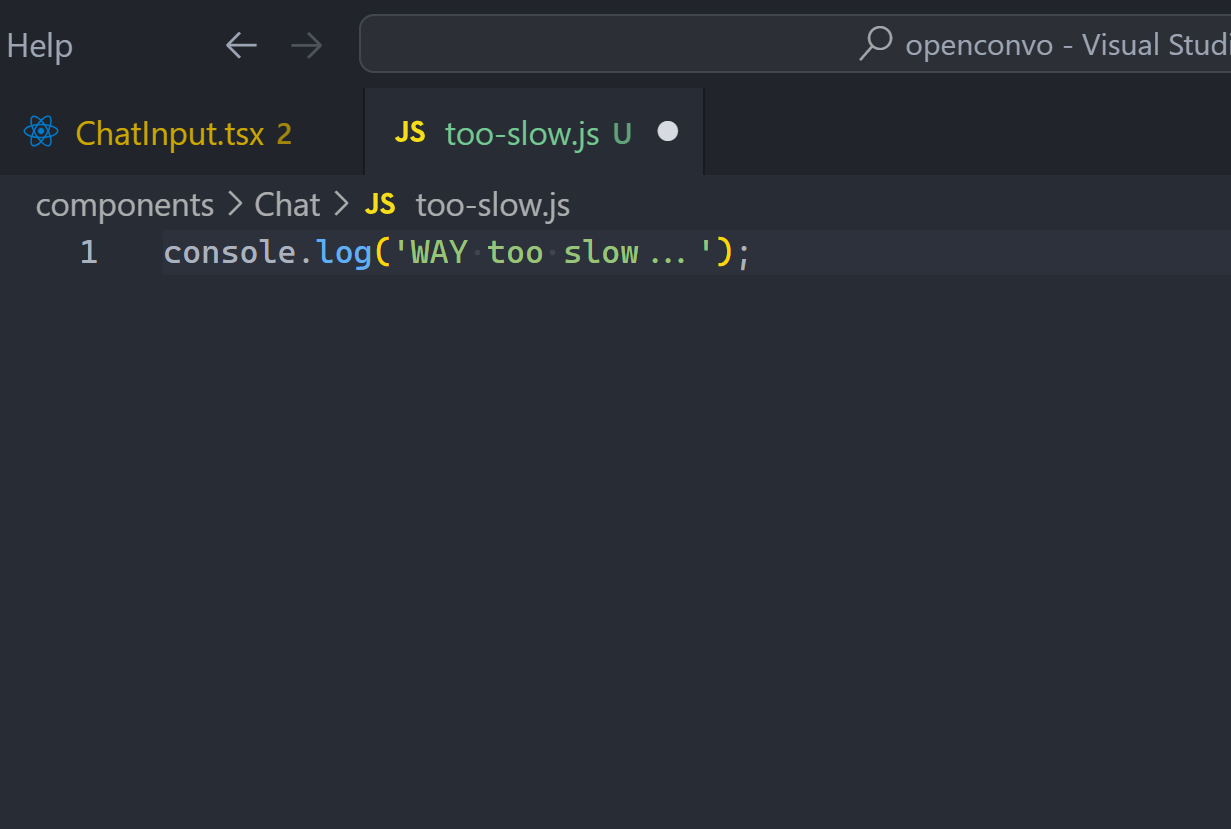
To this:
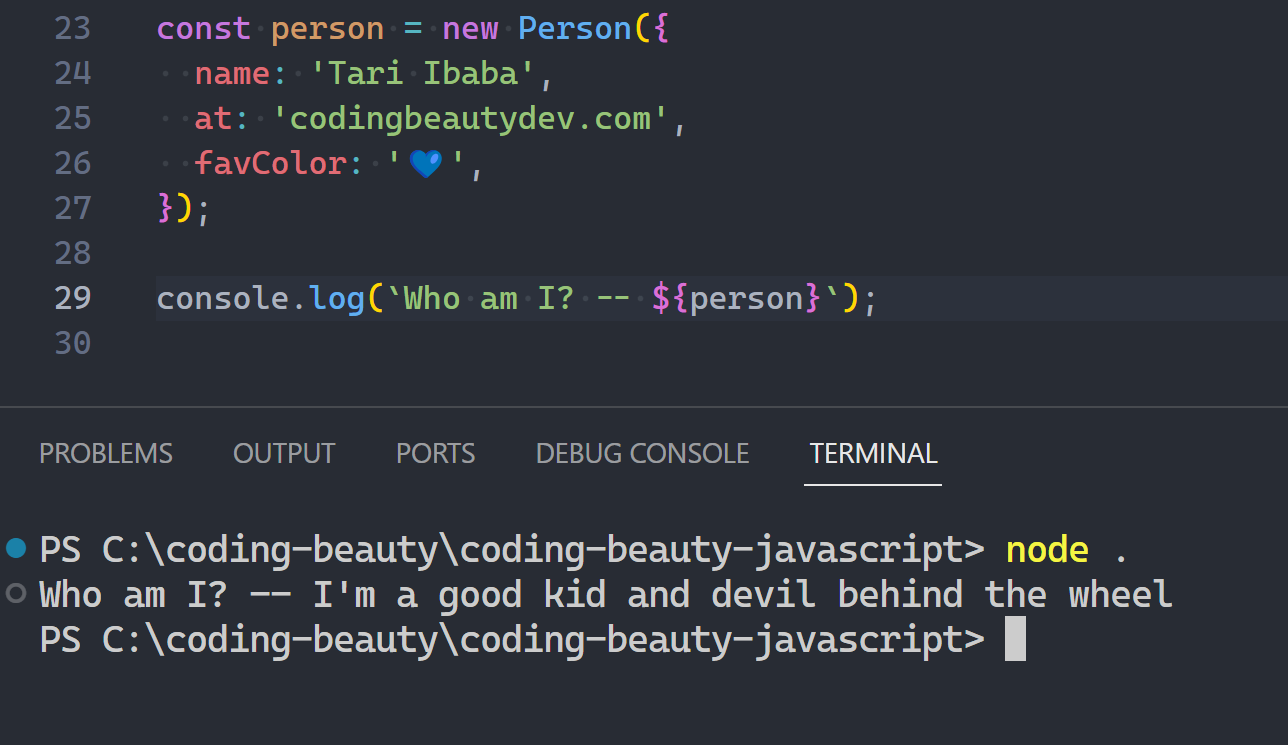
We did this by overriding Symbol.toPrimitive:
class Person {
  constructor({ name, at, favColor }) {
    this.name = name;
    this.at = at;
    this.favColor = favColor;
  }

  [Symbol.toPrimitive]() {
    return `I'm ${this.name}`;
  }
}
Now we can use a Person object anywhere we use a string for interpolation & concatenation:
const str = 'Person: ' + person;

console.log(str);
// Person: I'm Tari Ibaba
There’s even a hint parameter that makes an object act like a number, string, or something else.
class Money {
  constructor(amount, currency) {
    this.amount = amount;
    this.currency = currency;
  }

  [Symbol.toPrimitive](hint) {
    if (hint === 'string') {
      return `${this.amount} ${this.currency}`;
    } else if (hint === 'number') {
      return this.amount;
    } else if (hint === 'default') {
      return `${this.amount} ${this.currency}`;
    }
  }
}

const price = new Money(500, 'USD');

console.log(String(price)); // 500 USD
console.log(+price); // 500
console.log('Price is ' + price); // Price is 500 USD
4. Symbol.split
Genius well-known symbol for turning your custom objects into string separators:
class Greedy {
  [Symbol.split](str) {
    return `Me: ${str}, you: 0`;
  }
}

class ReadableNumber {
  [Symbol.split](str) {
    return str.split('').reduceRight((acc, cur, index, arr) => {
      return index % 3 === 0 && index < arr.length - 1
        ? cur + ',' + acc
        : cur + acc;
    }, '');
  }
}

console.log('1-000-000'.split('-')); // [ '1', '000', '000' ]
console.log('1000000'.split(new Greedy())); // Me: 1000000, you: 0
console.log('1000000'.split(new ReadableNumber())); // 1,000,000
5. Symbol.search
Just like Symbol.split, transform your custom objects into sophisticated string searching tools:
class Topic {
  static topics = {
    'codingbeautydev.com': ['JavaScript', 'VS Code', 'AI'],
  };

  constructor(value) {
    this.value = value;
  }

  [Symbol.search](where) {
    const topic = this.constructor.topics[where];
    if (!topic) return -1;
    return topic.indexOf(this.value);
  }
}

const str = 'codingbeautydev.com';

console.log(str.search(new Topic('VS Code'))); // 1
console.log(str.search(new Topic('Economics'))); // -1
Final thoughts
From looping to splitting to searching, well-known symbols let us redefine our core functionalities to behave in unique and delightful ways, pushing the boundaries of what’s possibly in JavaScript.