Tari Ibaba is a software developer with years of experience building websites and apps. He has written extensively on a wide range of programming topics and has created dozens of apps and open-source libraries.
Here’s something most JavaScript developers don’t know:
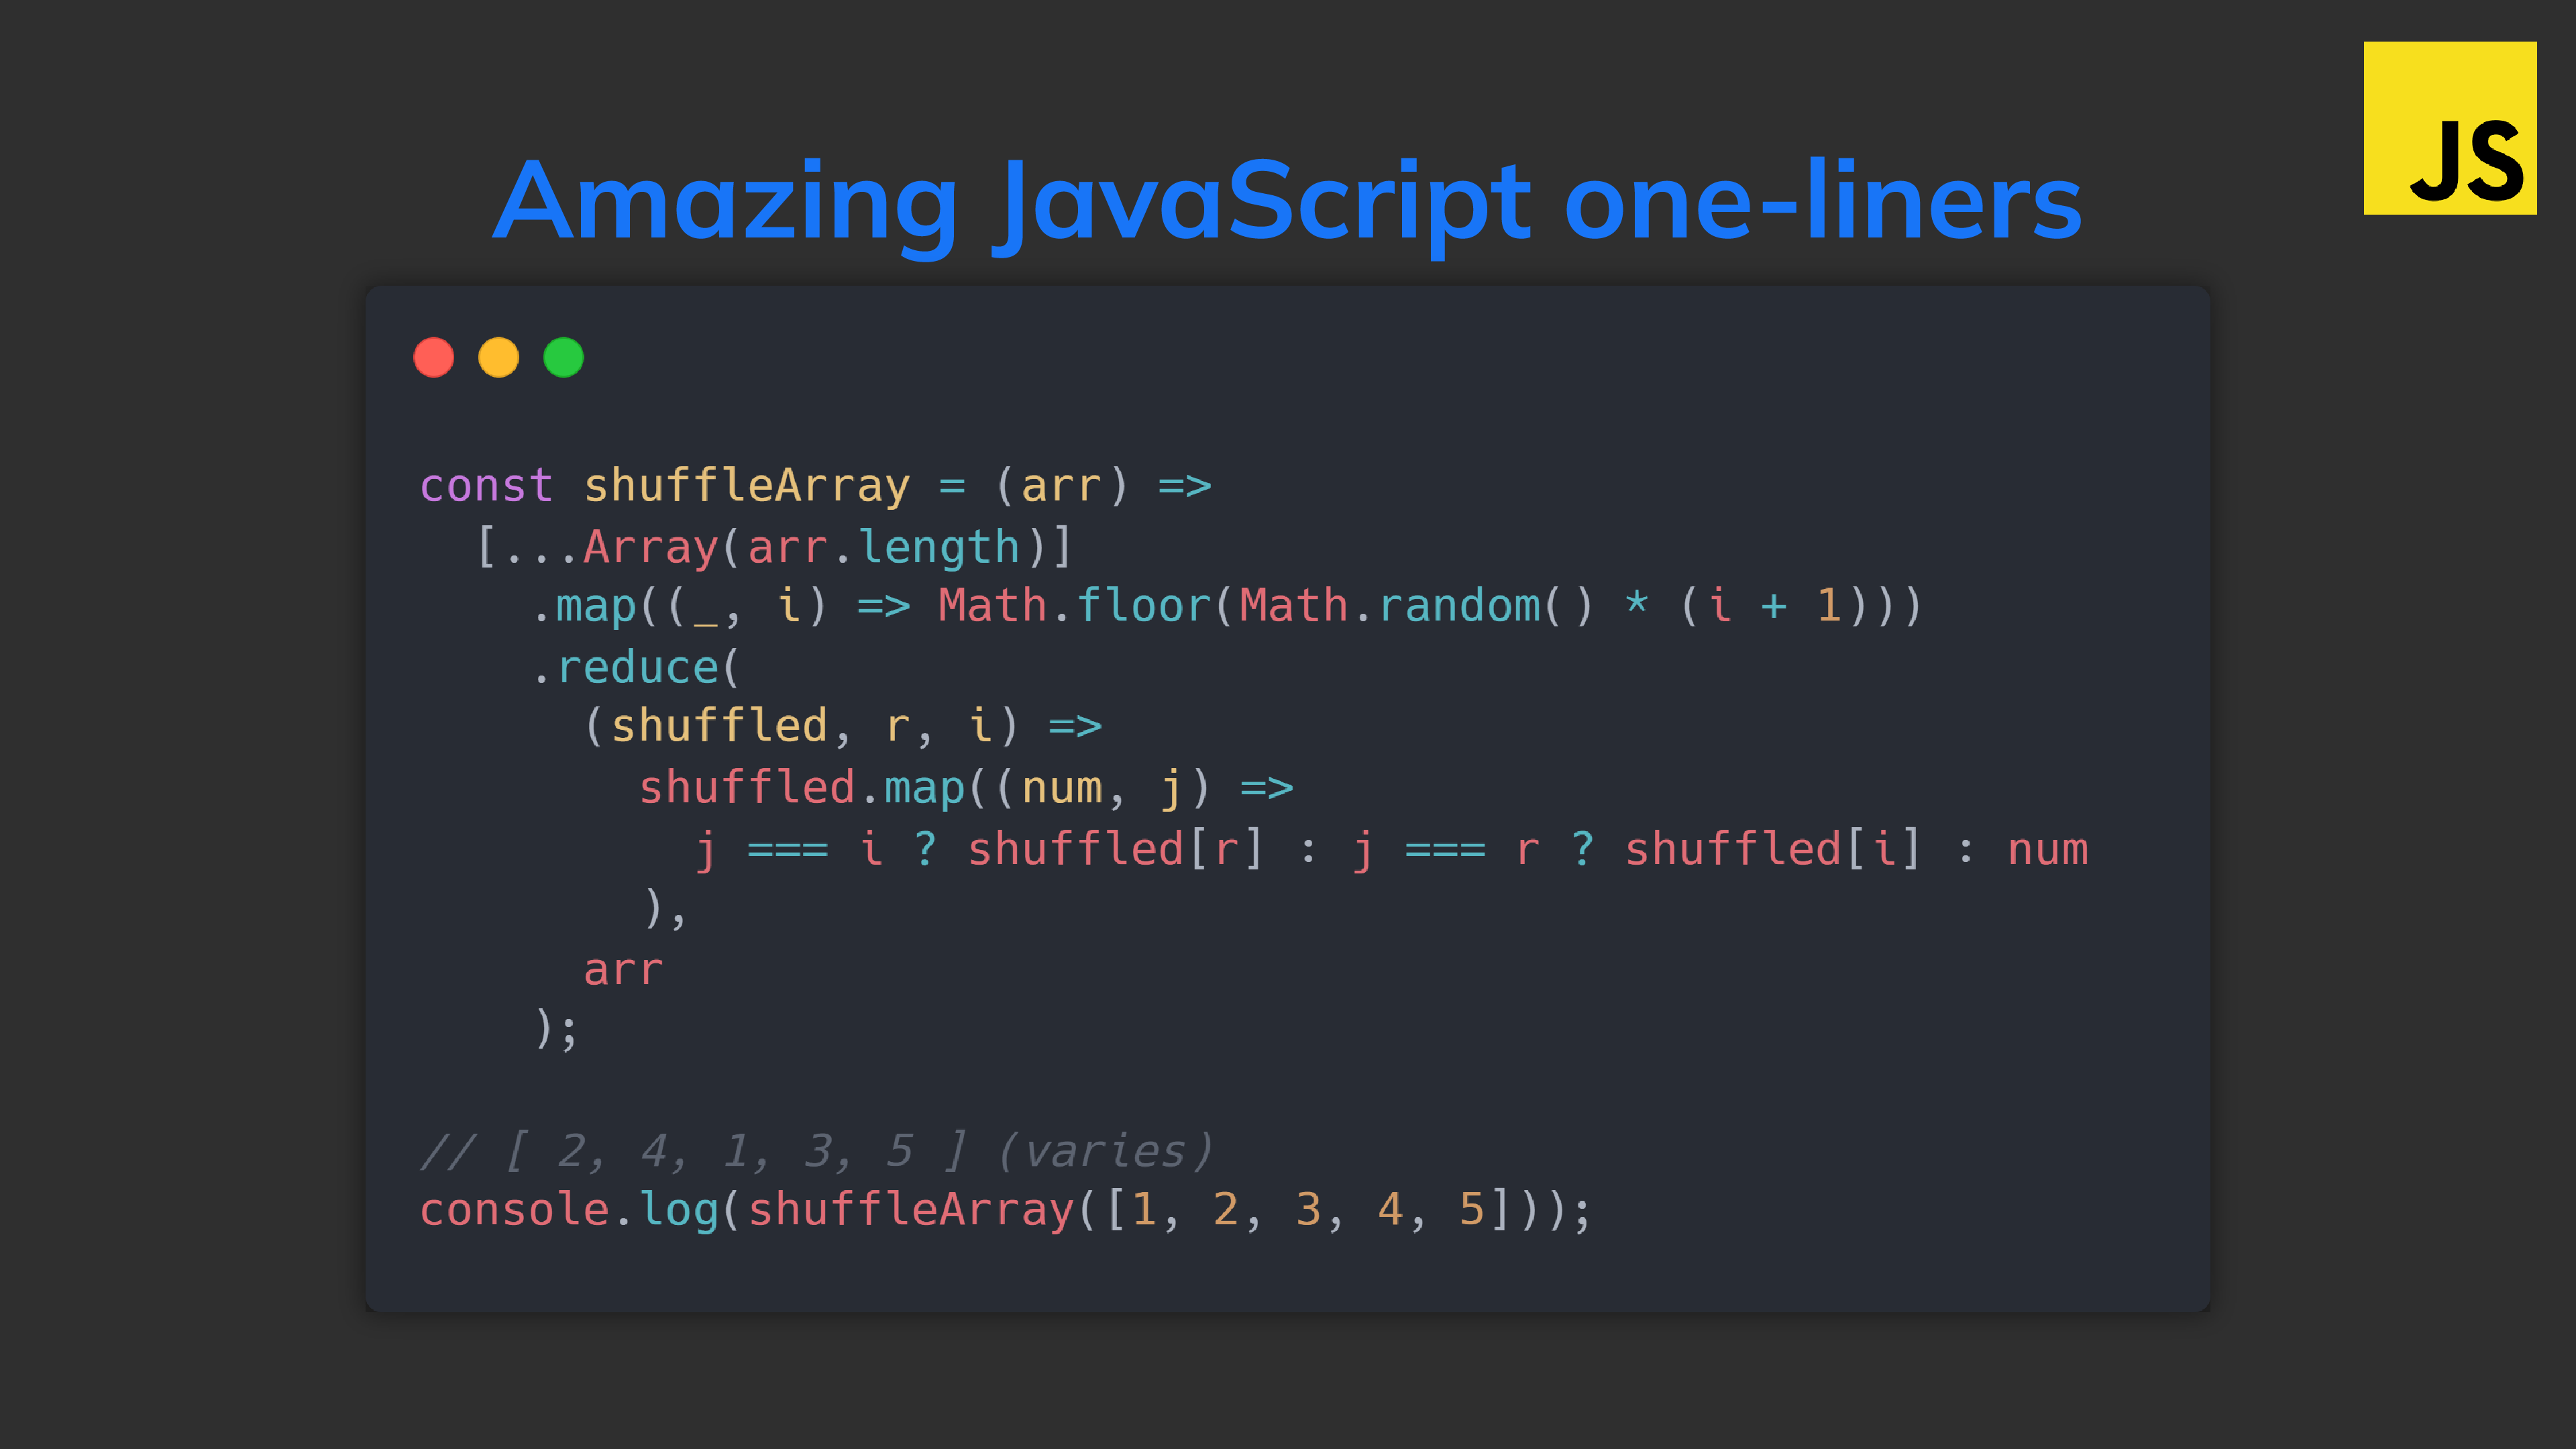
You can shorten any piece of code into a single line.
With one-liners I went from 17 imperative lines:
JavaScriptCopied!
// ❌ 17 lines
function extractRedirects(str) {
  let lines = str.split('\n');
  let sourceDestinationList = [];

  for (let line of lines) {
    let sourceDestination = line.split(' ');
    let source = sourceDestination[2];
    let destination = sourceDestination[3];
    let redirectObj = {
      source: source,
      destination: destination,
      permanent: true,
    };
    sourceDestinationList.push(redirectObj);
  }

  return sourceDestinationList;
}
// For more complex objects
// and sort() will probably have a defined callback
const areEqual = (arr1, arr2) =>
  JSON.stringify(arr1.sort()) === JSON.stringify(arr2.sort());
7. Remove duplicates from array
Shortest way to remove duplicates from an array?
❌ 9 lines:
JavaScriptCopied!
const removeDuplicates = (arr) => {
  const result = [];
  for (const num of arr) {
    if (!result.includes(num)) {
      result.push(num);
    }
  }
  return result;
};

const arr = [1, 2, 3, 4, 5, 3, 1, 2, 5];

const distinct = removeDuplicates(arr);

console.log(distinct); // [1, 2, 3, 4, 5]
Countless operations jam-packed into a single statement; A race from input start to output finish with no breaks, a free flow of high-level processing. A testament of coding ability and mastery.
This is the power and beauty of JavaScript one-liners.
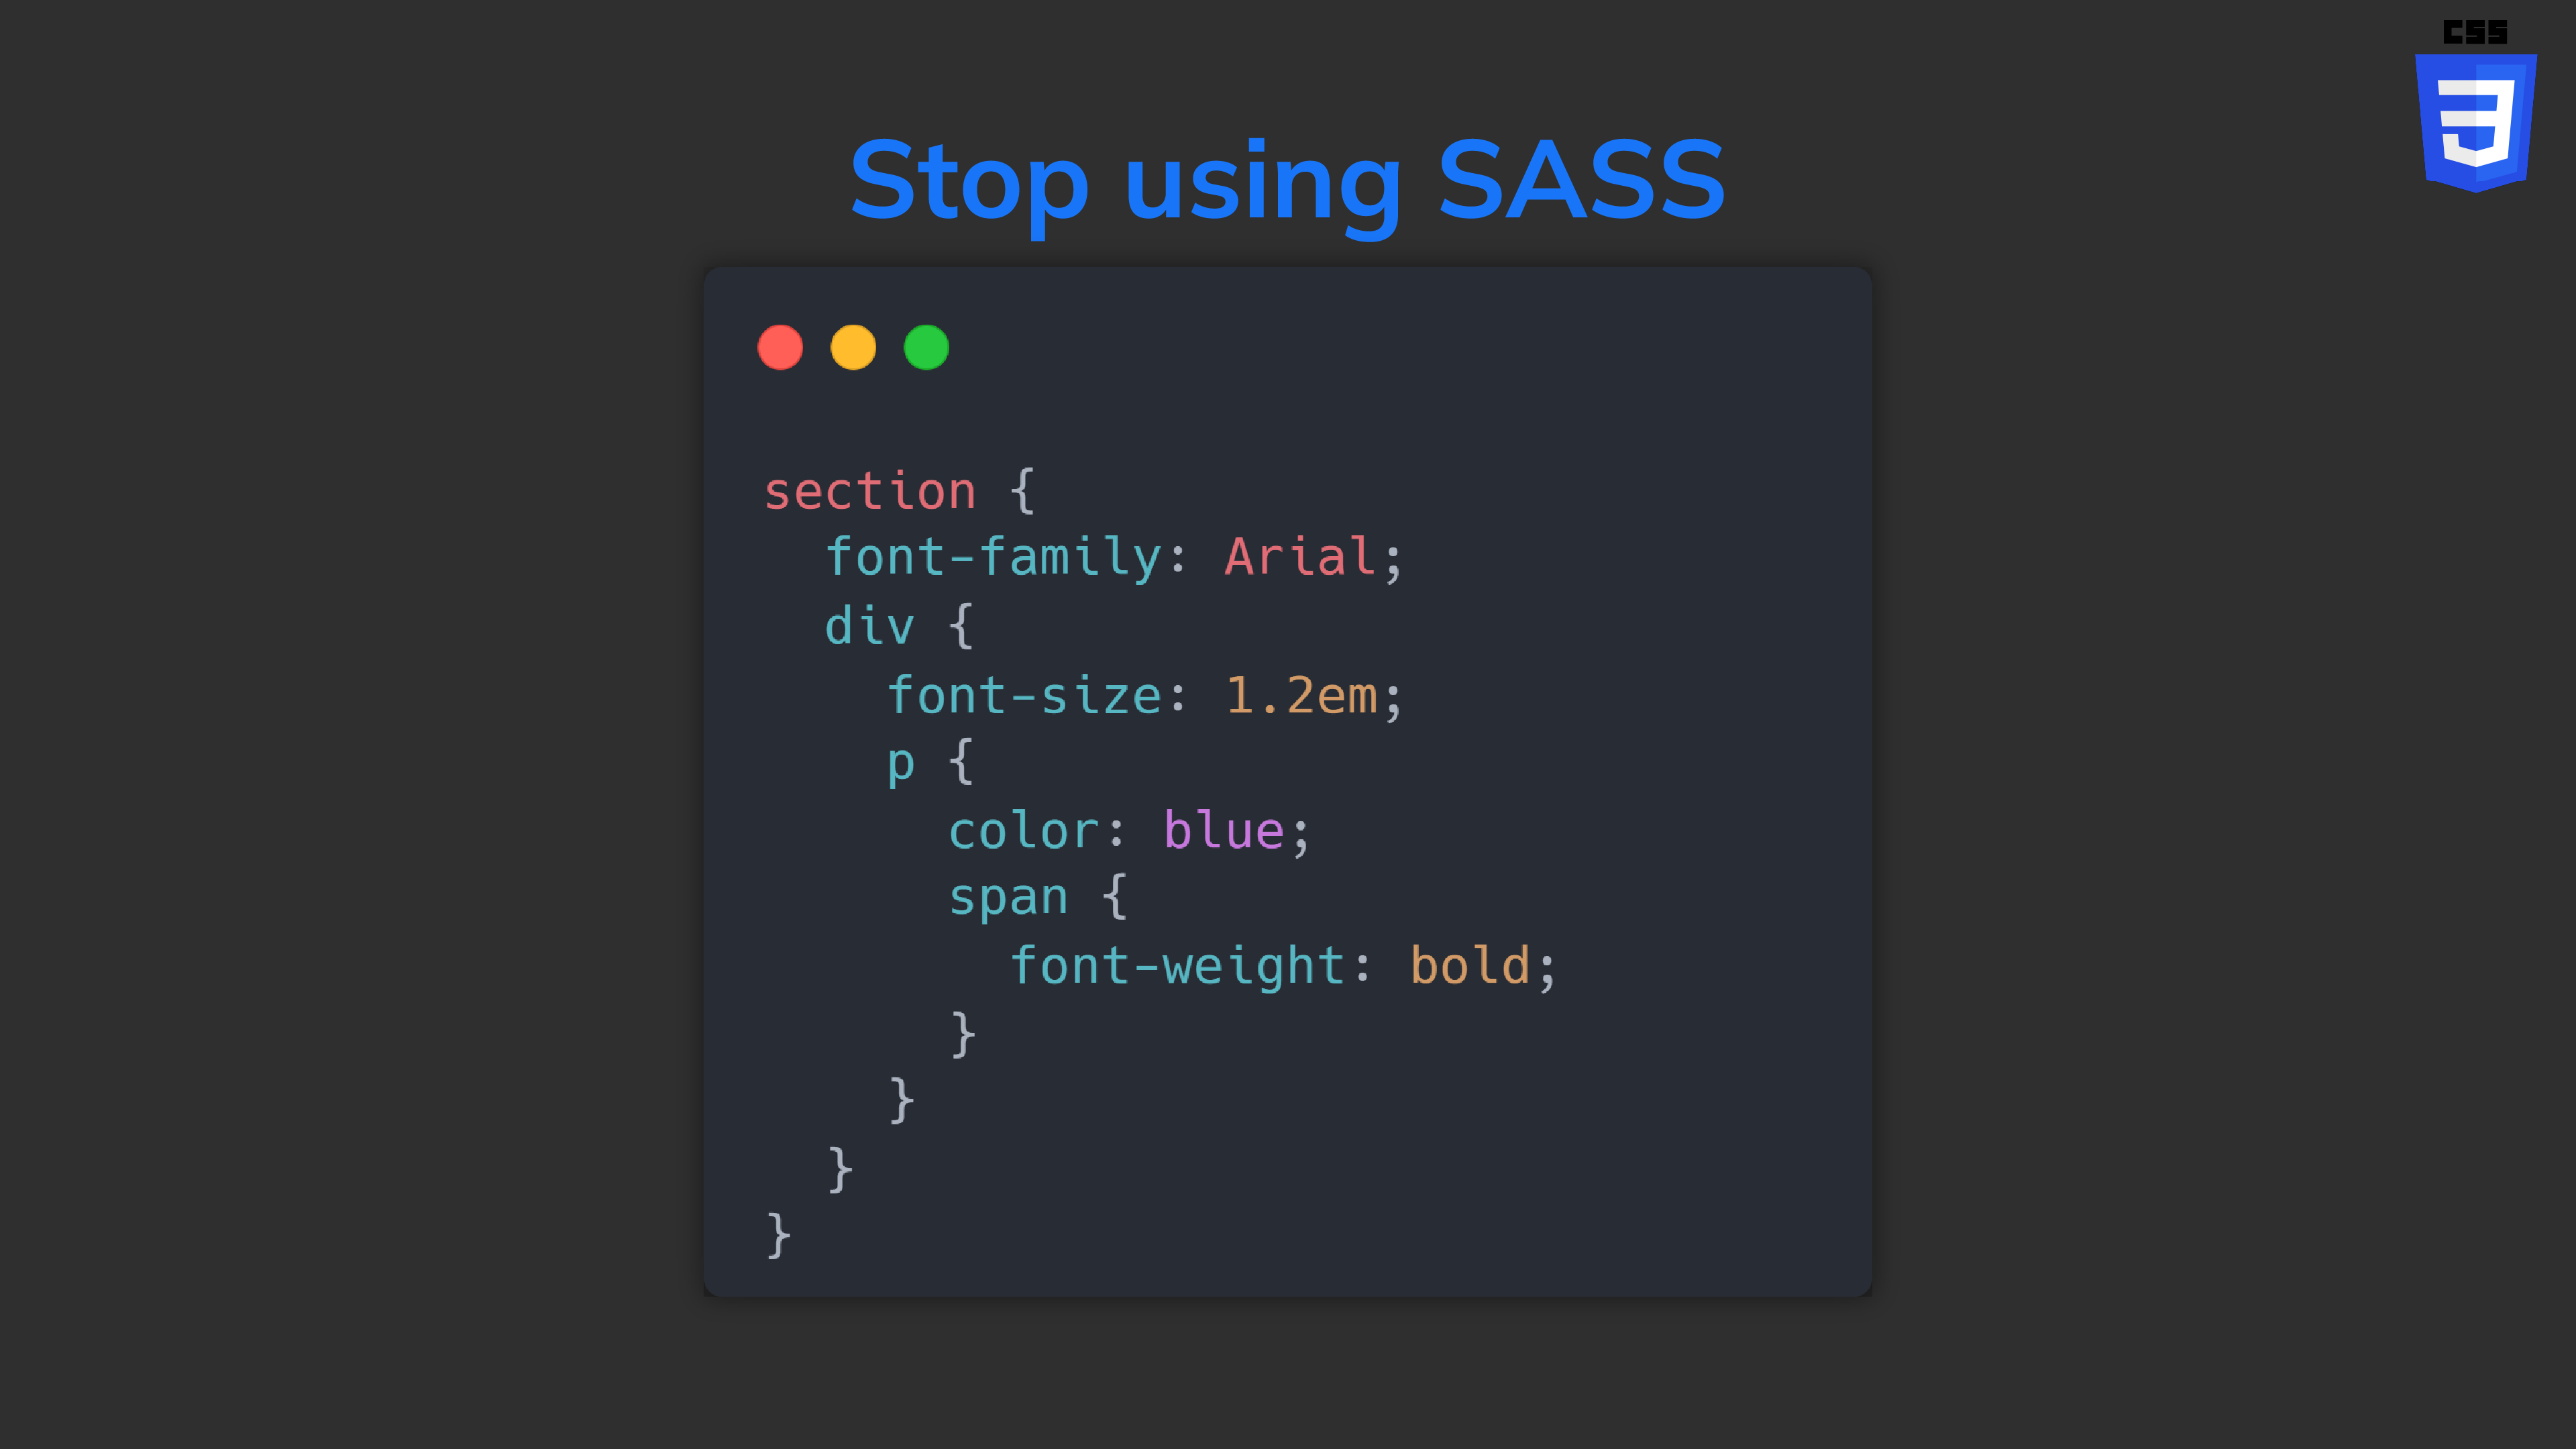
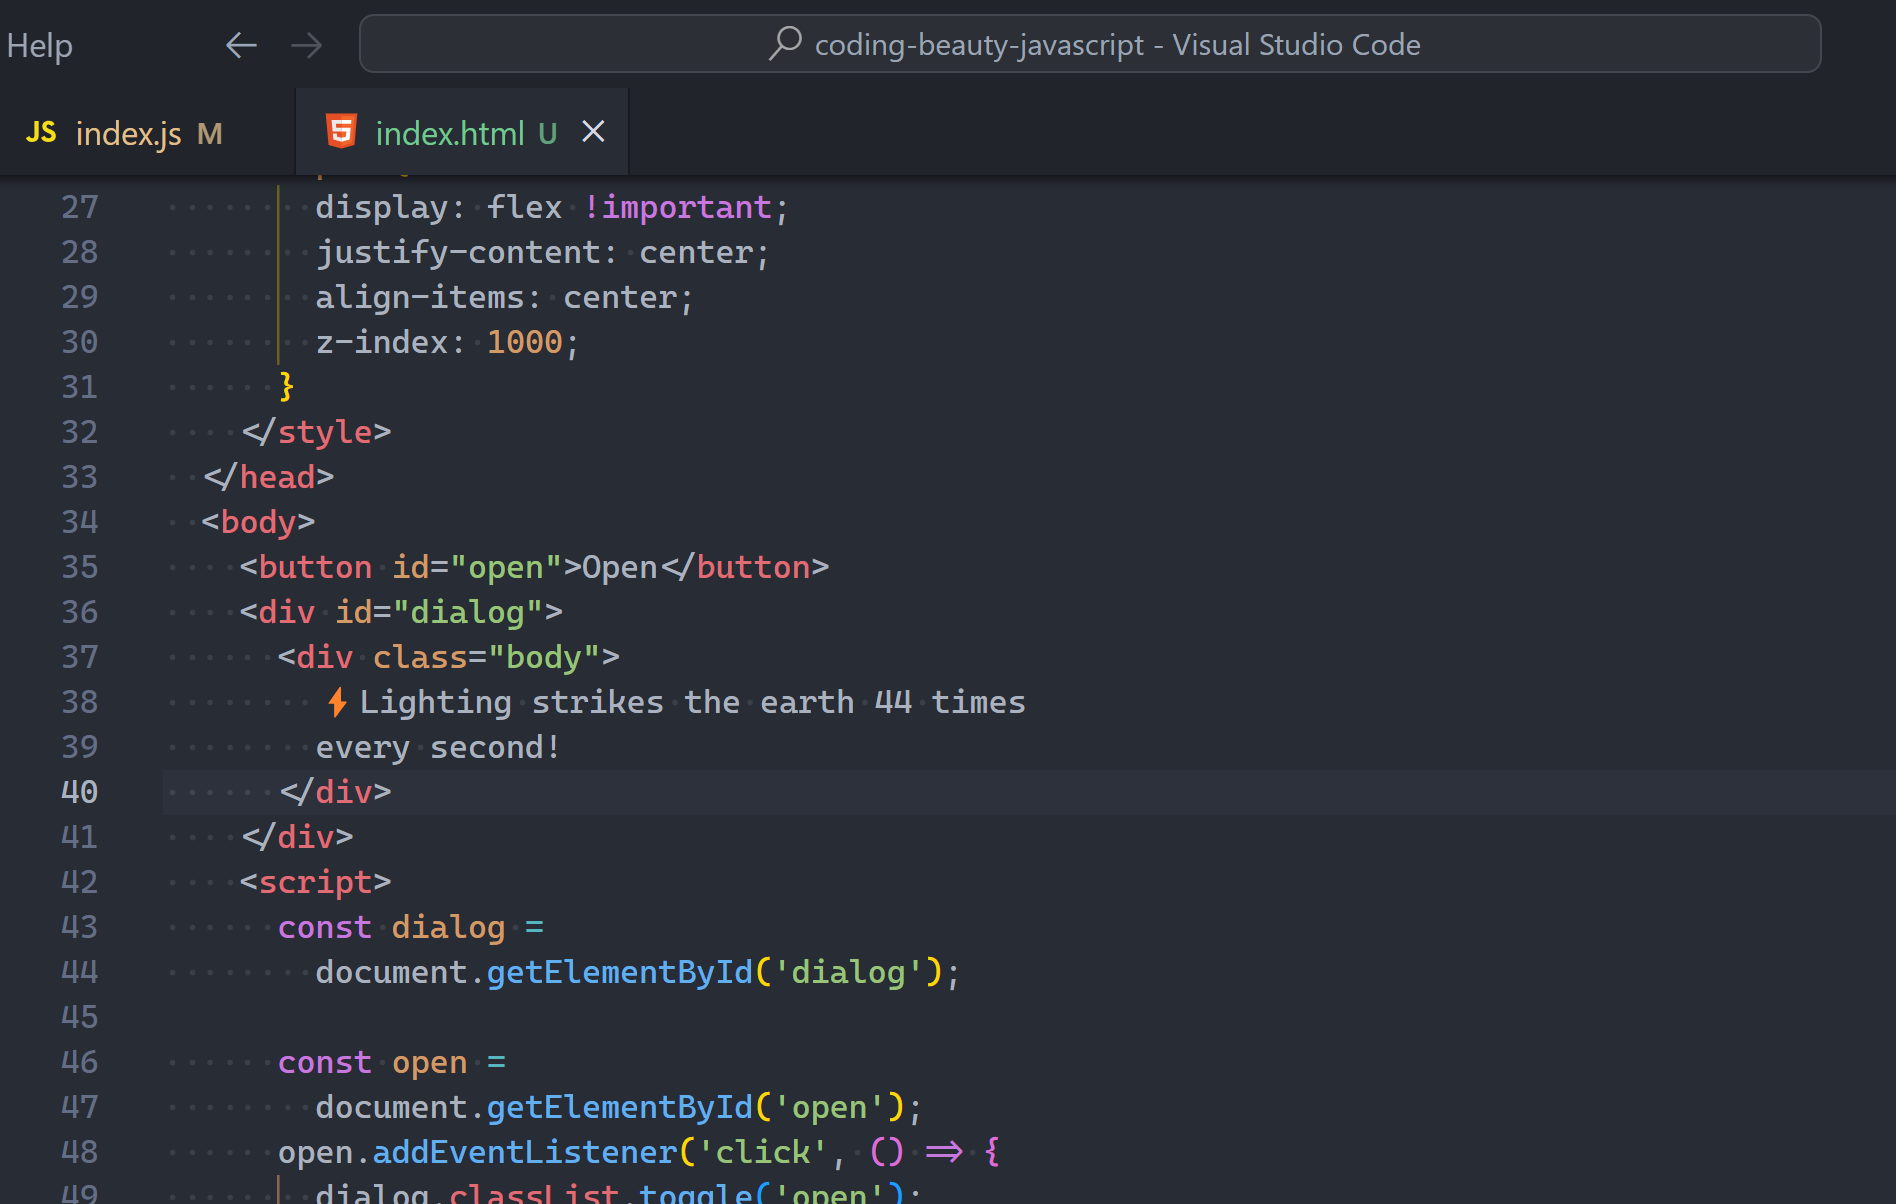
The new native nested CSS feature changes everything for frontend development and makes SASS & LESS useless.
❌ Before:
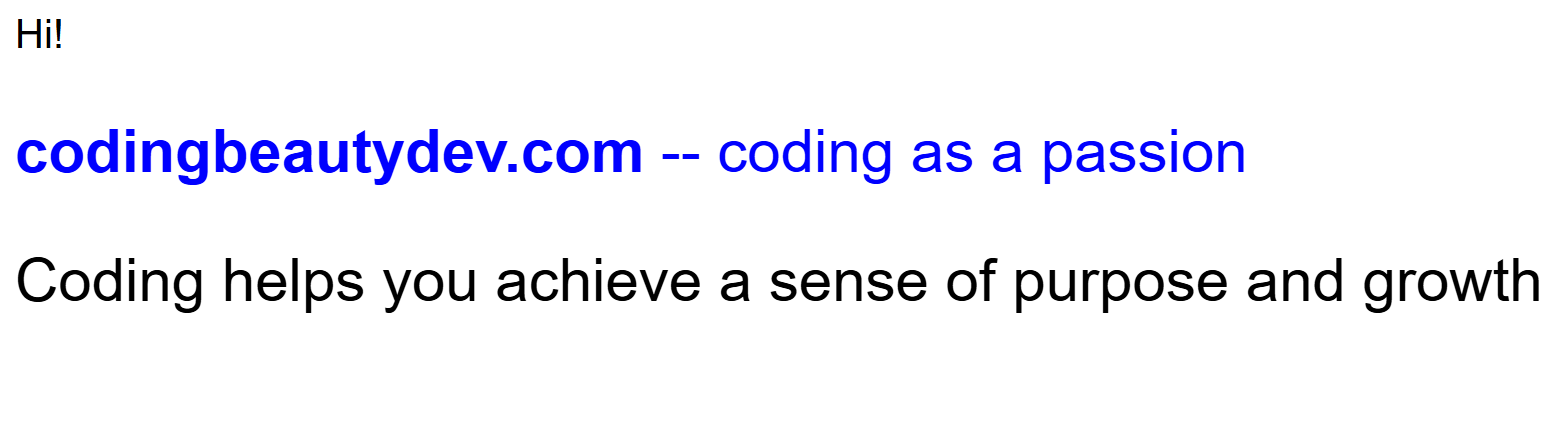
How would you style the nested elements in this HTML?
HTMLCopied!
<section>
  Hi!
  <div>
    <p><span>codingbeautydev.com</span> -- coding as a passion</p>
    Coding helps you achieve a sense of purpose and growth
  </div>
</section>
You’d normally stress yourself and waste a lot of time repeating the outer element names.
No wonder SASS and LESS became so popular.
CSSCopied!
section {
  font-family: Arial;
}

section div {
  font-size: 1.5em;
}

section div p {
  color: blue;
}

section div p span {
  font-weight: bold;
}
✅ But now: with native CSS:
CSSCopied!
section {
  font-family: Arial;
  div {
    font-size: 1.2em;
    p {
      color: blue;
      span {
        font-weight: bold;
      }
    }
  }
}
So much cleaner and easier. All the styles are now encapsulated together instead of being scattered all over the place.
As intuitive as encapsulation in object-oriented programming:
JavaScriptCopied!
// ❌ redundancy
const personName = 'Tari Ibaba';
const personSite = 'codingbeautydev.com';
const personColor = '🔵blue';

// ✅ encapsulate field
class Person {
  name = 'Tari Ibaba';
  site = 'codingbeautydev.com';
  color = '🔵blue';
}
It makes more intuitive sense for the element styles to contain query styles — than for the query styles to contain small segments of the element styles.
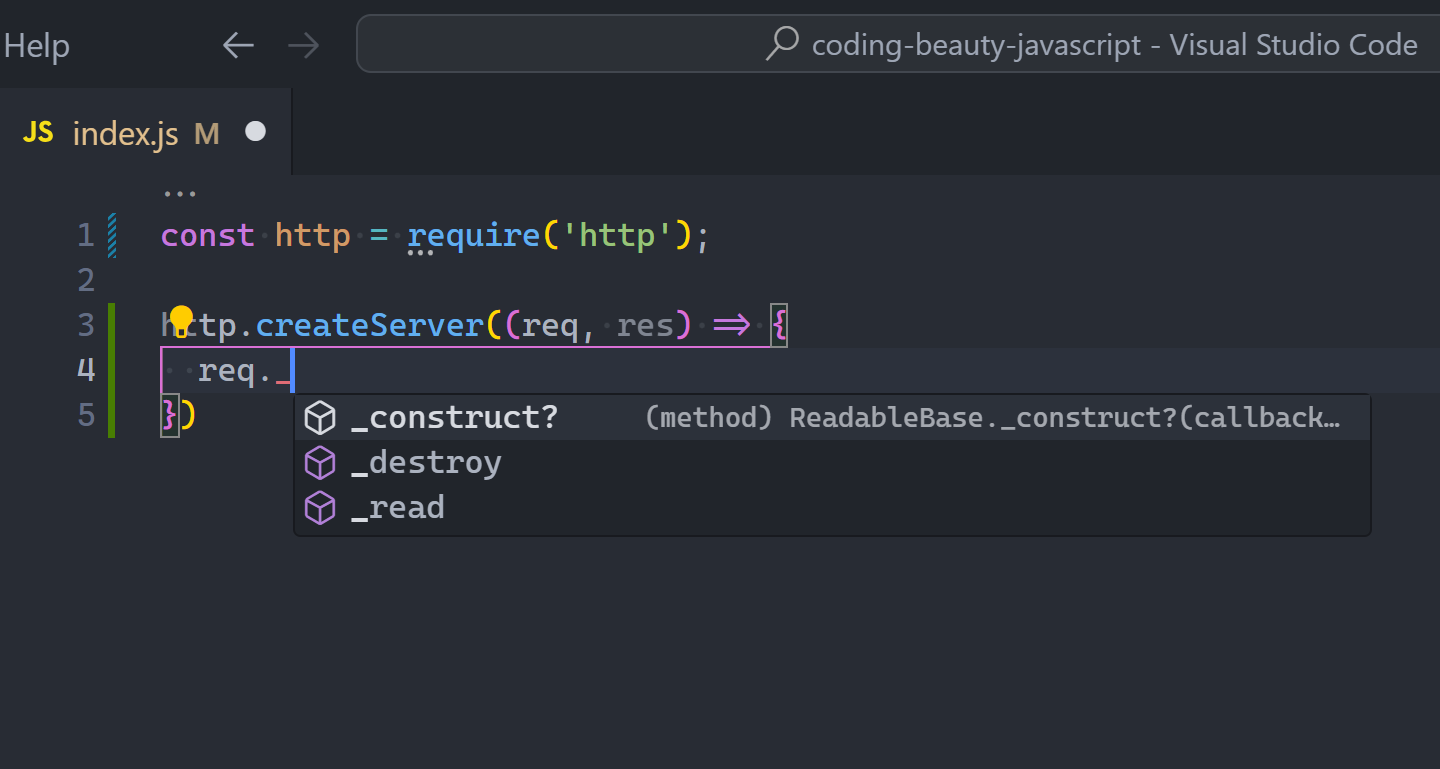
95% of developers are just wasting the potential of VS Code.
It has so many hidden gems that upgrade your productivity and quality of life — but they’re not using them.
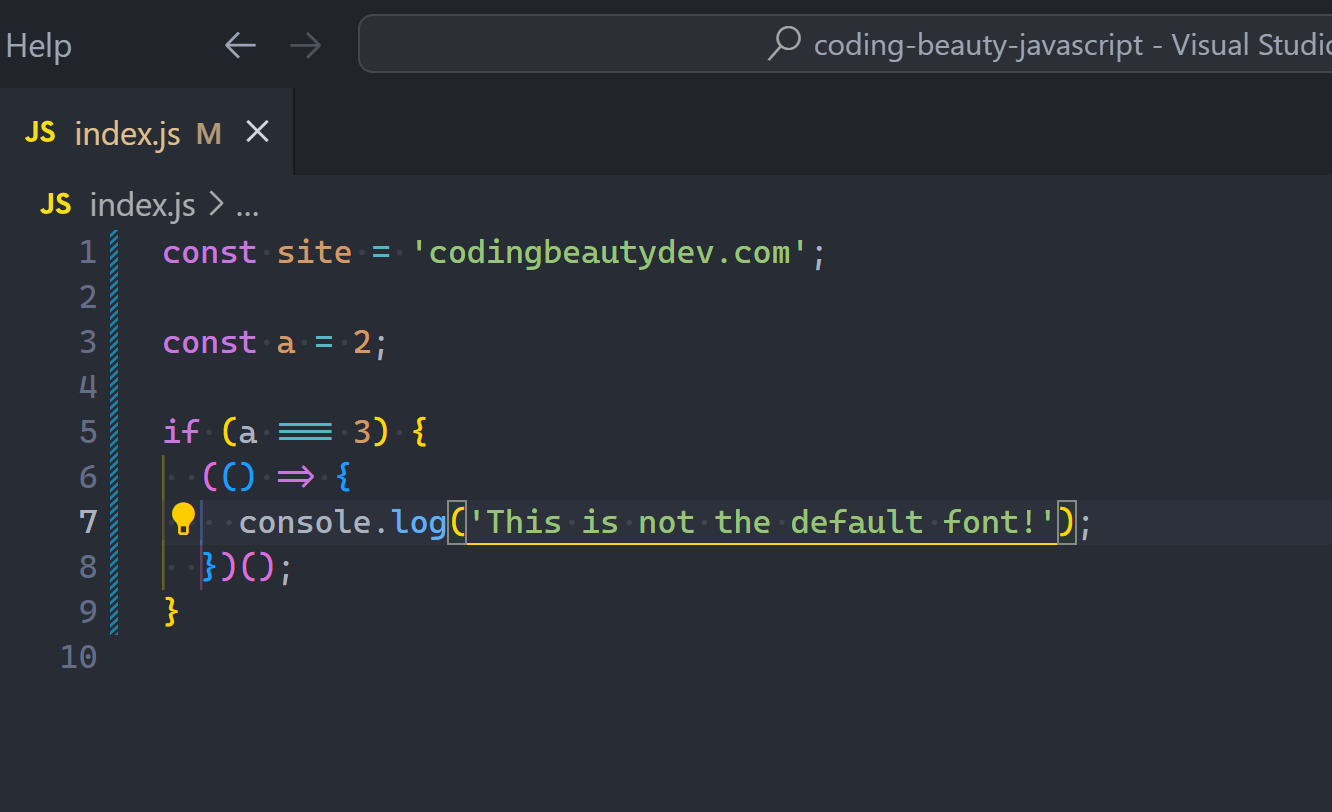
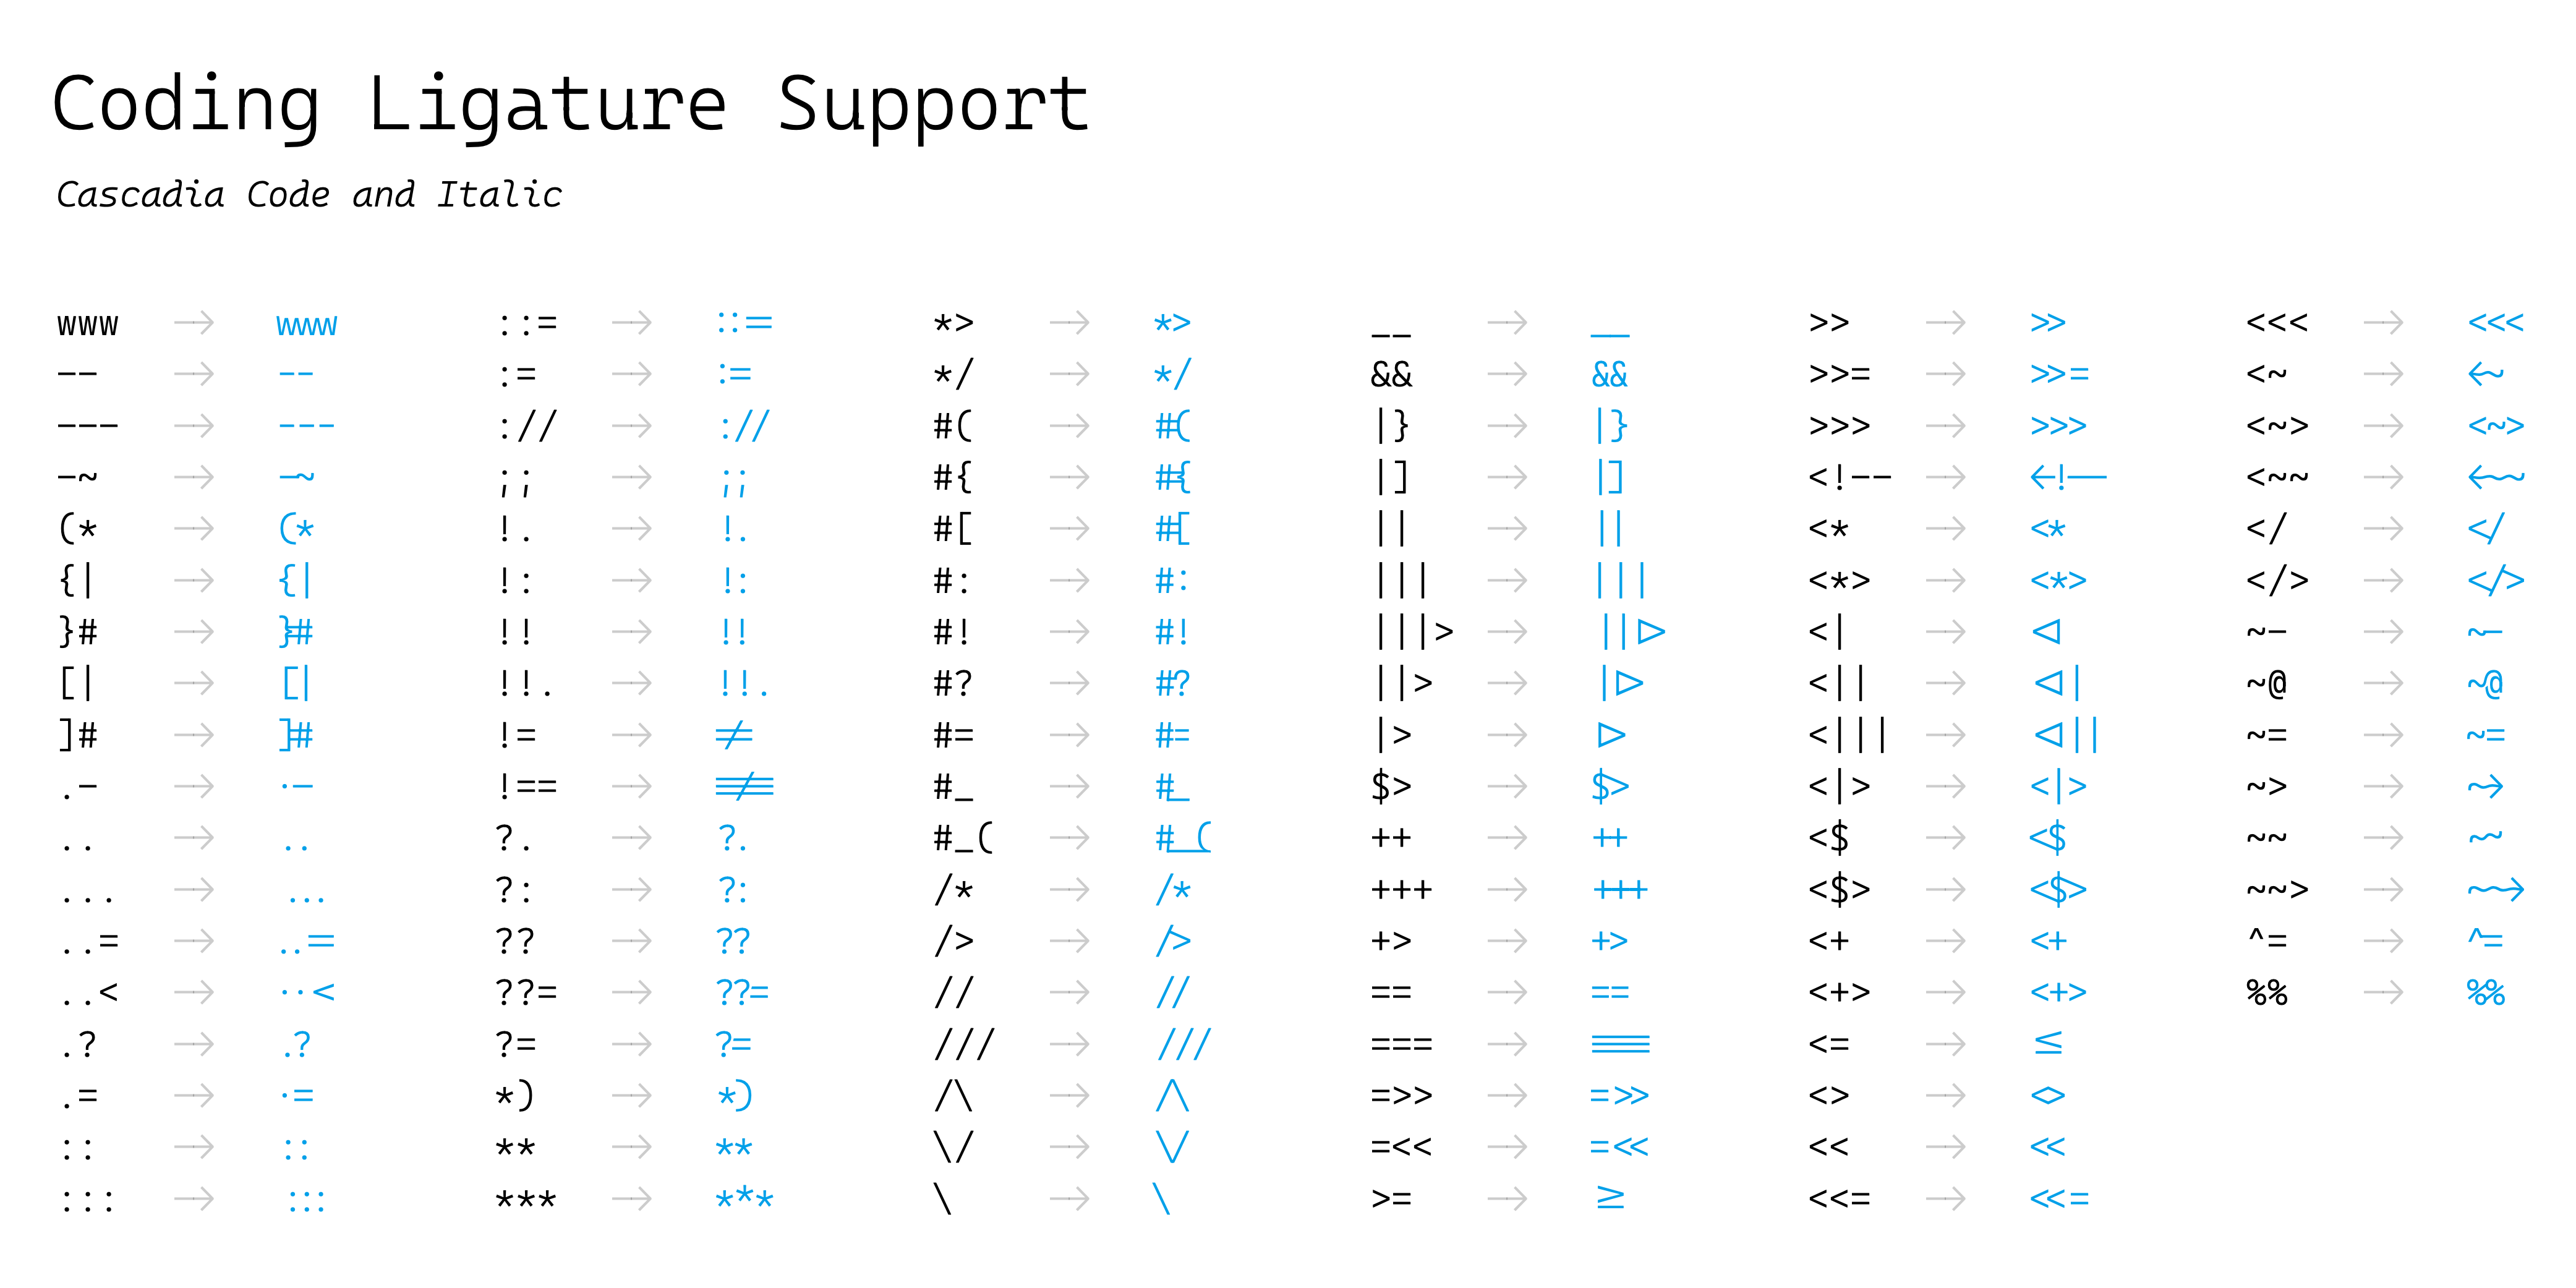
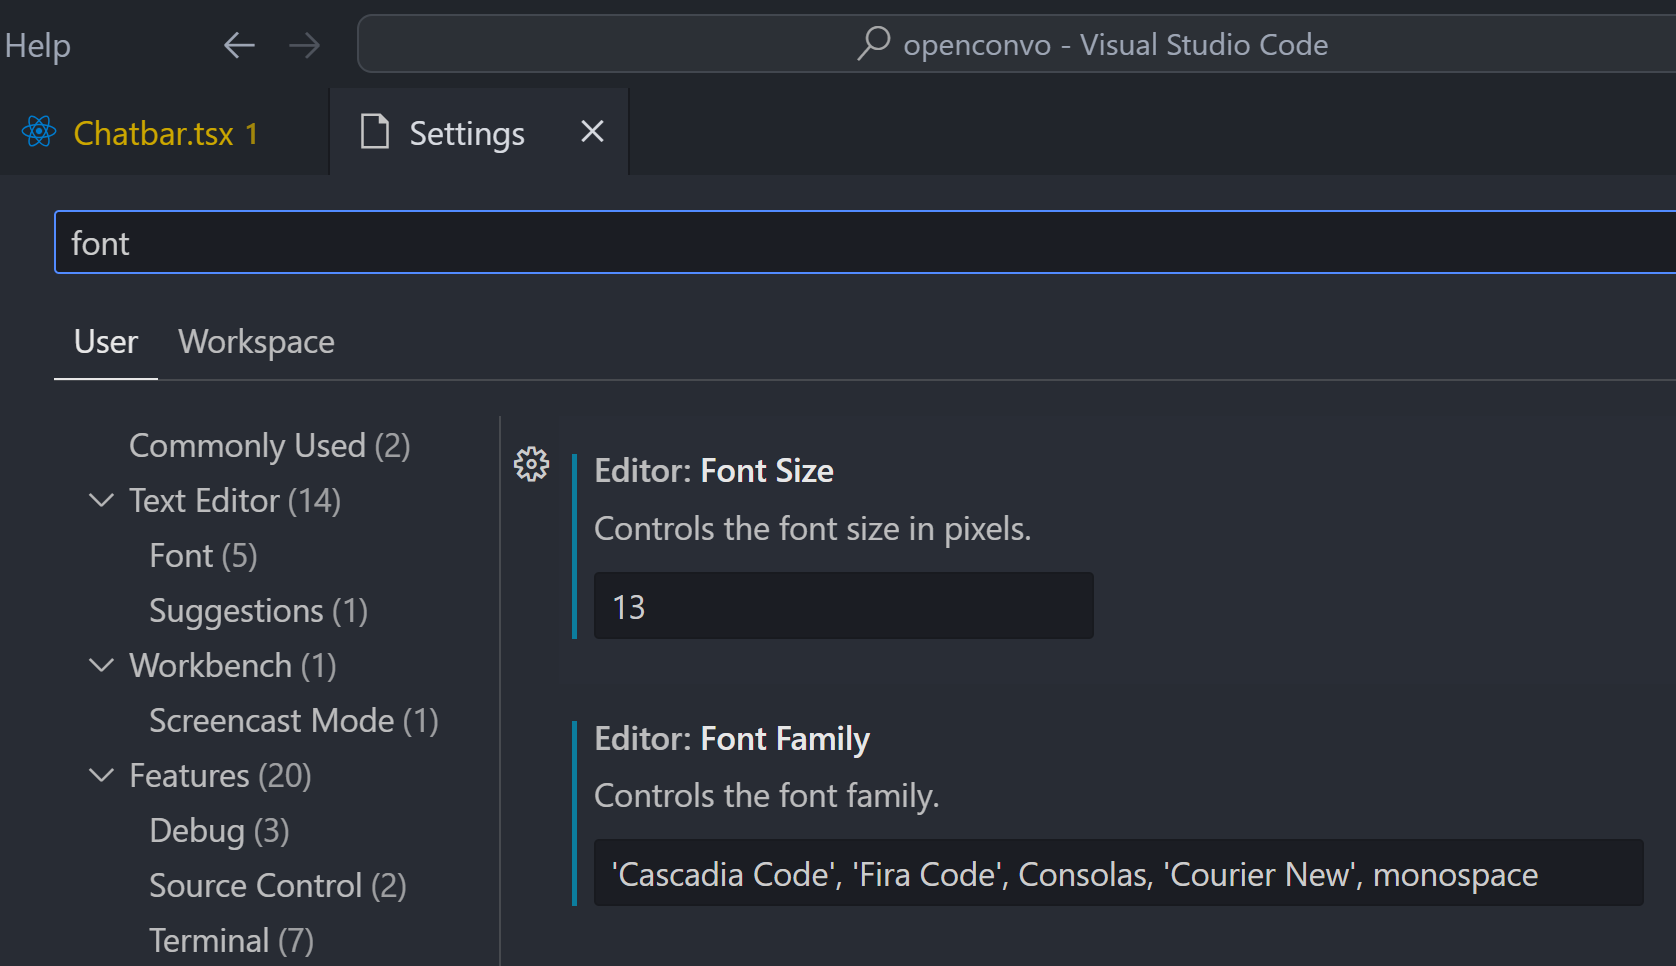
Use these 10 solid tips to gradually supercharge VS Code and code faster: with powerful extensions, little-known keyboard shortcuts, beautiful fonts & colors, and so much more.
1. First things first
Starting with the essentials.
Learn important keyboard shortcuts
You will code so much faster once you learn these
Copy line with Ctrl + C
Highlight code left & right with Shift + Left / Right
Move line up / down with Alt + Up / Down
Delete line with Ctrl + K
Close file with Ctrl + W
Close all files with Ctrl + K, W
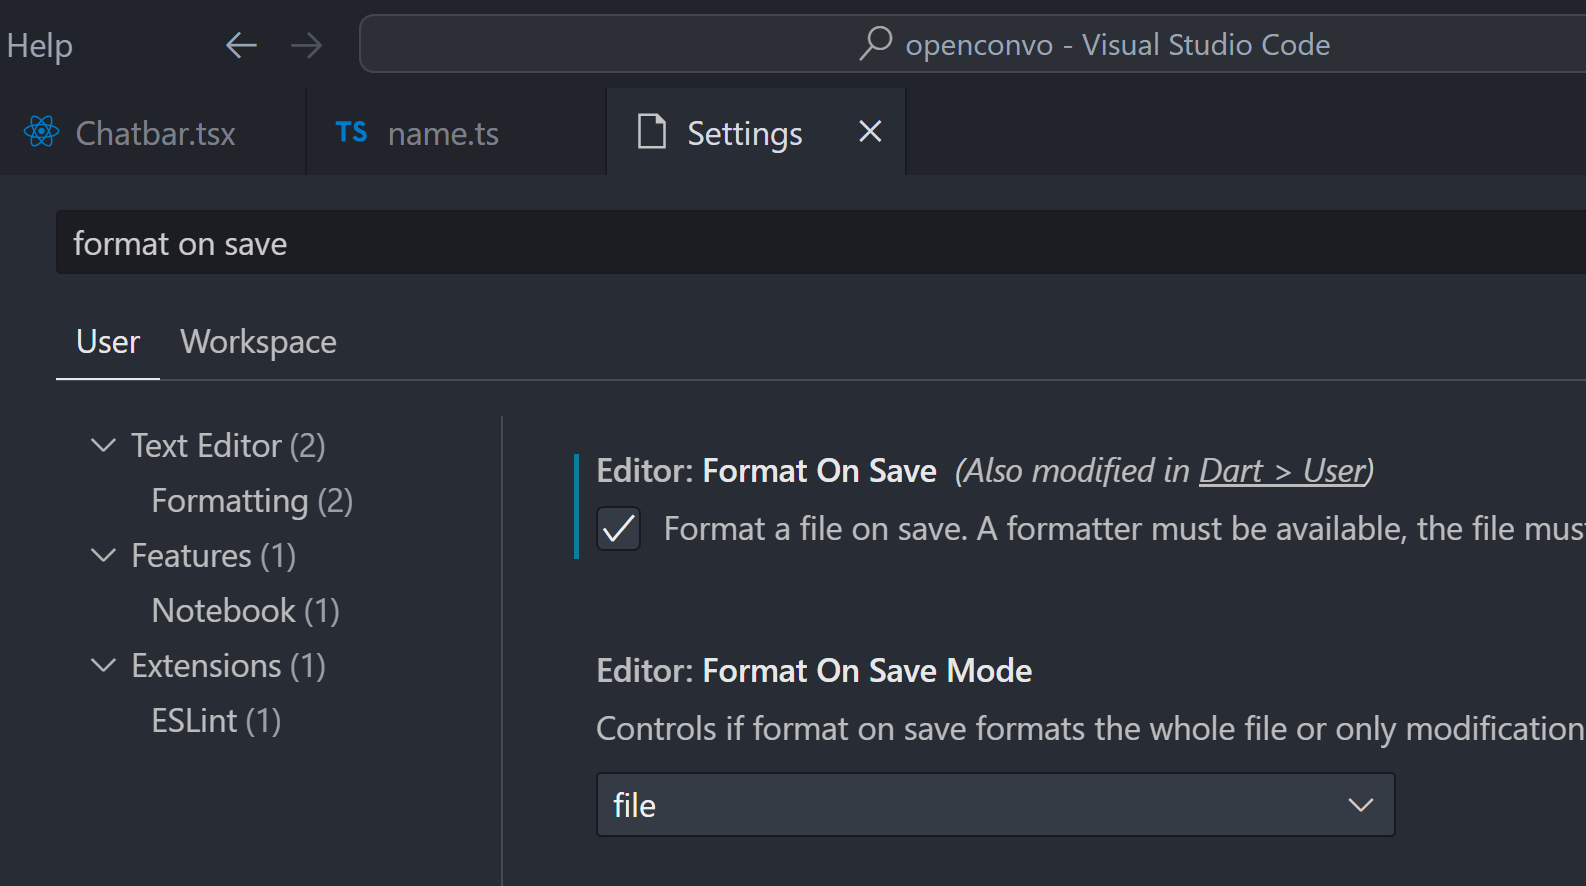
Enable autosave
To save your files automatically.
I’ve talked about why I dislike autosave before, but it’s a great feature to stop the constant Ctrl + S’s.
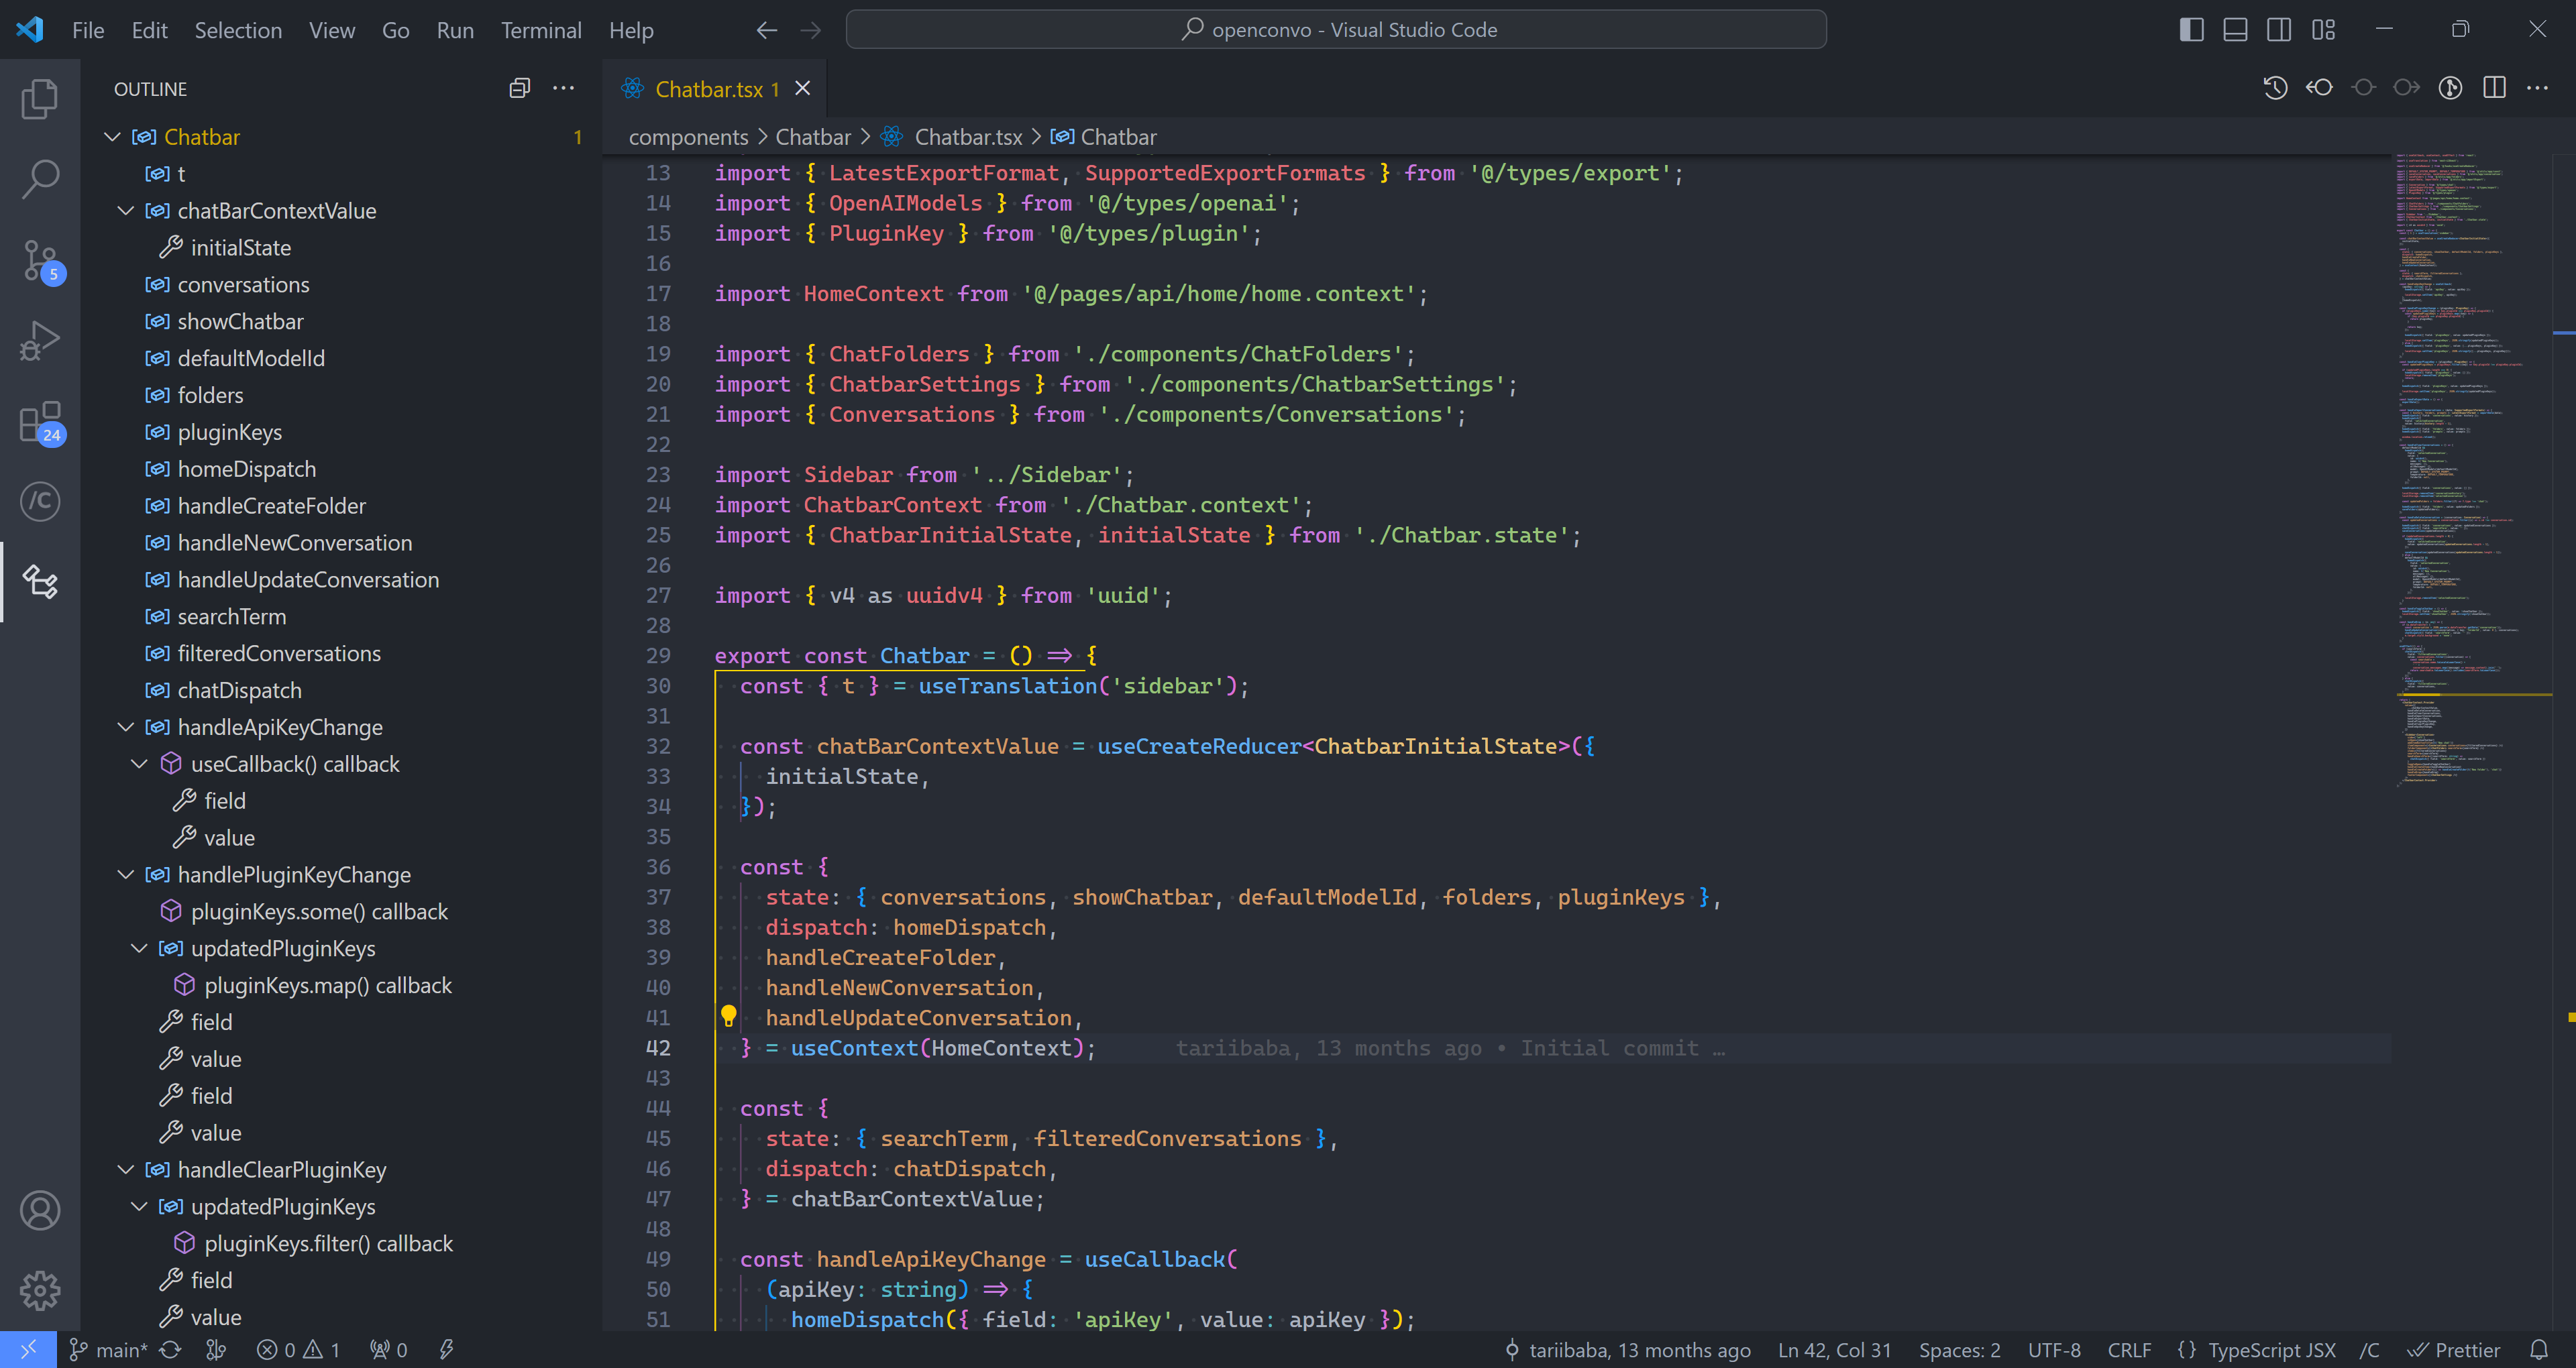
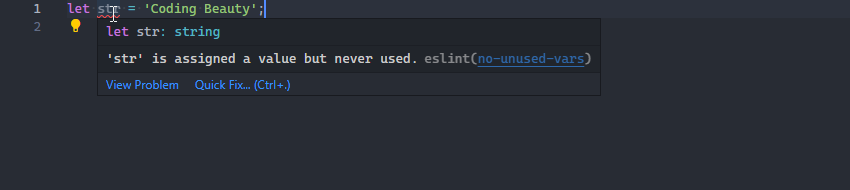
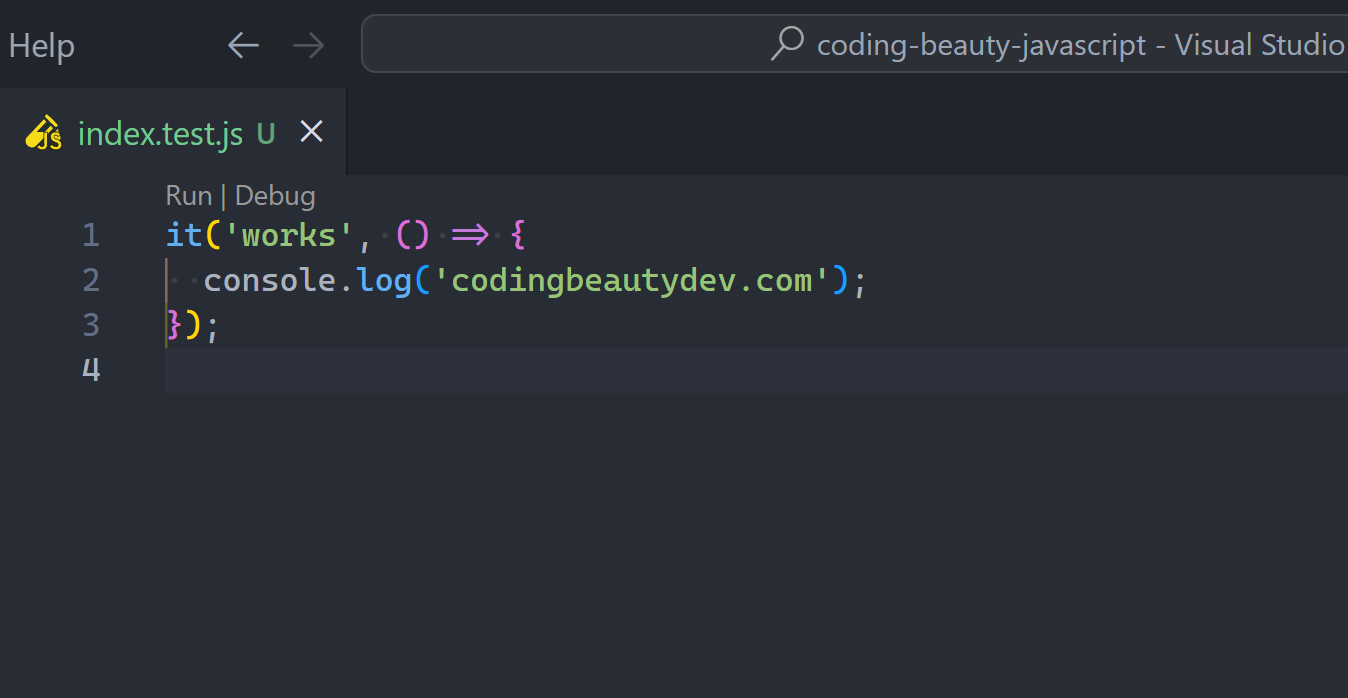
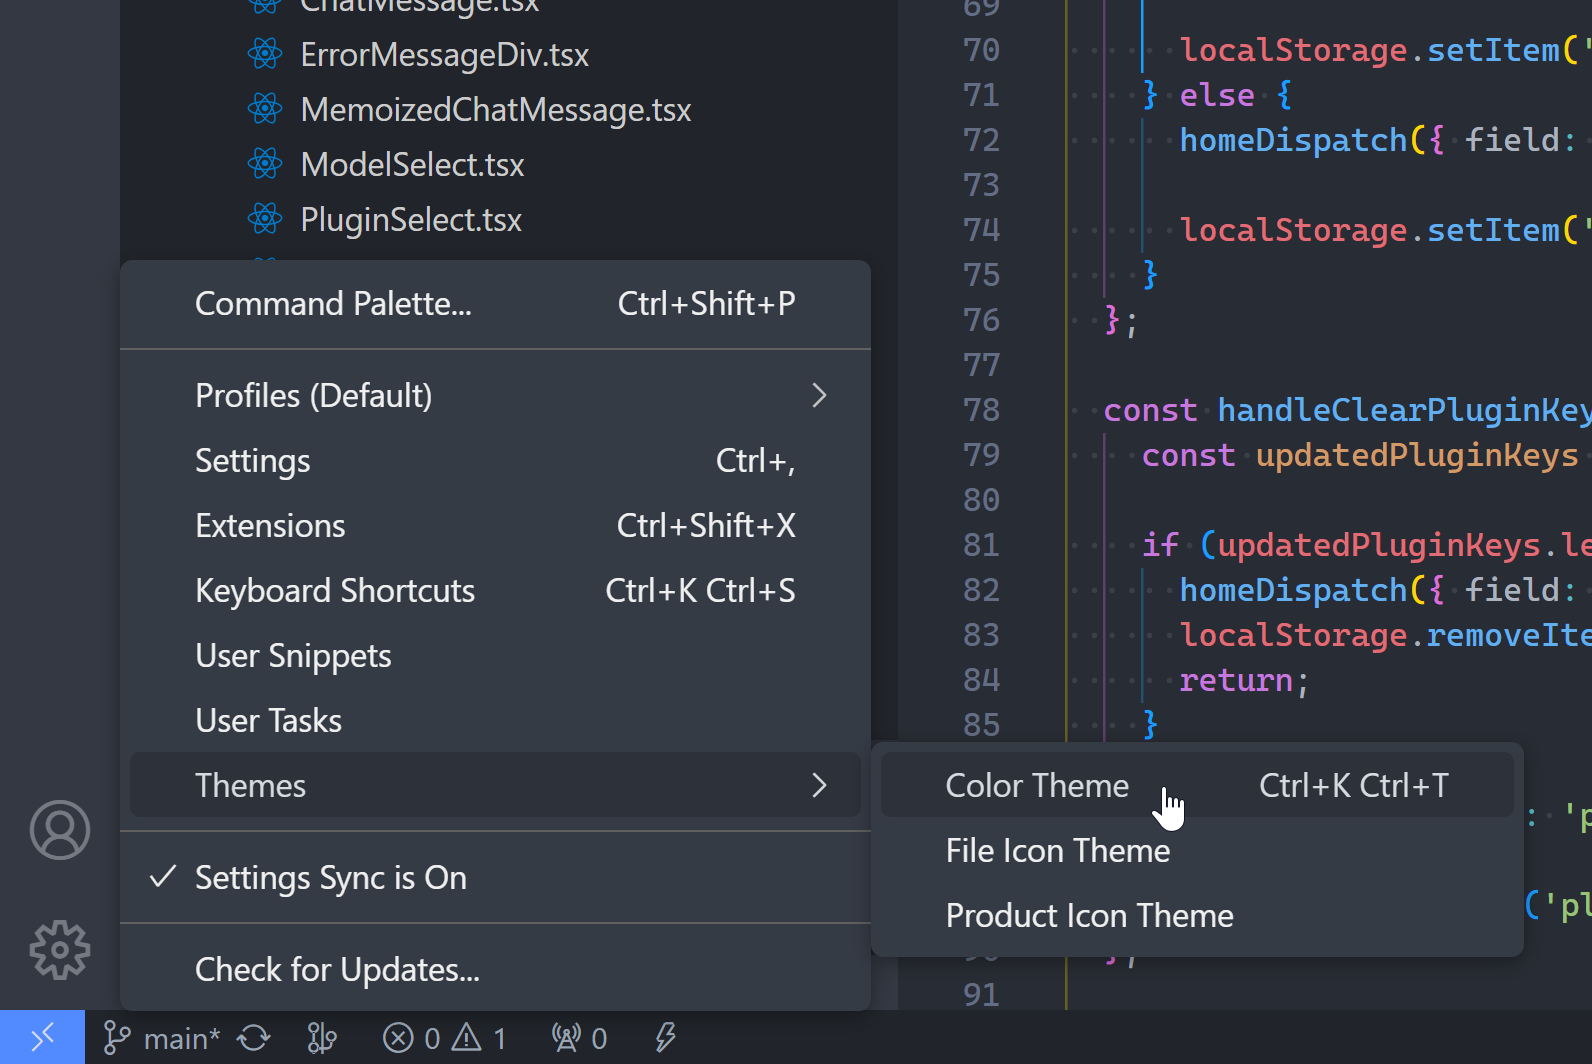
Set up outline view
The Outline View gives you a quick overview of all the symbols in your active file from the File Explorer Pane:
But I recommend you move to a separate pane to have more space:
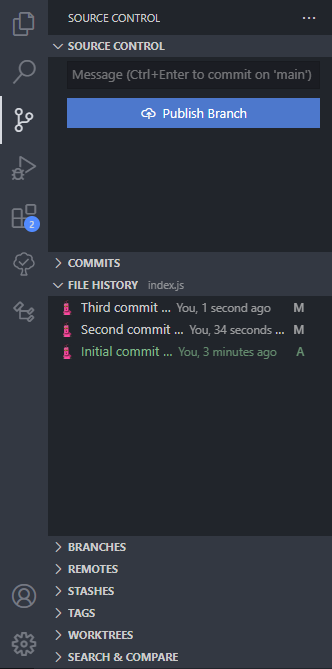
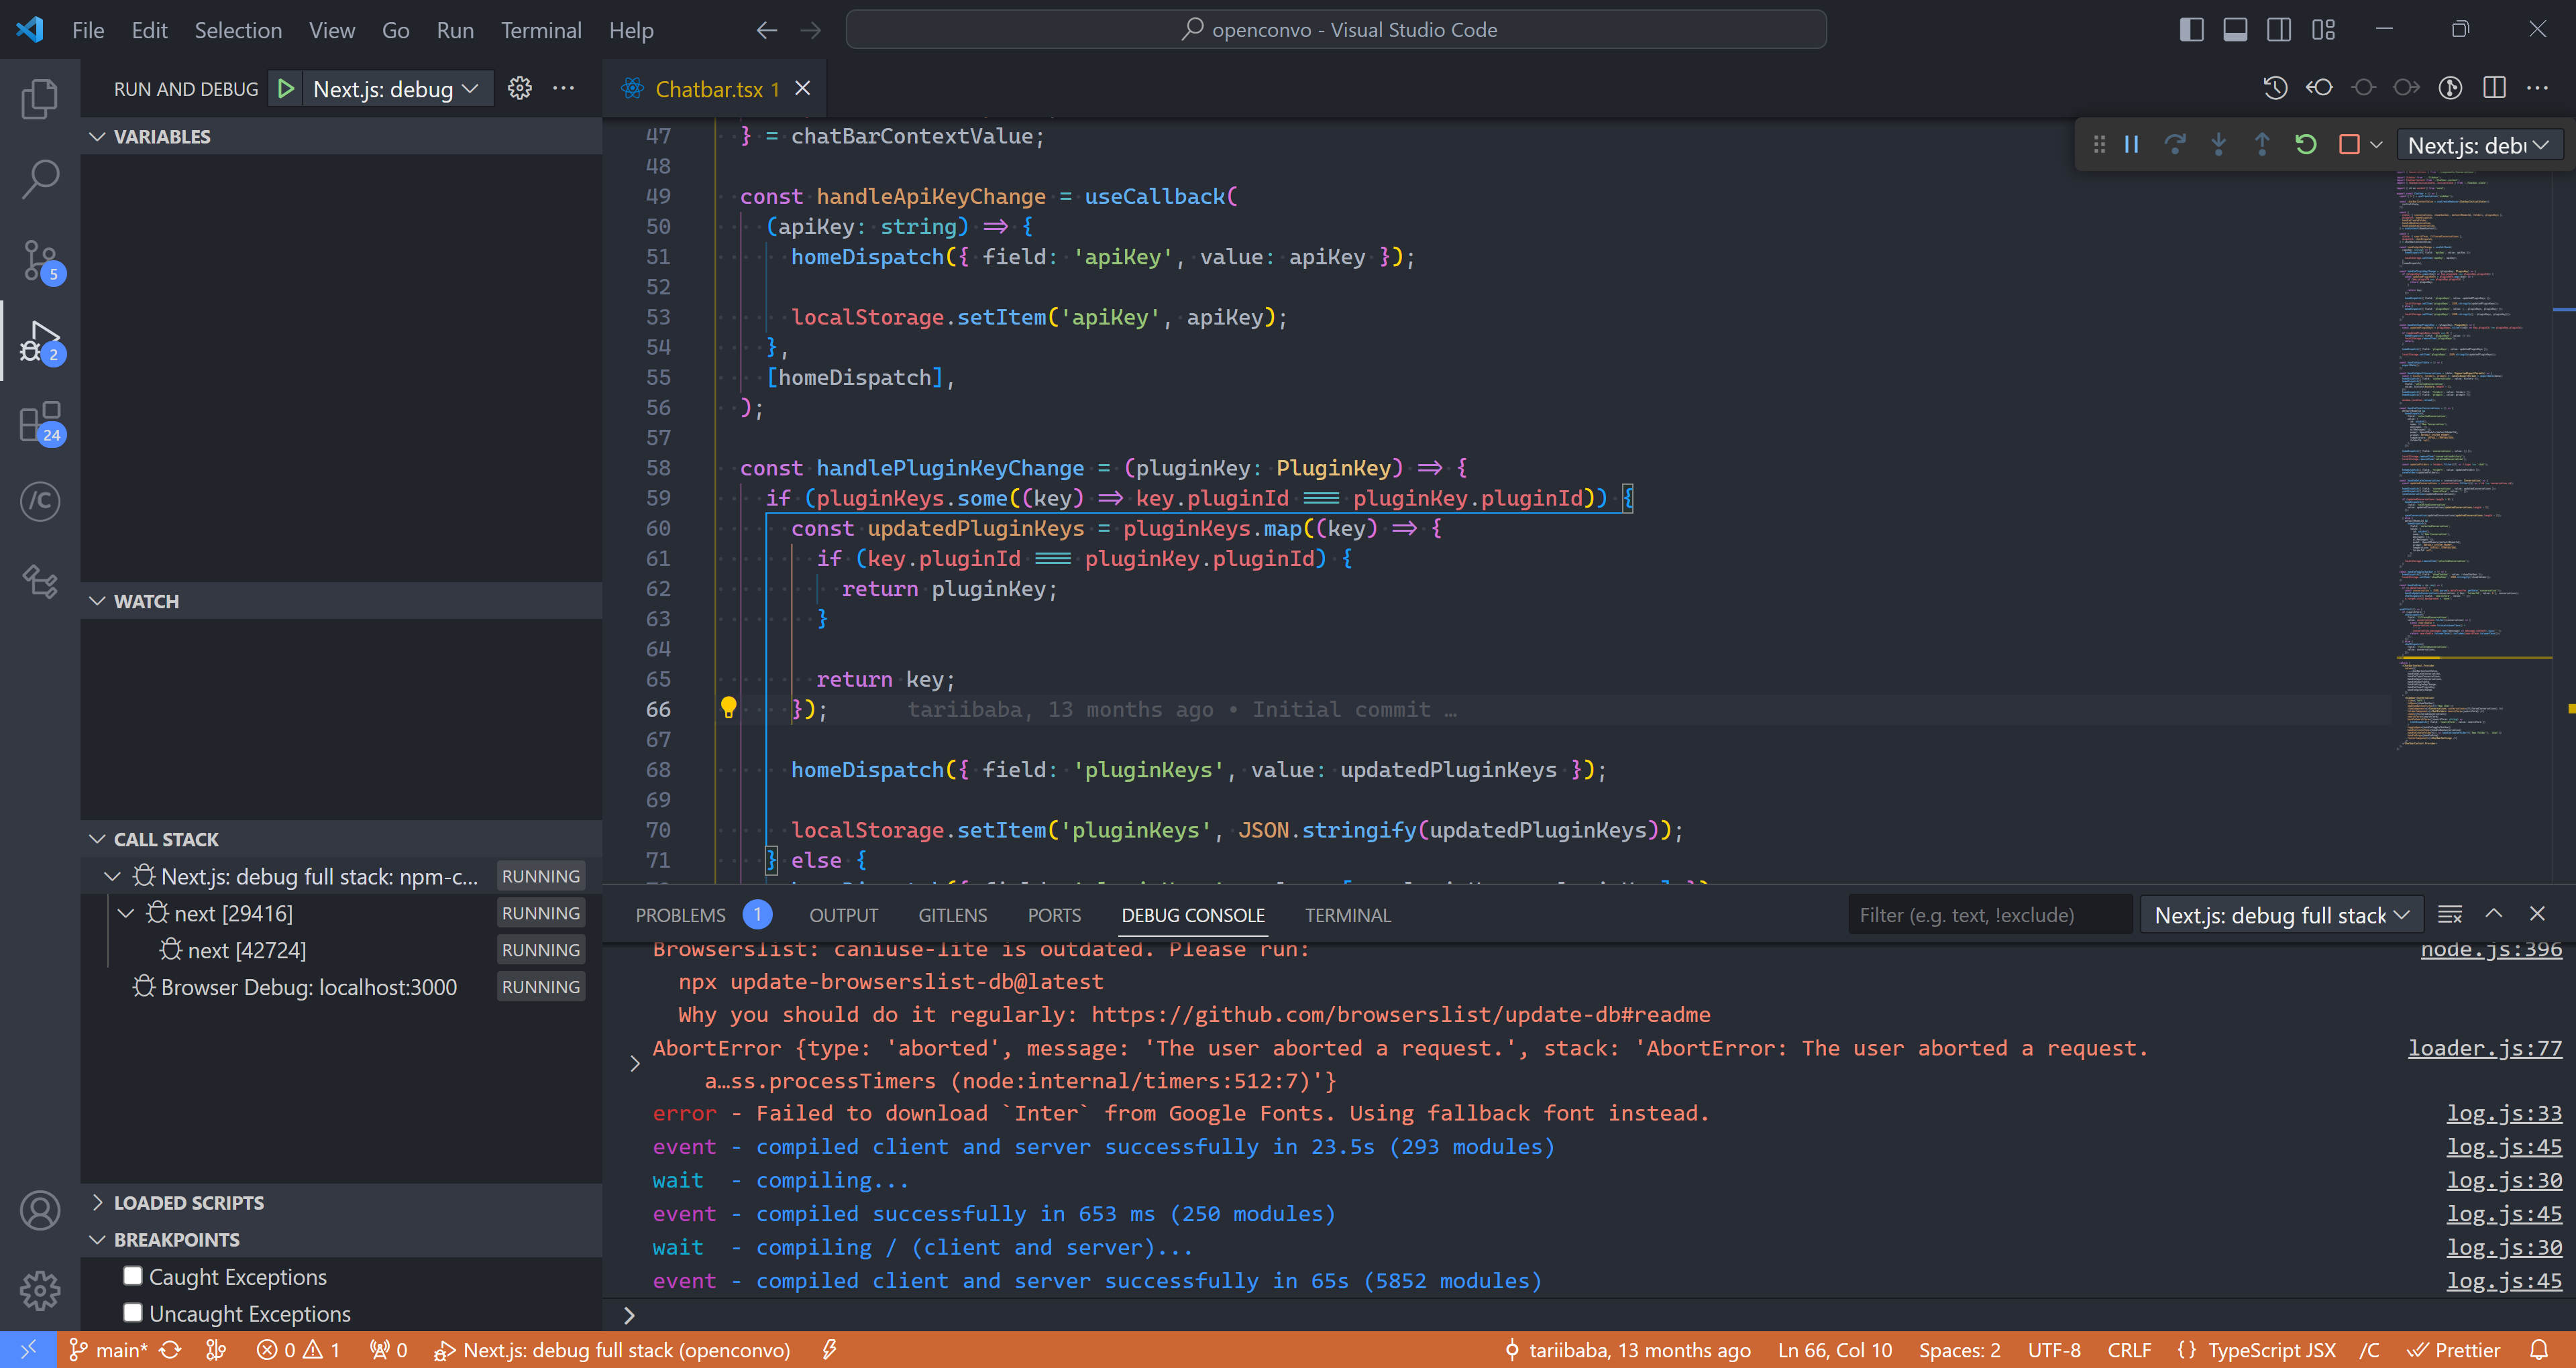
2. Set up source control
You need to set up integrations for Git to easily track your changes.
Init repo with VS Code
Use the Source Control Pane to initialize a new local repo.
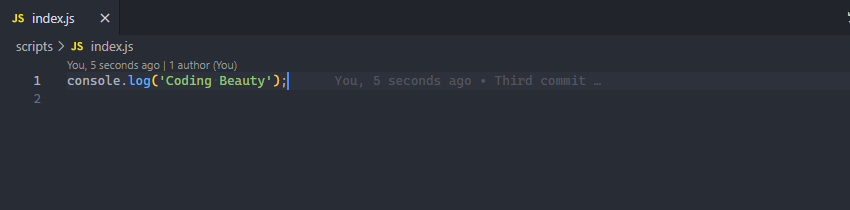
Commit changes
You can quickly stage your files and press Ctrl + Enter anytime you need to commit:
ES13 was packed with valuable features that completely transformed the way we write JavaScript.
Code became cleaner, shorter, and easier to write.
Let’s check them out and see the ones you missed.
1. Top-level await
With ES13 we were finally able to use await in the global scope!
❌ Before ES13:
JavaScriptCopied!
// ❌ Syntax error: await is only valid in async functions
await setTimeoutAsync(3000);

function setTimeoutAsync(timeout) {
  return new Promise((resolve) => {
    setTimeout(() => {
      resolve('codingbeautydev.com');
    }, timeout);
  });
}
We always had to put it in an async function or create an asyncIIFE:
JavaScriptCopied!
// async IIFE
(async () => {
  await setTimeoutAsync(3000);
})();

// à la C++
async function main() {
  await setTimeoutAsync(3000);
}
✅ After ES13:
JavaScriptCopied!
// ✅ Waits for timeout - no error thrown
await setTimeoutAsync(3000);

function setTimeoutAsync(timeout) {
  return new Promise((resolve) => {
    setTimeout(() => {
      resolve('codingbeautydev.com');
    }, timeout);
  });
}
2. Class declaration upgrades
Class field declarations
Before ES13 we could only declare class fields in the constructor!
Unlike in many other languages we could not declare or define them in the outermost scope of the class.
❌ Before:
JavaScriptCopied!
class Site {
  constructor() {
    // ❌ wouldn't work outside
    this.url = 'codingbeautydev.com';
    this.color = '🔵blue';
  }
}

const site = new Site();

console.log(site.url); // codingbeautydev.com
console.log(color); // blue
✅ Now with ES13:
Just like in TypeScript:
JavaScriptCopied!
class Site {
  // ✅ no constructor needed
  url = 'codingbeautydev.com';
  color = '🔵blue';
}

const site = new Site();

console.log(site.url); // codingbeautydev.com
console.log(color); // 🔵blue
Private methods and fields
Creating private methods was impossible before ES13.
We also had to the ugly underscore hack to indicate privacy — but that was just an indication.
❌ Before:
JavaScriptCopied!
class Person {
  _firstName = 'Tari';
  _lastName = 'Ibaba';

  get name() {
    return `${this._firstName} ${this._lastName}`;
  }
}

const person = new Person();
console.log(person.name); // Tari Ibaba

// We can still access private members!
console.log(person._firstName); // Tari
console.log(person._lastName); // Ibaba

// They can also be modified
person._firstName = 'Lionel';
person._lastName = 'Messi';

console.log(person.name); // Lionel Messi
✅ Now after ES13:
We can add private fields and members to a class by prefixing it with a hashtag (#):
You’ll get a syntax error if you try to access it from outside the class:
JavaScriptCopied!
class Person {
  #firstName = 'Tari';
  #lastName = 'Ibaba';

  get name() {
    return `${this.#firstName} ${this.#lastName}`;
  }
}

const person = new Person();
console.log(person.name);

// SyntaxError: Private field '#firstName' must be
// declared in an enclosing class
console.log(person.#firstName);
console.log(person.#lastName);
We can see something interesting from the error message:
The compiler doesn’t expect you to even try to access private fields from outside the class — it assumes you’re trying to creating one.
Static class fields and static private methods
Static fields — properties of the class itself rather than any specific instance.
Ever since ES13 we can now easily create them for any class:
JavaScriptCopied!
class Person {
  static #count = 0;
  static eyeCount = 2;

  static getCount() {
    // Access fellow static member with this
    return this.#count;
  }

  // instance member
  constructor() {
    // Access static member with this.constructor
    this.constructor.#incrementCount();
  }

  static #incrementCount() {
    this.#count++;
  }
}

const person1 = new Person();
const person2 = new Person();

console.log(Person.getCount()); // 2
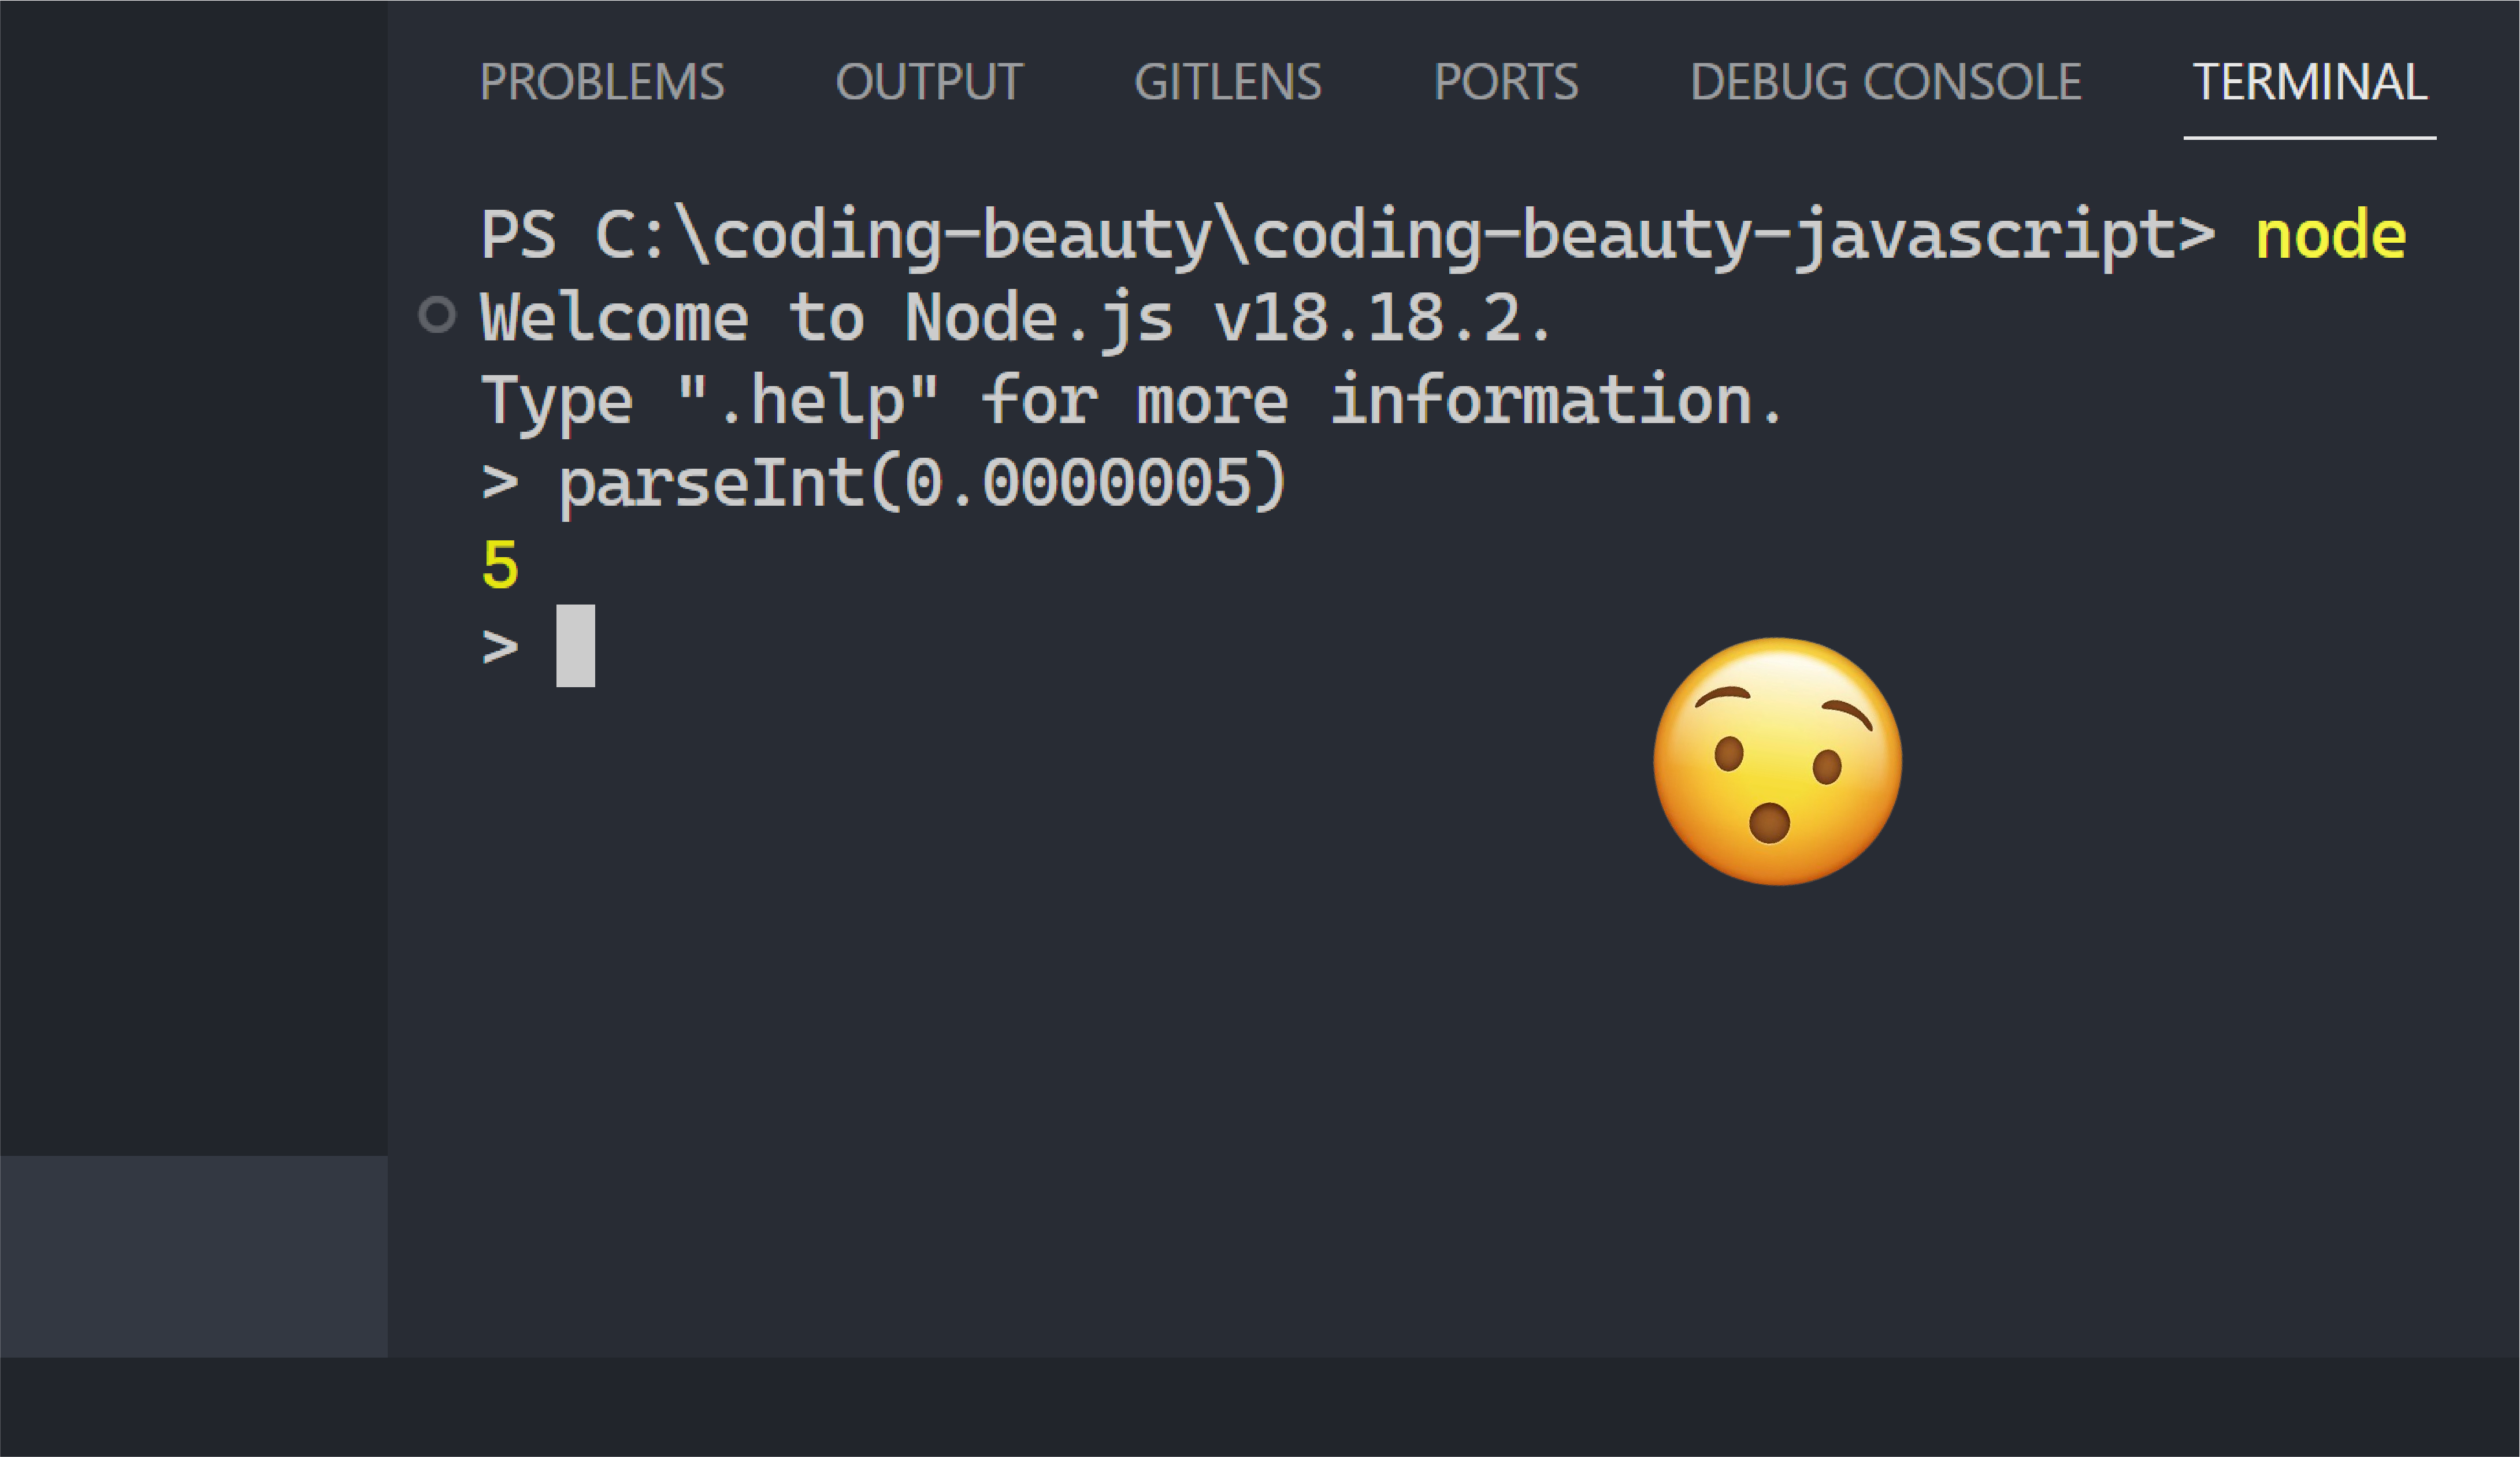
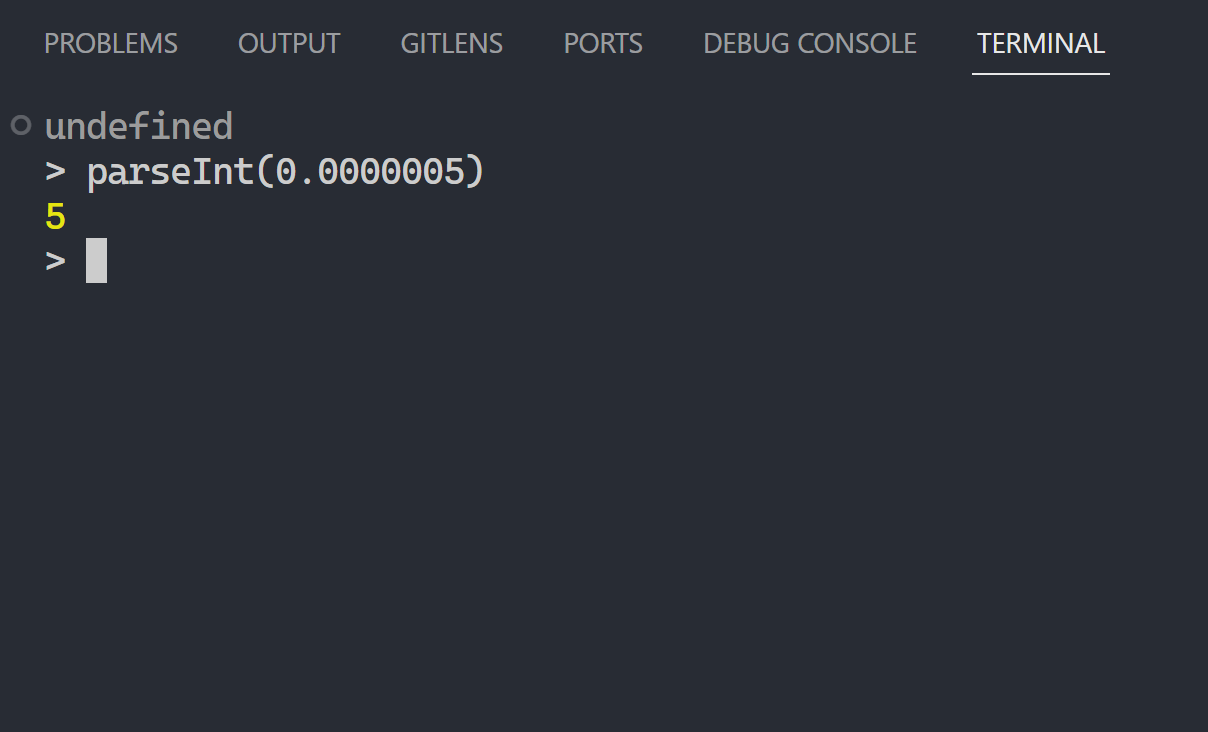
3. Array upgrades: new at() method
So usually we’d use square brackets ([]) to access the Nth of the array.
JavaScriptCopied!
const arr = ['a', 'b', 'c', 'd'];

console.log(arr[1]); // b
But accessing the Nth item from the end was always a pain — we had to index with arr.length - N:
❌ Before ES13:
JavaScriptCopied!
const arr = ['a', 'b', 'c', 'd'];

// 1st element from the end
console.log(arr[arr.length - 1]); // d

// 2nd element from the end
console.log(arr[arr.length - 2]); // c
Luckily ES13 brought a new at() method that solved all that:
JavaScriptCopied!
const str = 'Coding Beauty';

console.log(str.at(-1)); // y

console.log(str.at(-2)); // t
4. Static class blocks
With static fields came static blocks.
To execute code only once, at the creation of the class — just like static constructors in OOP languages like C# and Java.
So you can create as many of them as you want in the class — all the code will run in the order you defined them:
So sometimes we catch errors of methods down the call stack only to rethrow it back up the stack.
But when we do this we lose crucial information from the original error:
JavaScriptCopied!
try {
  userAction();
} catch (err) {
  // ❌ doesn't know fundamental cause of error
  console.log(err);
}

function userAction() {
  try {
    apiCallThatCanThrow();
  } catch (err) {
    // 👇 rethrow
    throw new Error('New error message');
  }
}

function apiCallThatCanThrow() {
  console.log('fetching from codingbeautydev.com...');
  throw new Error('throwing for no reason');
}
That was why ES13 introduce a new cause property to preserve this important info and make debugging easier:
JavaScriptCopied!
try {
  userAction();
} catch (err) {
  // ✅ now knows what caused the error
  console.log(err);
  console.log(`Cause by: ${err.cause}`);
}

function userAction() {
  try {
    apiCallThatCanThrow();
  } catch (err) {
    // ✅ error cause
    throw new Error('New error message', { cause: err });
  }
}

function apiCallThatCanThrow() {
  console.log('fetching from codingbeautydev.com...');
  throw new Error('throwing for no reason');
}
Final thoughts
Overall ES13 was a significant leap for JavaScript with several features that have become essential for modern development.
Empowering you to write cleaner code with greater conciseness, expressiveness, and clarity.