10 essential VS Code tips & tricks for greater productivity
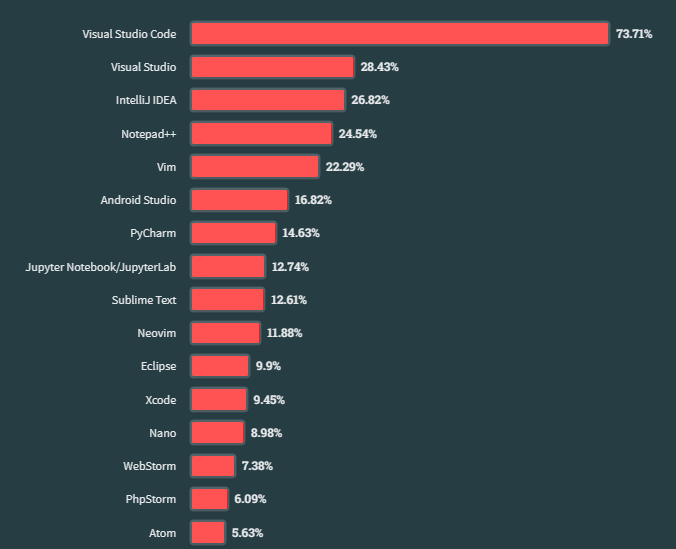
73%.
Did you know that 73% of developers worldwide rely on the same code editor?
Yes, the 2023 Stack Overflow Developer Survey results are in, and yet again, Visual Studio Code was by far the most used development environment.
And we all know why: it’s awesome.
But are we fully exploring its potential? In this article, we unfold some compelling VS Code features that enhance productivity with local source control, animated typing, and rapid line deletion, amongst others. Let us start using them to achieve our coding goals faster than ever.
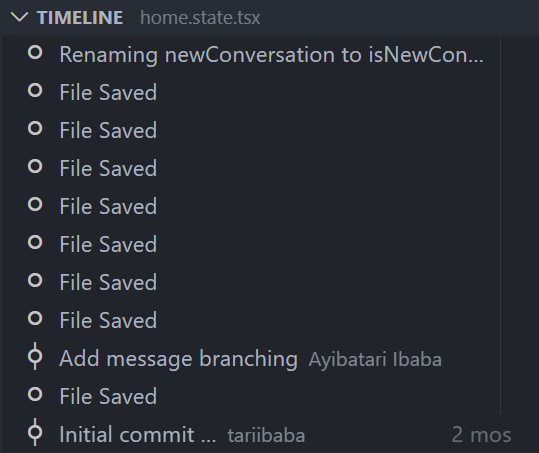
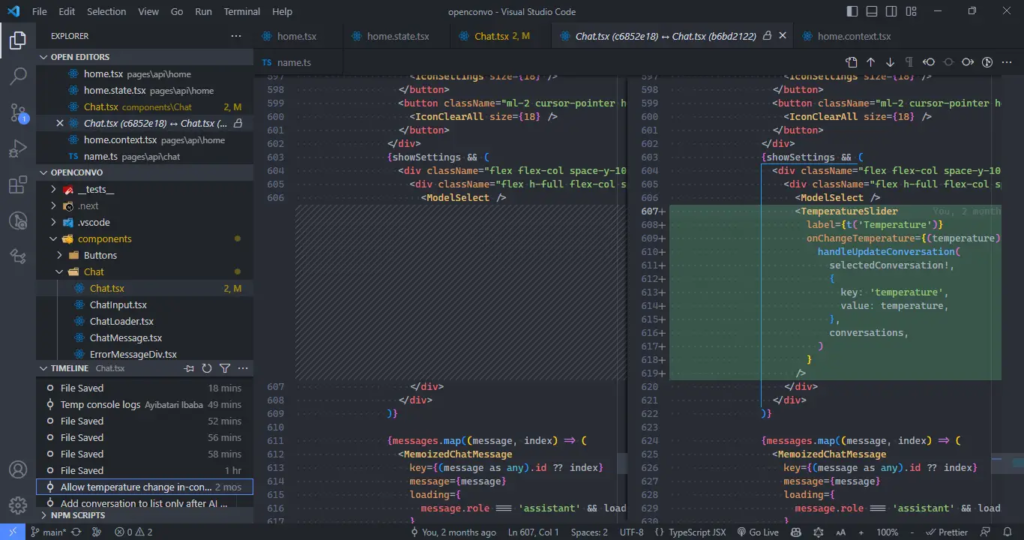
1. Timeline view: local source control
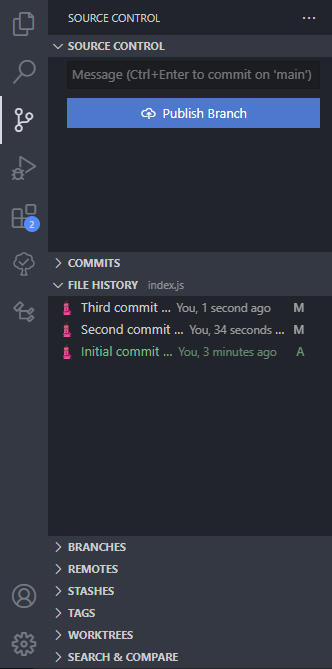
The Timeline view gives us local source control.
Many of us know how useful Git and other source control tools are, helping us easily track file changes and revert back to a previous point when needed.
So the Timeline view in VS Code provides an automatically updated timeline of important events related to a file, such as Git commits, file saves, and test runs.
Expand this view to see a list of snapshot of events related to the current file. Here it’s file saves, but also Git commits where the file was staged.
Hover over the snapshot item to view the date and time when VS Code made the snapshot.
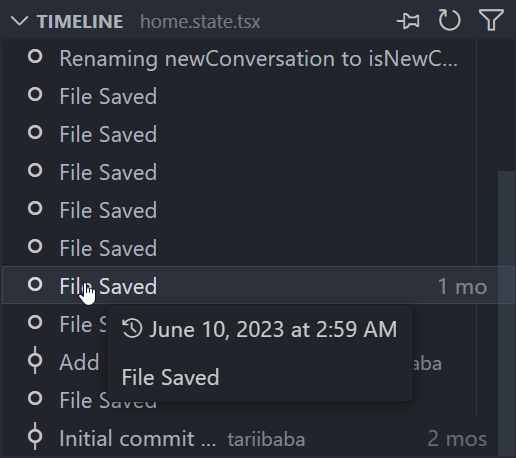
Select a snapshot item to see a diff view showing the changes between the file at the snapshot time and the file presently.
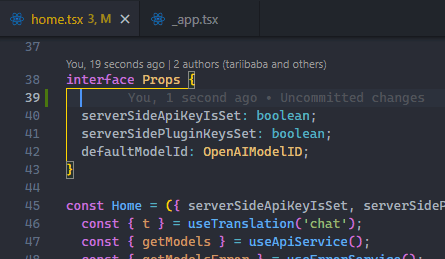
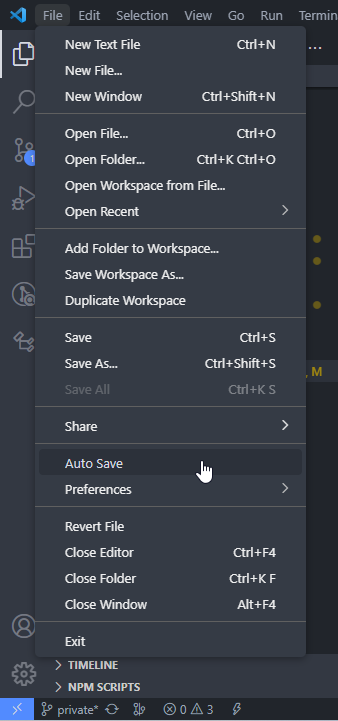
2. Autosave: no more Ctrl + S
Can you count how many times you’ve used this shortcut? You probably do it unconsciously now.
The Autosave feature automatically saves files as we work on them, removing the need for manual saving. With autosave, we eliminate Ctrl + S fatigue, save time, and gain certainty of always working with the latest changes to the files.
It’s not perfect though, and it’s up to you to weigh the pros and cons – which we comprehensively cover here.
Use File > Auto Save to enable the feature easily.
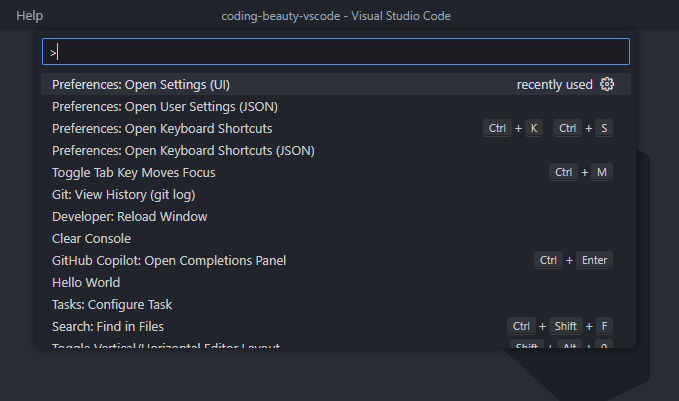
3. Do anything with Command Palette
Almost anything you do in VS Code apart from typing is a “Command”.
Commands let us accomplish tasks within the editor, and they include file-related commands, navigation commands, editing commands, and terminal commands, each optimally designed to enhance different aspects of your editing experience.
So with Command Palette we simply search for a command and select to perform the associated action.
To open the Command Palette, use this keyboard shortcut:
- Windows/Linux:
Ctrl + Shift + P - Mac: Shift + Command+ P
As you guessed correctly, those keyboard shortcuts to the right are a faster way to run the commands with the keyboard.
The key benefit of the Command Palette over shortcuts is when there’s a command without a shortcut, or you’re looking for a command you’re not sure exists.
4. Go to file quickly
The mouse is too slow.
Yes, you can click on the file in the Explorer pane, but for a much faster alternative use Ctrl + P to search for and open a specific file in your project.
Hold Ctrl and press Tab to cycle through the list of files currently open in an editor instance.
You can even use Alt + Left and Alt + Right to quickly navigate between these open files.
All these are much faster ways to get to a file than using the cursor.
5. Go to line quickly
Jump, don’t scroll.
Quickly navigating to a line is invaluable during debugging when you need to encounter errors at specific line numbers. By jumping to those lines, you can examine the code in that particular context, evaluate variables, and troubleshoot the issue.
Use the Ctrl + G keyboard shortcut for this.

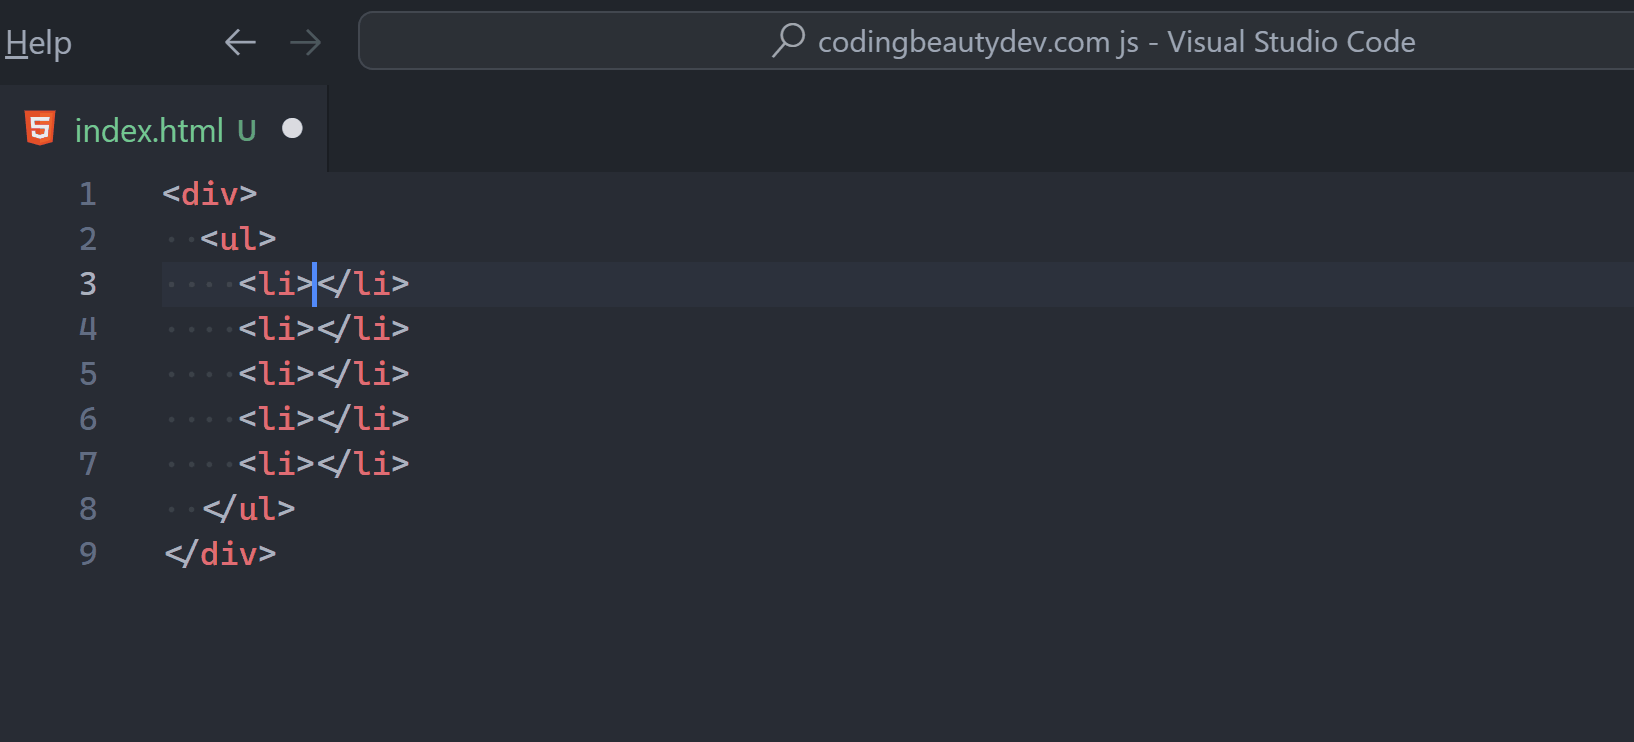
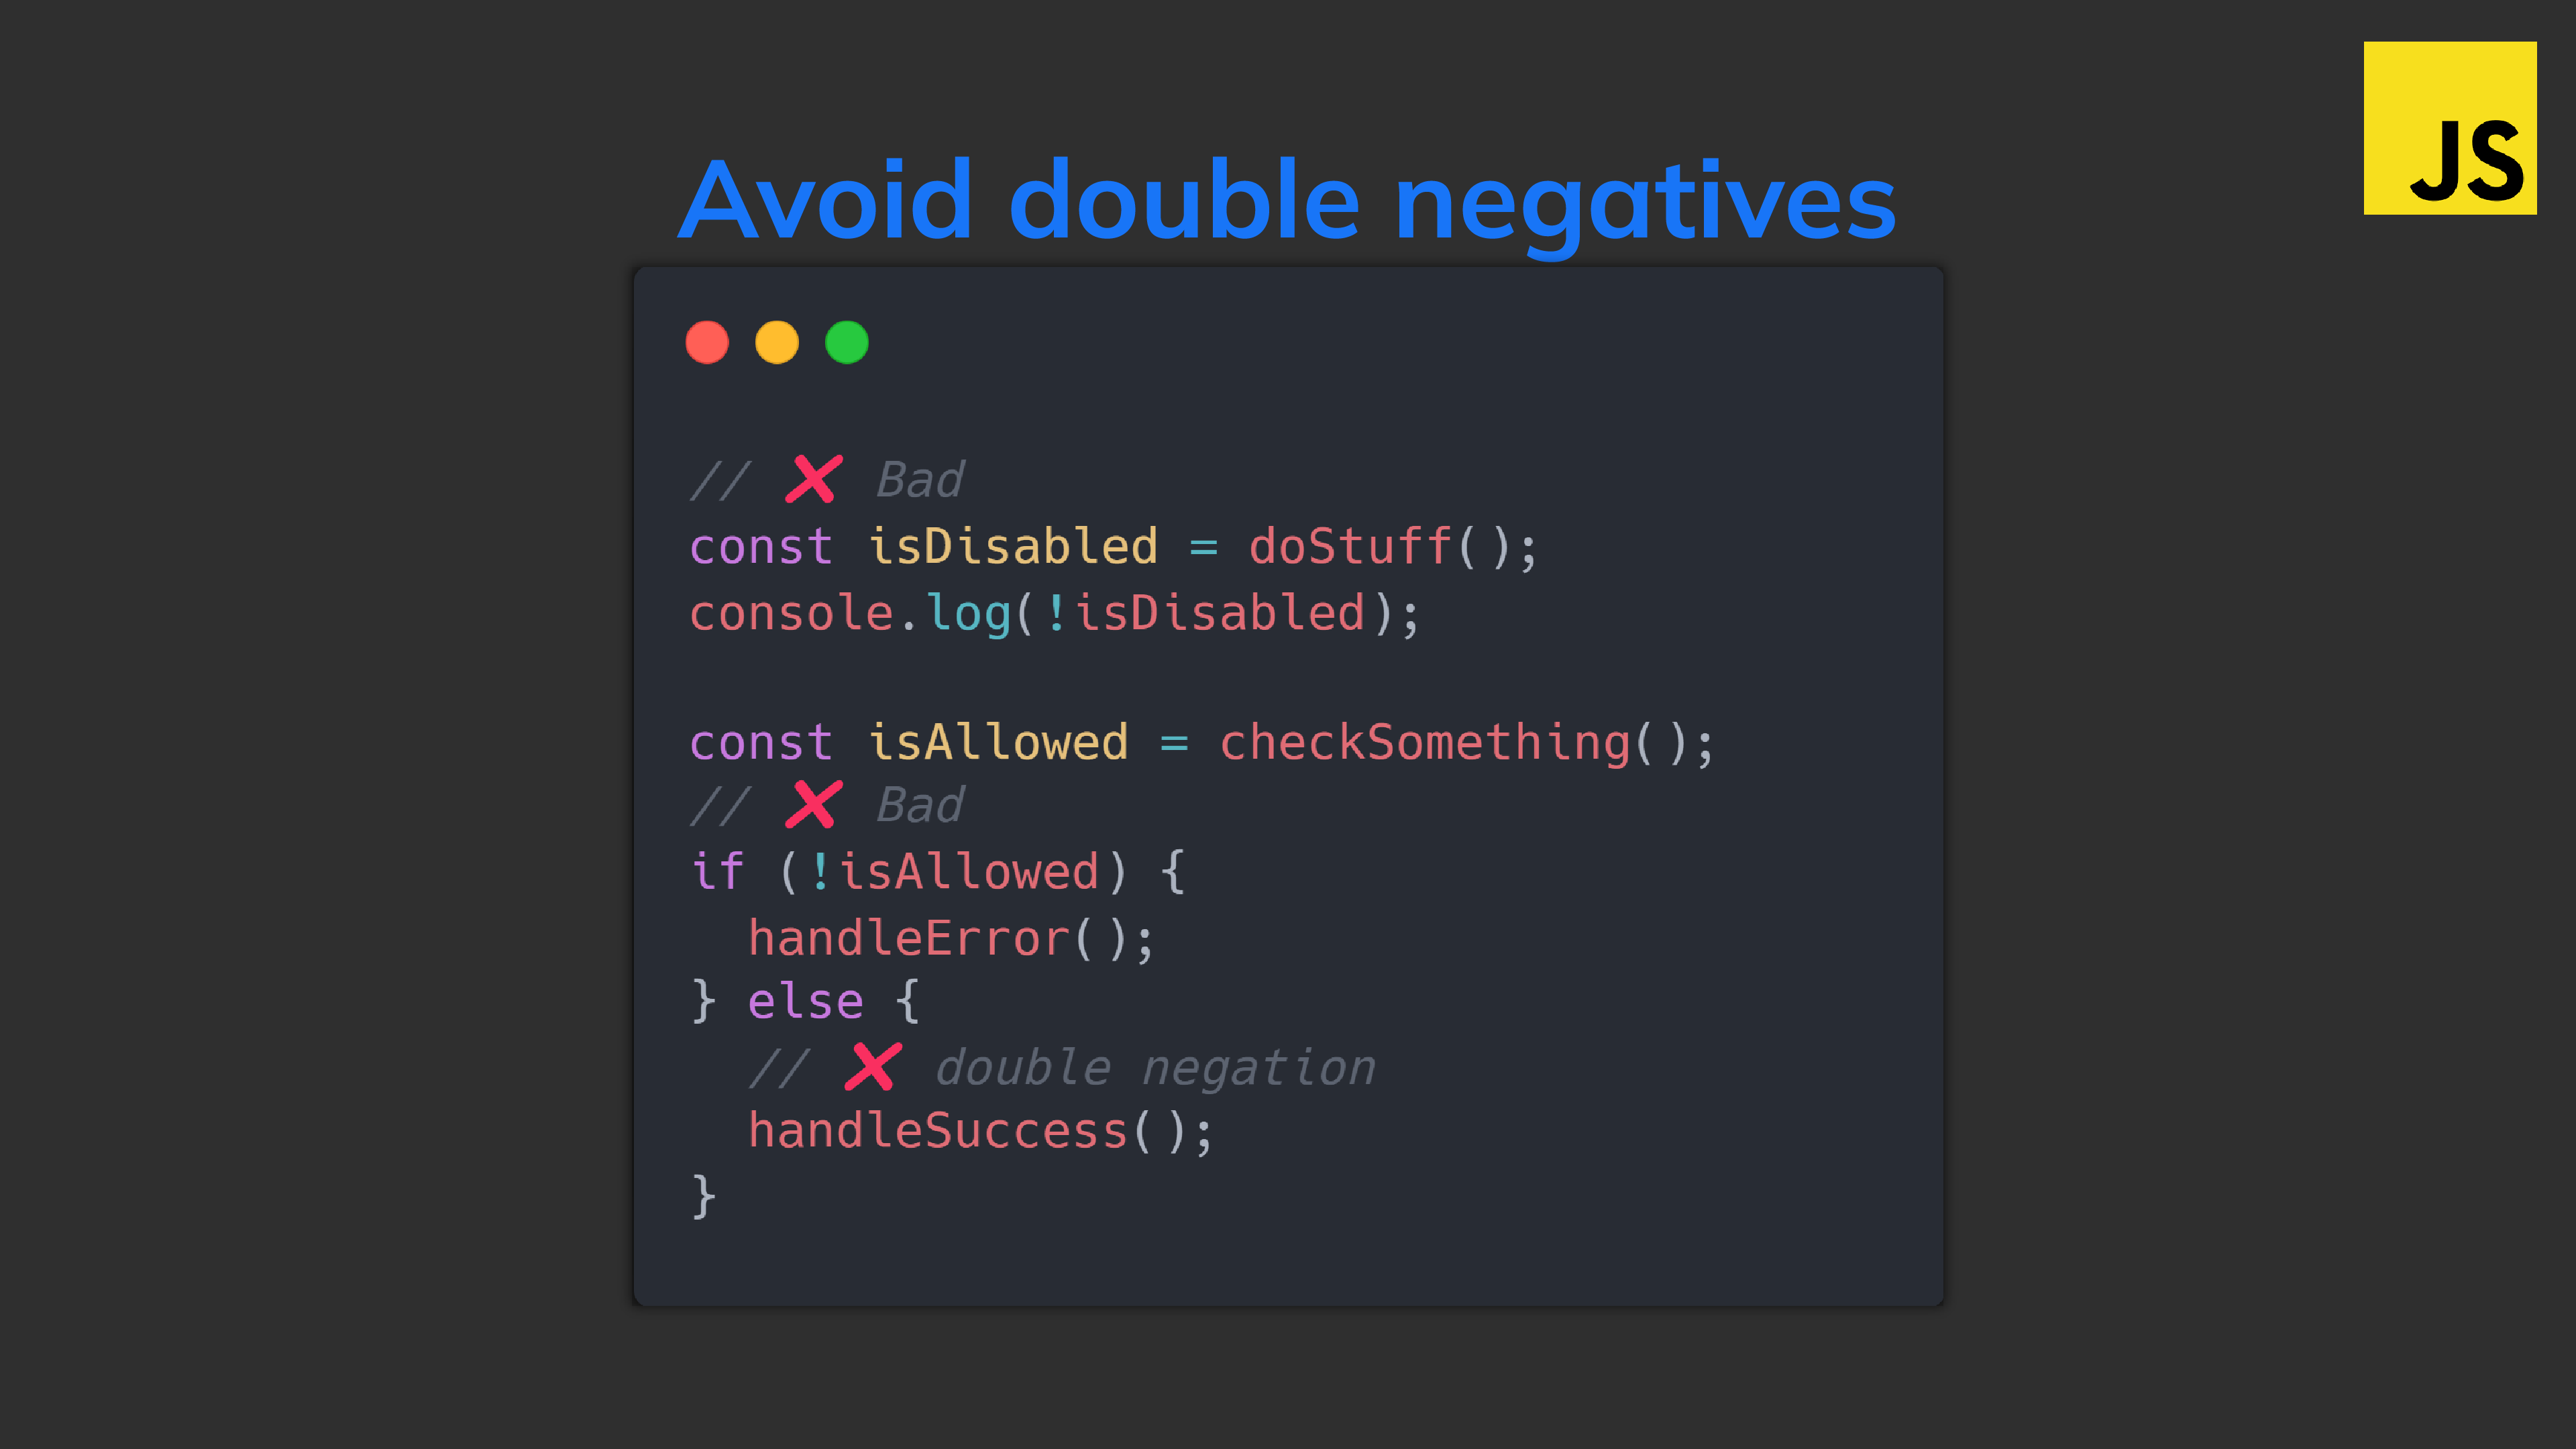
6. Delete line quickly
You’ve got to the line now, what if you want to delete it?
Will you drag and drag to highlight and then press Delete? Will you tirelessly press Backspace until every character is gone?
Or, will you use the Ctrl + Shift + K shortcut to rapidly delete that and dozens more lines in a matter of seconds?
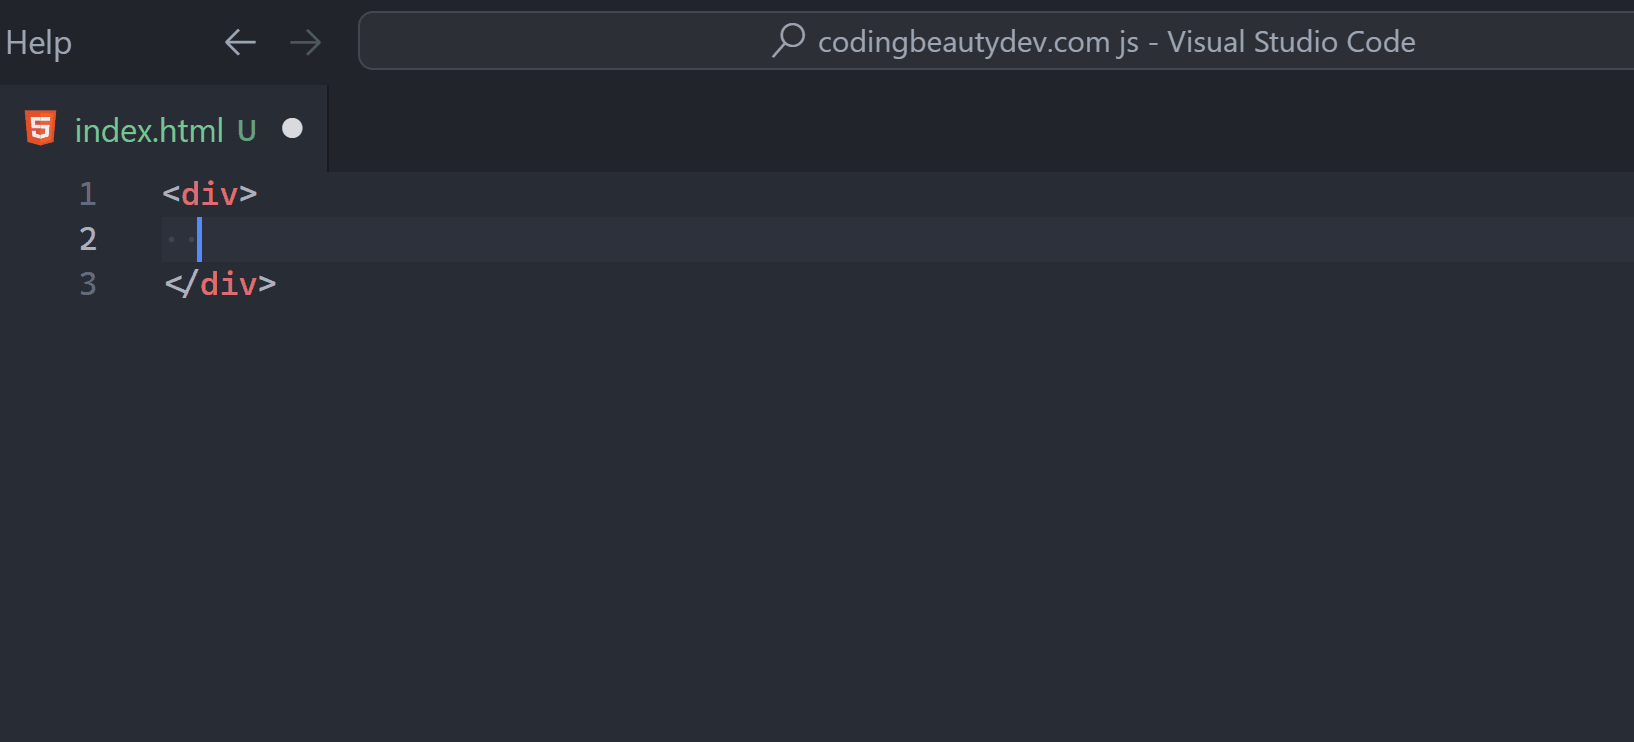
7. Enjoy typing with smooth cursor
VS Code has this smooth cursor feature that animates the cursor as it moves, like in MS Word. This makes typing feel more fluid and polished, as well as giving us a smoother and more natural feel as we navigate through the lines of code and place the cursor at different points.

To turn it on, opens Settings UI in the Command Palette and search for “smoot caret”.
We are looking for Editor: Cursor Smooth Caret Animation setting, which has 3 possible options:
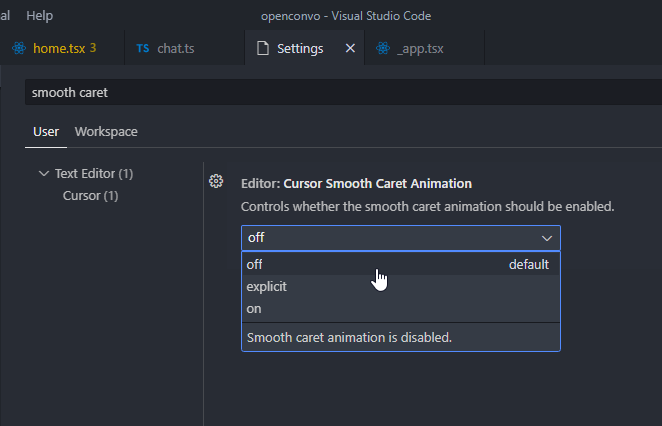
off: No smooth cursor animationexplicit: Only animates the cursor when we explicitly place it somewhere in the code.on: Smooth cursor animation is always enabled – including when typing.
Set it to on to get the full visual experience.
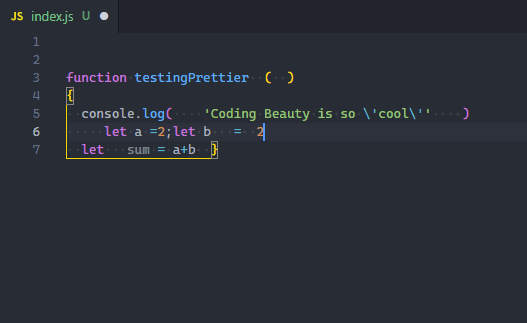
8. Format code rapidly
Formatting is all about improving code readability by organizing it in a structured and consistent manner.
And if you’ve been doing this manually, you need to know that there’s a better way.
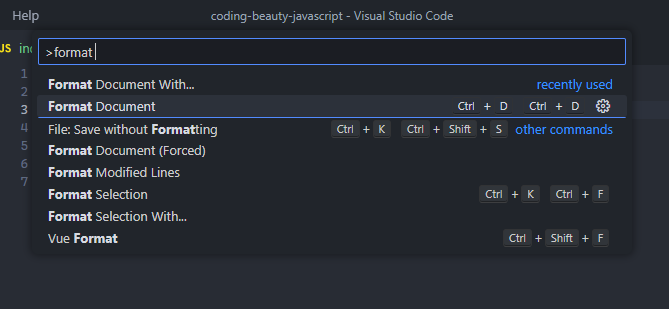
Yes, you need to start formatting code automatically with the Format Document command, easily accessible in the Command Palette. Depending on the current file’s language, a particular “default” formatter will be used to format the code using various rules of indentation, line length, braces and brackets, etc.
While there’s a pretty decent built-in JS/TS formatter, for a more robust solution, I highly recommend the Prettier extension.
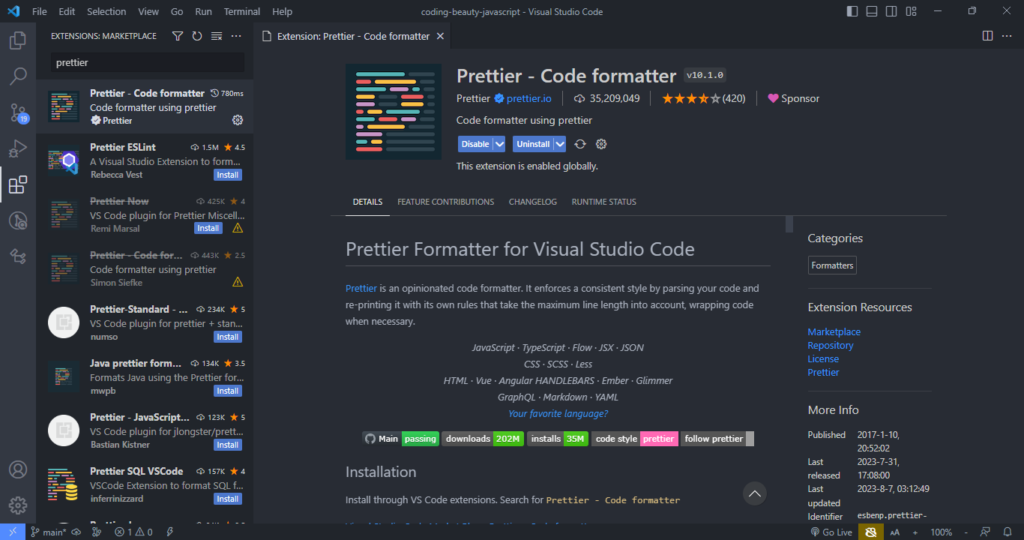
After installing, you’ll set it as your default formatter.
When you use manual over autosave, there’s a feature you should enable to make formatting a bit easier:
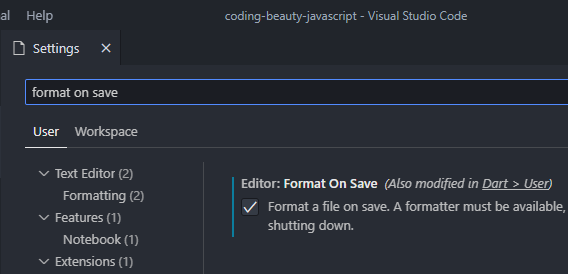
Editor: Format On Save: “Format a file on save. A formatter must be available, the file must not be saved after delay, and the editor must be shutting down”. It is disabled by default.
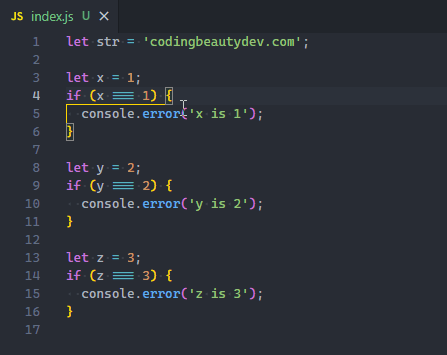
So with this setting on, VS Code will automatically format your code with the current default formatter when you save the file with Ctrl + S, as you saw in the above demo.
When you do autosave, it can get tedious to continuously open the Command Palette when you’re formatting every now and then. And that’s what keyboard shortcuts are for:
- Windows: Shift + Alt + F
- Mac: Shift + Option + F
- Linux: Ctrl + Shift + I
I’m on Windows and personally, I don’t like this default keyboard shortcut; autosave makes me format every now and then, and Shift + Alt + F got agonizing after a while.
So I changed it to Ctrl + D, Ctrl + D – a keyboard shortcut chord that’s much easier to press and remember, and has no conflicting keybinding. I recommend you do the same.
9. Save time with multi-cursor editing
One of the wow moments in my earliest VS Code days, the multi-cursor editing lets you place multiple cursors at different points, and delete or insert the same text multiple times. This speeds up editing time and boosts productivity greatly, as we get repetitive tasks done efficiently with rapid code creation.
Of course, when editing, there’s always at least one cursor. Use Alt + Click to add more.
You can also easily add a cursor directly above or below the current line, with Ctrl + Alt + Down or Ctrl + Alt + Up.

These shortcuts call the Add Cursor Below and Add Cursor Above commands respectively.
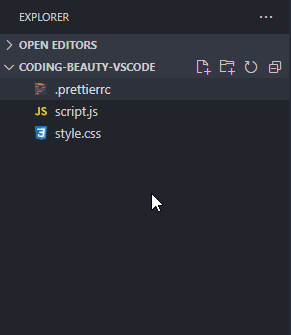
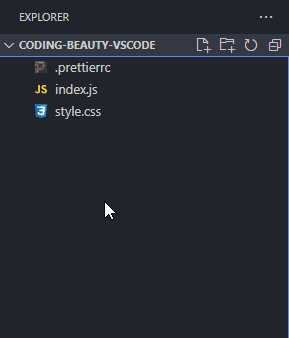
10. Create new folder / file quickly
There’s no serious project where we don’t create new folders and files, and if there was a way to accelerate file/folder creation, all the time saved would add up to give us a significant productivity enhancement.
If you’ve been creating new files and folders in VS Code with the new file and new folder button, then yes, there is a way.
Instead of constantly moving your mouse to locate those small buttons, did you know you can just double-click on the Explorer panel to create a new file?
How about a new folder? Well, folders are nothing without files, and when you’re creating a new file, you can easily use the / character to indicate a hierarchy and create new folders and sub-folders to contain that file.
It would be even more efficient to use keyboard shortcuts, which is what I did.
As a former Atom fan, I had quickly gotten used to the A and Shift + A shortcuts for creating new files and folder respectively; I knew what I had to do.
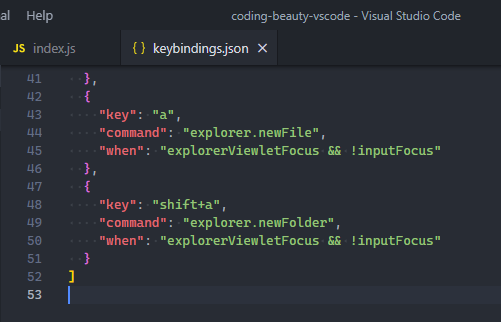
Since A and Shift + A are obviously keys used to code, I included the when values here to make sure they only create a new file/folder when the Explorer pane has focus and there’s no active cursor in the current editor.
So to use these shortcuts when typing, you’ll have to focus on the explorer pane first; click on it, or use Ctrl/Command + Shift + E.
Key takeaways
- Enable local source control with Timeline view; available in Explorer pane by default.
- Autosave files with
File > Autosave. - Run commands in Command Palette with
Ctrl + Shift + PorShift + Command + P. - Go to a file with
Ctrl + P, navigate between open files withAlt + Left/RightorCtrl + Tab. - Go to a line with
Ctrl + G. - Delete a line with
Ctrl + Shift + K - Enable smooth typing with
Editor: Cursor Smooth Caret Animationsetting. - Format code with Format Document command, use Prettier, change shortcut to
Ctrl + D, Ctrl + D - Use multiple cursors at once with
Alt + Click, Ctrl + Alt + Up/Downadds one above/below - Move a line up or down with Alt/Option + Up/Down in Windows/Mac
- Create a new file by double-clicking the Explorer pane or set a custom keyboard shortcut. Create a new file in a new folder with “folder/file.ext“
Check out the VS Code Key Bindings docs to learn more about keyboard shortcuts and how to customize them. It includes a complete list of all the default VS Code shortcuts in your operating system.
Final thoughts
Visual Studio Code is more than just a text editor—it’s a powerful tool that, when mastered, can significantly boost your productivity and streamline your coding workflow. The ten tips and tricks we’ve explored are just the tip of the iceberg. As you continue to navigate through VS Code, you will discover a myriad of other features and shortcuts that will further enhance your coding experience. So, keep exploring, keep learning, and remember: the key to efficient coding lies not just in the code itself, but also in the tools you use to write it.