How the new “Karpathy Skills” drastically improve Claude Code’s accuracy
High-quality AI coding in 2026 has gone way past just picking a good model and calling it a day.
There’s now much more that needs to be properly calibrated and fine-tuned to get the very best results from your agent.
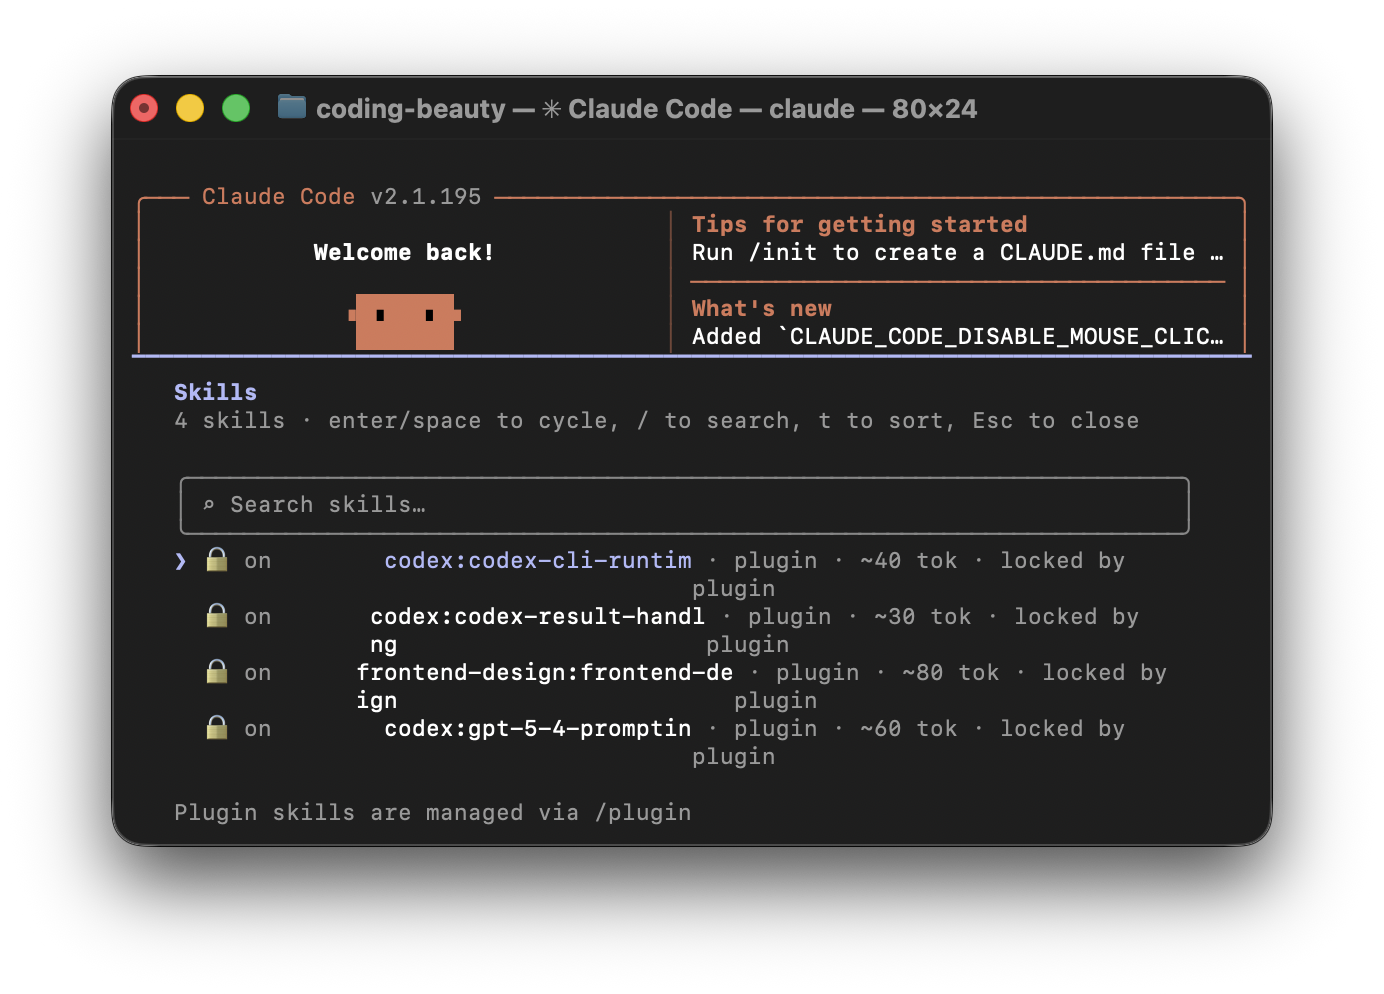
We now have Skills which let you precisely shape AI behavior by packaging instructions, scripts, and context into reusable units.
And that’s what the new, wildly popular “Karpathy Skills” have been able to take advantage of to the fullest extent.
Karpathy Skills is a set of strict rules and guidelines that drastically improve the accuracy and reliability of your agent, once you add them to your CLAUDE.md (or CURSOR.md) file.
Let’s take a look at some of these key rules, so you can better understand why it makes such a massive difference.
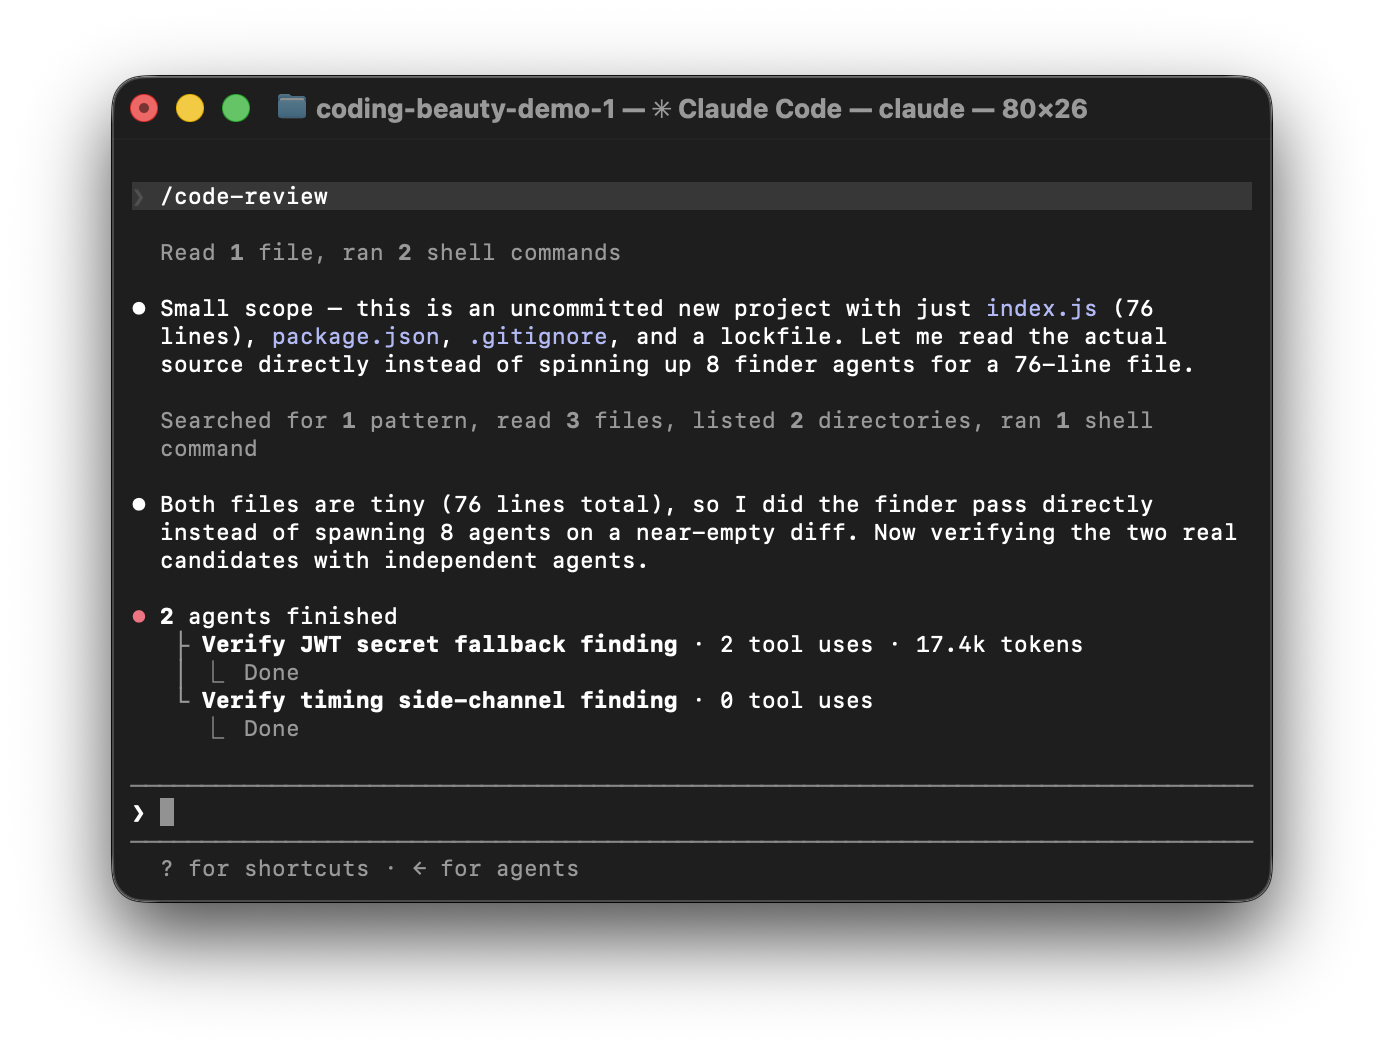
1. The surgical strike
Most LLMs try to be helpful. Too helpful.
You’ve probably experienced this:
You ask for a fix or new feature.
They make the changes… but also:
- clean up unrelated code
- reformat files
- rename variables
- refactor “while they’re there”
It looks productive. But it leads to low model trust and messes up your mental model of the codebase.
The rule:
- Only change the exact lines required
- No drive-by edits
- No unrelated improvements
Why it matters:
- Prevents diff bloat
- Makes PRs readable
- Reduces hidden risk
Think about review time.
- 500-line diff → slow, error-prone
- 5-line diff → fast, obvious
This isn’t about style.
It’s about trust.
A good AI agent doesn’t try to improve everything.
It solves exactly the problem.
2. Extreme disambiguation
Most agents are optimized to continue.
If they’re 80% sure, they guess the missing 20% and move forward.
That’s dangerous.
The rule:
- Don’t assume
- Don’t hide confusion
- Surface tradeoffs
In practice:
- Ask clarifying questions
- Present multiple interpretations
- Push back on unclear requests
Why it matters:
- Prevents hallucinated requirements
- Exposes ambiguity early
- Creates tighter feedback loops
Bad agent:
“Sure, I implemented it.”
Good agent:
“Do you want A or B? They have different tradeoffs.”
3. Goal-first thinking (declarative over imperative)
Most developers naturally give instructions.
AI works better with outcomes.
The Karpathy-style rule is simple:
- Define success criteria
- Loop until verified
- Transform imperative tasks into verifiable goals
This pushes the agent into goal-first thinking.
What this changes
Instead of telling the AI what to do step-by-step, you tell it:
- what should fail
- what should pass
- how to know it’s done
That’s declarative thinking.
Imperative vs declarative
Imperative (weak):
“Add validation to this endpoint.”
Declarative (strong):
“Write a test that fails when invalid input is accepted. Update the code until the test passes.”
Notice the difference:
- Imperative → action
- Declarative → outcome
4. Anti–future-proofing (simplicity first)
AI loves to over-engineer.
You ask for something simple.
It builds something “flexible.”
Suddenly you have:
- abstractions
- configuration layers
- unused hooks
- “just in case” logic
The rule:
- If 200 lines could be 50, rewrite it
- No abstractions for single use
Why it matters:
- Prevents AI slop
- Keeps code readable
- Reduces long-term maintenance
Over-engineering compounds.
- One abstraction → pattern
- Pattern → everywhere
- Everywhere → hard to change
Simplicity doesn’t mean naive.
It means appropriate.
If the problem is small, the solution should be small.
The takeaway
No new architecture.
No breakthrough model.
Just constraints:
- Keep diffs small
- Surface ambiguity
- Define success with tests
- Prefer simple code
Claude Skills give structure to these ideas.
Karpathy-style rules give them teeth.
The result:
Not an AI that writes everything — a reliable AI that writes just enough, and just right.
One you can trust in a real codebase.