How the new Google Antigravity CLI makes developers so much more productive
Google just released Antigravity CLI — an upgraded version of Gemini CLI that’s so much more powerful at software development.
Packed with amazing new features and ecosystem integrations, several times faster than Claude Code, and comes with brand new commands for various essential software development tasks.
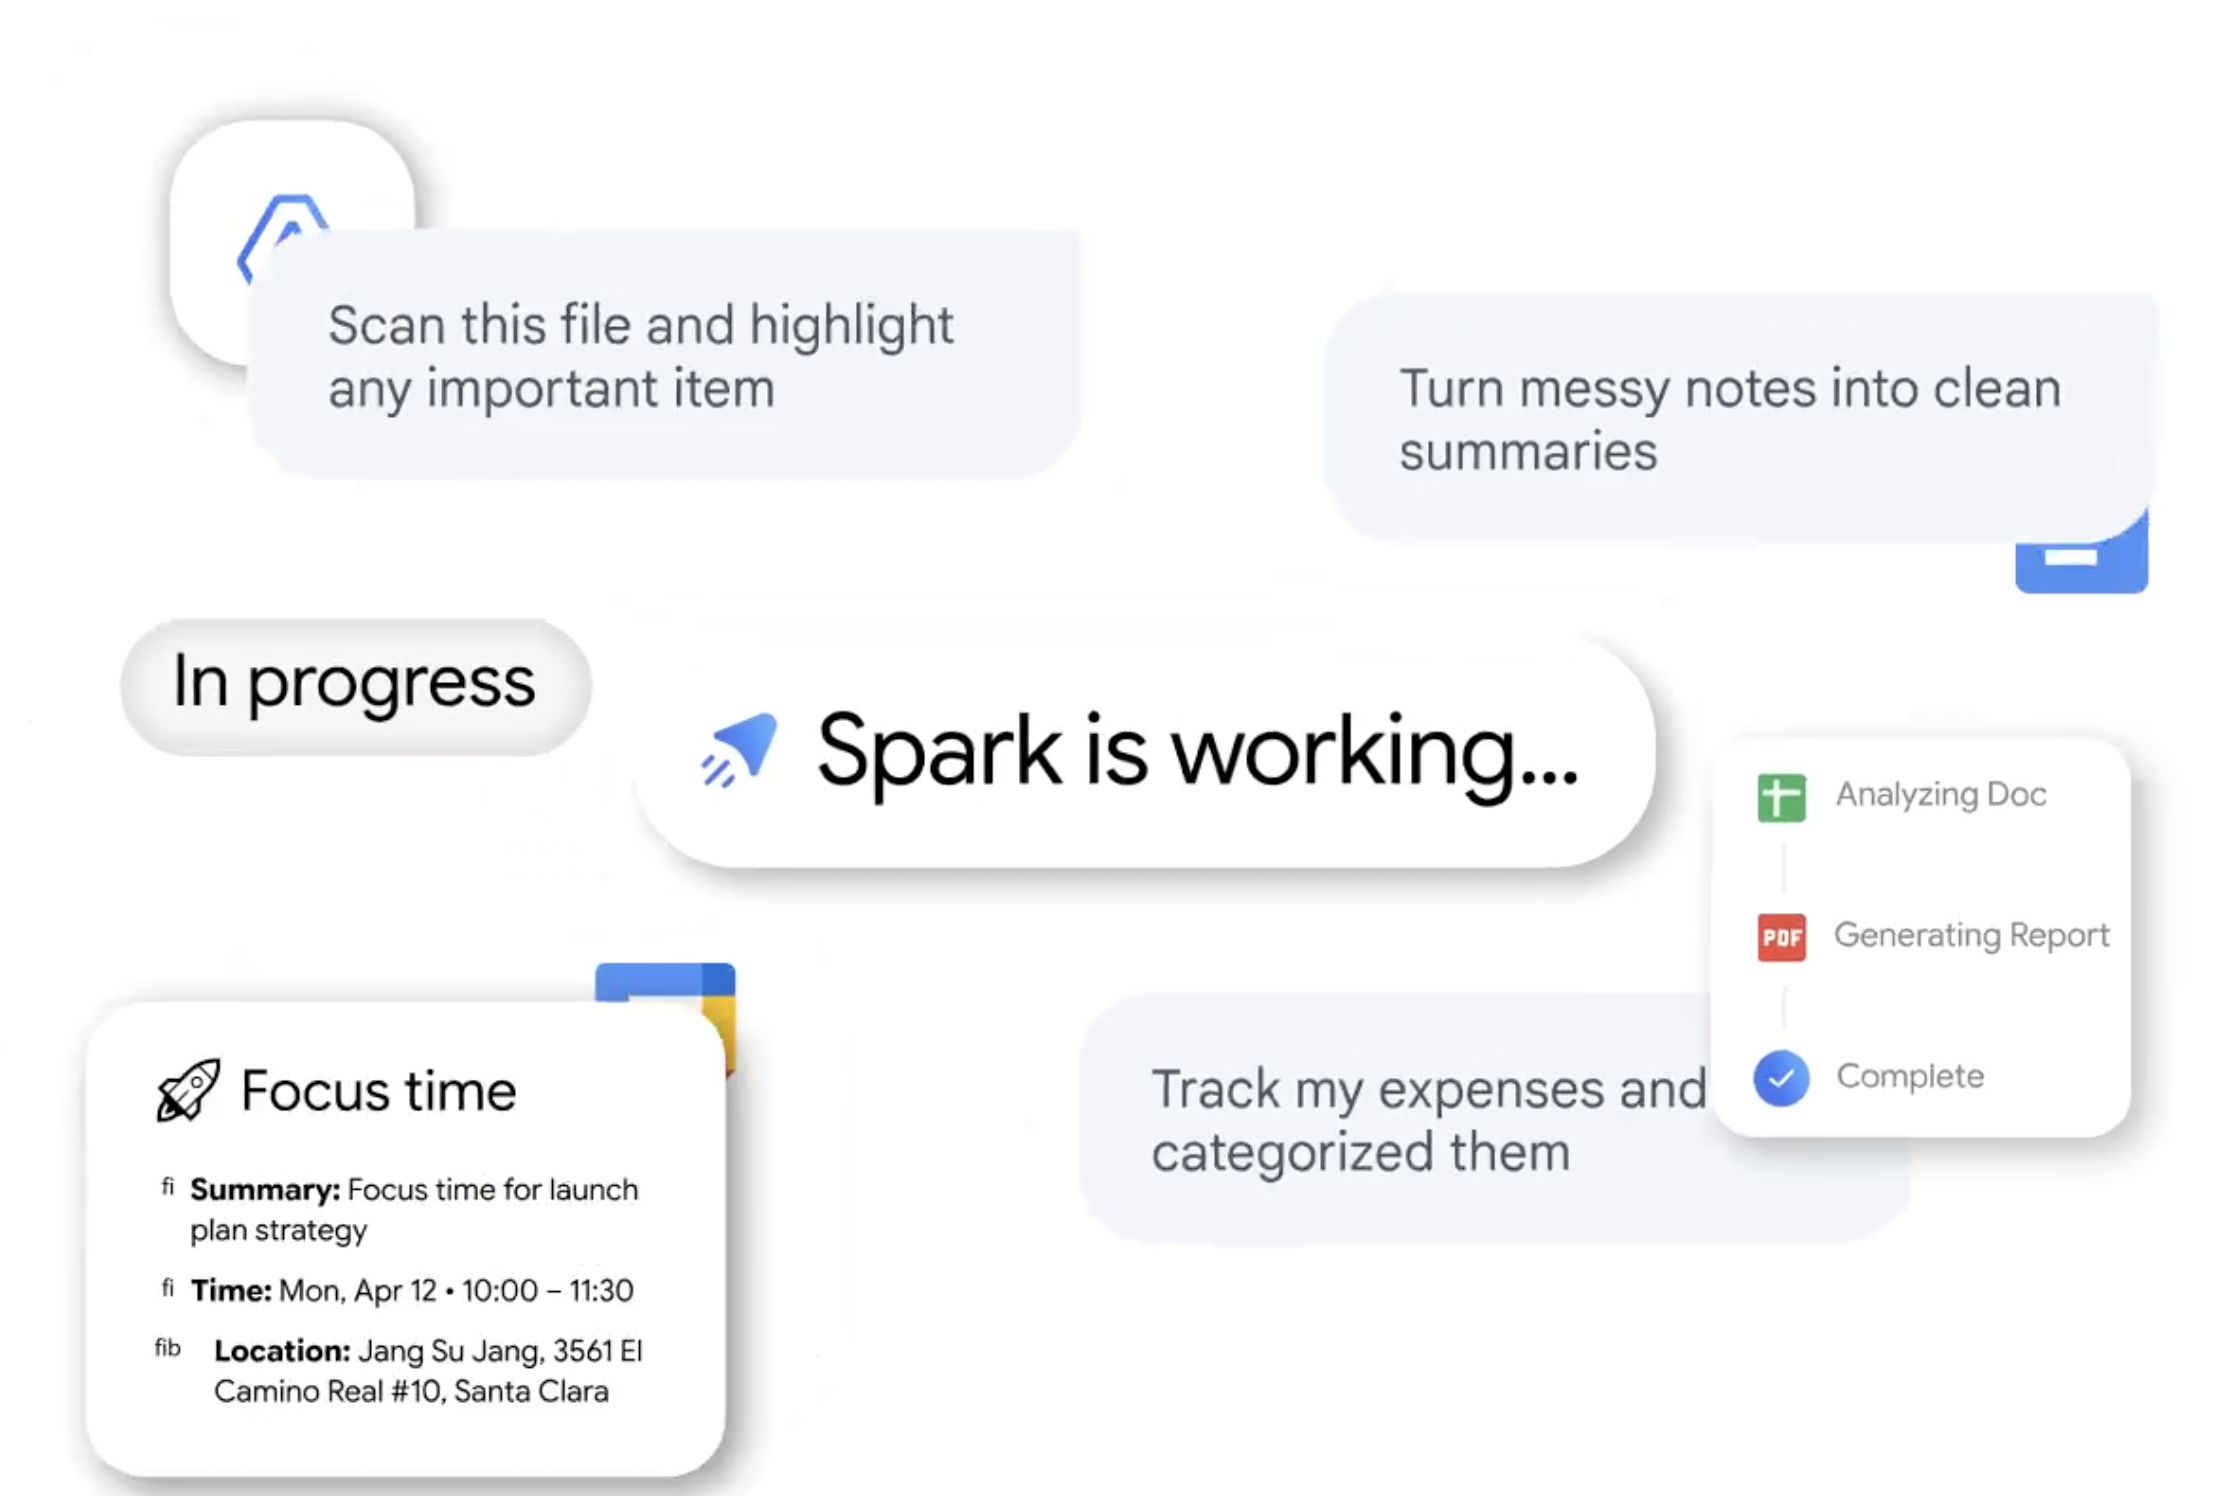
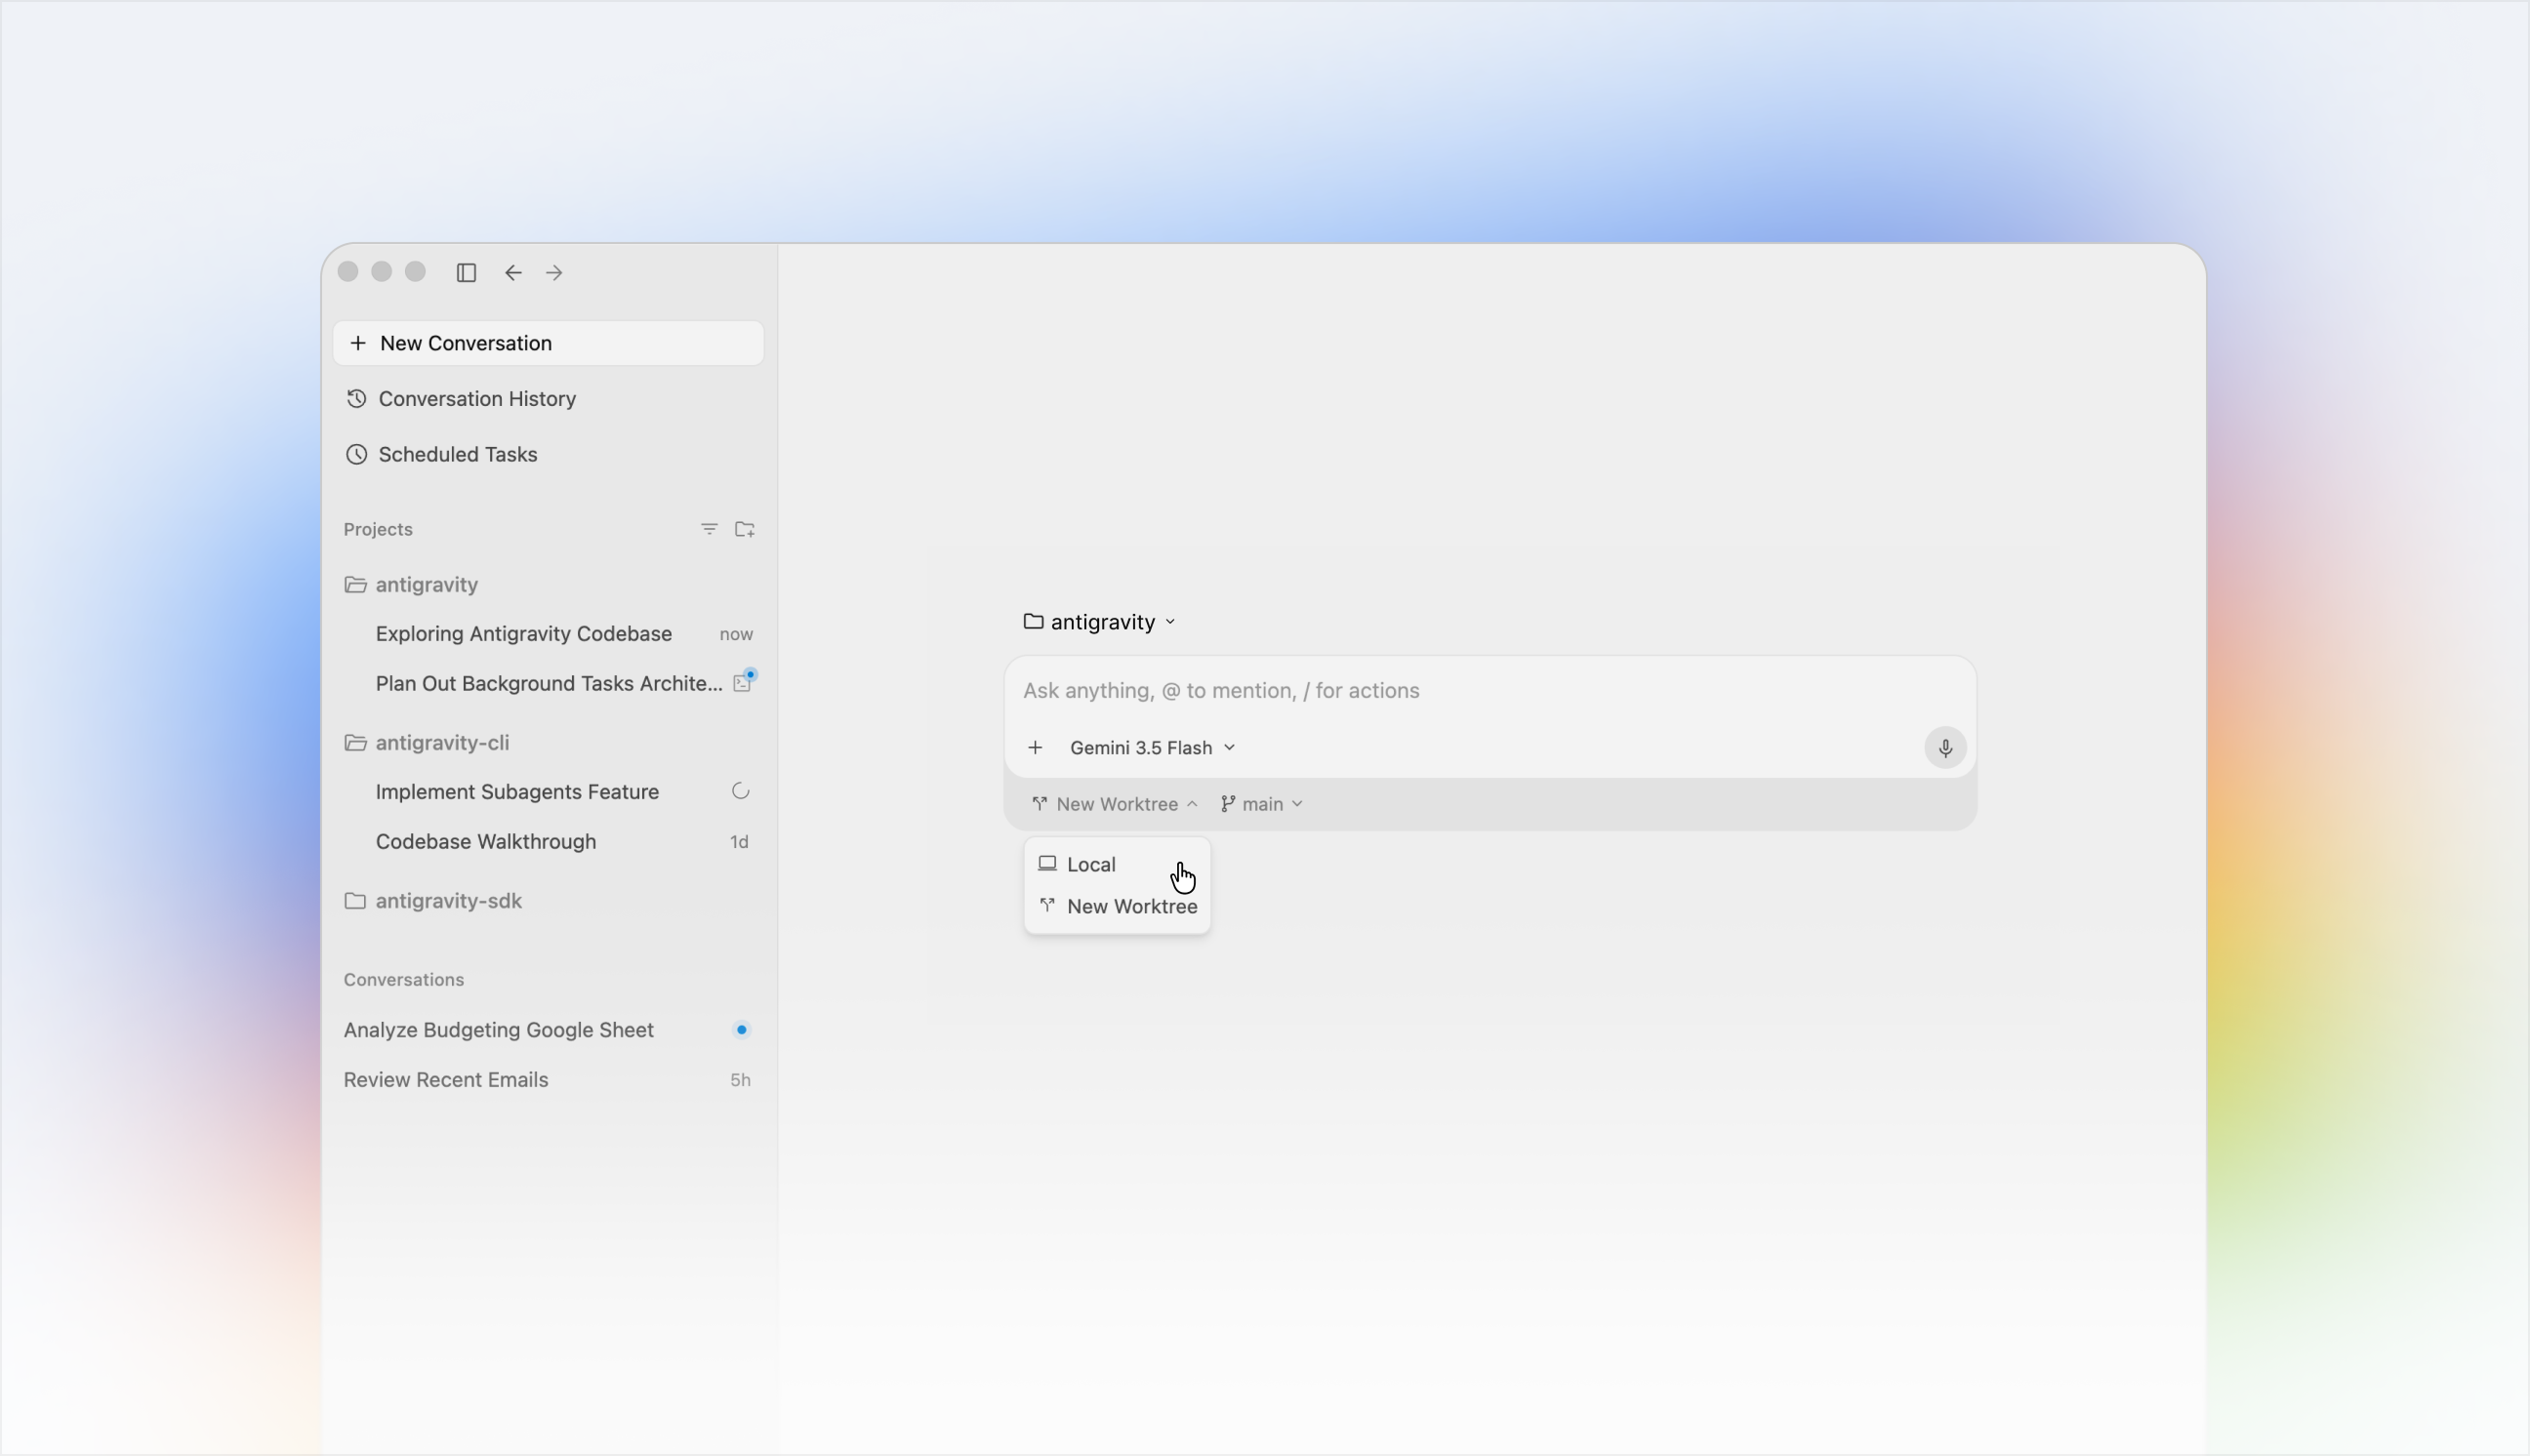
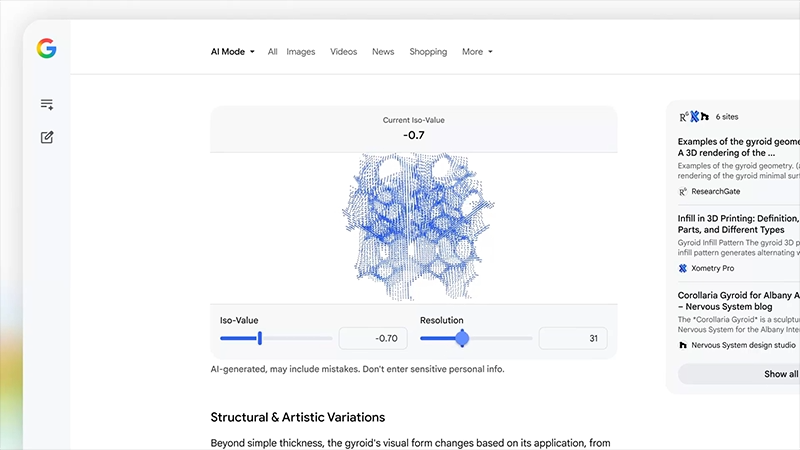
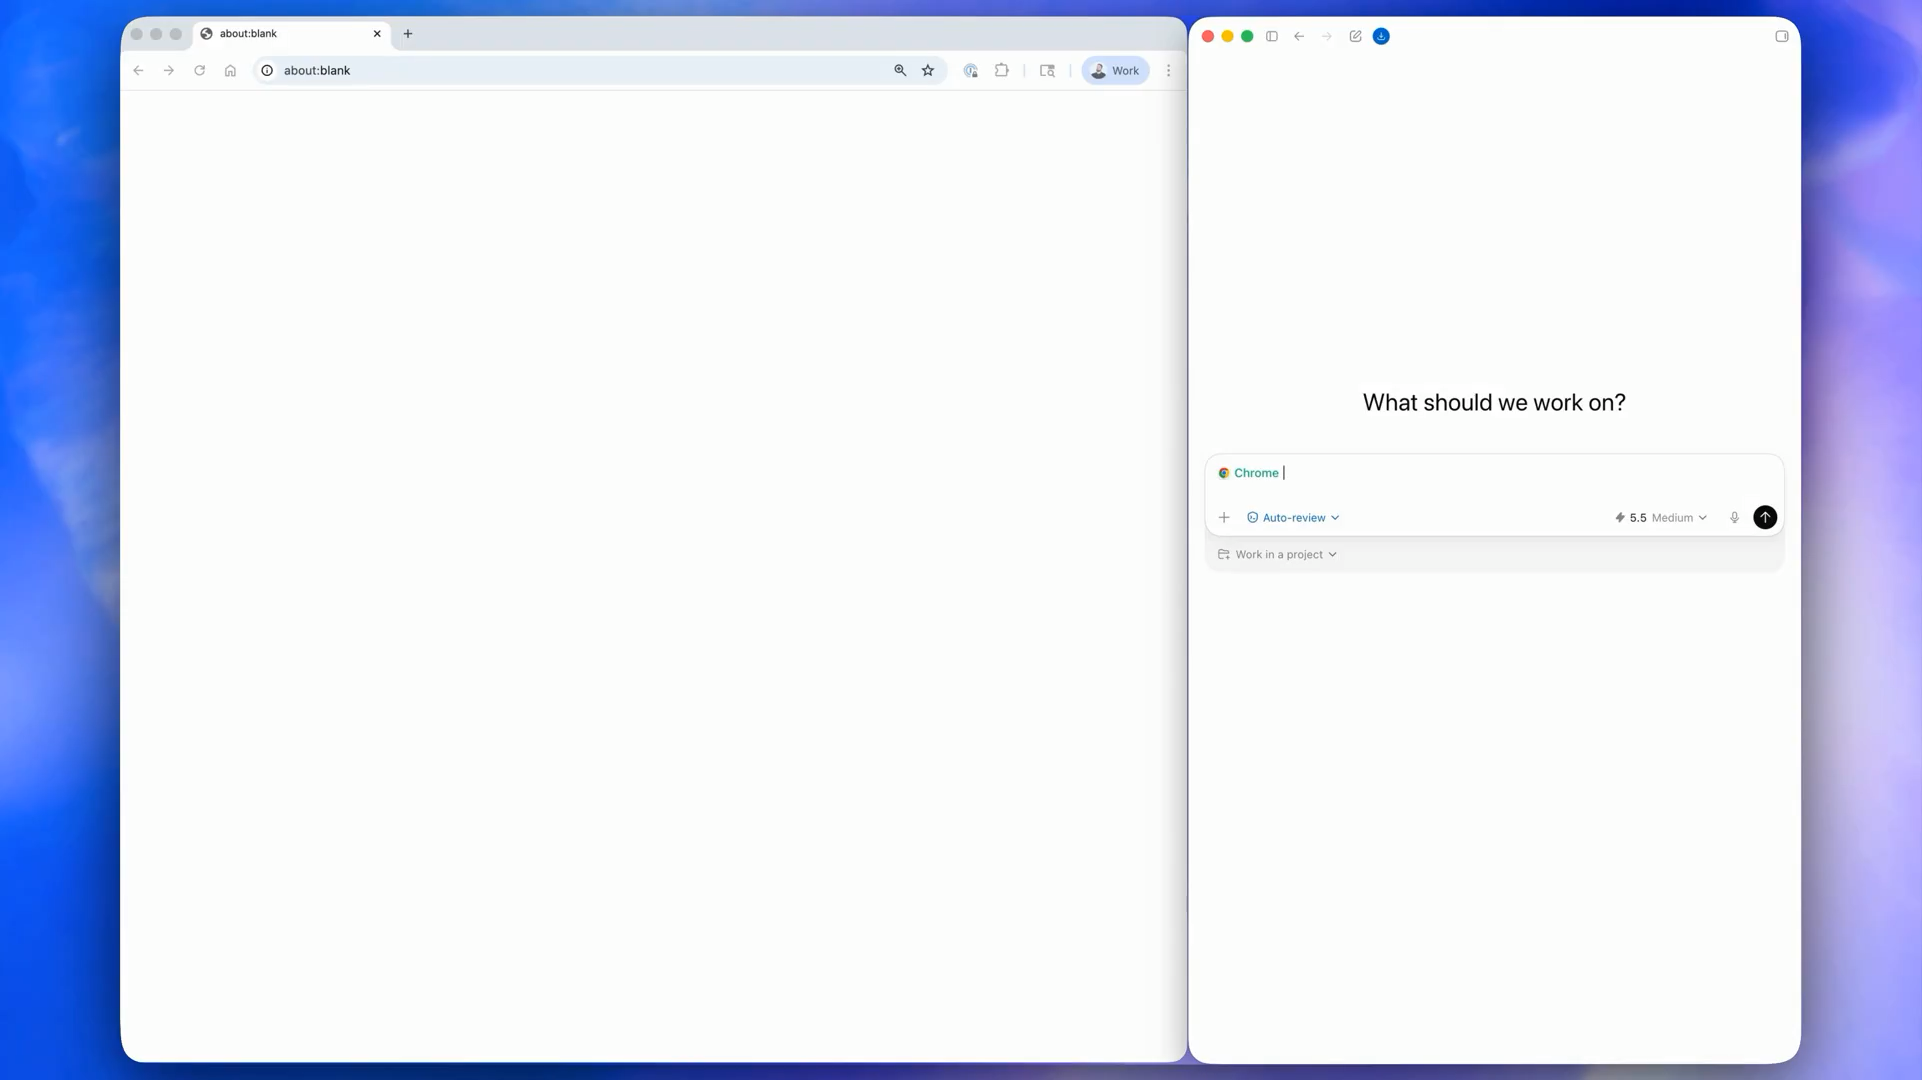
The new Antigravity CLI in action:
They completely rebuilt the terminal experience around the new way software engineering works in 2026 — multi-agent, asynchronous, persistent, and increasingly autonomous.
From a regular chatbot sitting in a terminal — to a orchestration system for advanced engineering workflows.
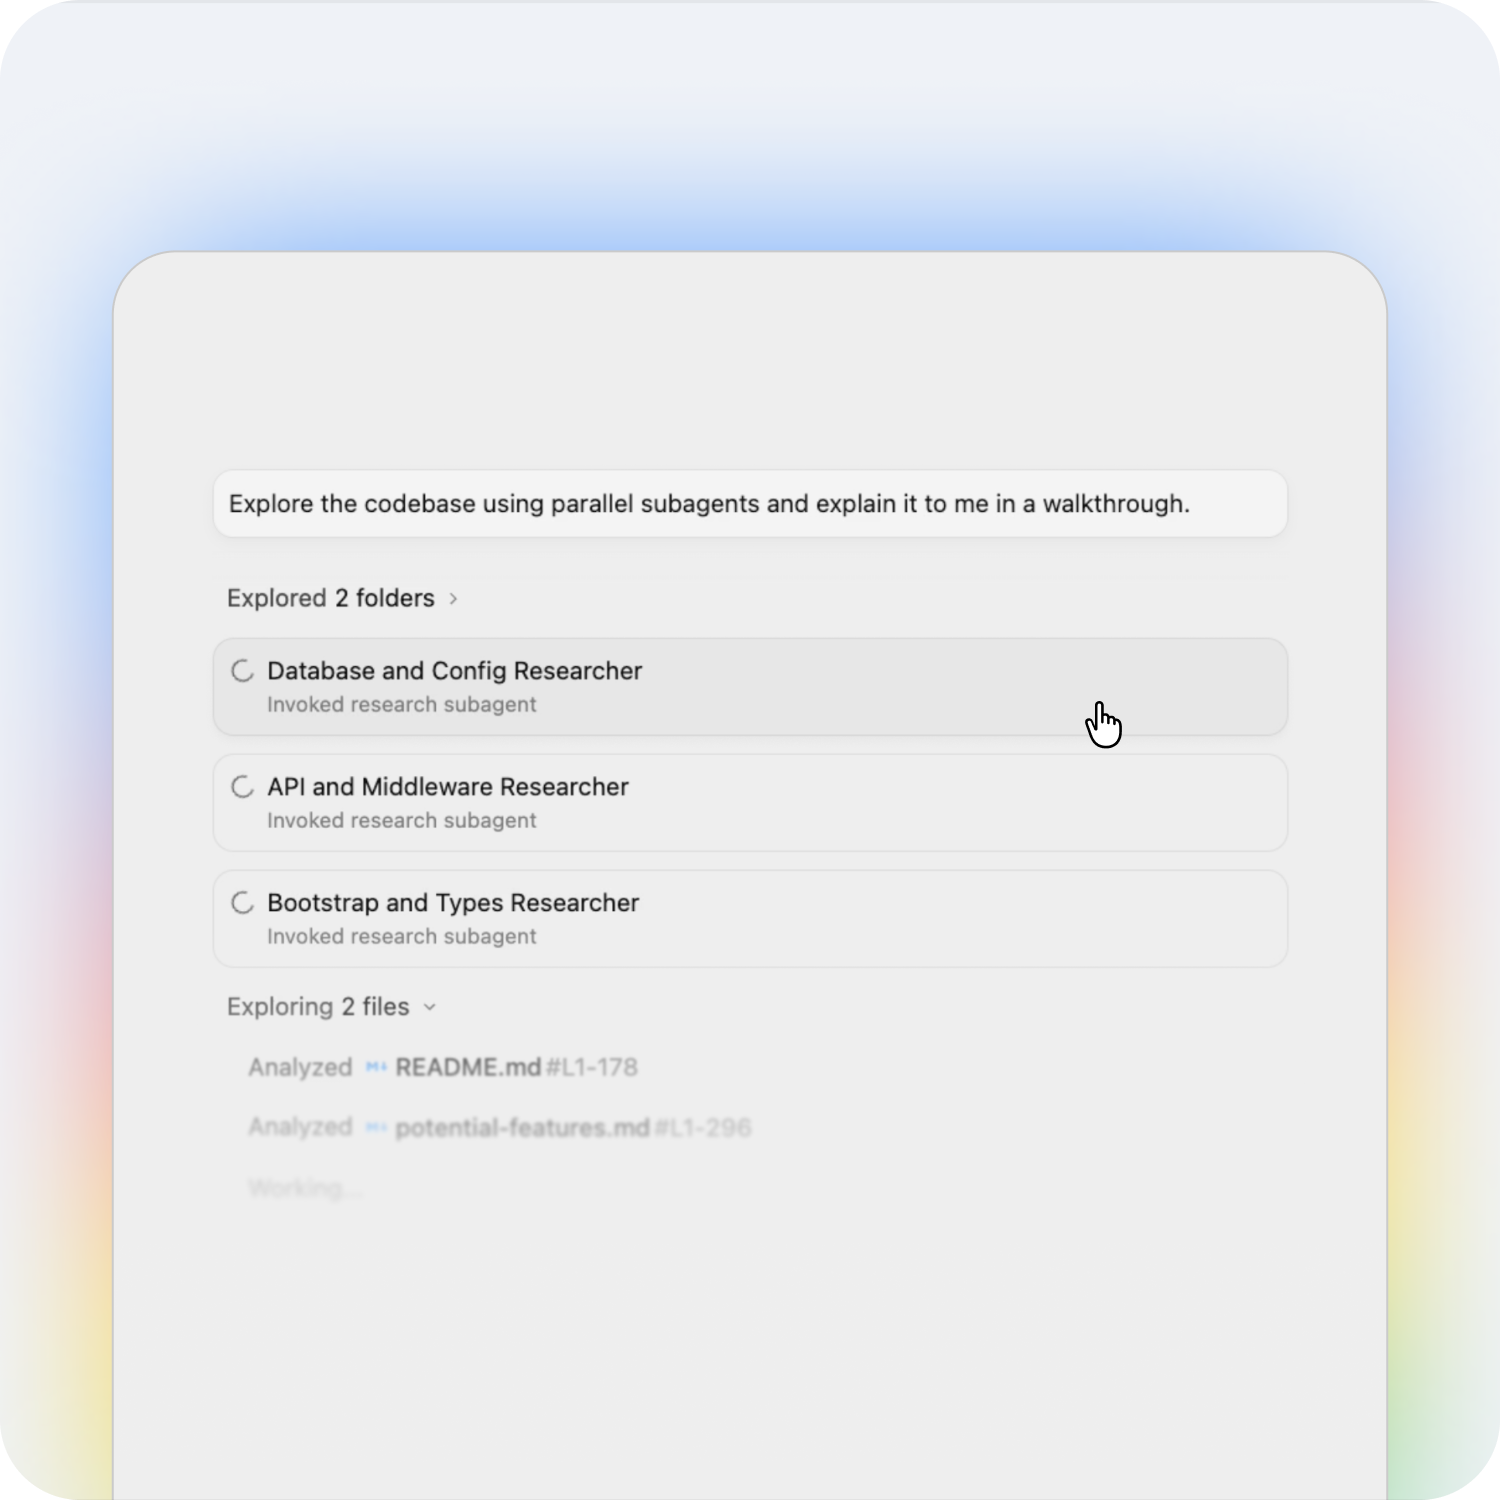
1. Dynamic asynchronous subagents change everything
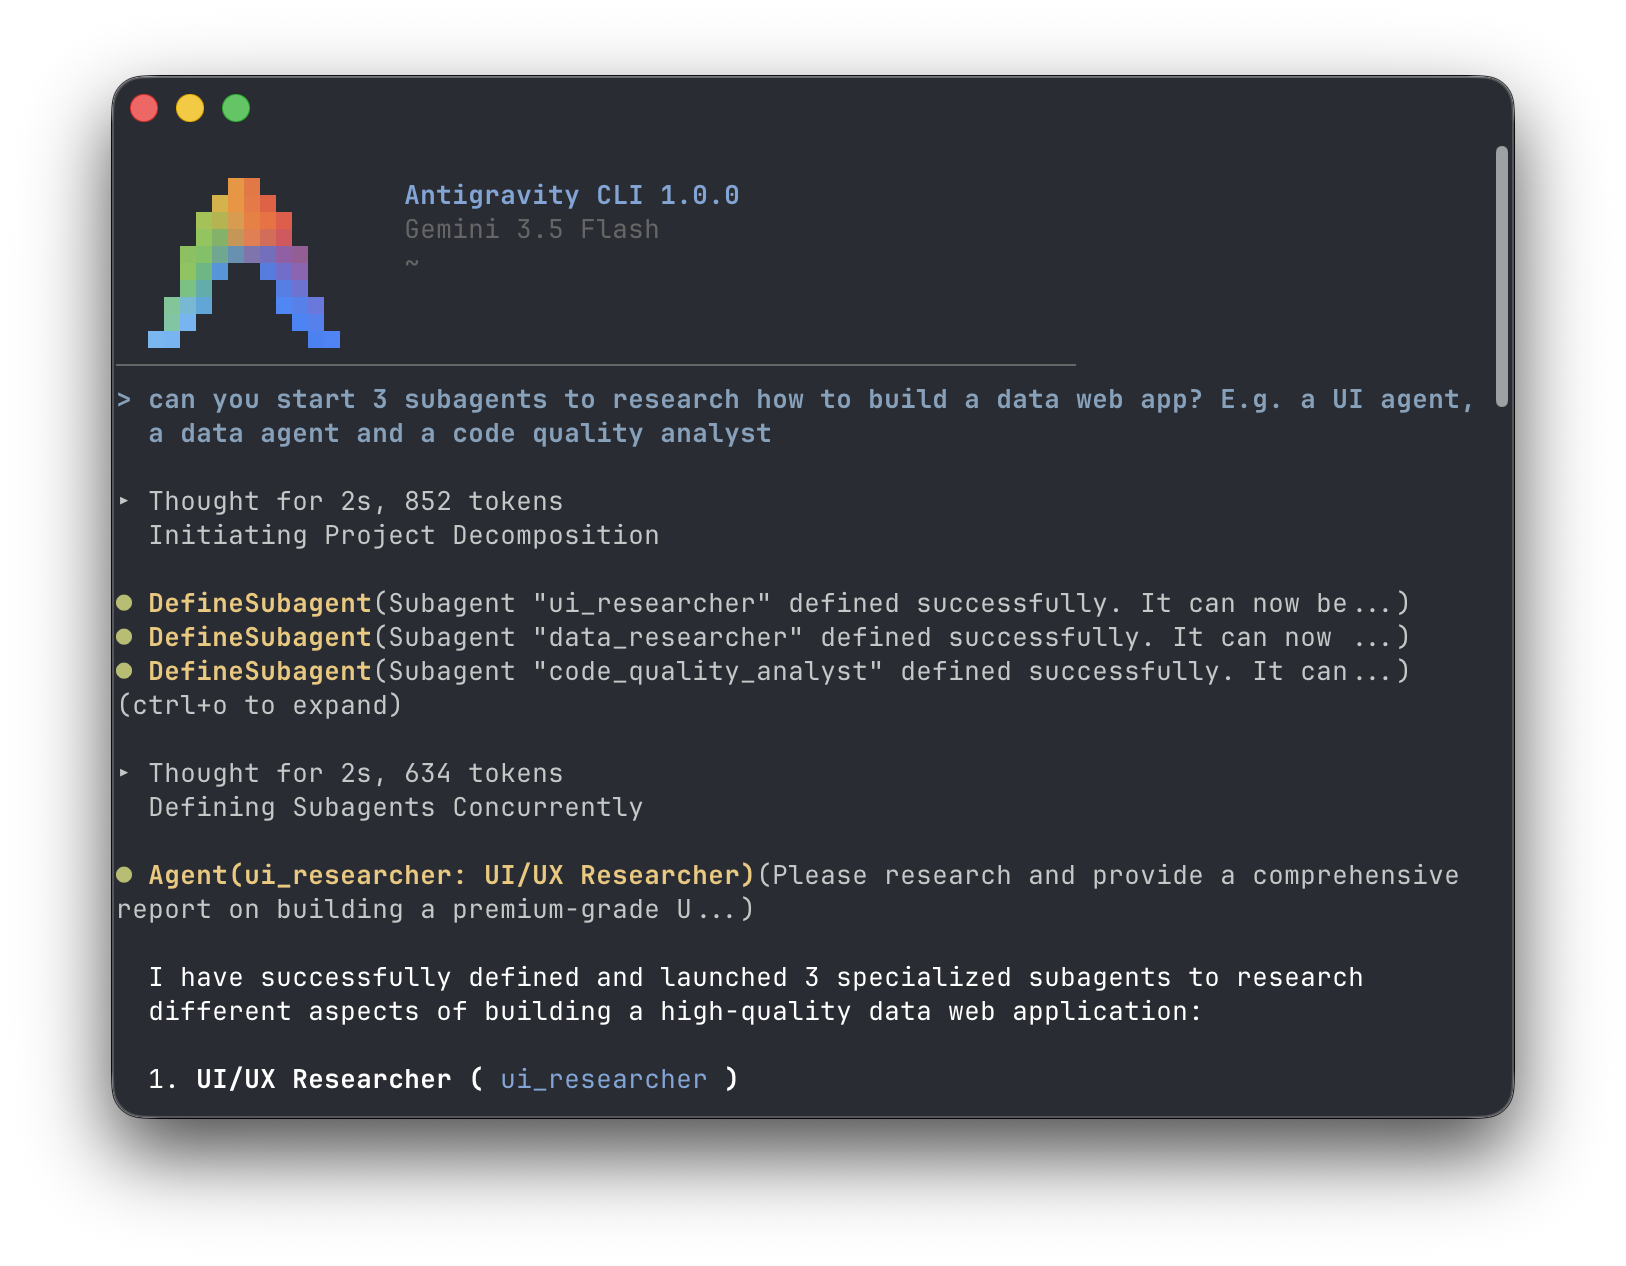
Antigravity CLI uses sophisticated divide-and-conquer — to radically improve performance and code quality for the most complicated tasks.
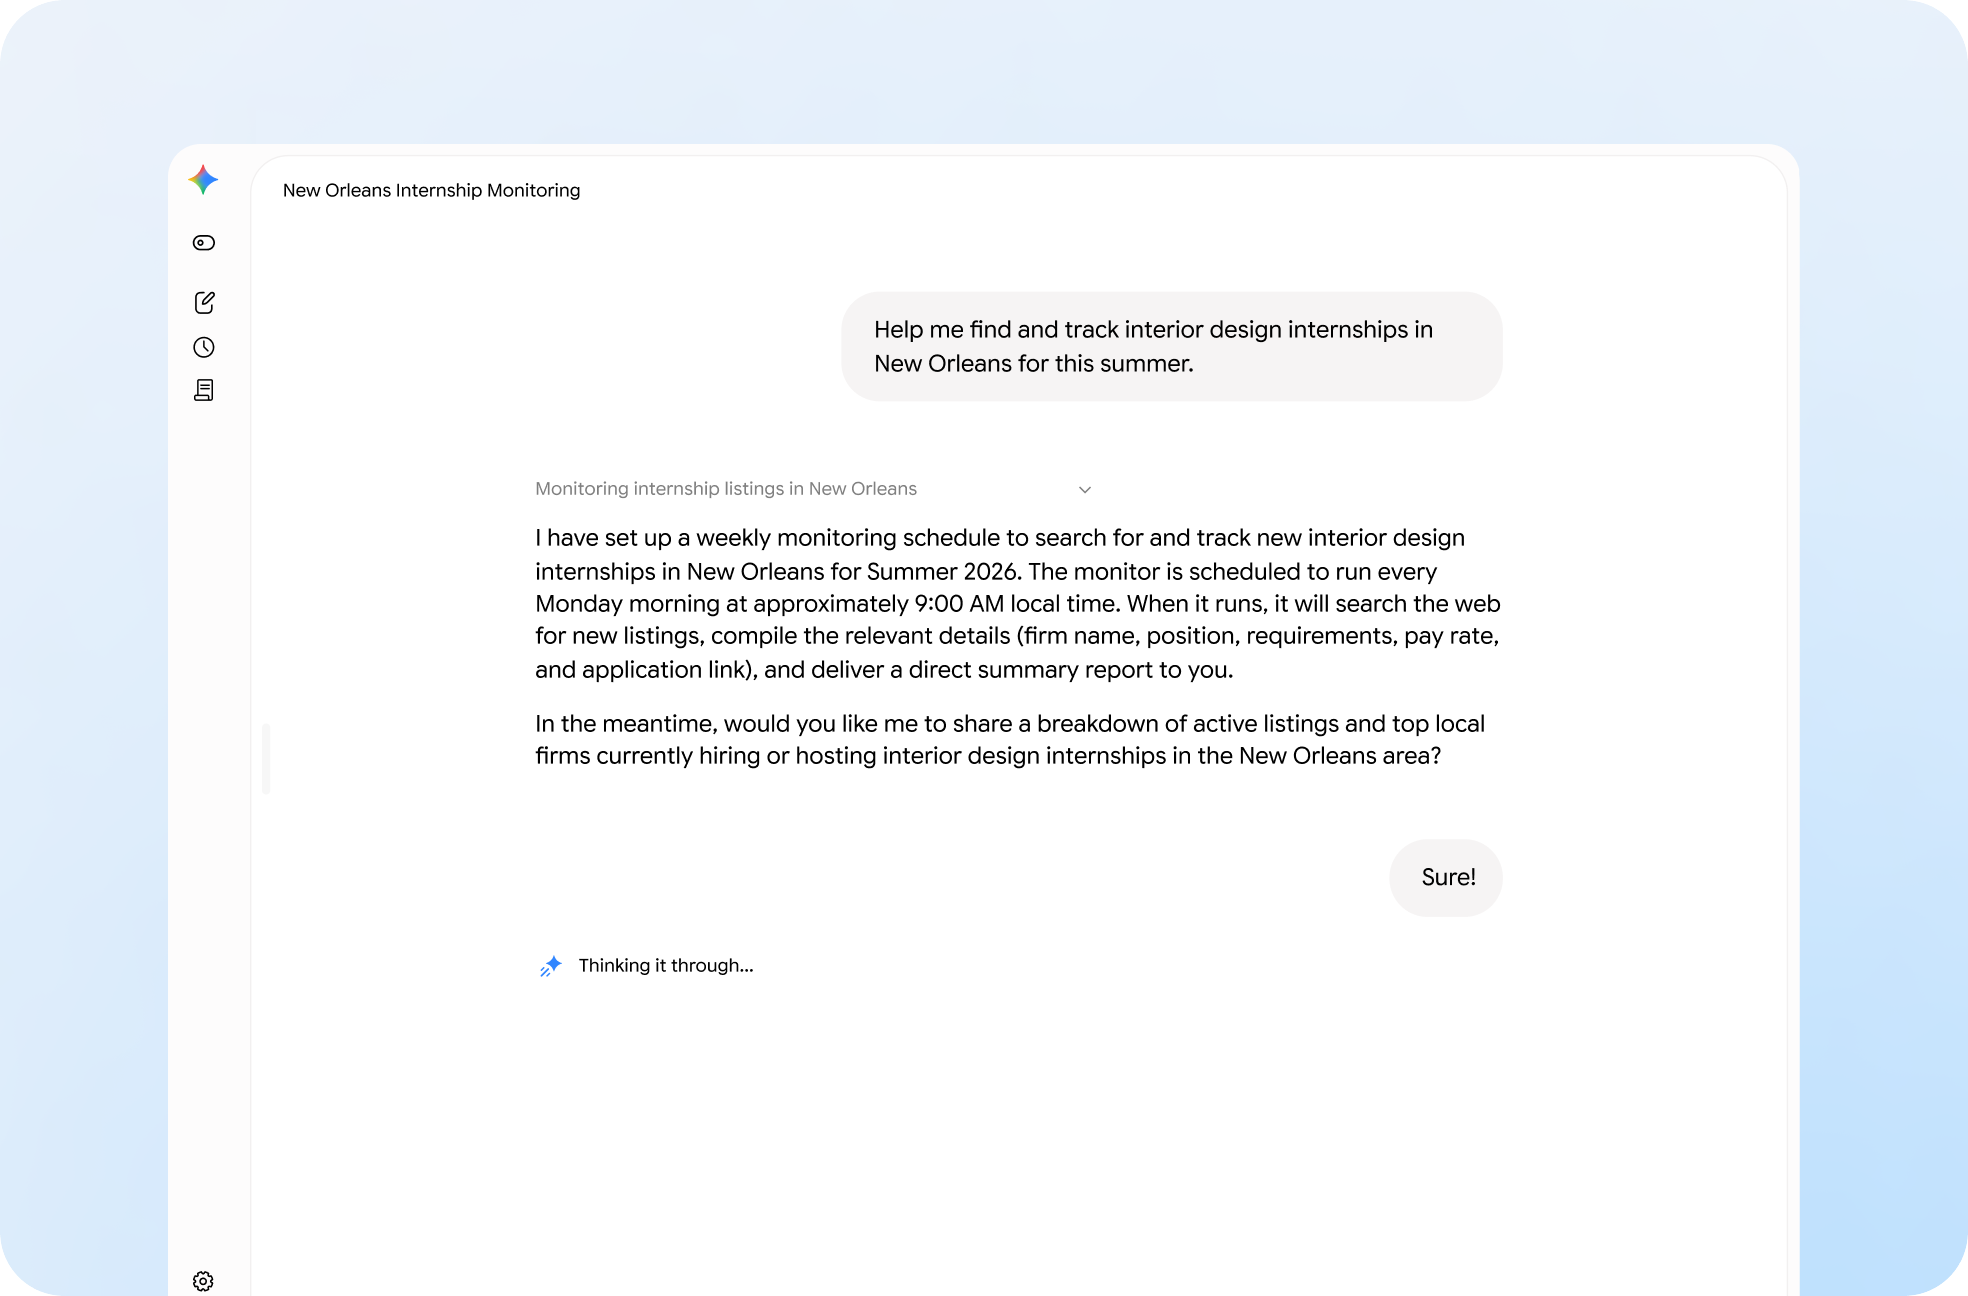
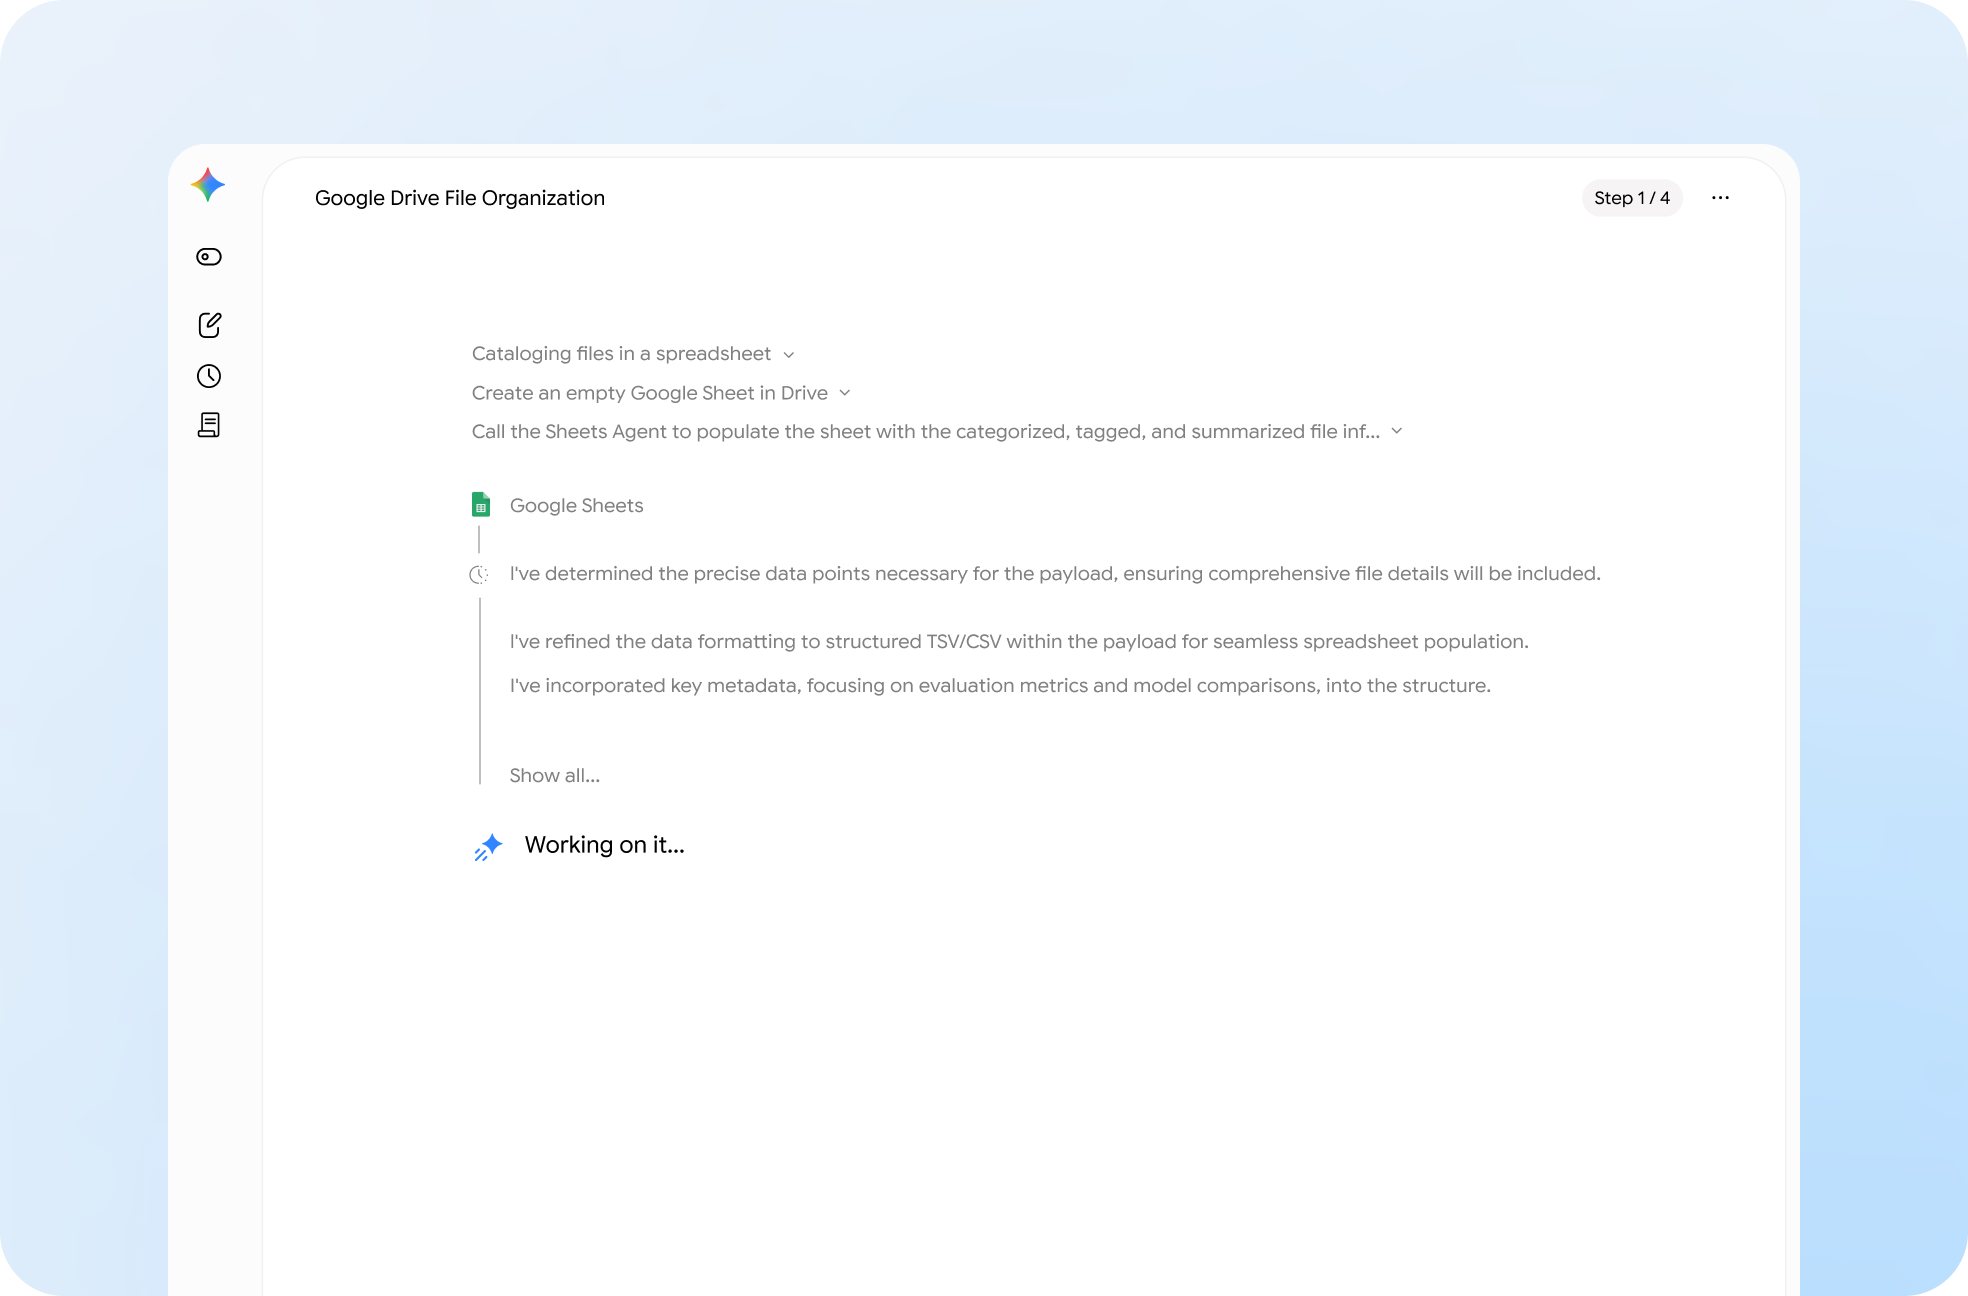
Main agent delegating a sub-agent to a task in Antigravity CLI:
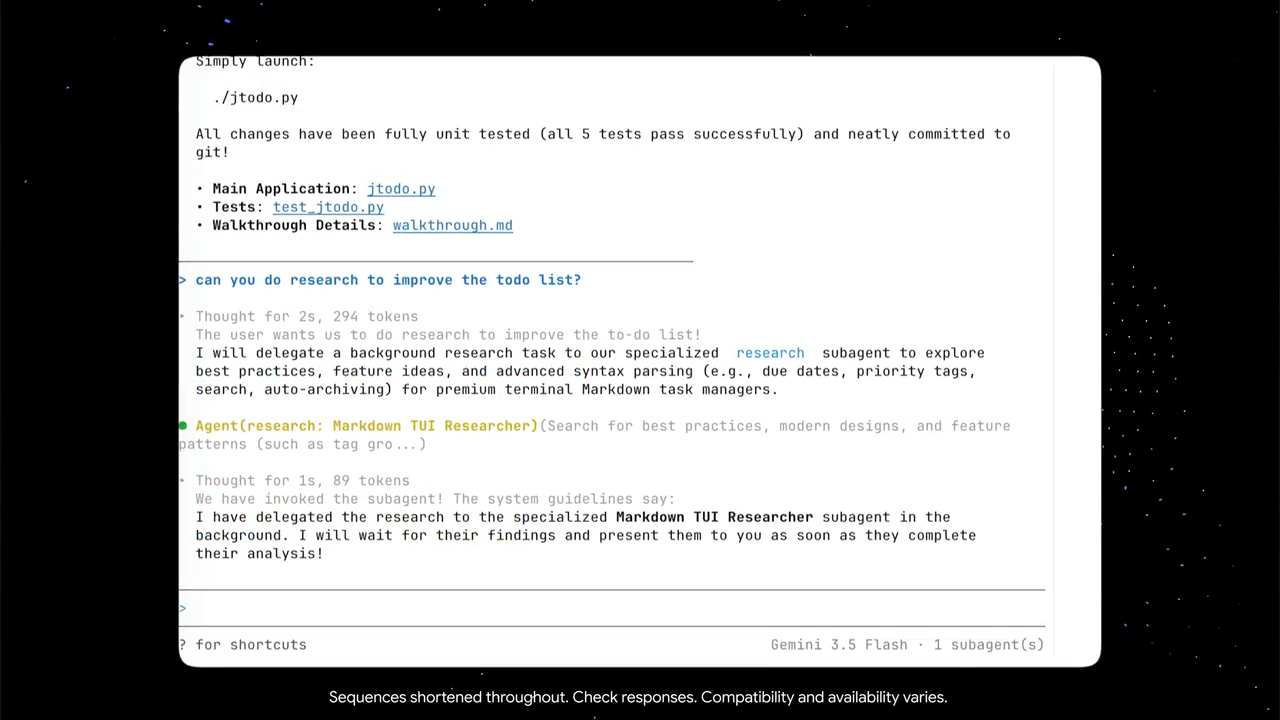
Many coding assistants still work like linear chatbots. You ask for a change and wait while one agent handles everything sequentially.
Antigravity CLI changes that completely.
The orchestrator automatically breaks large goals into smaller tasks, spawns specialized subagents dynamically, and executes them simultaneously in the background.
You move from working with one assistant to directing an engineering team.
The context advantage is huge too.
Each subagent operates inside its own isolated context window, keeping compile logs, installs, test output, and intermediate work away from the orchestrator context.
This massively improve larger workflows for us developers.
Imagine upgrading frameworks while simultaneously migrating APIs, updating components, generating tests, and validating documentation.
Large refactors stop feeling like events.
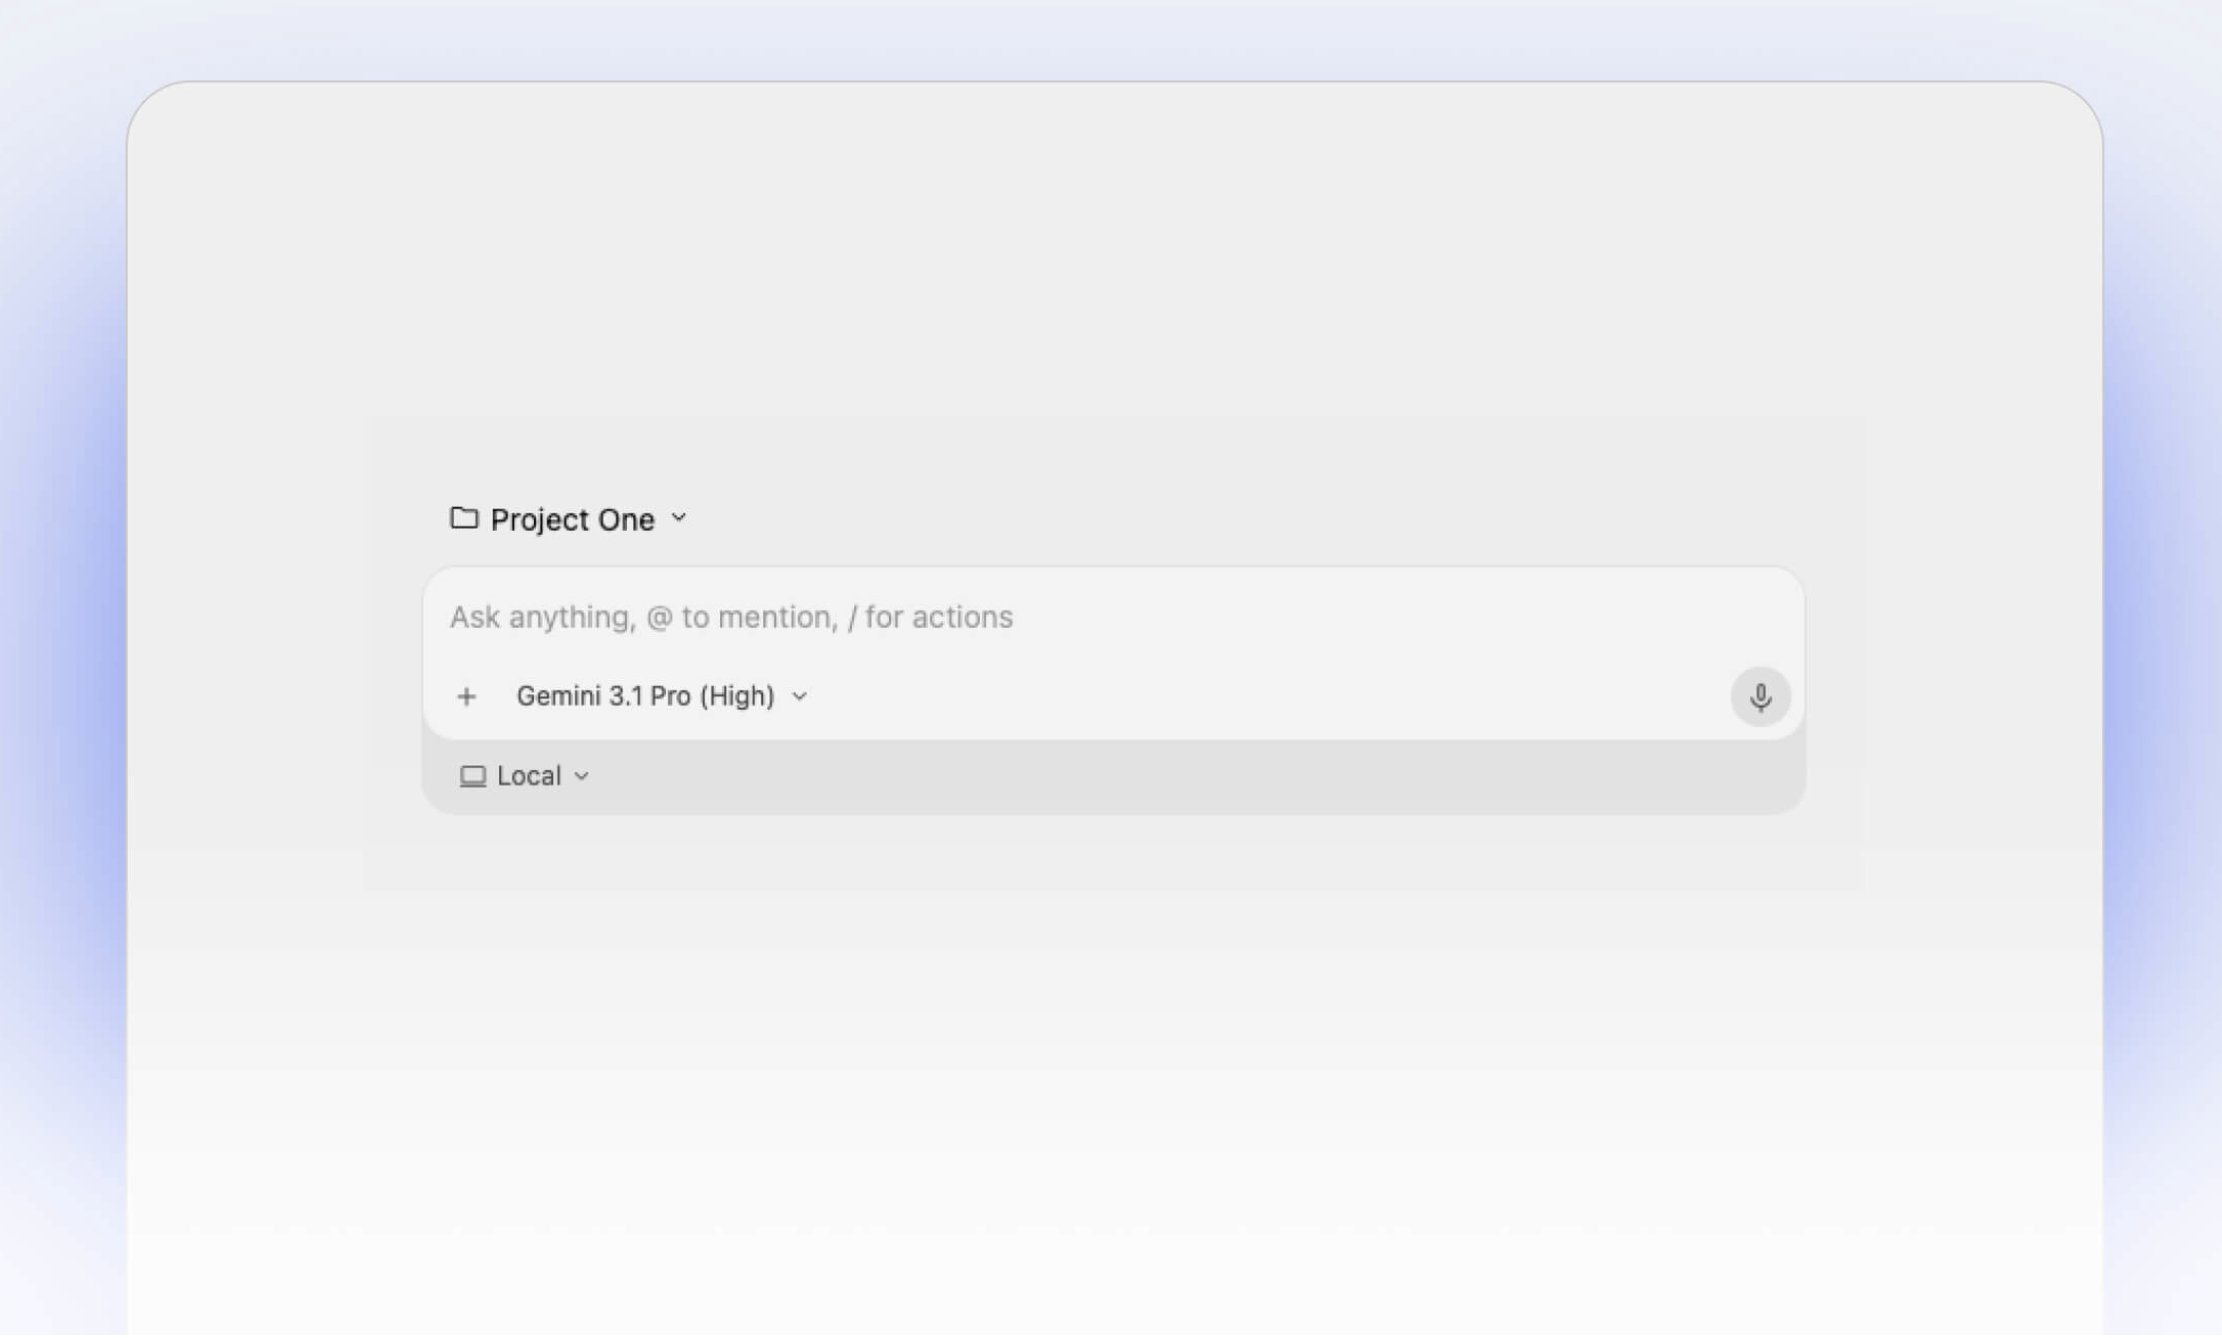
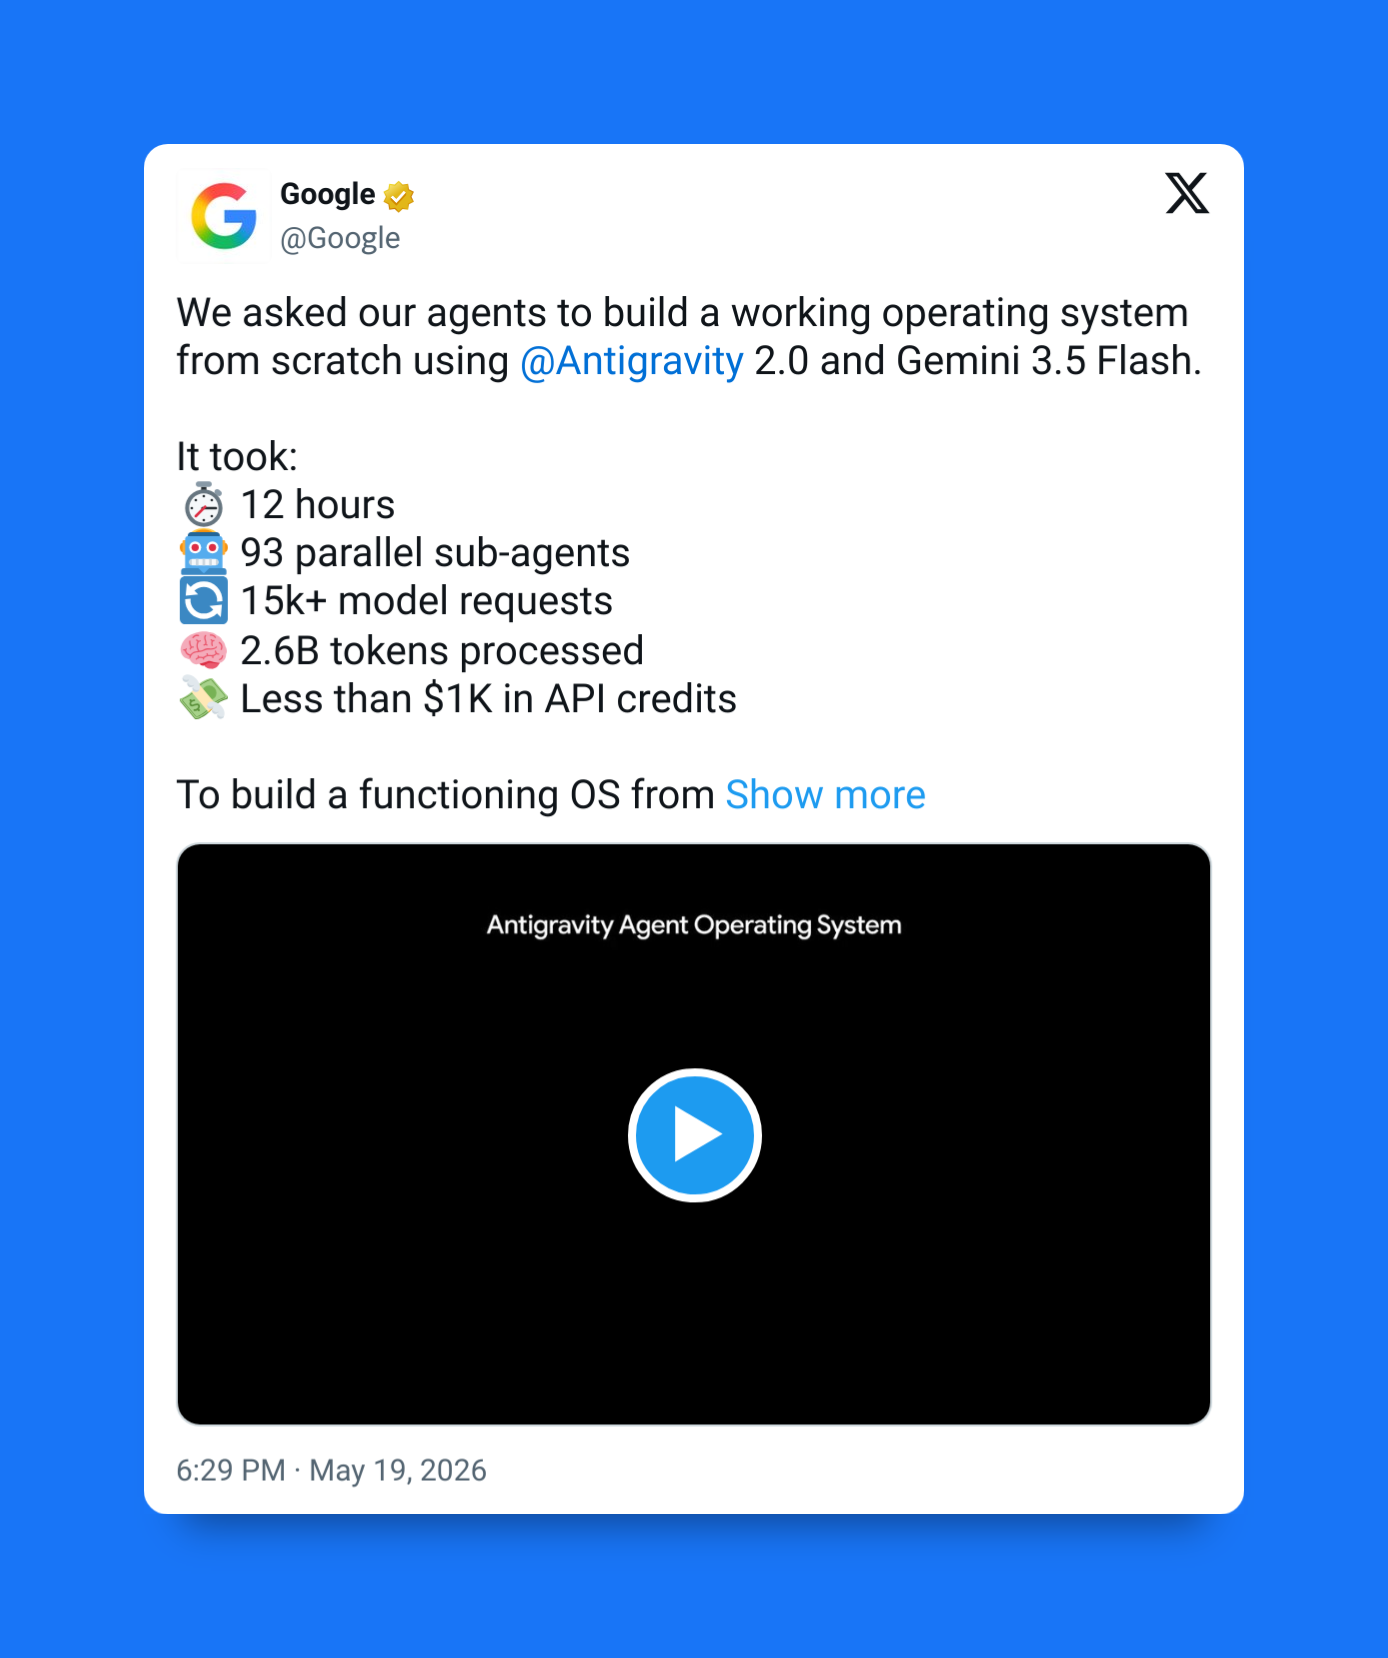
2. Built for pure speed with Gemini 3.5 Flash
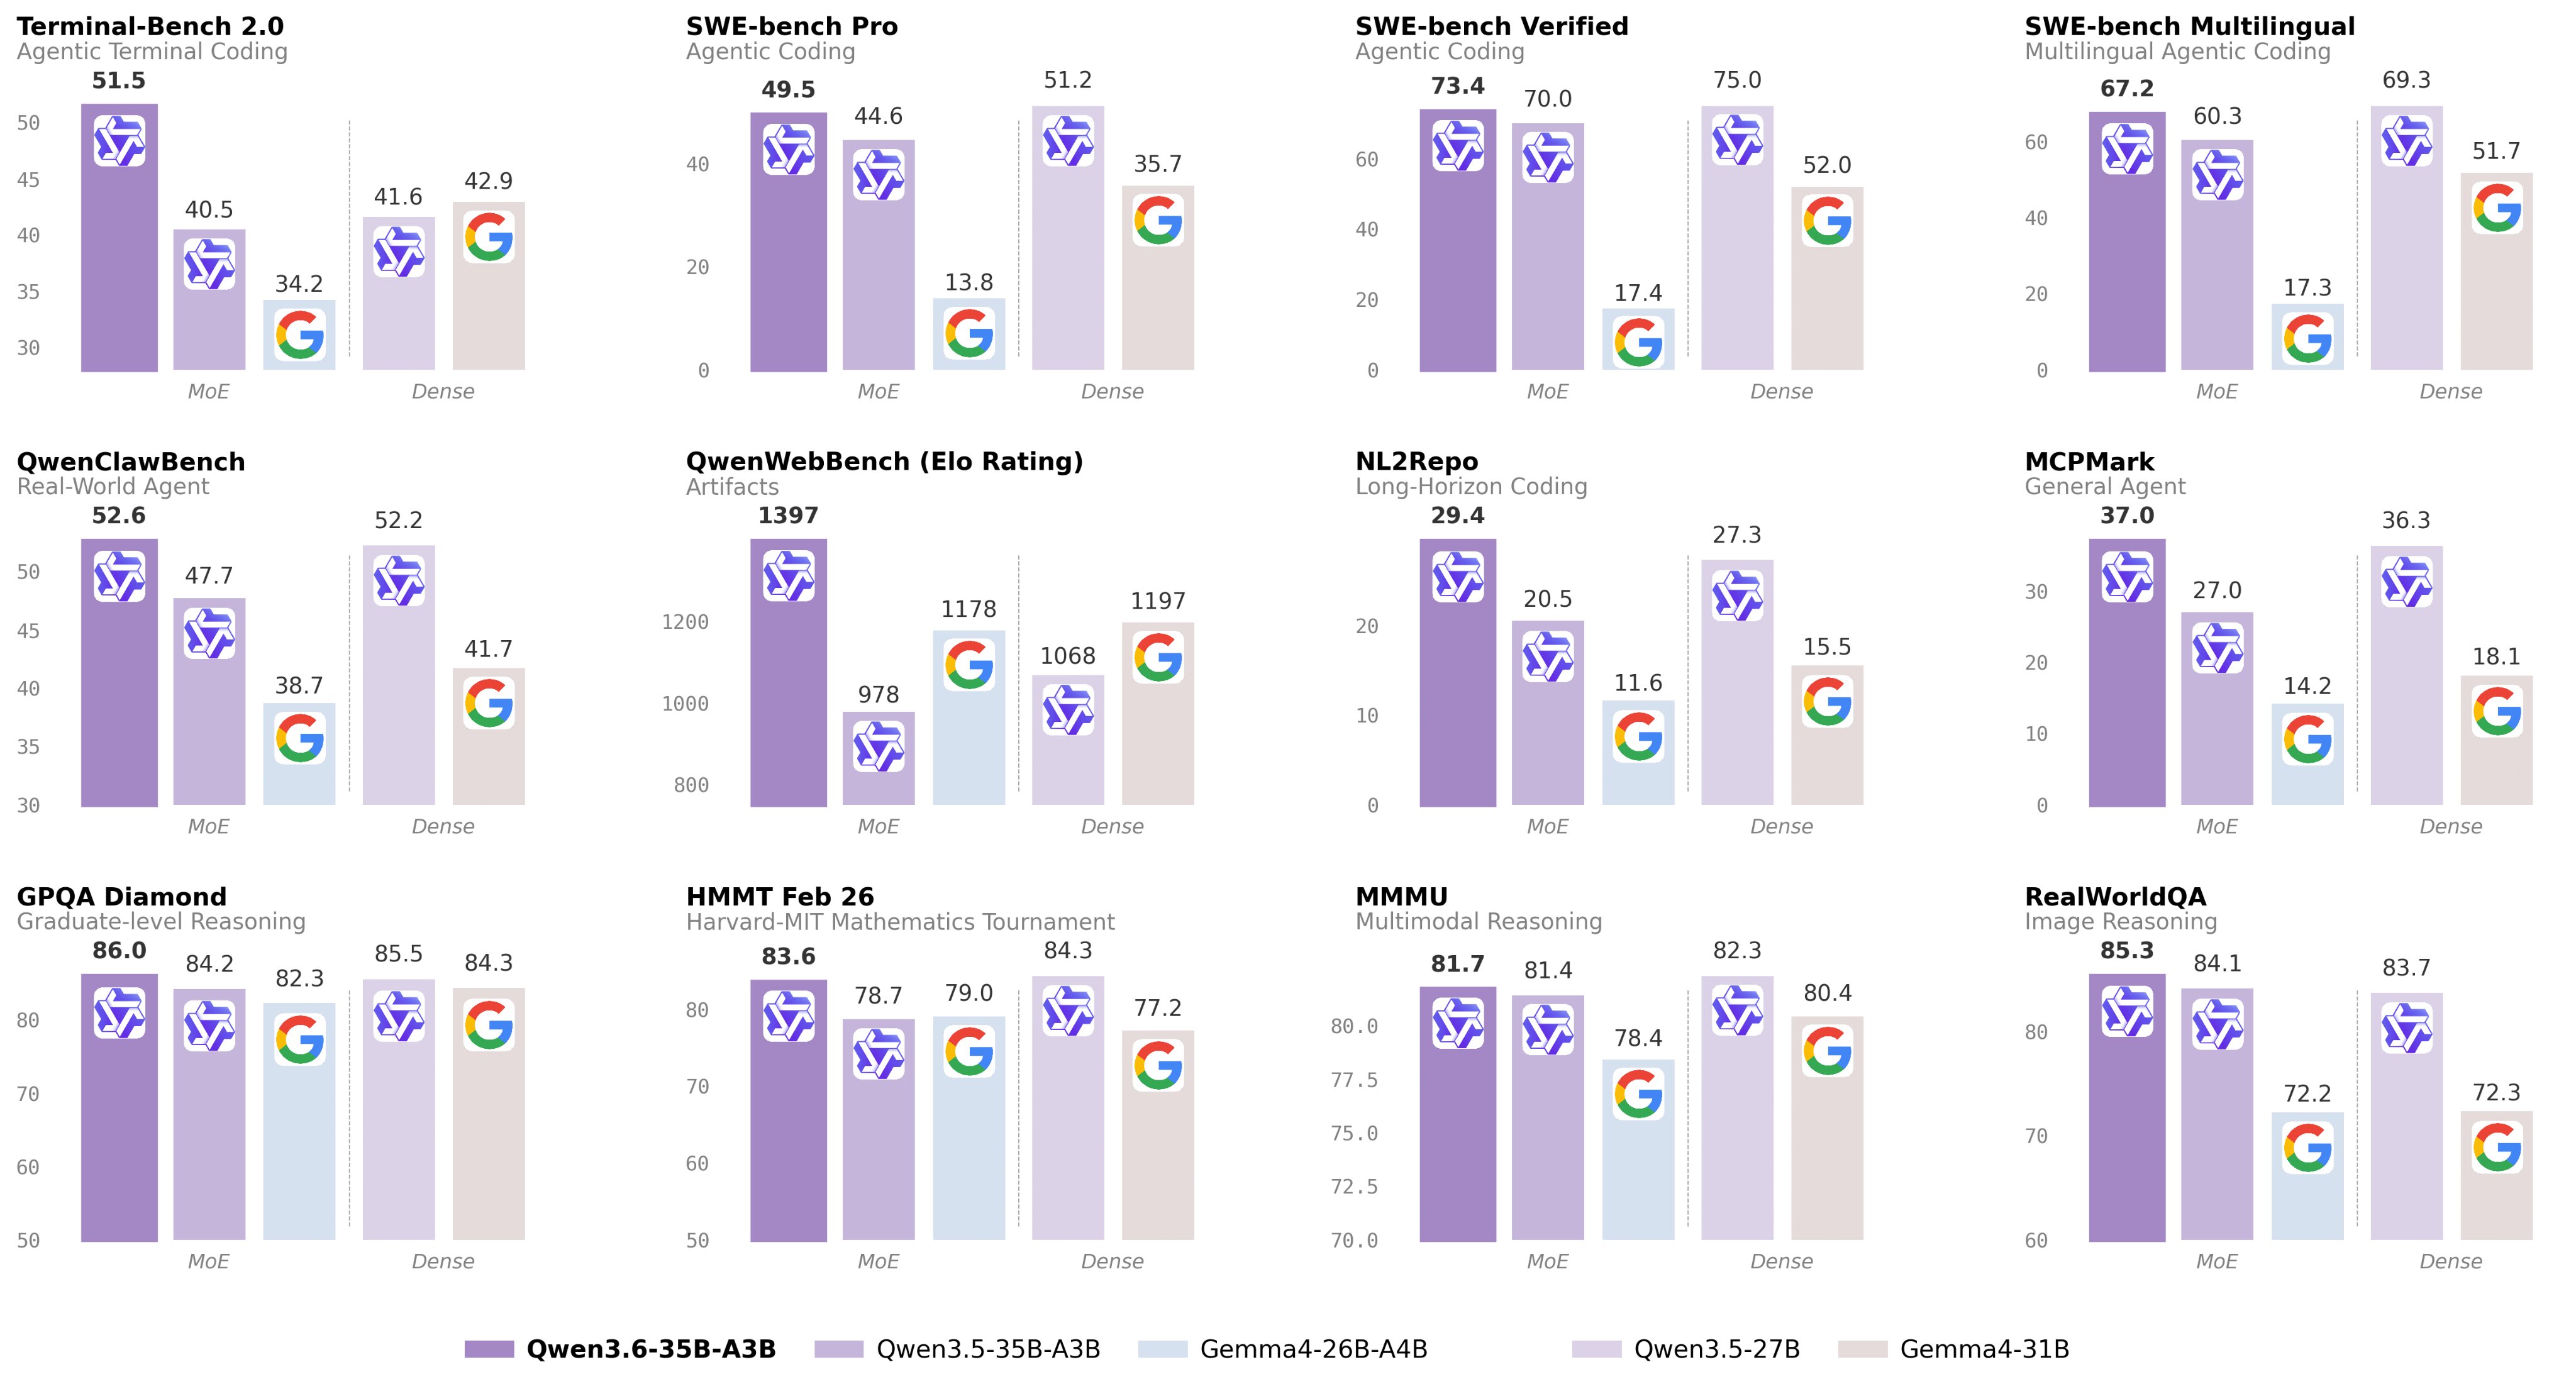
Gemini 3.5 Flash is much faster than other top-tier models:
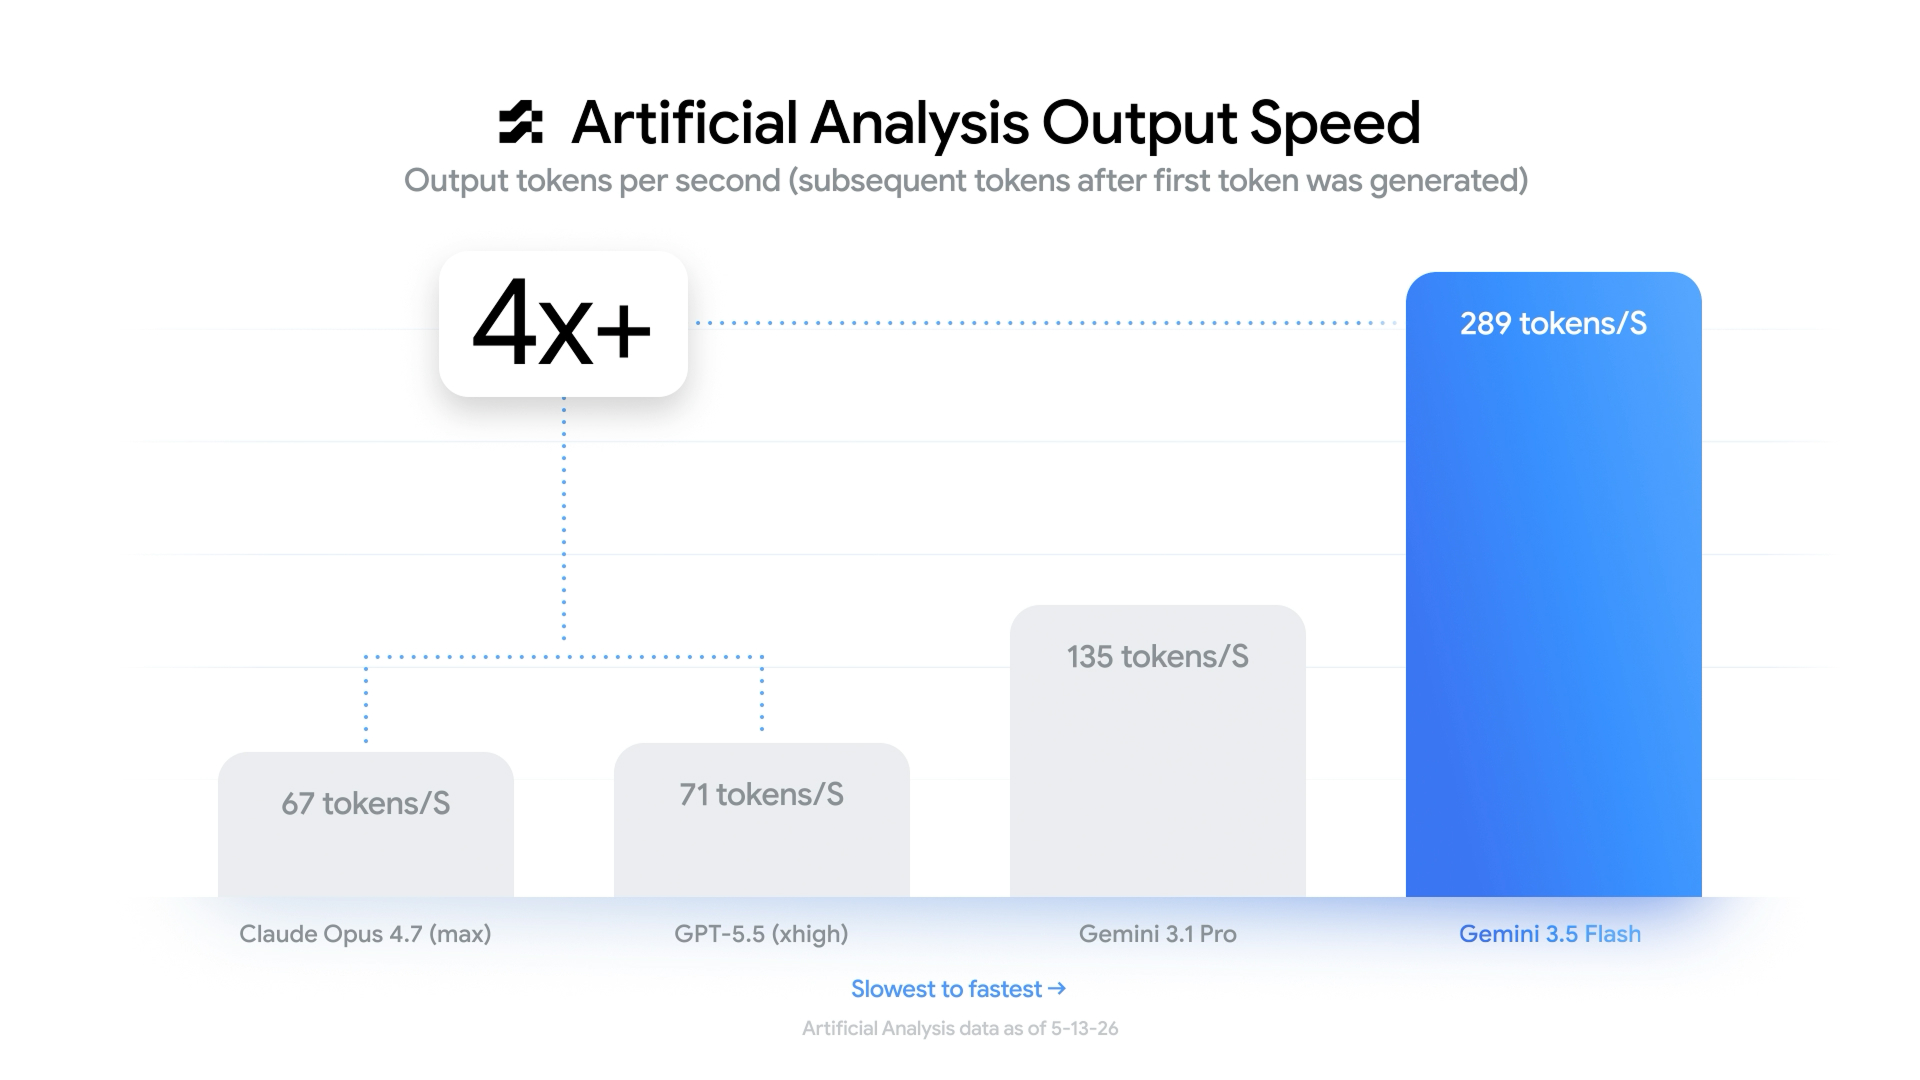
Google optimized Antigravity CLI around Gemini 3.5 Flash, with benchmark figures placing output speed around 289 tokens per second — as much as 4 times faster than major competing tools like Claude Code.
That matters because latency compounds in agent systems.
A slow model creates slow planning, slow subagents, slow testing, slow validation, and slower iteration loops.
Everything stacks.
And Google really appears to have optimized specifically for fast orchestration.
This makes multi-file edits, codebase analysis, documentation generation, and architecture migrations feel dramatically faster.
The shorter the loop becomes, the easier iteration becomes.
And iteration drives quality.
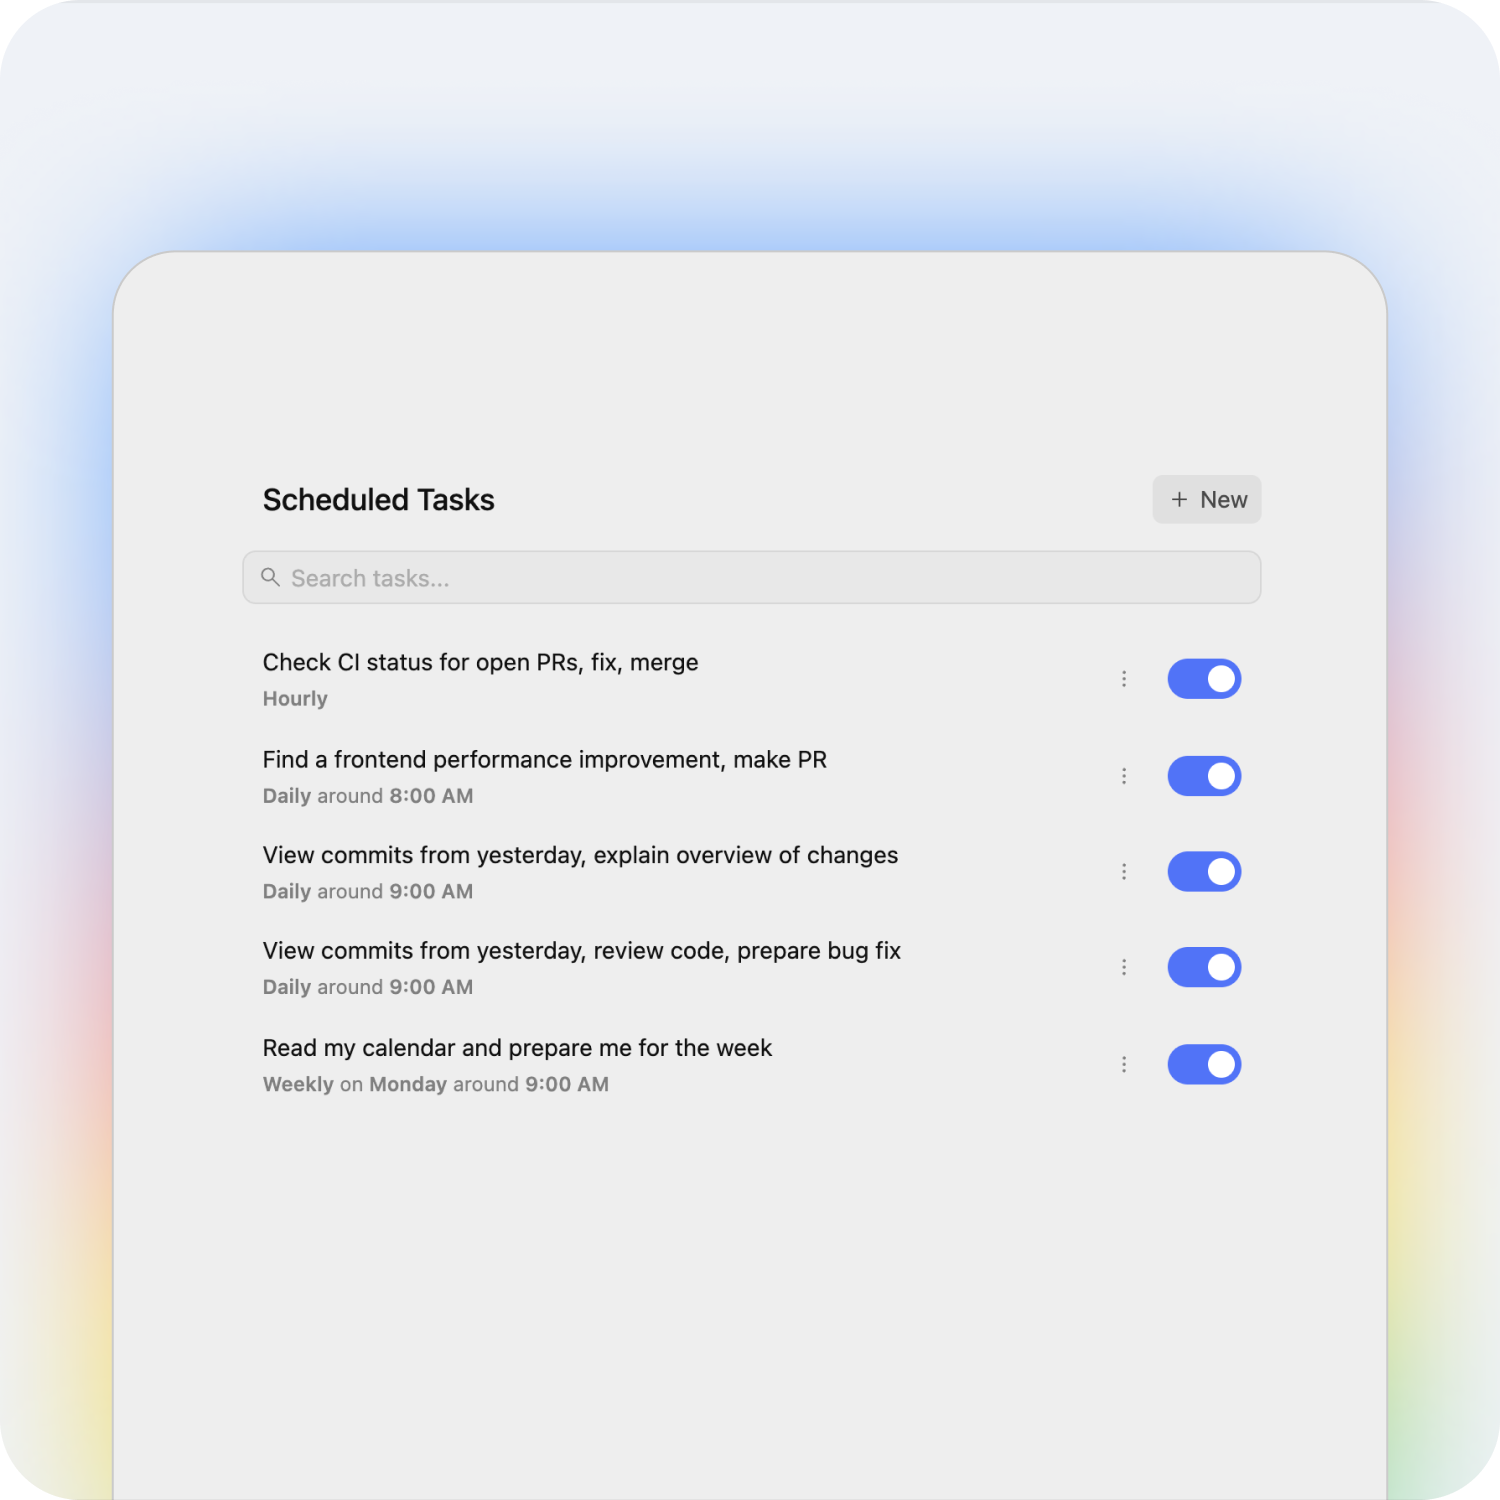
3. Persistent isolated local environments
Antigravity CLI also introduces persistent isolated environments.
Instead of constantly rebuilding state every interaction like before, Antigravity agents can preserve files, execution state, and progress across sessions.
This enables workflows like:
- Long-running builds
- Persistent testing environments
- Multi-stage debugging
- Extended implementation sessions
For developers working on larger systems, this could remove huge amounts of setup overhead.
Authentication migrations, distributed debugging sessions, or long validation workflows no longer need constant reconstruction.
Work continues.
State survives.
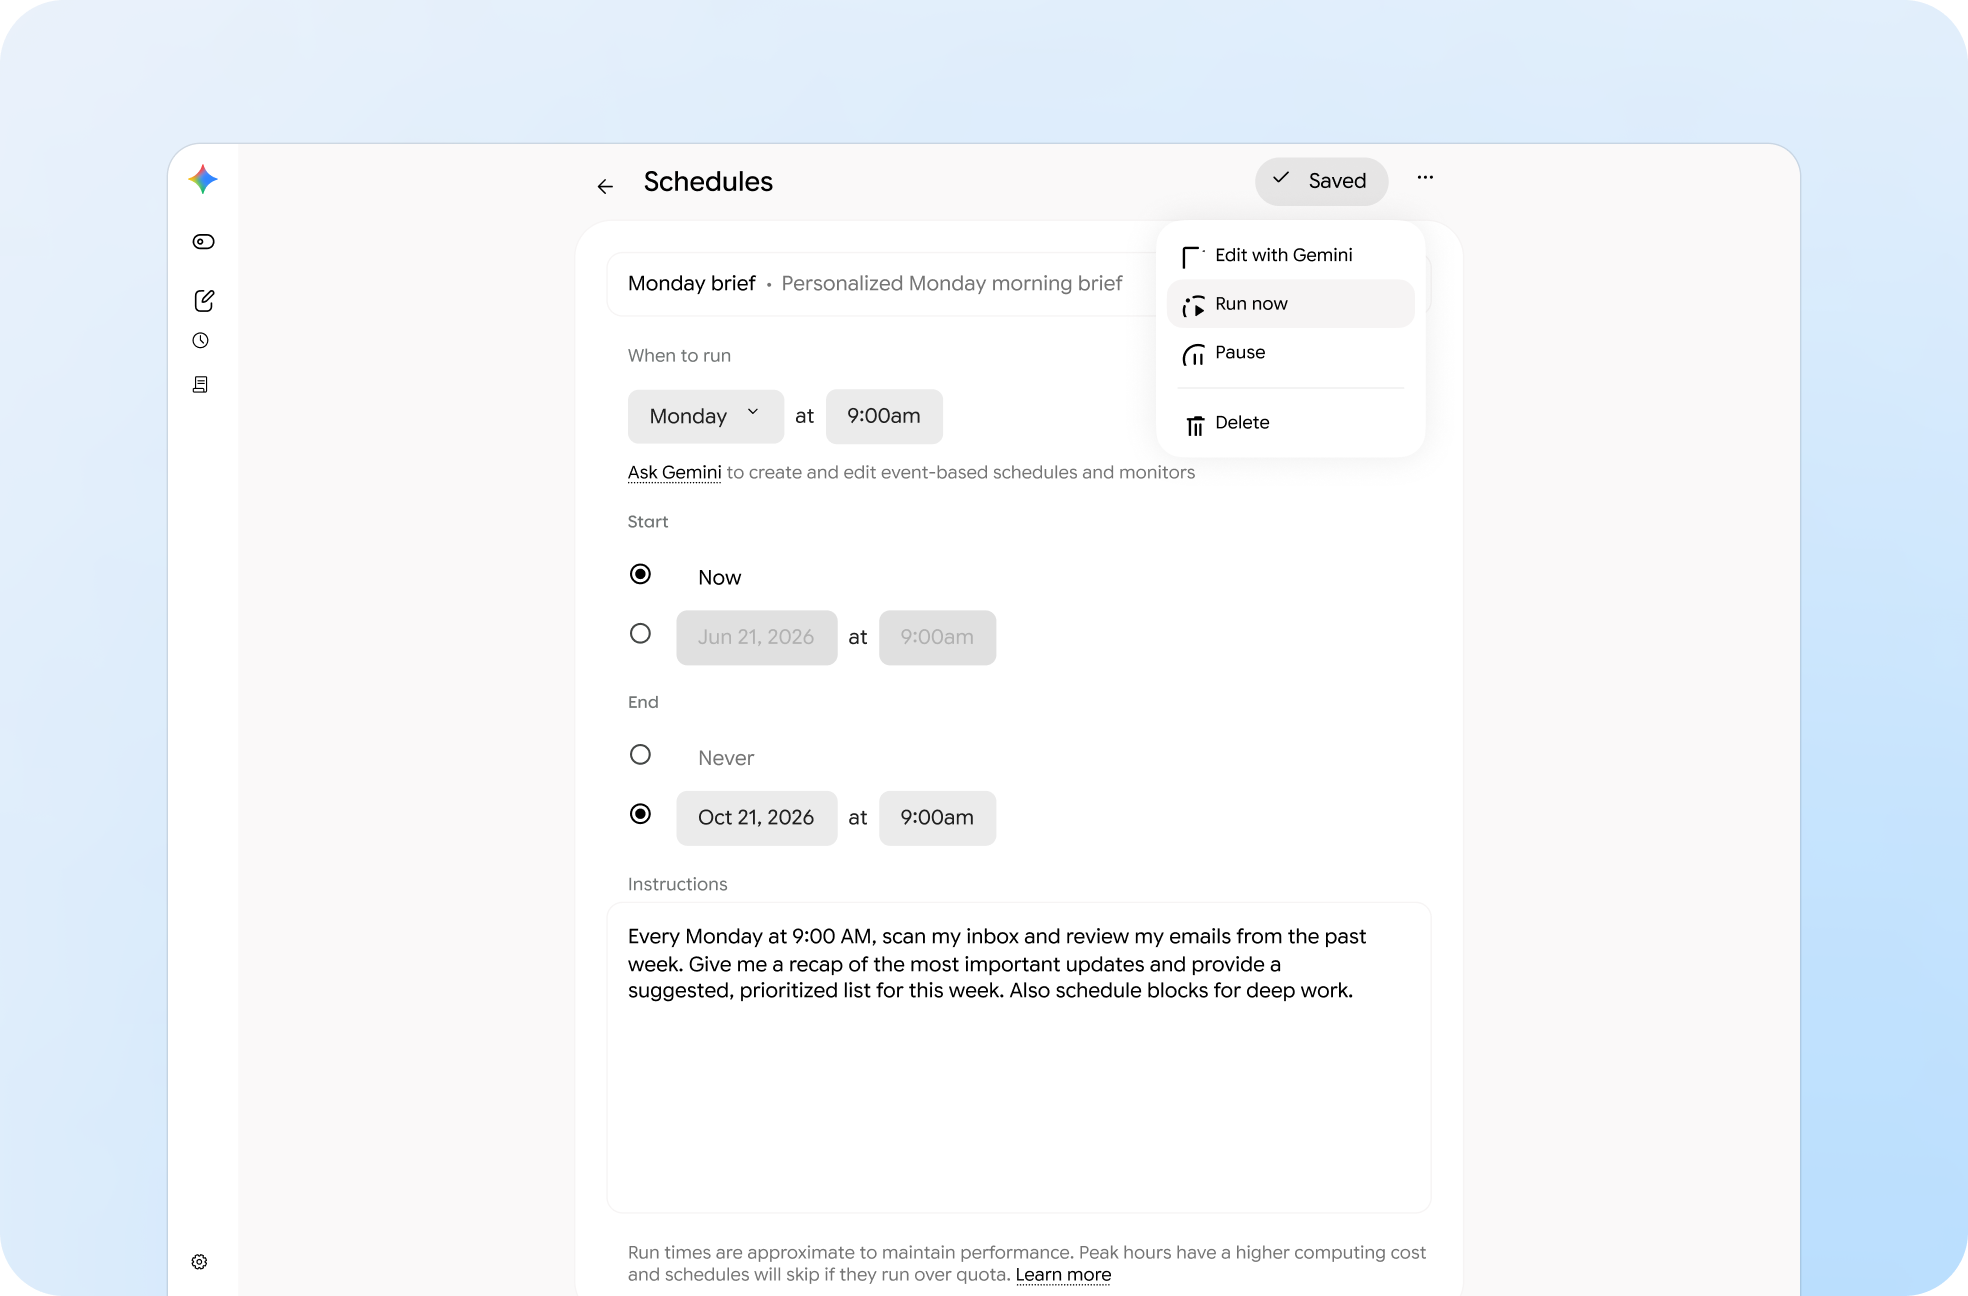
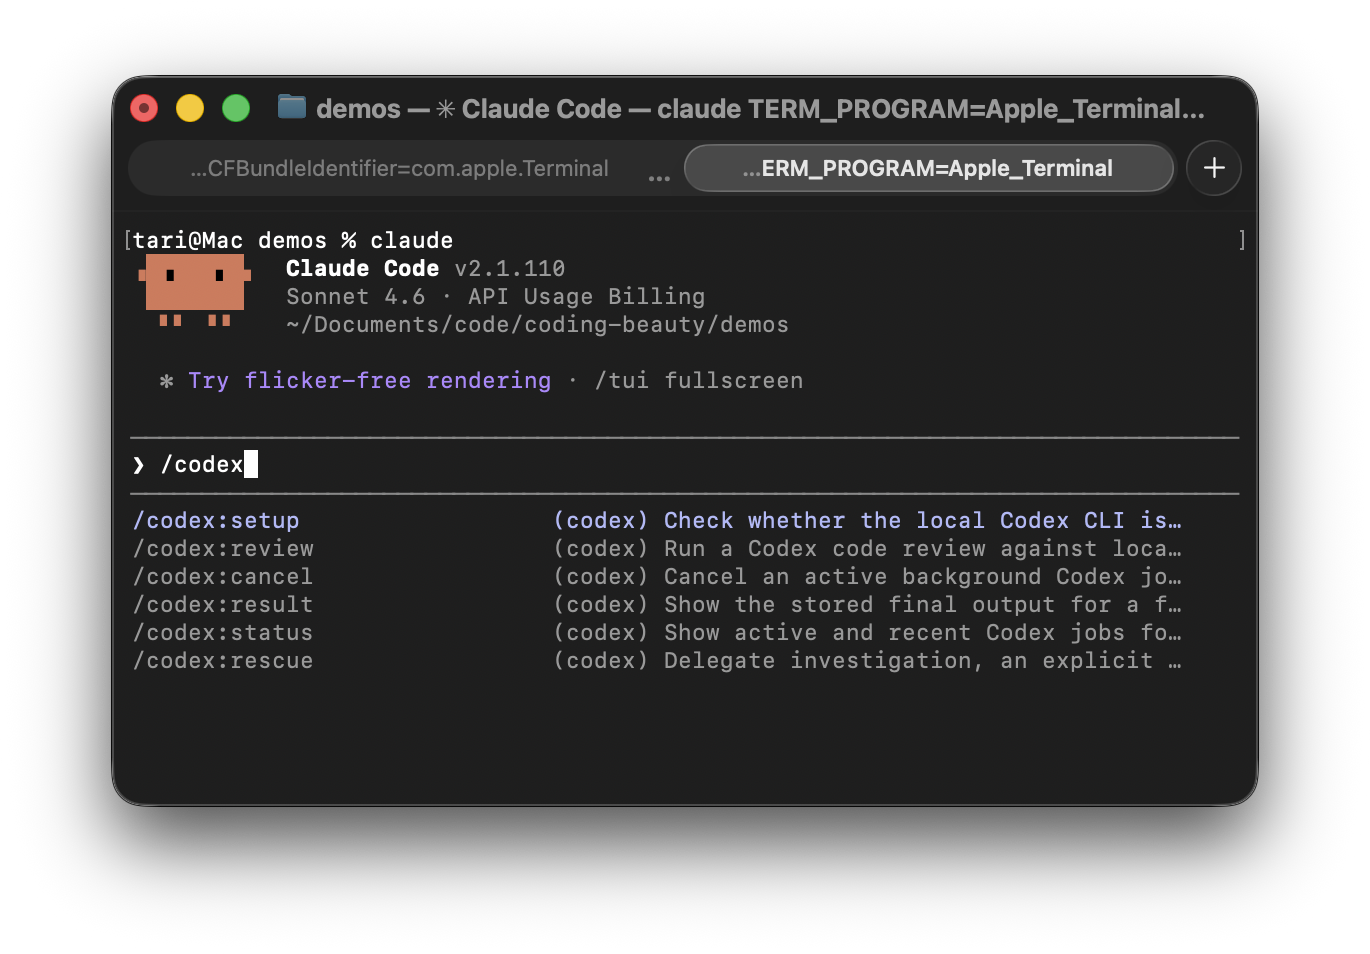
4. Brand new slash commands
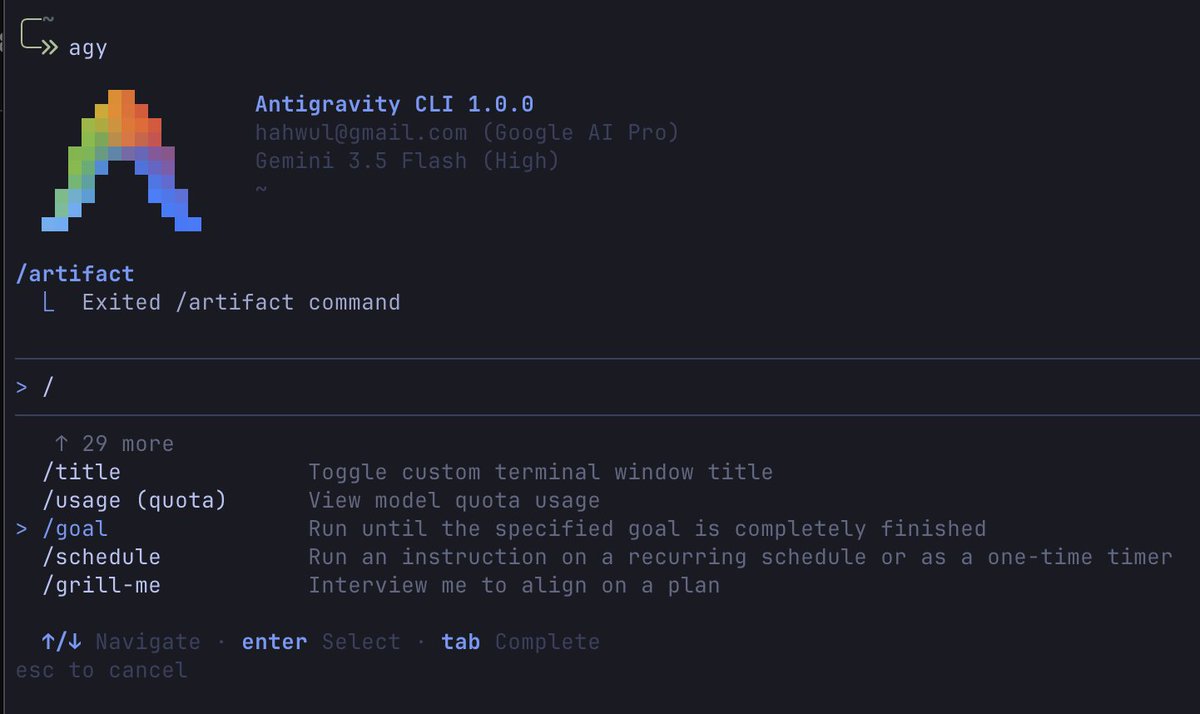
The command system reveals how Google expects developers to use Antigravity.
Not chat-first —
Workflow-first.
/goal tells the system to autonomously execute large objectives without repeatedly asking permission.
Think:
“Upgrade React version.”
“Refactor auth.”
“Migrate architecture.”
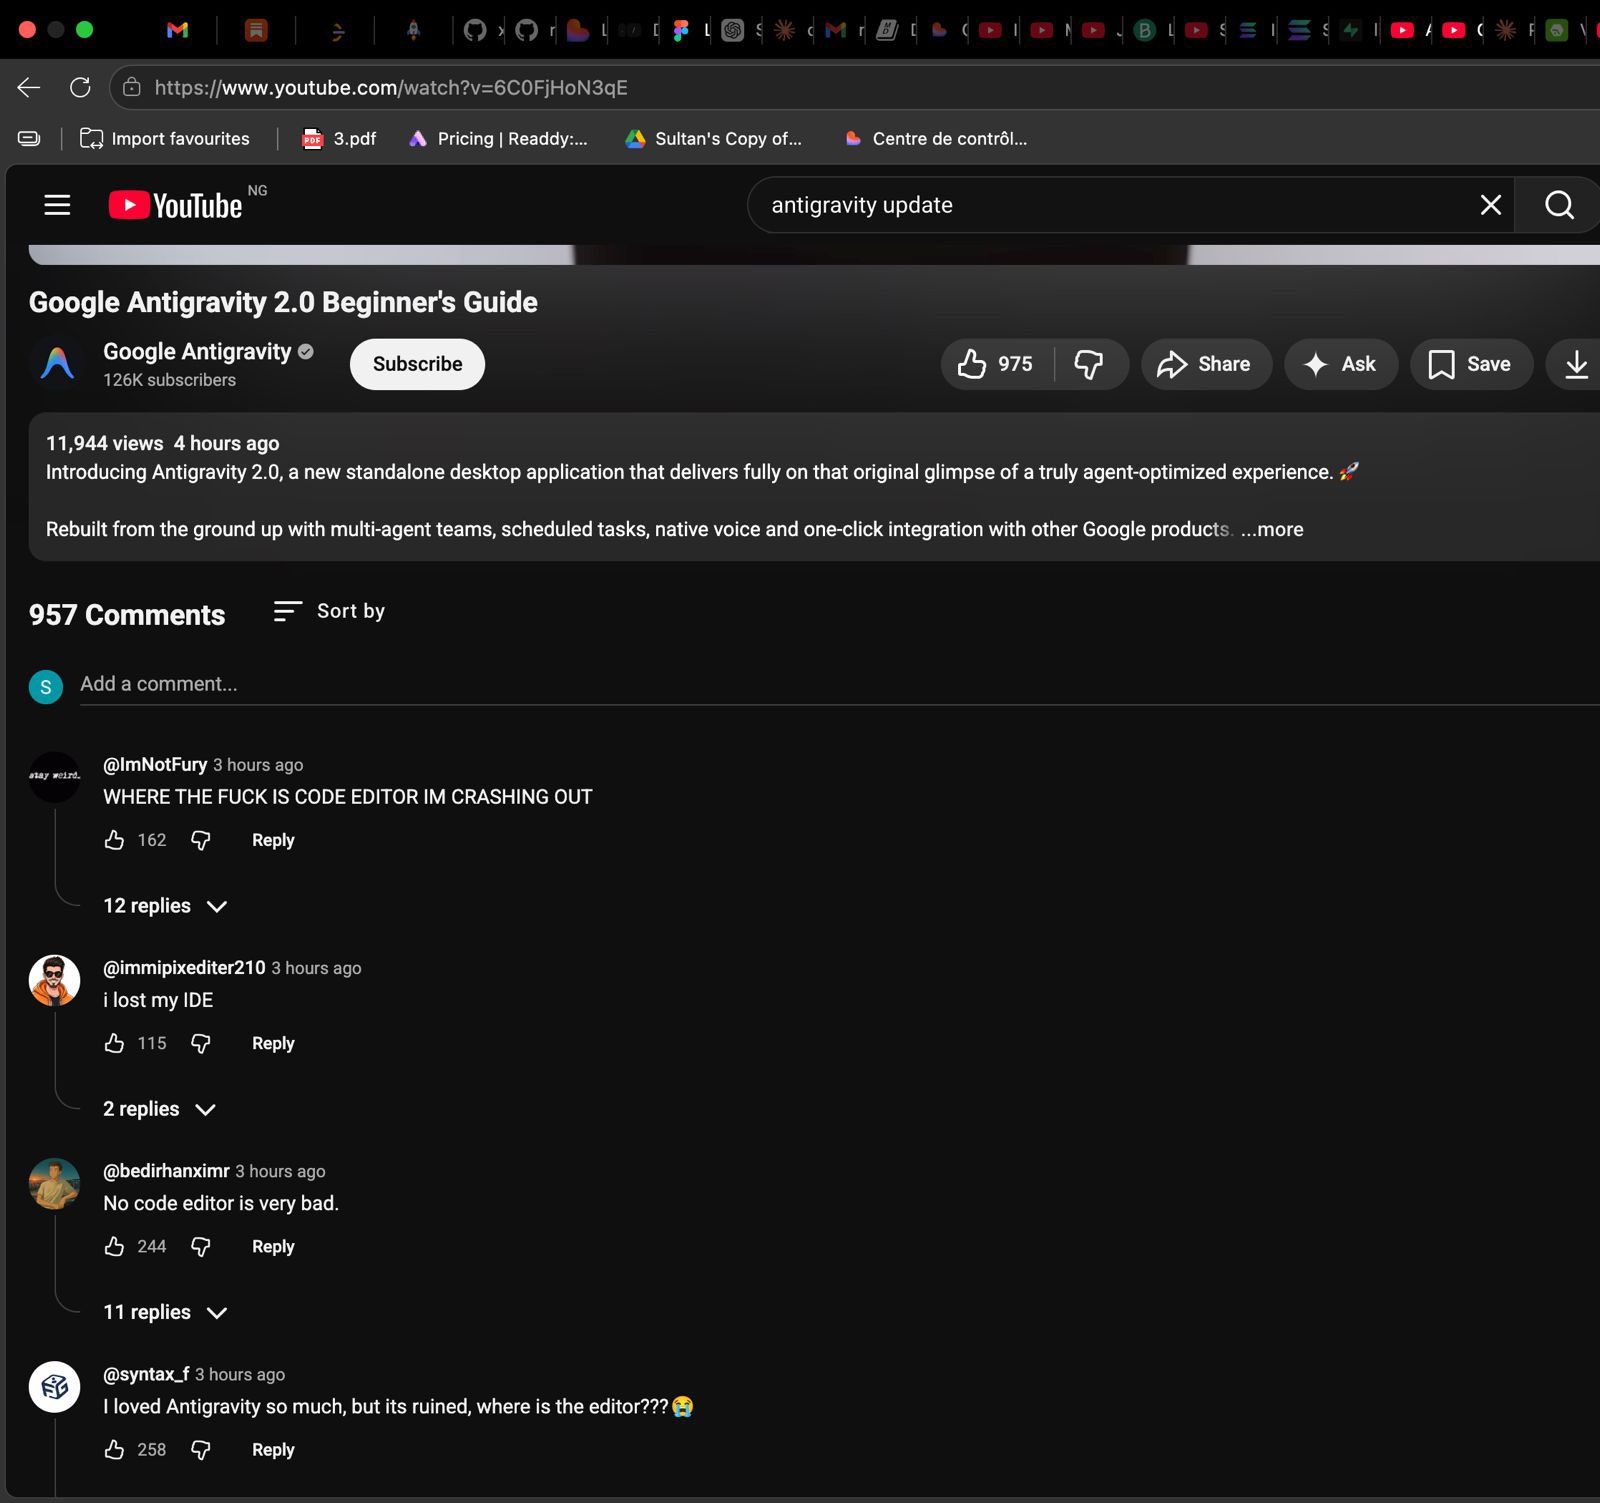
Then there is /grill-me, which forces the agent to interrogate you before implementation begins.
It asks about edge cases, requirements, logic gaps, and architecture decisions.
That could prevent a surprising number of specification failures.
Finally /browser gives the agent browser access for testing interfaces and validating outputs.
Frontend workflows start looking much closer to autonomous QA.
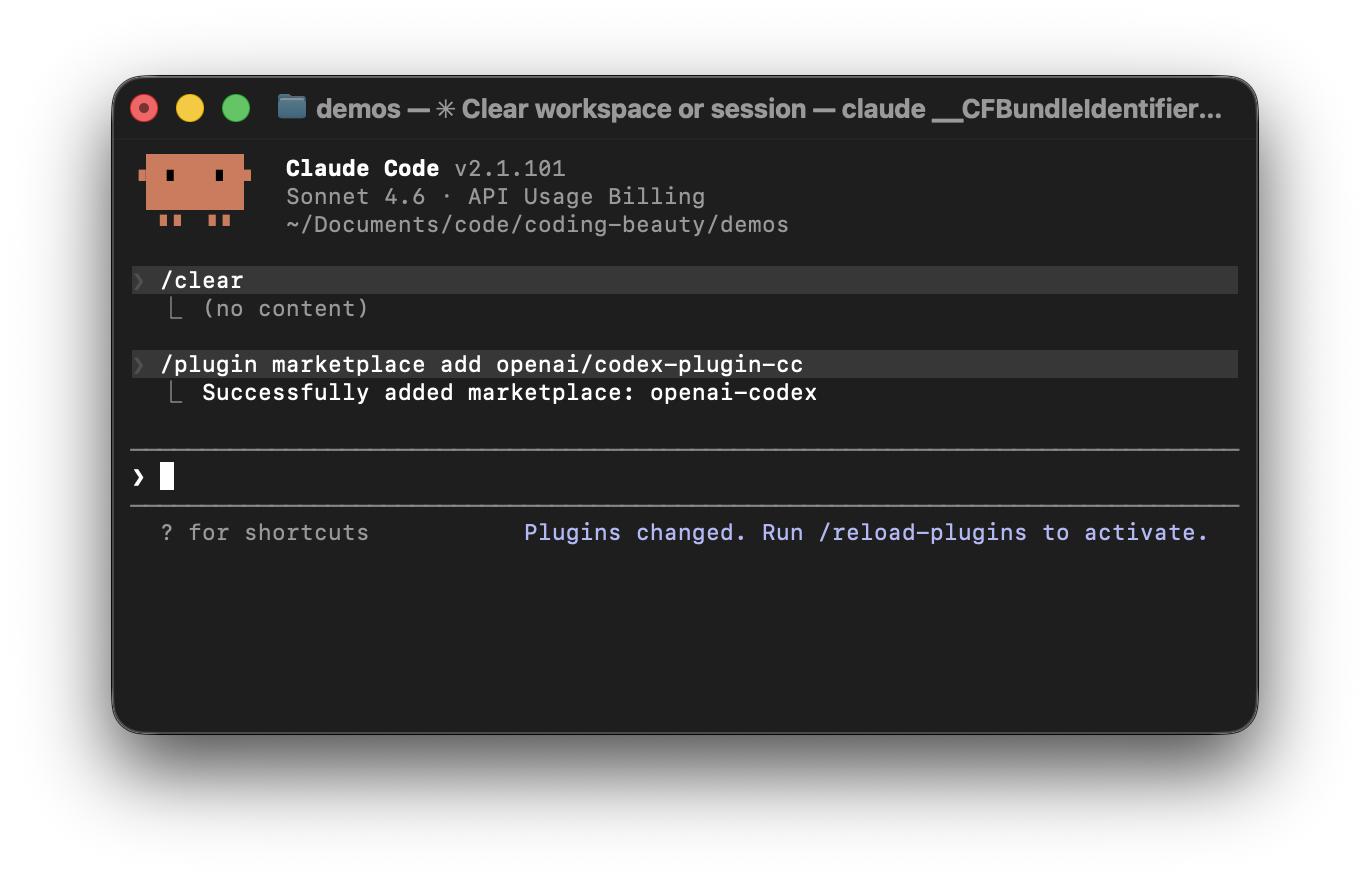
5. Deep integration with Antigravity 2.0 and AI Studio
Antigravity CLI shares the same underlying agent harness as Antigravity 2.0 desktop and Google AI Studio.
Desktop, terminal, SDK, and mobile workflows are becoming interfaces over the same runtime.
Imagine walking somewhere, opening AI Studio, speaking through a feature idea, exporting it, then sitting down later and continuing instantly inside agy.
Same state.
Same memory.
Same agents.
Ideas move directly into execution.
6. Live voice transcription inside the terminal
Antigravity CLI embeds Gemini audio models directly into terminal workflows.
You can literally ramble:
“Build dashboard… PostgreSQL… auth… analytics…”
The system transcribes and refines everything into executable objectives automatically.
This could become surprisingly useful during planning and architecture work.
A lot of design thinking happens faster through speech than typing.
Antigravity turns that directly into execution.
And that may be the bigger story.
Less prompting — more directing.