Google really destroyed OpenAI and Sora without even trying
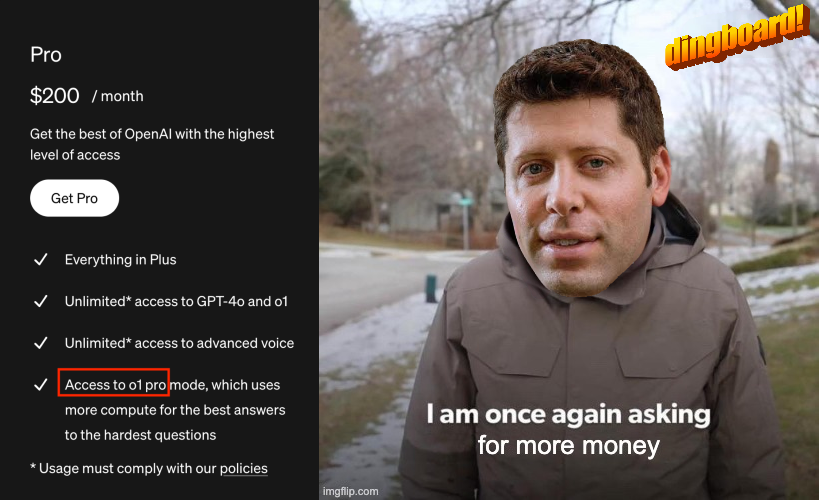
Just when Sam Altman thought they were far ahead of the competition with Sora…
Google came along and destroyed them with their new Veo 2 video creation AI model.
Has it even been up to a week? But Sora is already outdated and no one cares.
I’m not so sure about this skateboard motion cause how of fast it is, but it does look pretty realistic. And the camera motion is so dynamic and fluid. And look at the spectators in the background.
This one went viral across the internet:
Veo’s video is just far far better in every way.
Realistic motion — the tomatoes actually get sliced and separated. And look how they move realistically according to the slicing motion.
Better lighting — just look at the shadows of the hand and knife and how they move with the motion.
Actually makes sense — if the man in Sora sliced his fingers off at least the video would have been consistent, lol.
Veo 2 can produce videos in stunning 4K resolution — Sora can only produce in 1080p. And it follows the prompts far more accurately than Sora.

With Veo 2 you can even specify camera angles, lens types, and cinematic effects to achieve the exact aesthetic you need.
Look how complex this scene is — so many moving objects:
Veo 2 is already giving us up to 2 minutes video yet Sora can’t even go past 20 seconds.
With 2 minutes I can easily make a short video or a powerful TikTok video with nothing but my mind. What is 20 seconds good for? Unless you’re making short video clips for a larger video.

And now Google is already possibly planning to integrate Veo 2 into YouTube Shorts — promoting and making it a real tool people use to create actual content.
But OpenAI is still struggling with keeping up with high Sora usage.
But I just saw that they’ve added a new link in ChatGPT to promote it as a companion, so they’re clearly not messing around.

Many of us had been mocking Google for Gemini’s apparent inferiority compared to GPT.
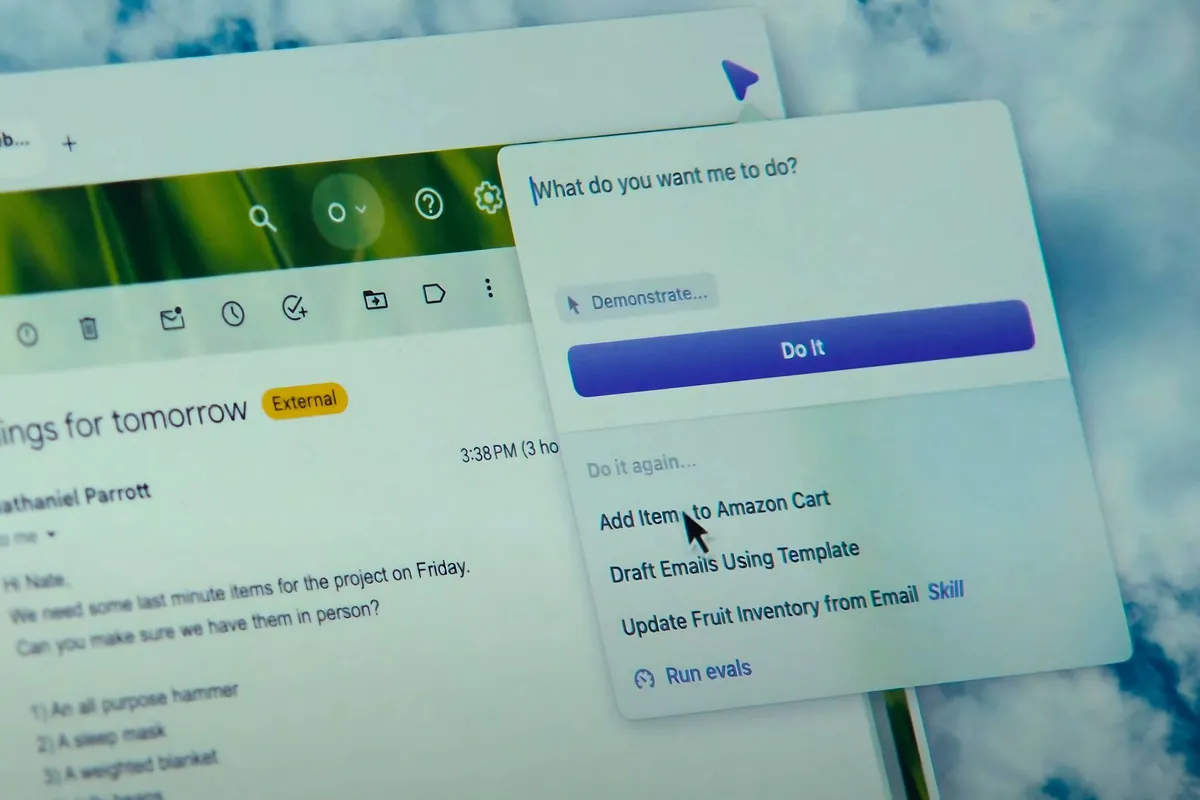
But look, now they’ve dropped a far more powerful Gemini with support for multimodal agents — Gemini 2.0.
Just look at what the new Gemini-powered Project Mariner can do in the browser:
And they’re the ones laughing now with the most advanced video creation AI in the world — at least till next month.
Let’s just keep watching the AI race to see where it leads.