
Antigravity is an incredible new VS Code–based, agent-first IDE from Google
It lets you give higher-level goals and have agents plan, edit files, run commands, and use a browser—while producing text, image, and even video artifacts you can review to verify what happened.
Let’s learn how you can start making the most of all the innovative features it has to offer in your day-to-day workflow as a developer.
Become a much faster, more powerful developer.
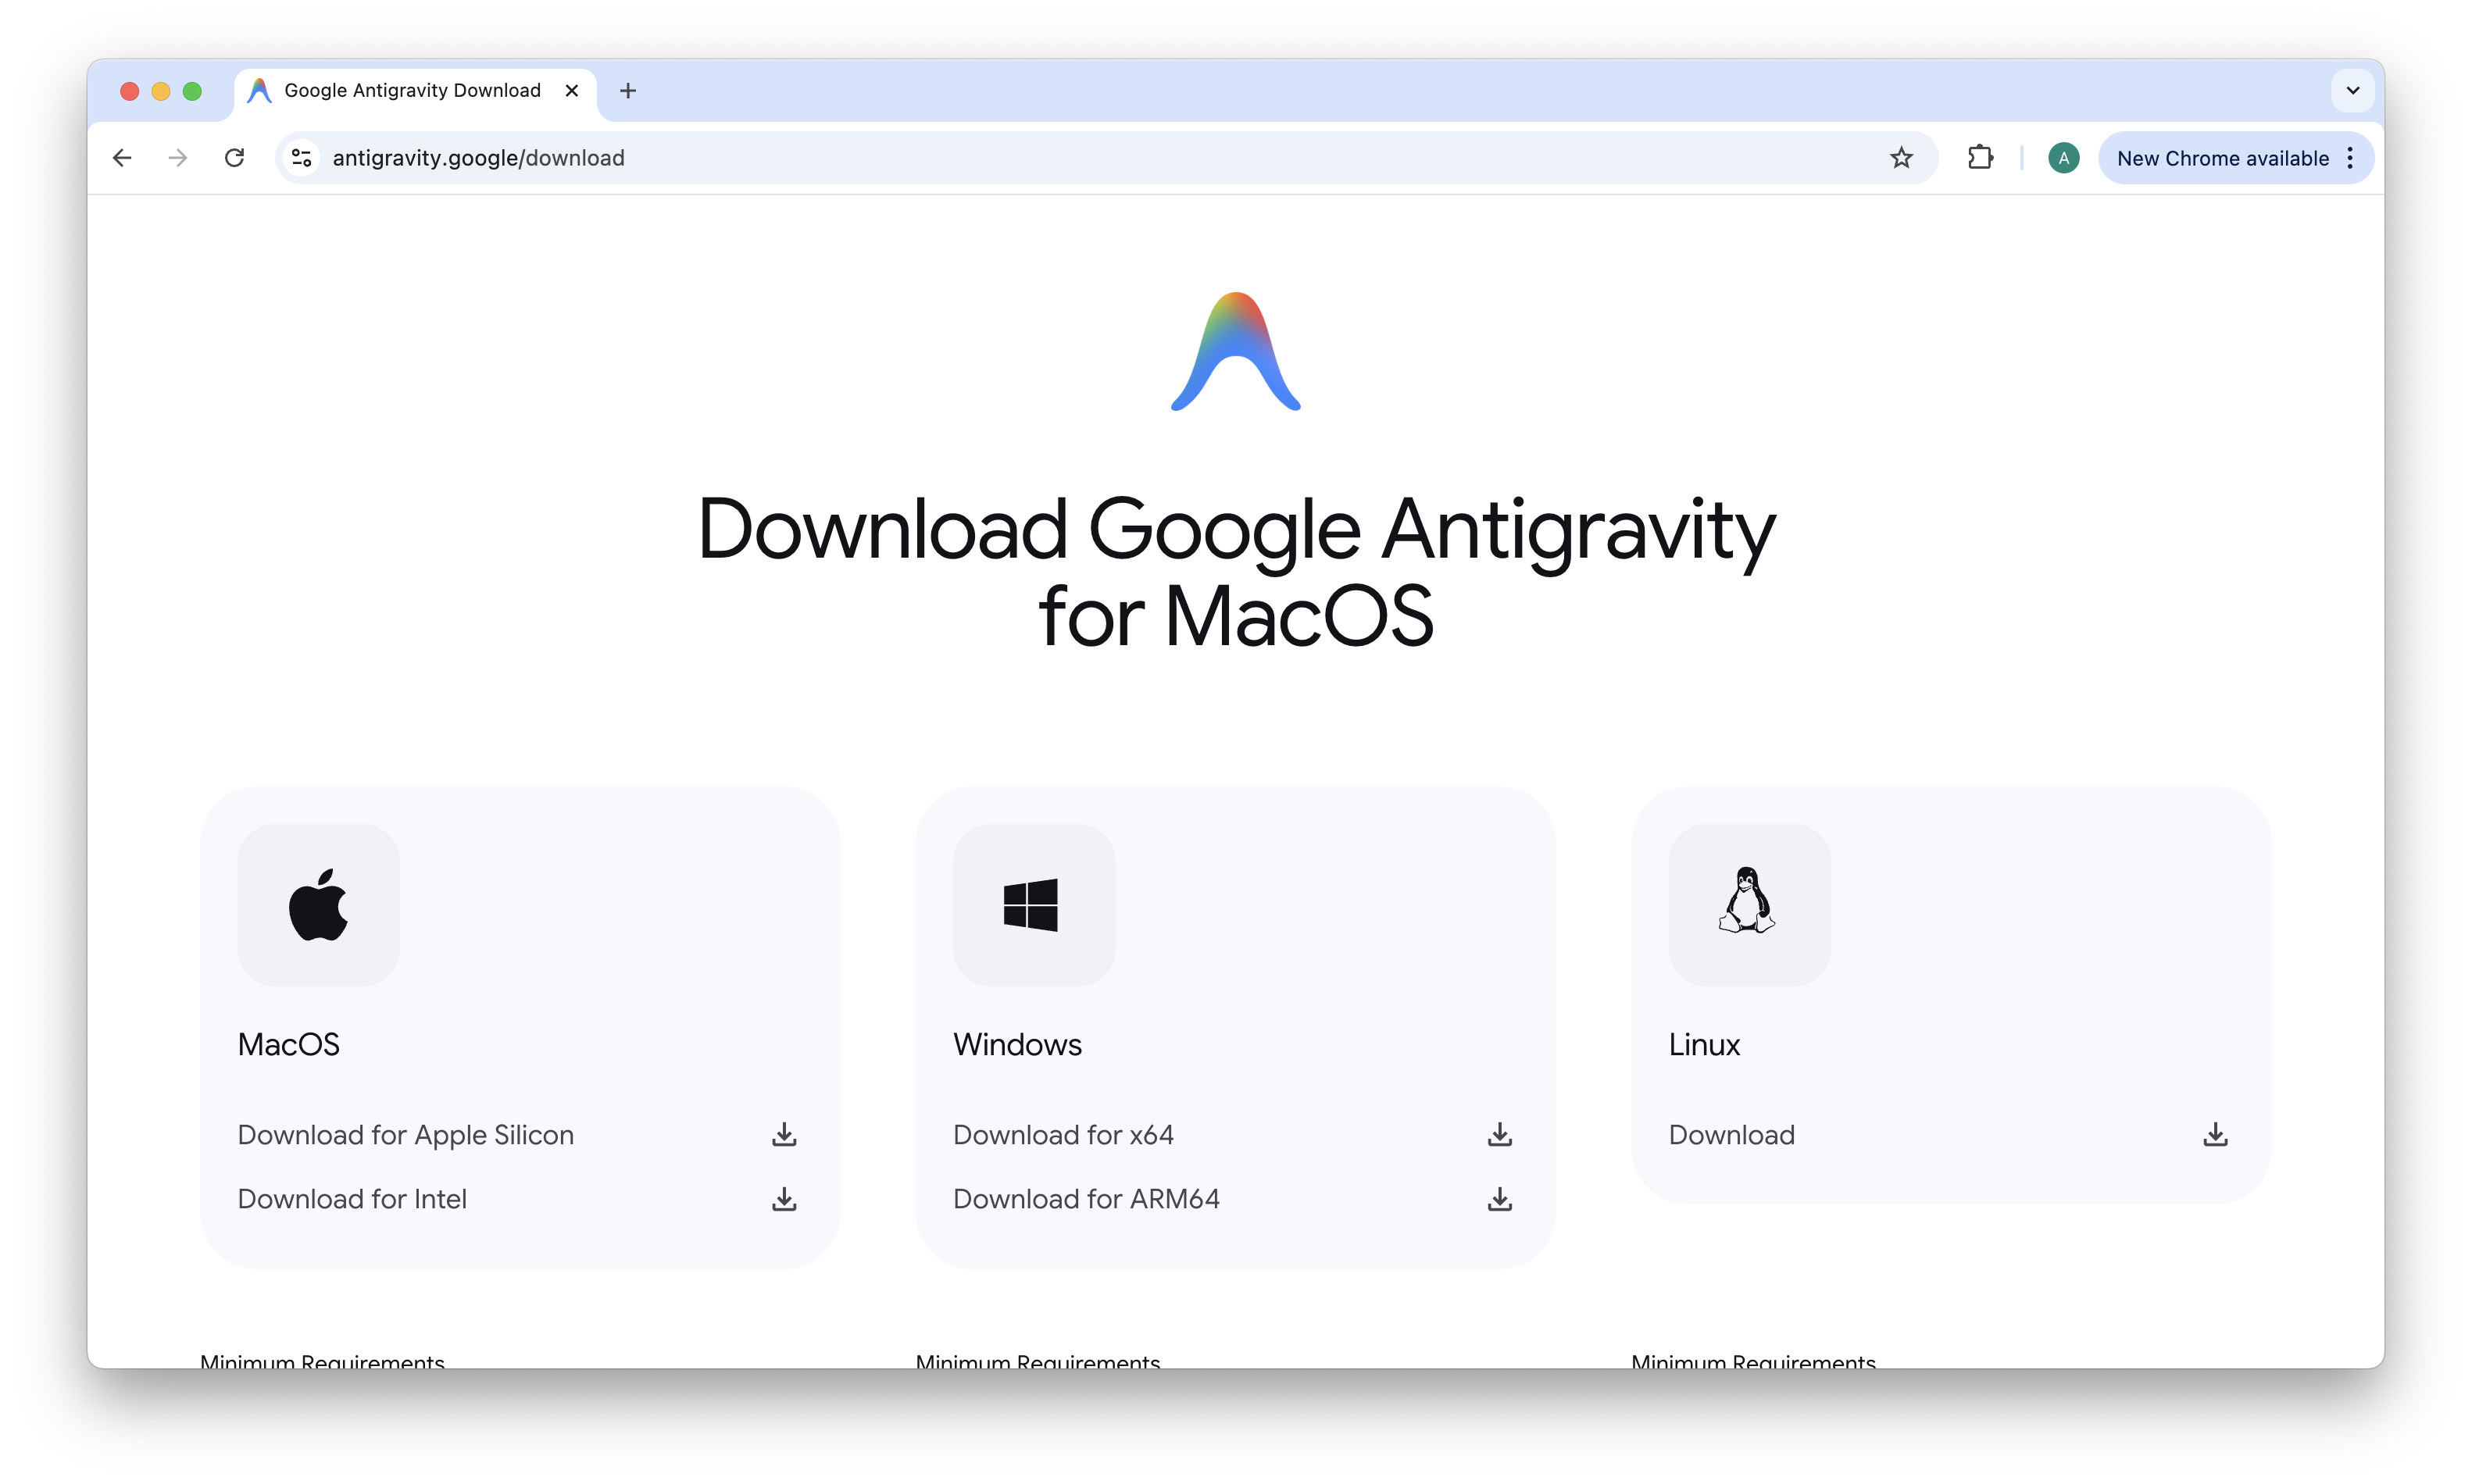
1) Install and sign in
Antigravity is available for all desktop platforms.
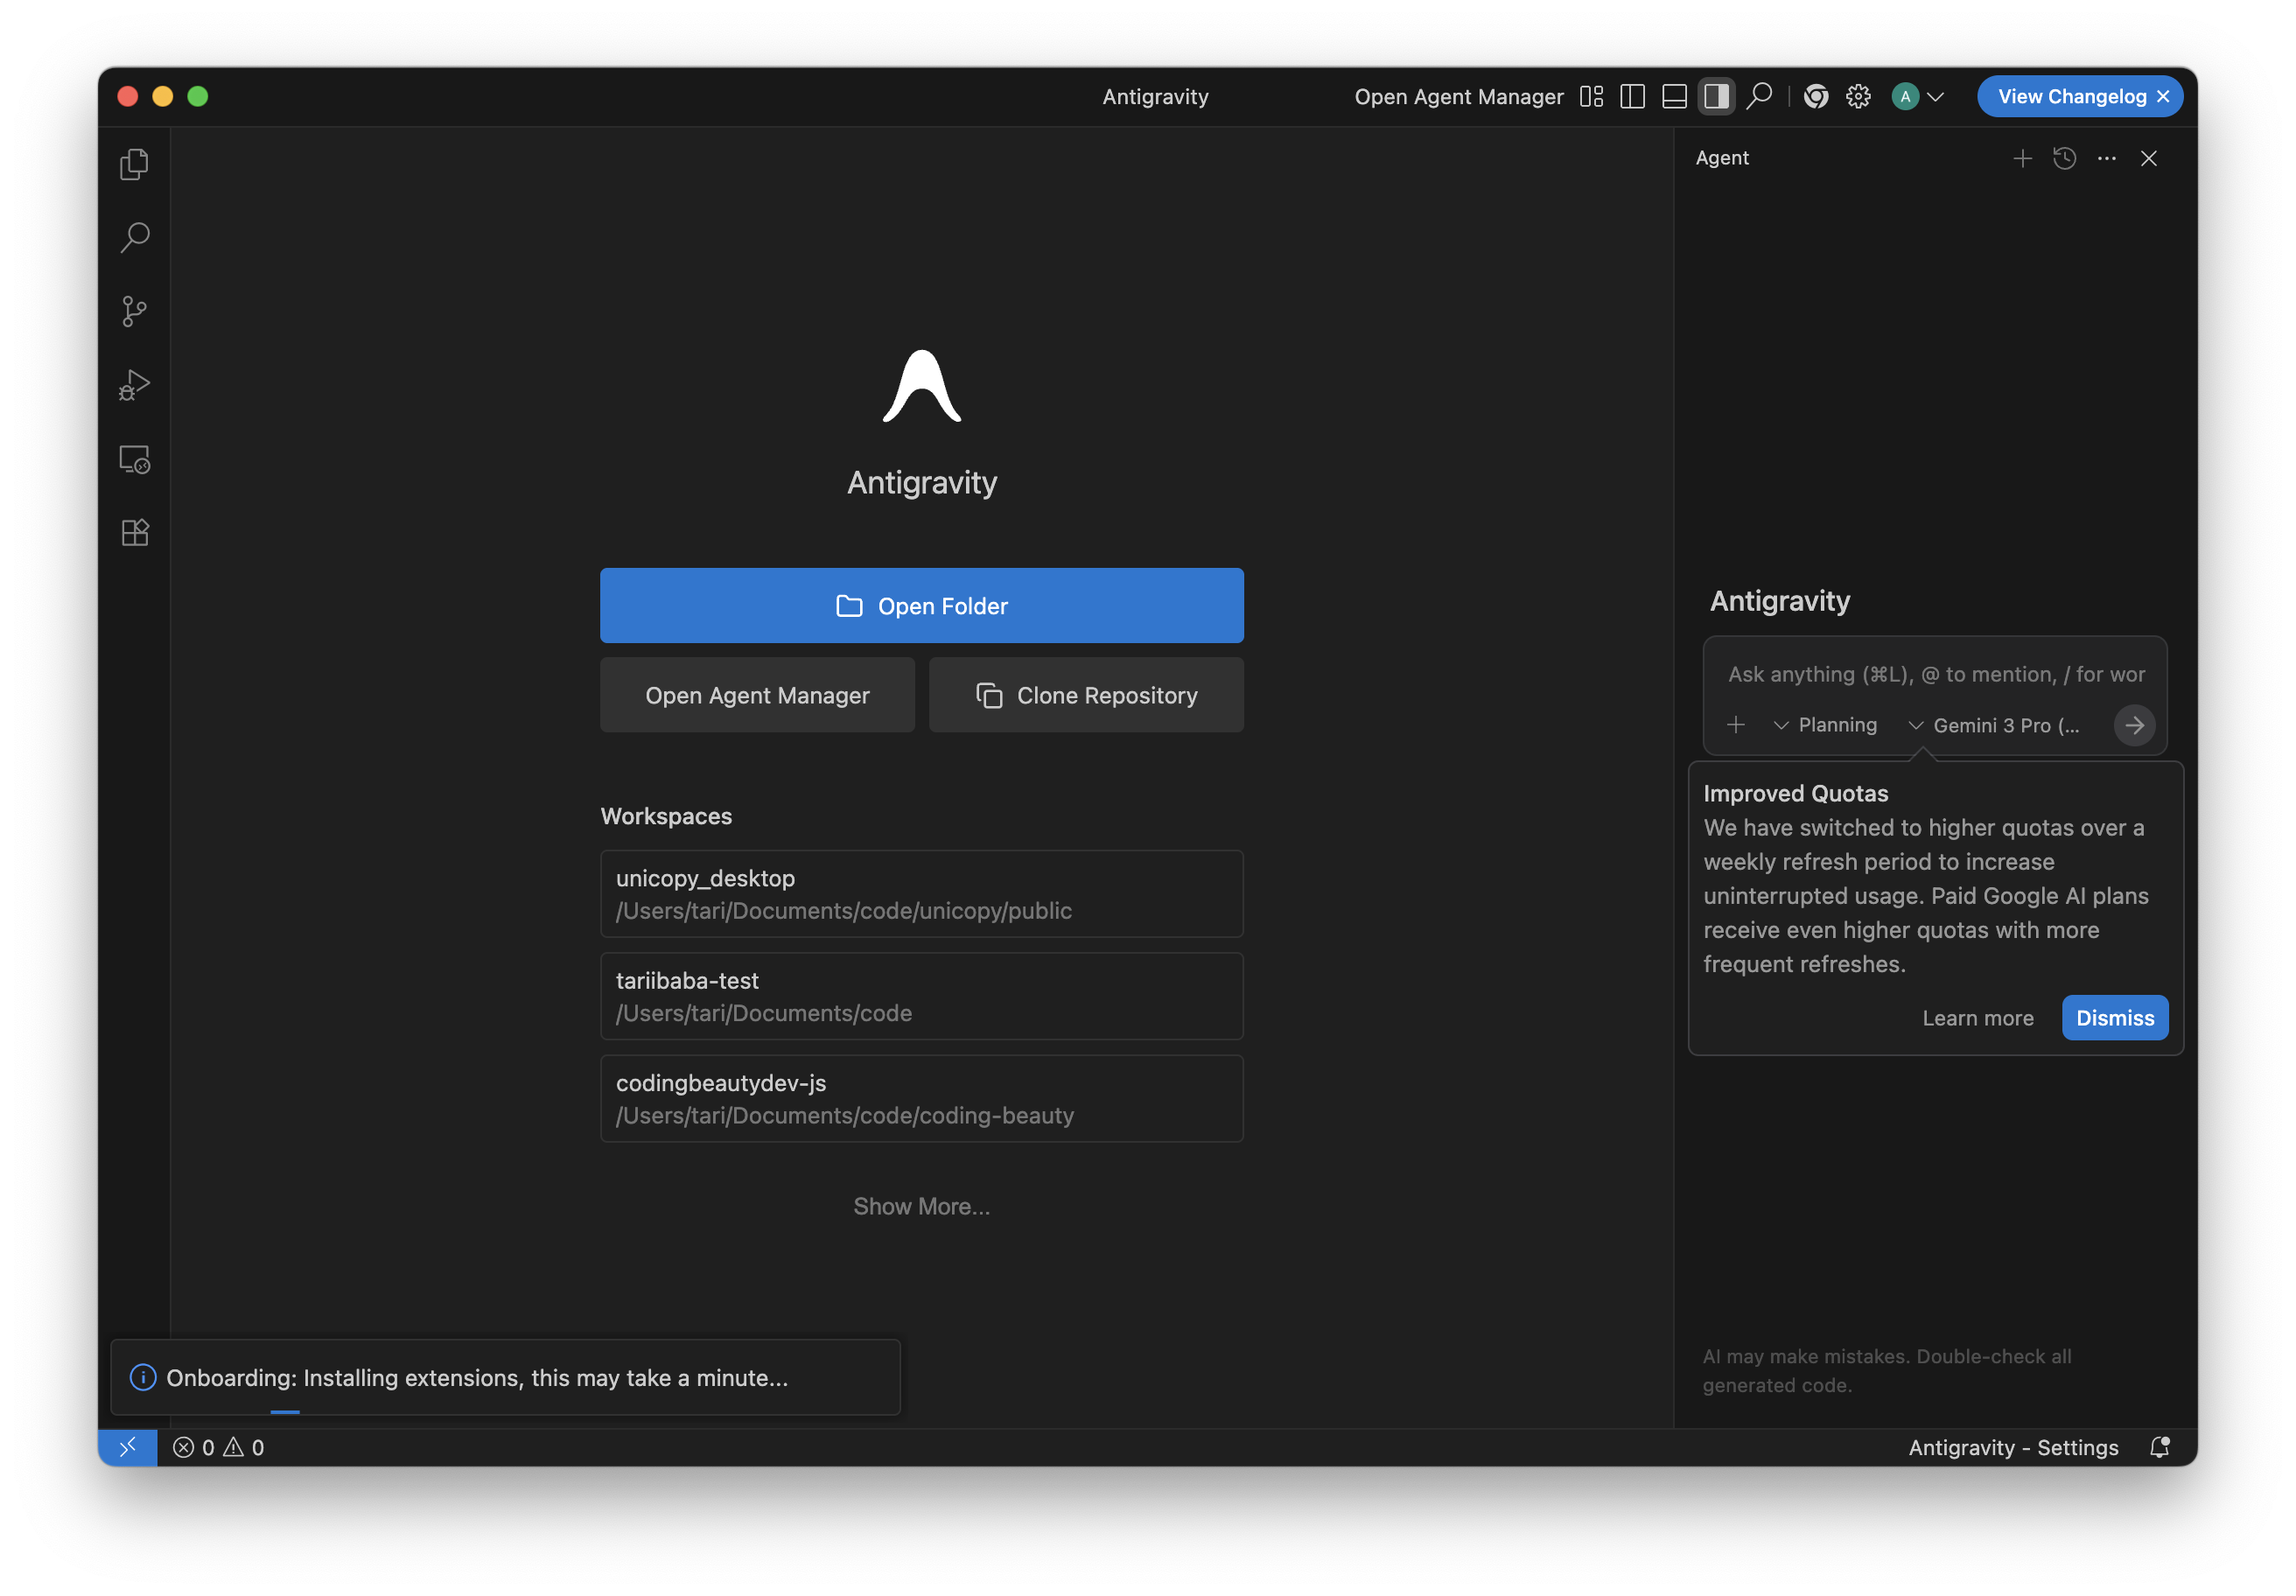
On first launch, you’ll usually land in the Agent Manager (the orchestration view), not just an editor window.
You’ll find a screen like this on first launch — very similar to what you get from VS Code, so you feel right at home.
2) Understand the two main views
This is one area where Antigravity innovates and stands out from the rest.
Antigravity centers your work around two surfaces:
Agent Manager (Mission Control)

This is where you start “missions,” assign tasks to agents, and monitor multiple agents or threads. It’s the place to describe outcomes like “build a feature” or “refactor the app” rather than “change this one line.
Editor view (hands-on coding)
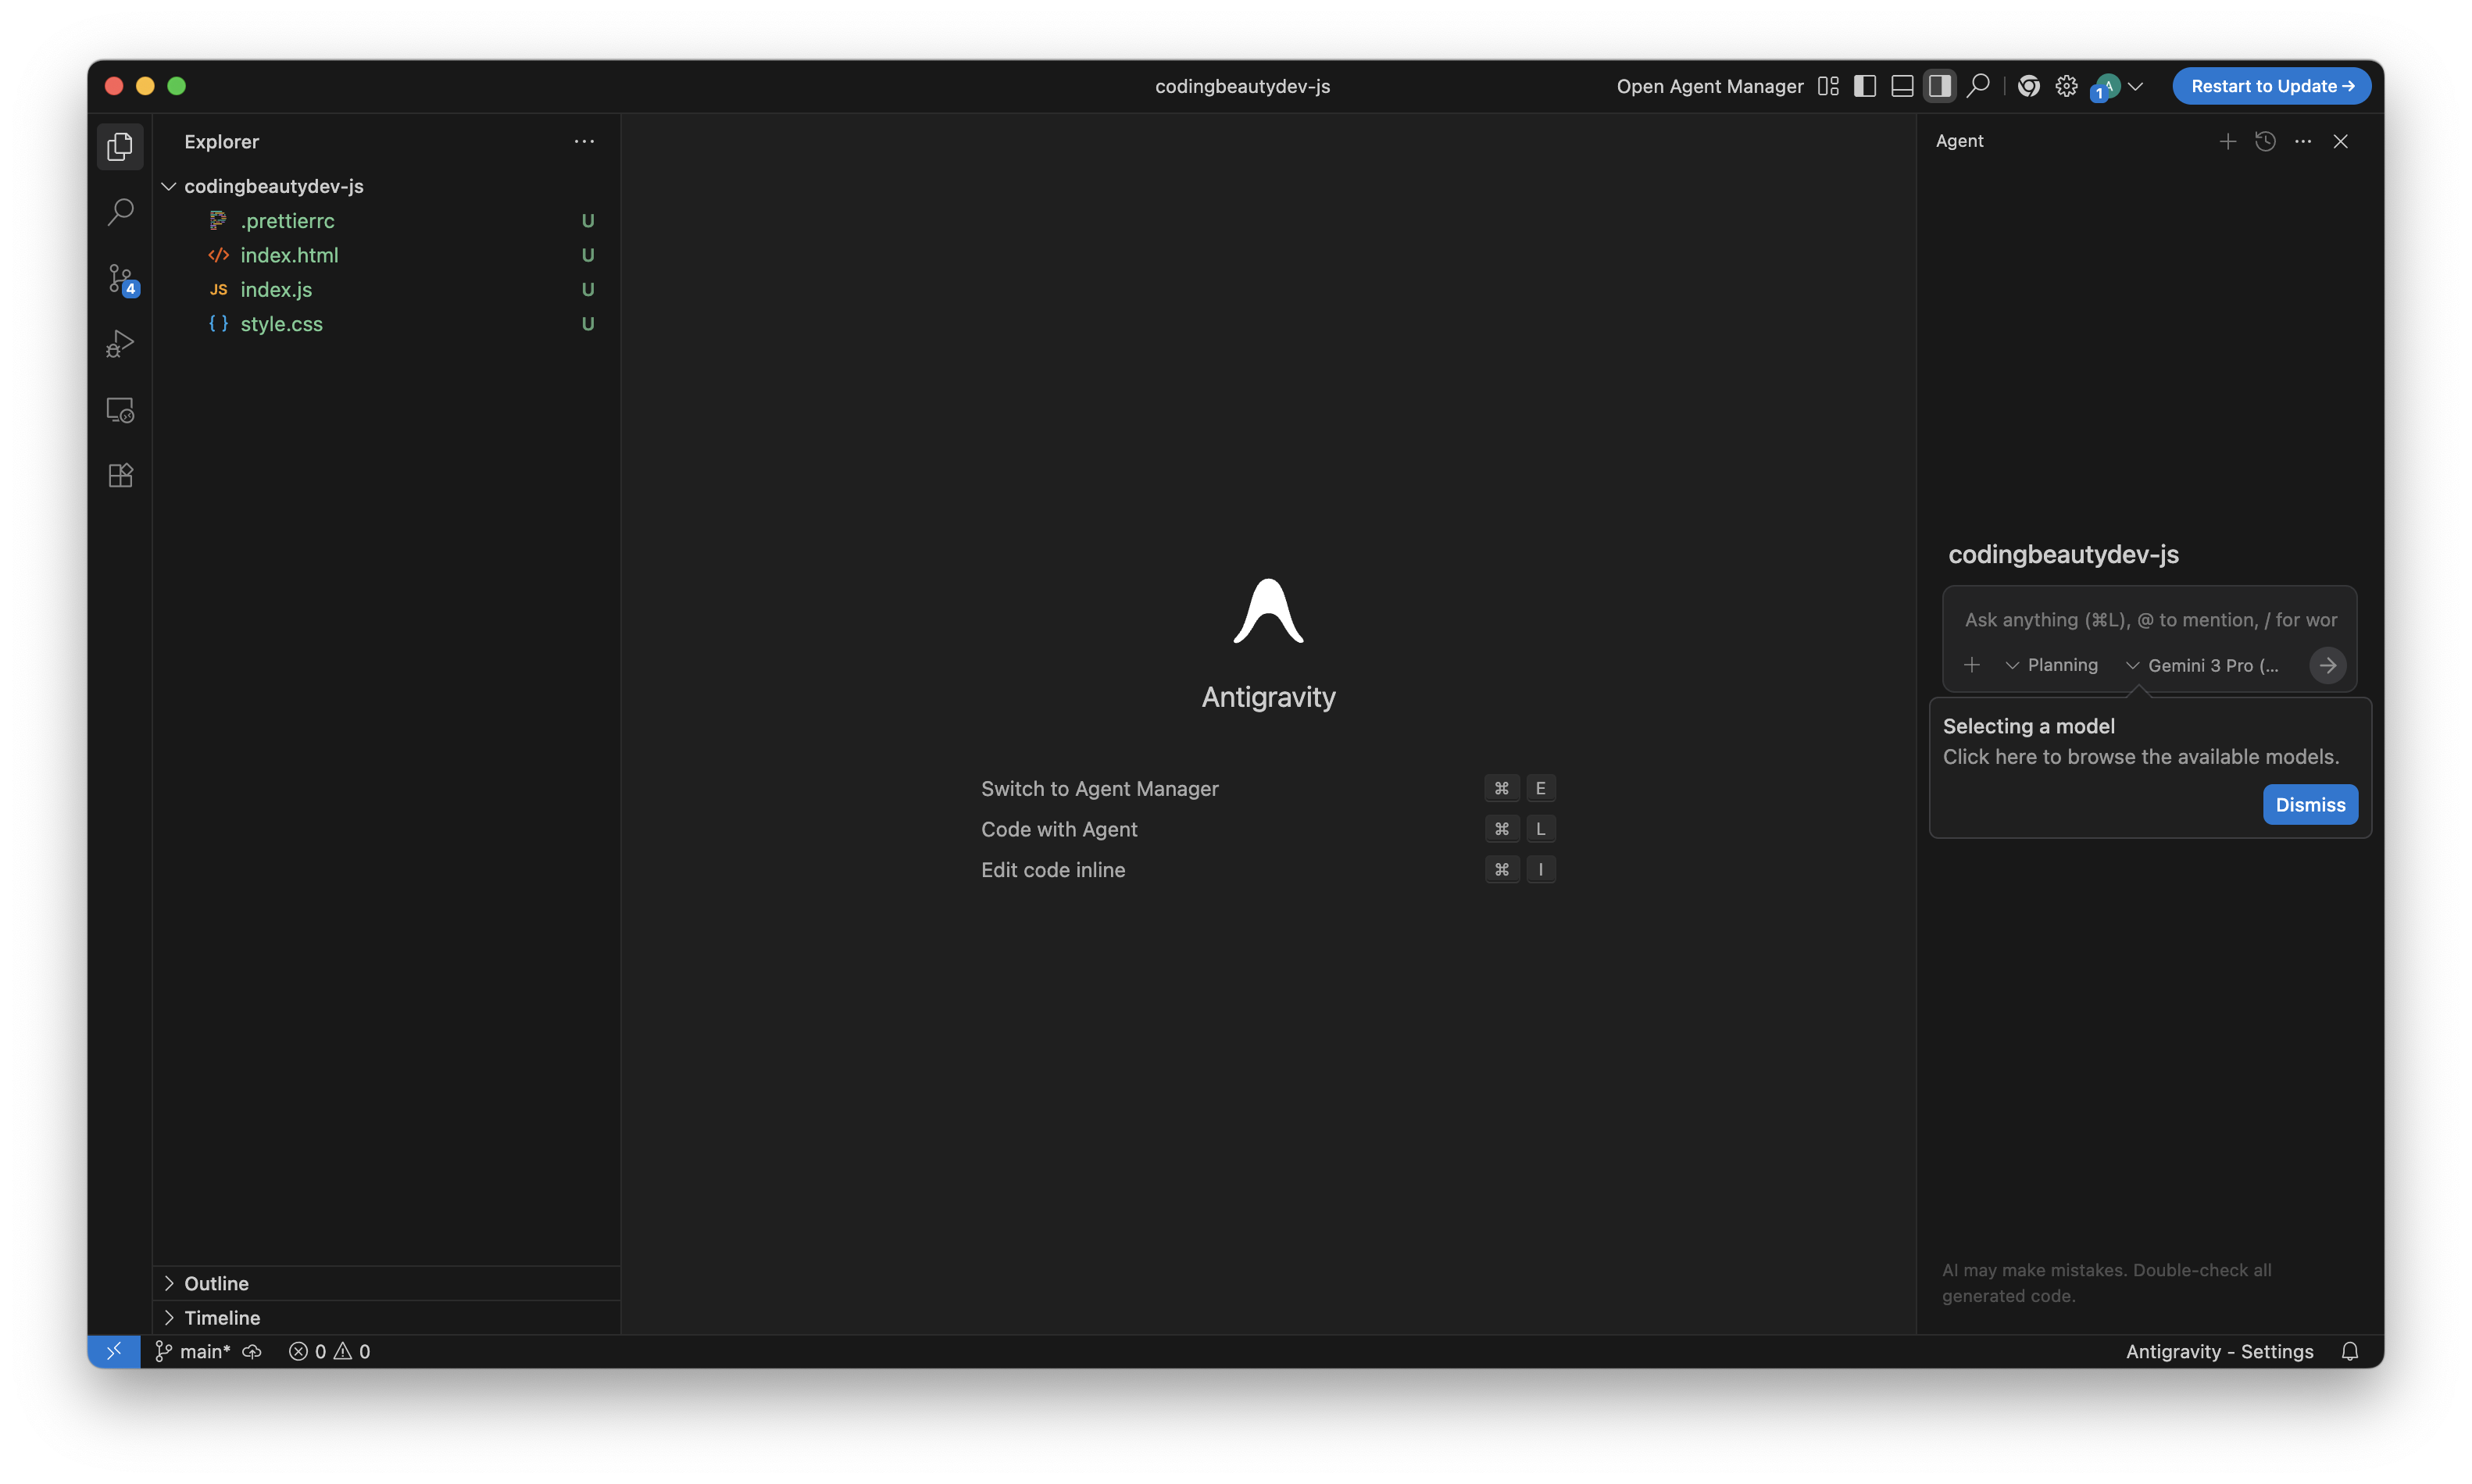
Your normal IDE view: browse files, edit directly, run local tooling, and inspect code. Antigravity is VS Code–based, so the editor feels familiar.
These two exist in separate windows — so you can use your normal Alt+Tab or Command+` to switch between them.
3) Start your first agent session
A reliable first workflow looks like this:
1. Open a workspace
Select your project folder.
2. Define the task
In the Agent Panel, use a prompt like: “Create a web app for saving cooking recipes, with three pages and minimalist styling, using vanilla html, css, and javascript”.
3. Approve the Plan:
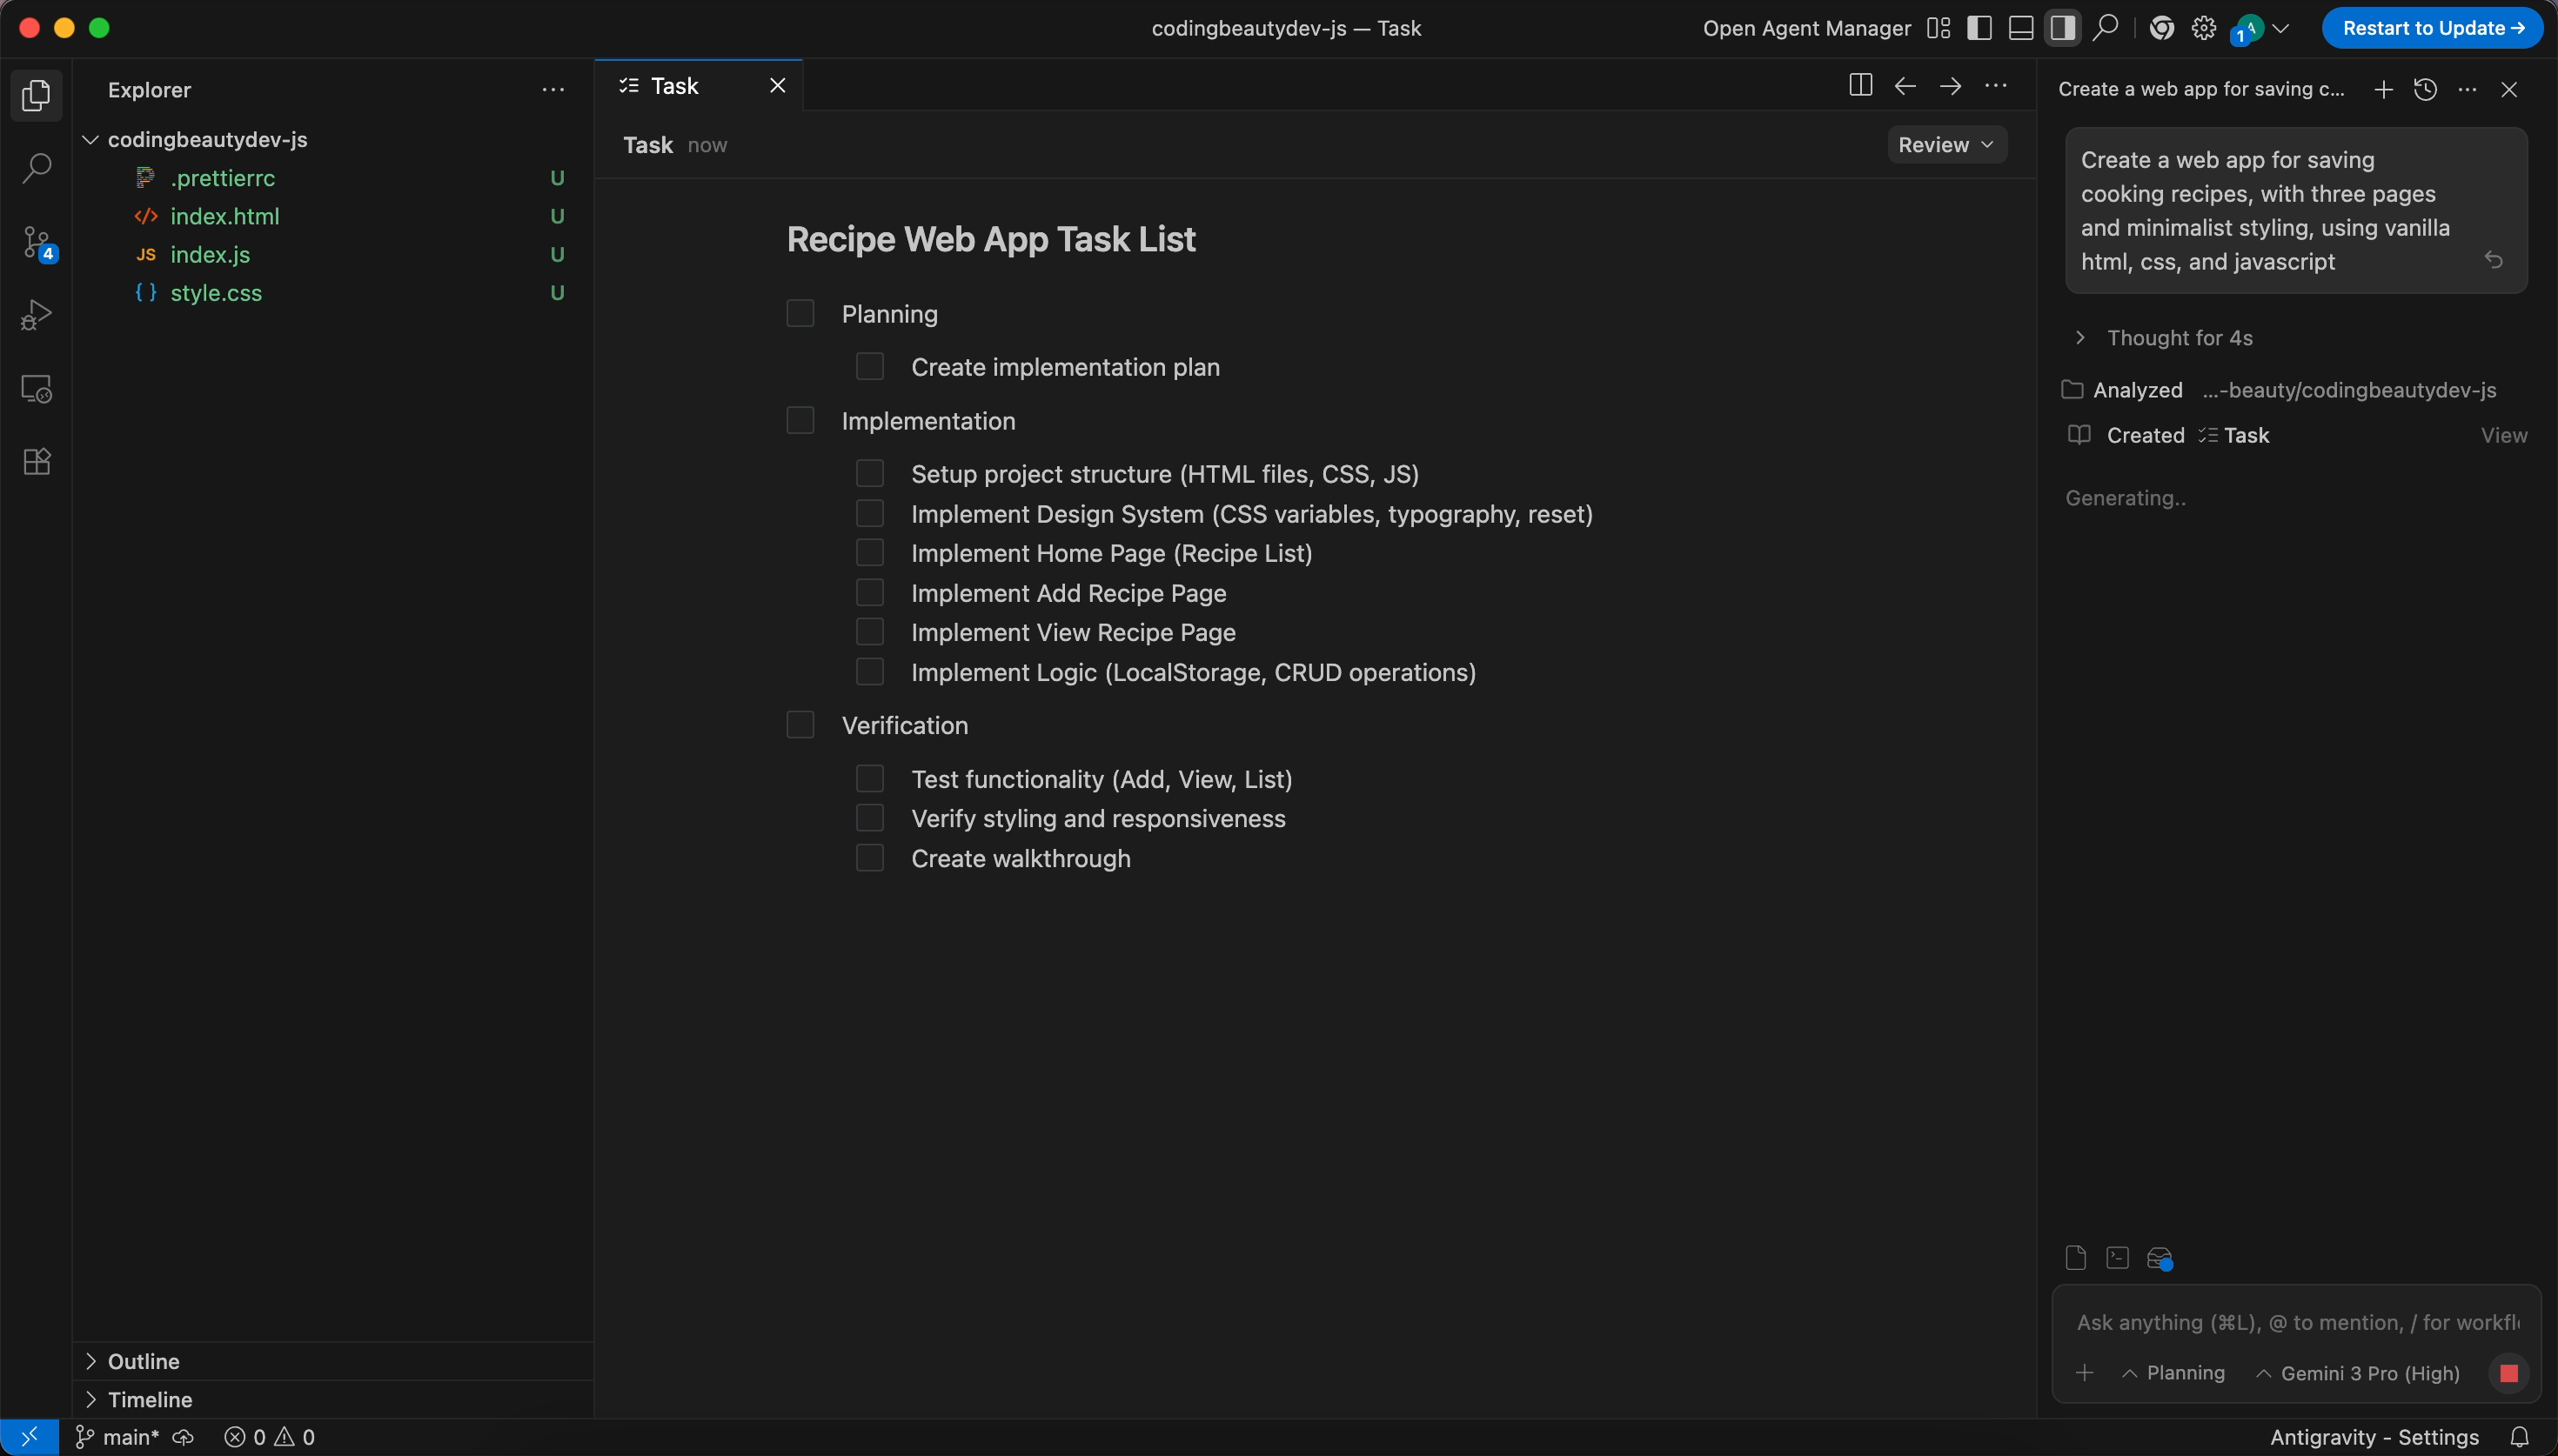
The agent will generate a Planning Artifact (a checklist of subtasks). Review and click Accept.
4. Watch the execution
The agent will scaffold the files, install dependencies in the terminal, and write the logic.
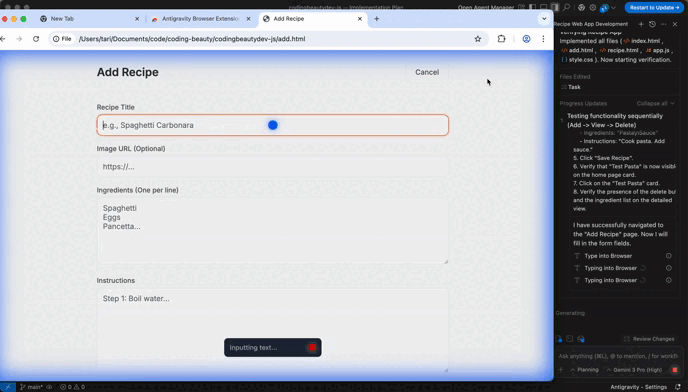
5. Browser testing
The agent will open an integrated window to click buttons and verify everything works as intended.
6. Review artifacts
Check the generated screenshots and recordings to ensure the ensure it matches your expectations (more on this in the next session).
4) Use Artifacts to stay in top control
Definitely one of the most game-changing Antigravity features.
❌ Before:
Agent tells you its progress and train of thought with just text.
✅ Now in Antigravity:
Agent tells you its progress in a multimodal way:
- Screenshots
- Screen recordings
- Plans and checklists
- Architectural diagrams
and so much more.
It’s a much more intuitive way to let you know what the agent did and why.
For example, look at the video Antigravity created when testing the web app I told it to create:
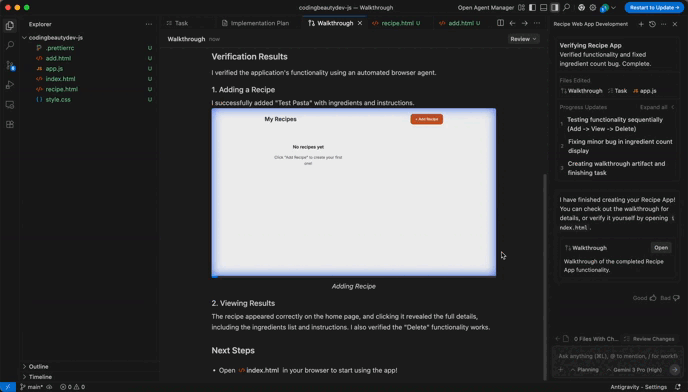
It tested the app and created this video of it.
Where to find the Artifacts:
- In Editor view, there’s often an Artifacts entry — in the lower-right UI region of the agent panel.
- In Agent Manager, you can toggle artifacts near the review/changes area.
It’s much easier now to quickly skim artifacts before accepting large changes.
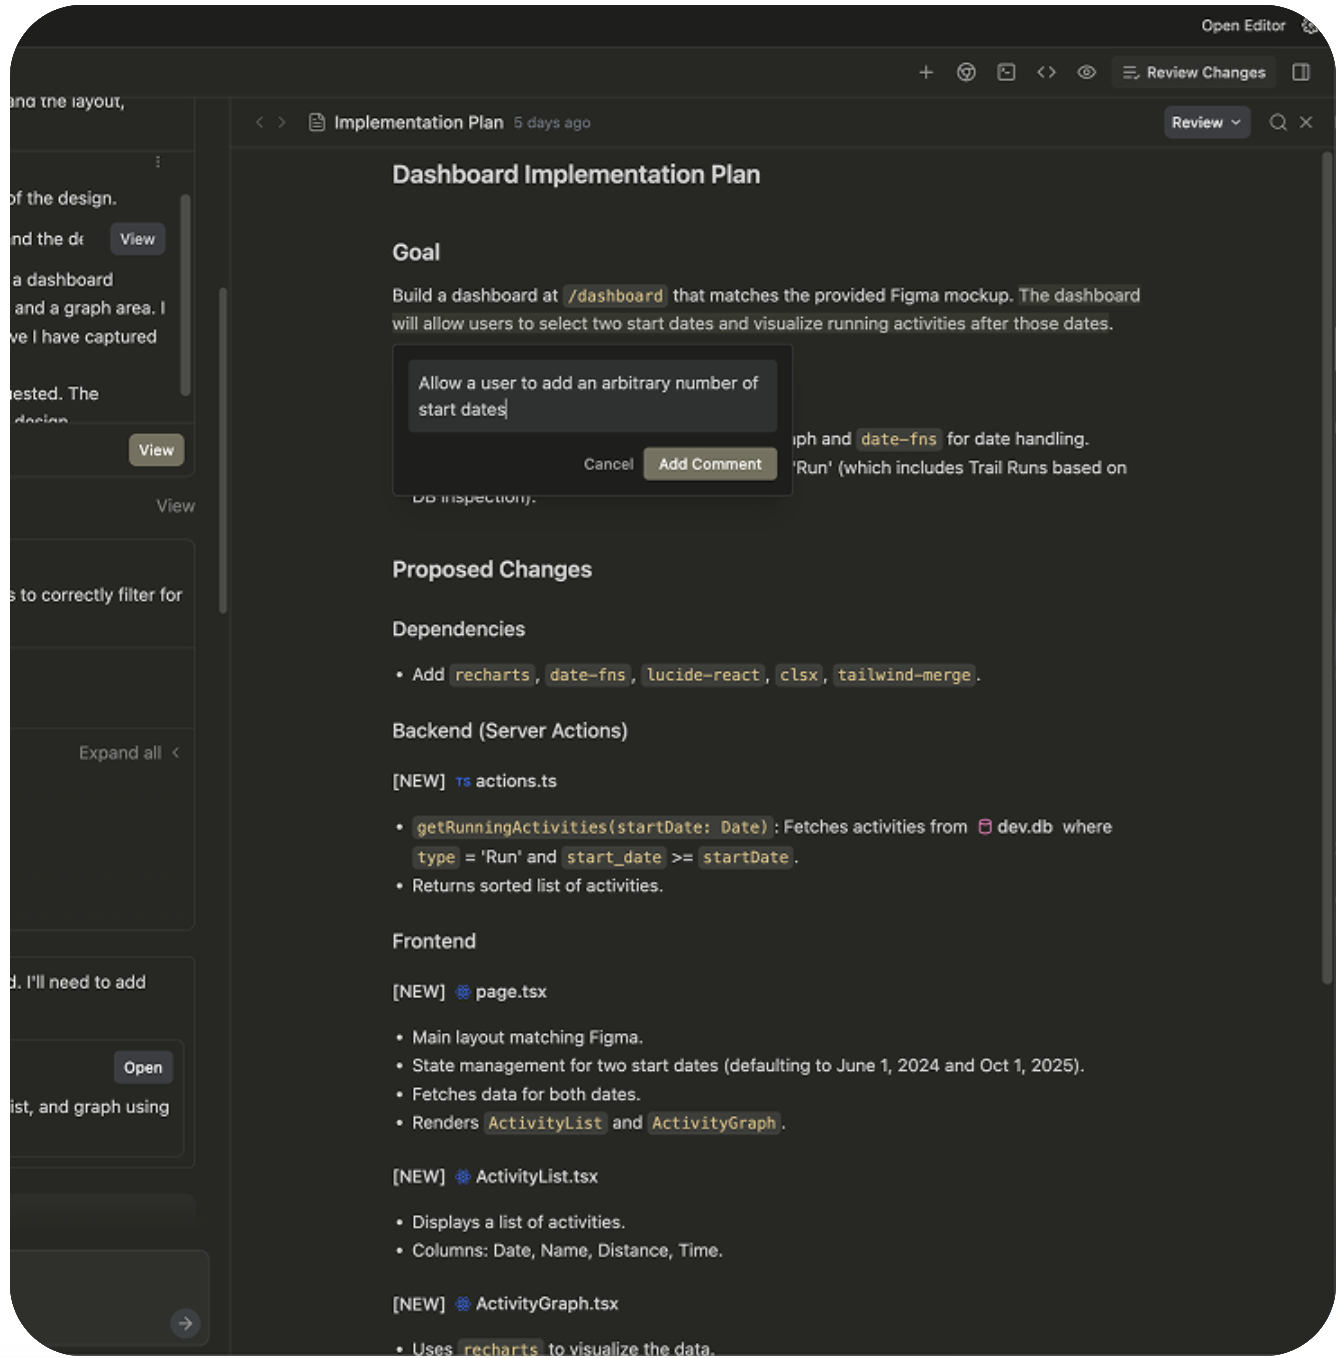
And you can also use those artifacts to express your desires from the agent in a much more precise and efficient way than text.
For example, you can make direct comments on specific parts of the implementation plan for a task:
5) Use browser automation
Antigravity can use a browser to reproduce bugs, verify UI behavior, or follow documentation steps.
Browser mode is great for:
- UI checks (“Does the layout break on mobile?”)
- Reproducing multi-step bug reports
- Confirming behavior in a real page/app
6) Connect real services via MCP
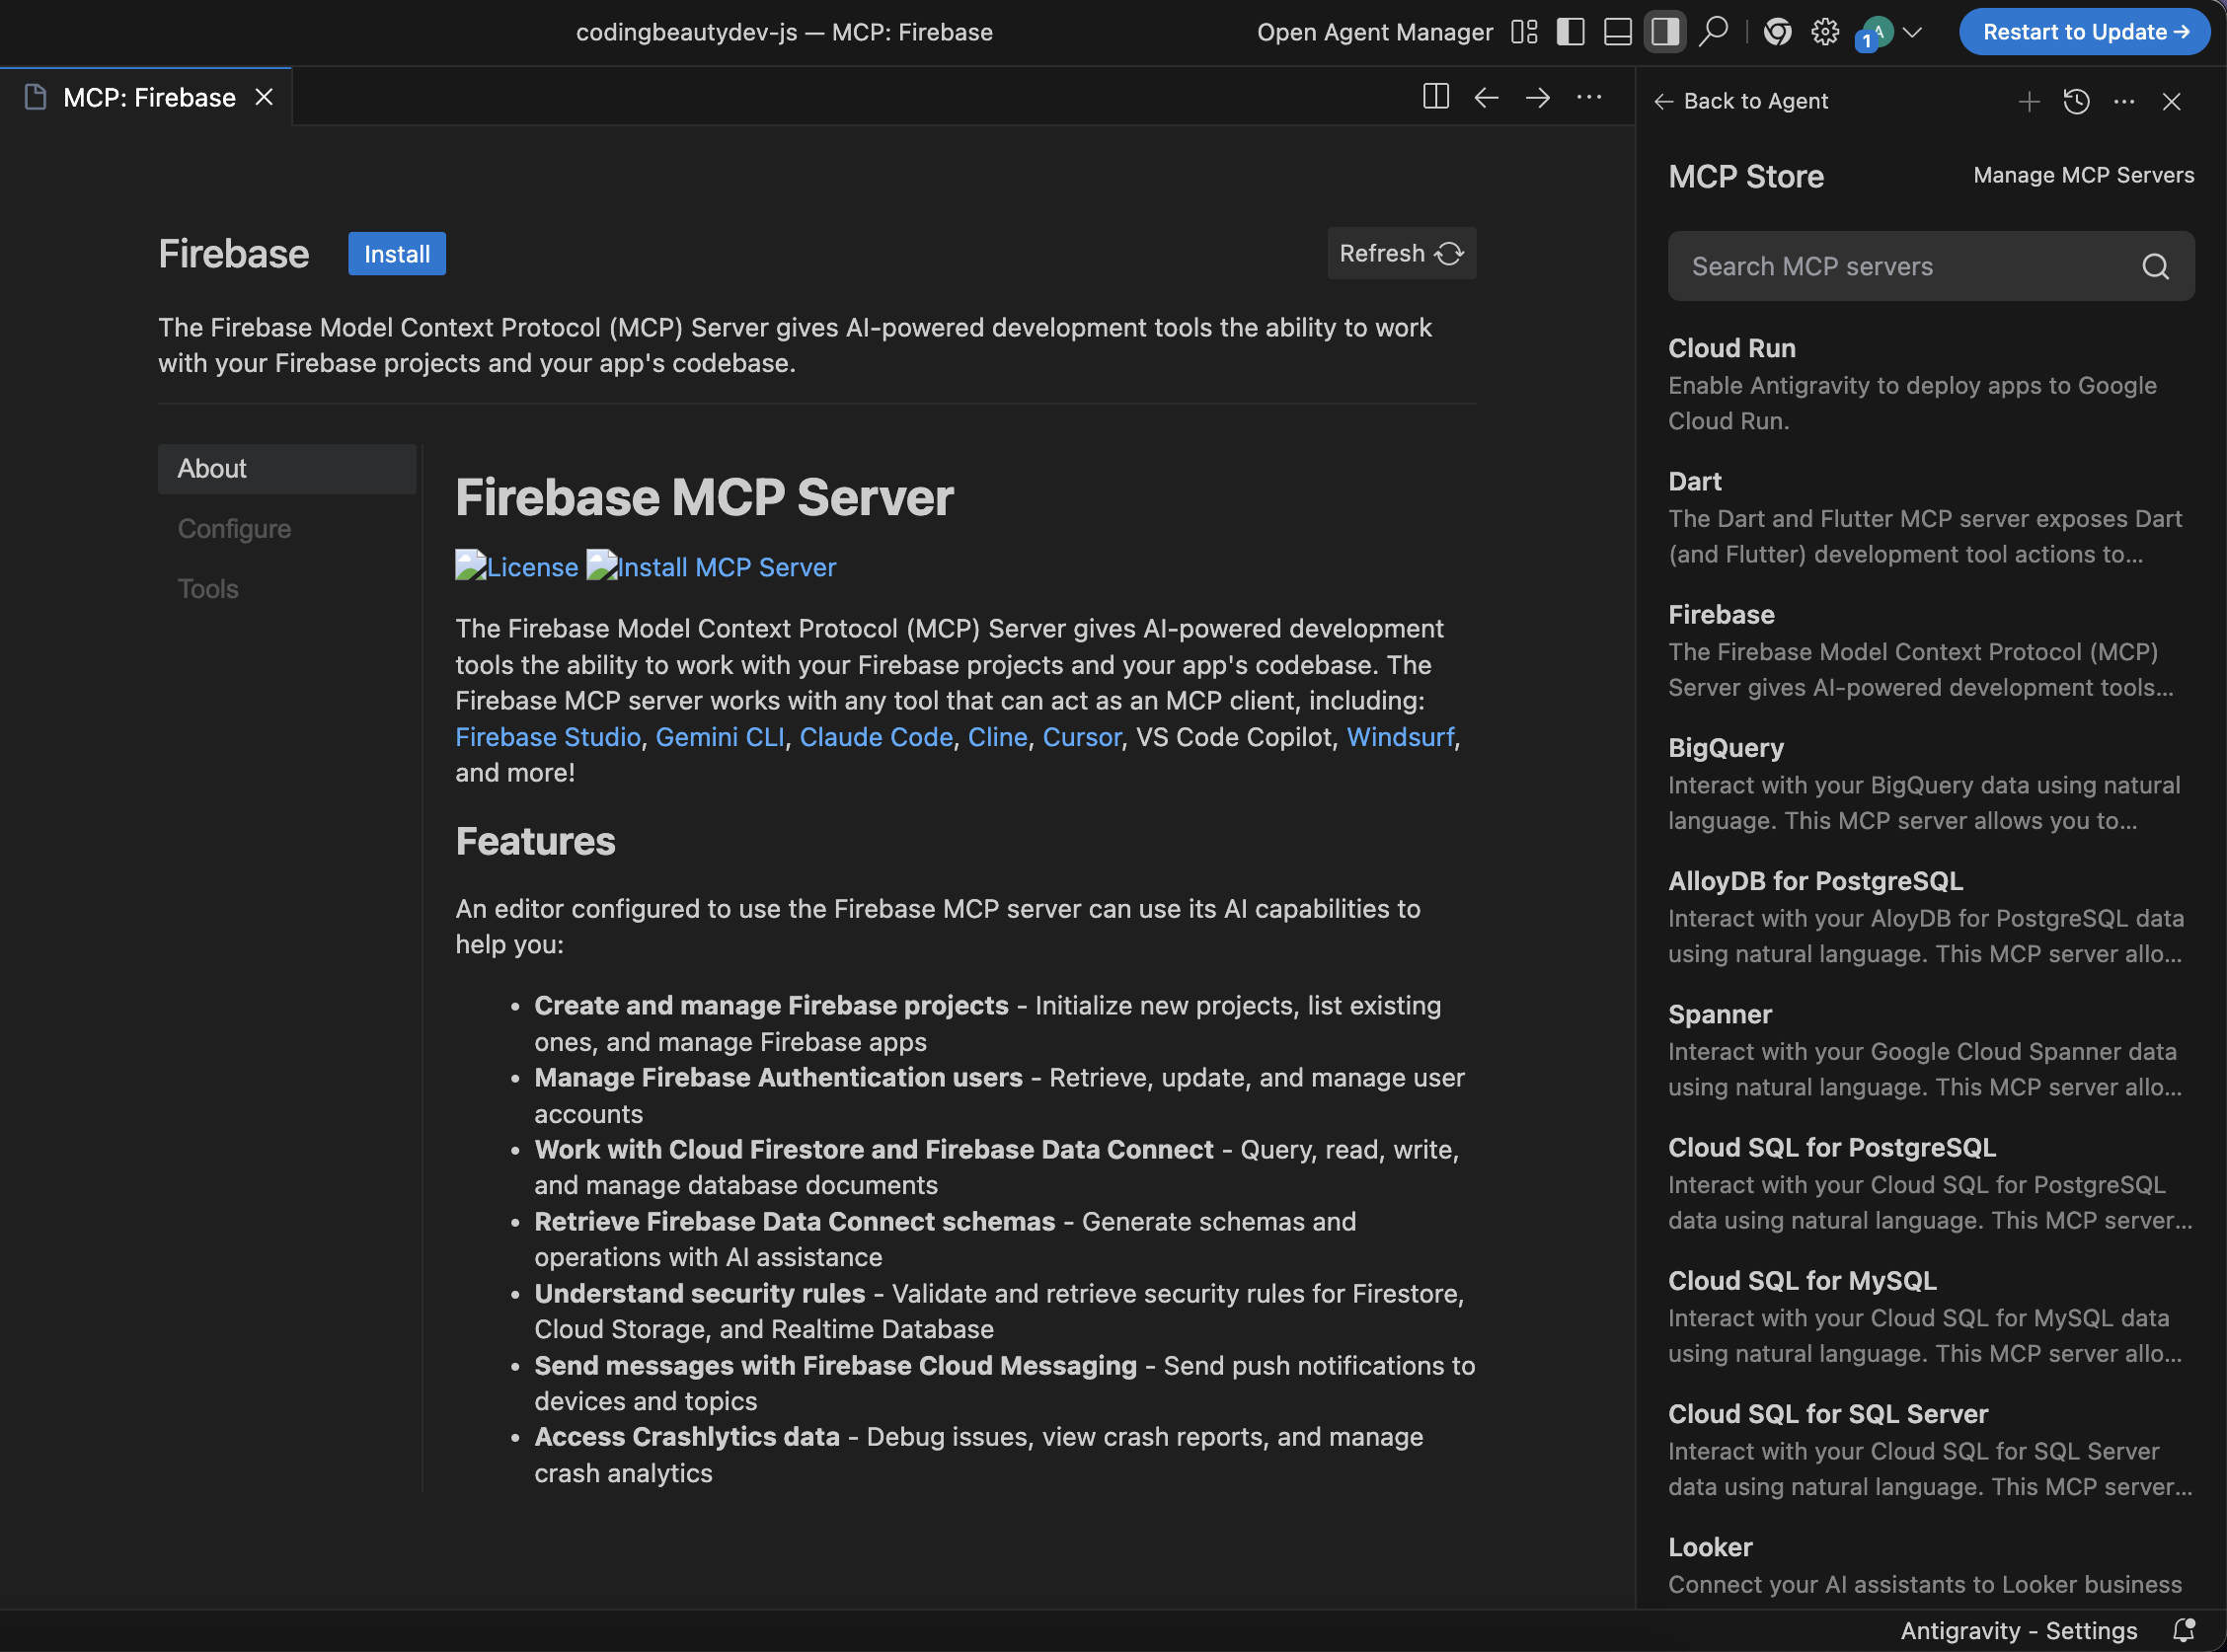
Antigravity can integrate external systems through MCP (Model Context Protocol).
- Integrated Connectors: Within the IDE, you can install connectors for AlloyDB, BigQuery, or Cloud SQL.
- Live Data Debugging: You can ask the agent, “Why is this query failing?” and it can look at your actual database schema and run test queries to find the fix.
7) Safety practices (don’t skip this)
Because Antigravity agents can run terminal commands and modify files, keep these tips in mind:
- Use Git: Always work on a separate branch so you can easily revert if an agent makes an unexpected change.
- Review terminal access: By default, Antigravity flags “destructive” commands (like
rm -rf). Keep these confirmations turned on for safety. - Nudge, don’t micromanage: Use the Google-Doc-style comment feature on Artifacts to give feedback. If a UI screenshot looks wrong, highlight it and comment “Make this button blue”; the agent will automatically update the code.
Google Antigravity redefines the developer experience by letting you step back from the keyboard and act as a mission lead, using powerful agents and multimodal feedback to turn high-level goals into fully tested code.