Adobe’s new AI video generator is insane
Adobe just changed everything for AI video generation.
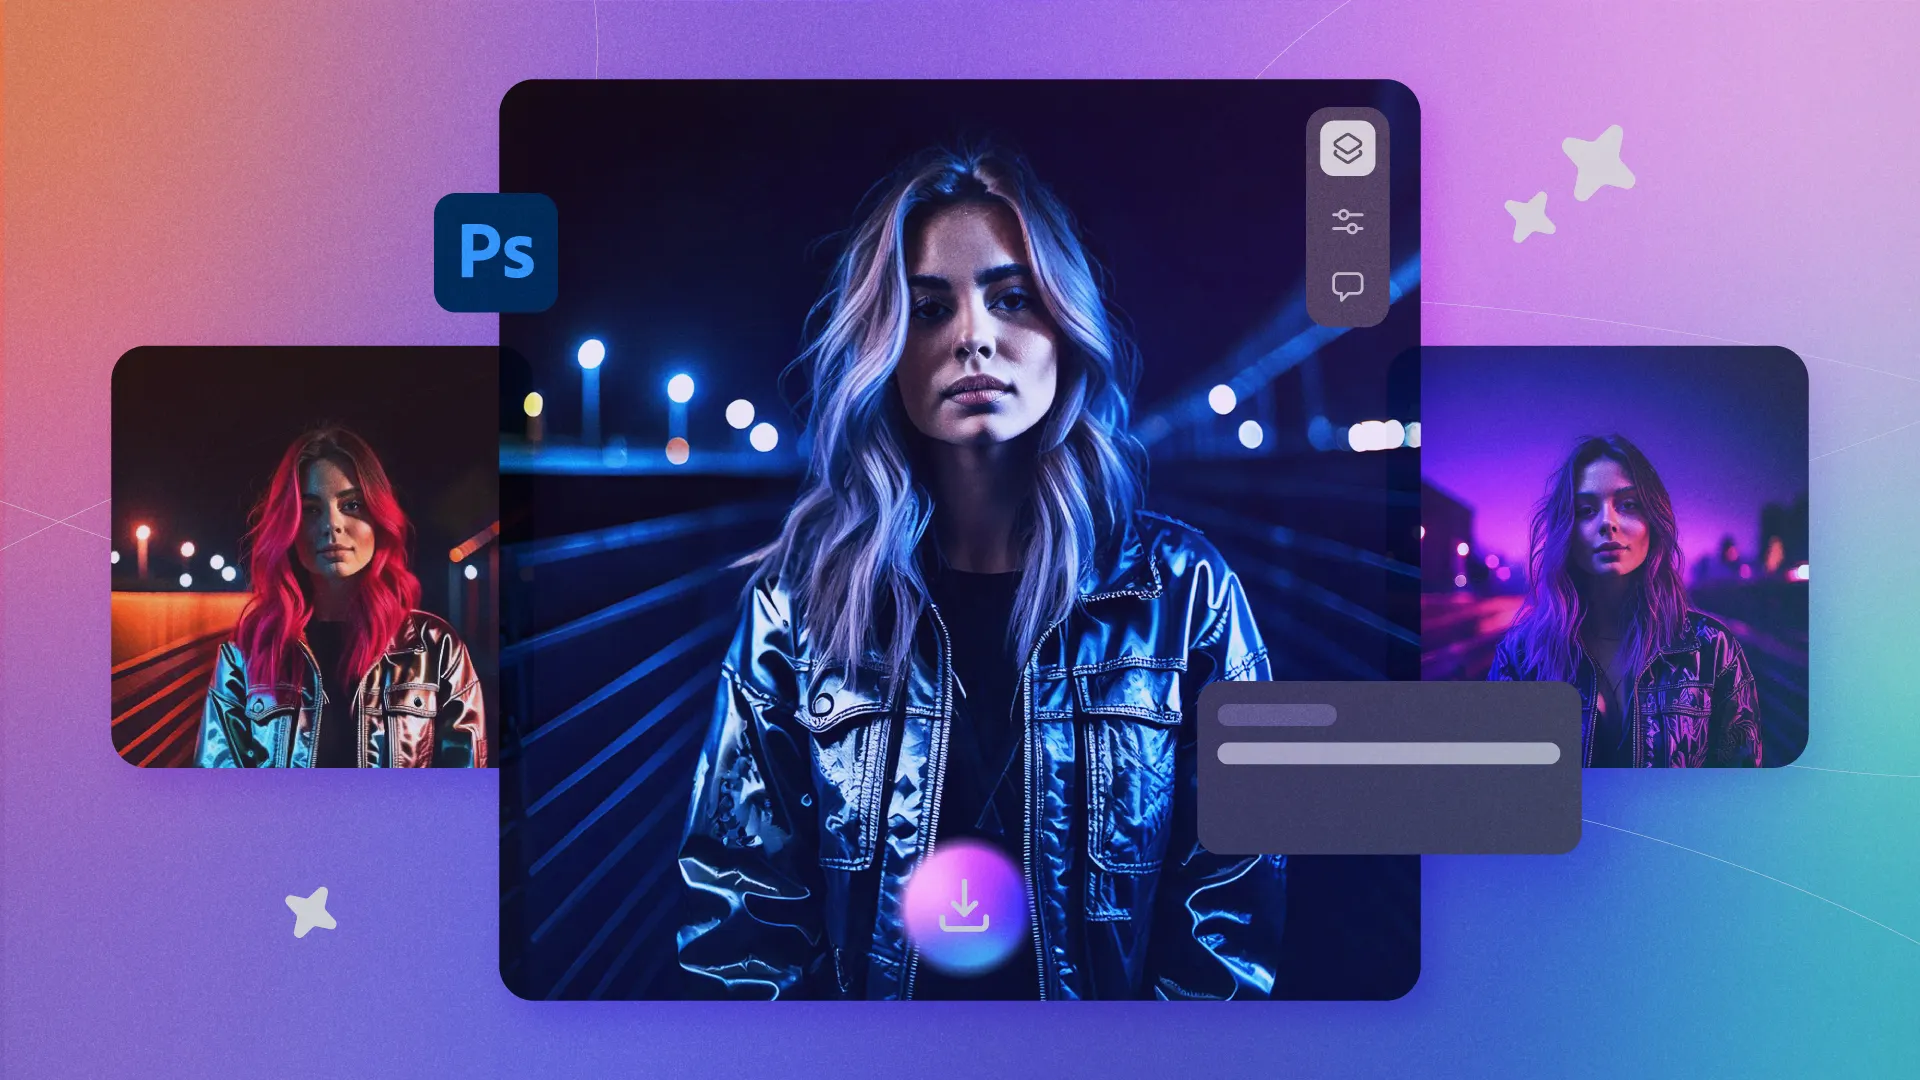
Their new Firefly video model is finally here and it already has insane advantages over Sora and even Veo 2.
This is insane.
Like you’re telling me this wasn’t taken by some National Geographic photographer. This actually came from an AI.
So where exactly are we going to be a year from now?
I agree with Scarlett Johansson (lol) — we should really do something about deepfakes before it gets out of hand.

But only if we can pretend like there’s any going back from this — which there isn’t…
Massive misinformation is on its way — already here as we saw from the fake AI video of celebrities protesting against Kanye West.
At this rate soon video evidence won’t be able to hold up in court — they’ll just say it’s a deepfake right? Who would know? It’s already happening for audio, right?


With this new update Adobe now has video + image + vector generation all in the same app — genius move to gain an upper hand in this part of the AI race.
They know that the value of an AI tool isn’t just in how good it is — but how deeply integrated it is into a workflow that convenient and familiar.
Even if other tools like Sora produce slightly better videos, the deep integration of all their creating tools will still give them a major advantage.
With one ecosystem you can generate images… then edit them yourself… or with the AI…
Then transform the image into dynamic videos and scenes… Then create audio for the scenes from text…

Then translate the audio in the scenes to several other languages — syncing the lips perfectly (wild stuff).
Then you can still create fresh videos from scratch with text prompts giving you precise control over the style and camera angles…
And you can still edit them yourself for total precision…
The integration is simply unbeatable — and they already have a strong user base of many millions.
Everything is so connected and cohesive from conception to production.
And they realize this and so they tie everything together with Firefly in their Creative Cloud subscription.

And of course you’ve still got the standalone subscription for general users, so they still compete directly with Sora and Veo 2.
And once again they claim to have only used “licensed” and “public domain” content for the training, just like the did for the image generation model.
Of course hardly anyone is going to care about this when choosing tools, ha ha.
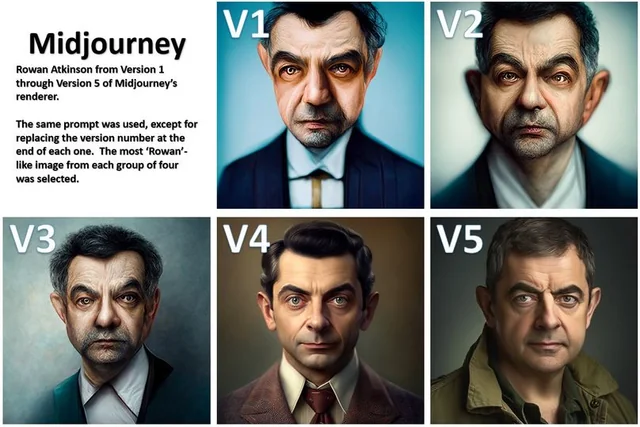
But I guess it’s a nice way to virtue signal and appear morally superior to lawsuit-ridden rivals like Midjourney and OpenAI, lol.
It’ll just be really interesting to see how good these tools are gonna get.
Imagine: complete hyper-realistic, engaging, comprehensive 2-hour long movies from a few paragraphs of prompts.
So we won’t be just imagining…