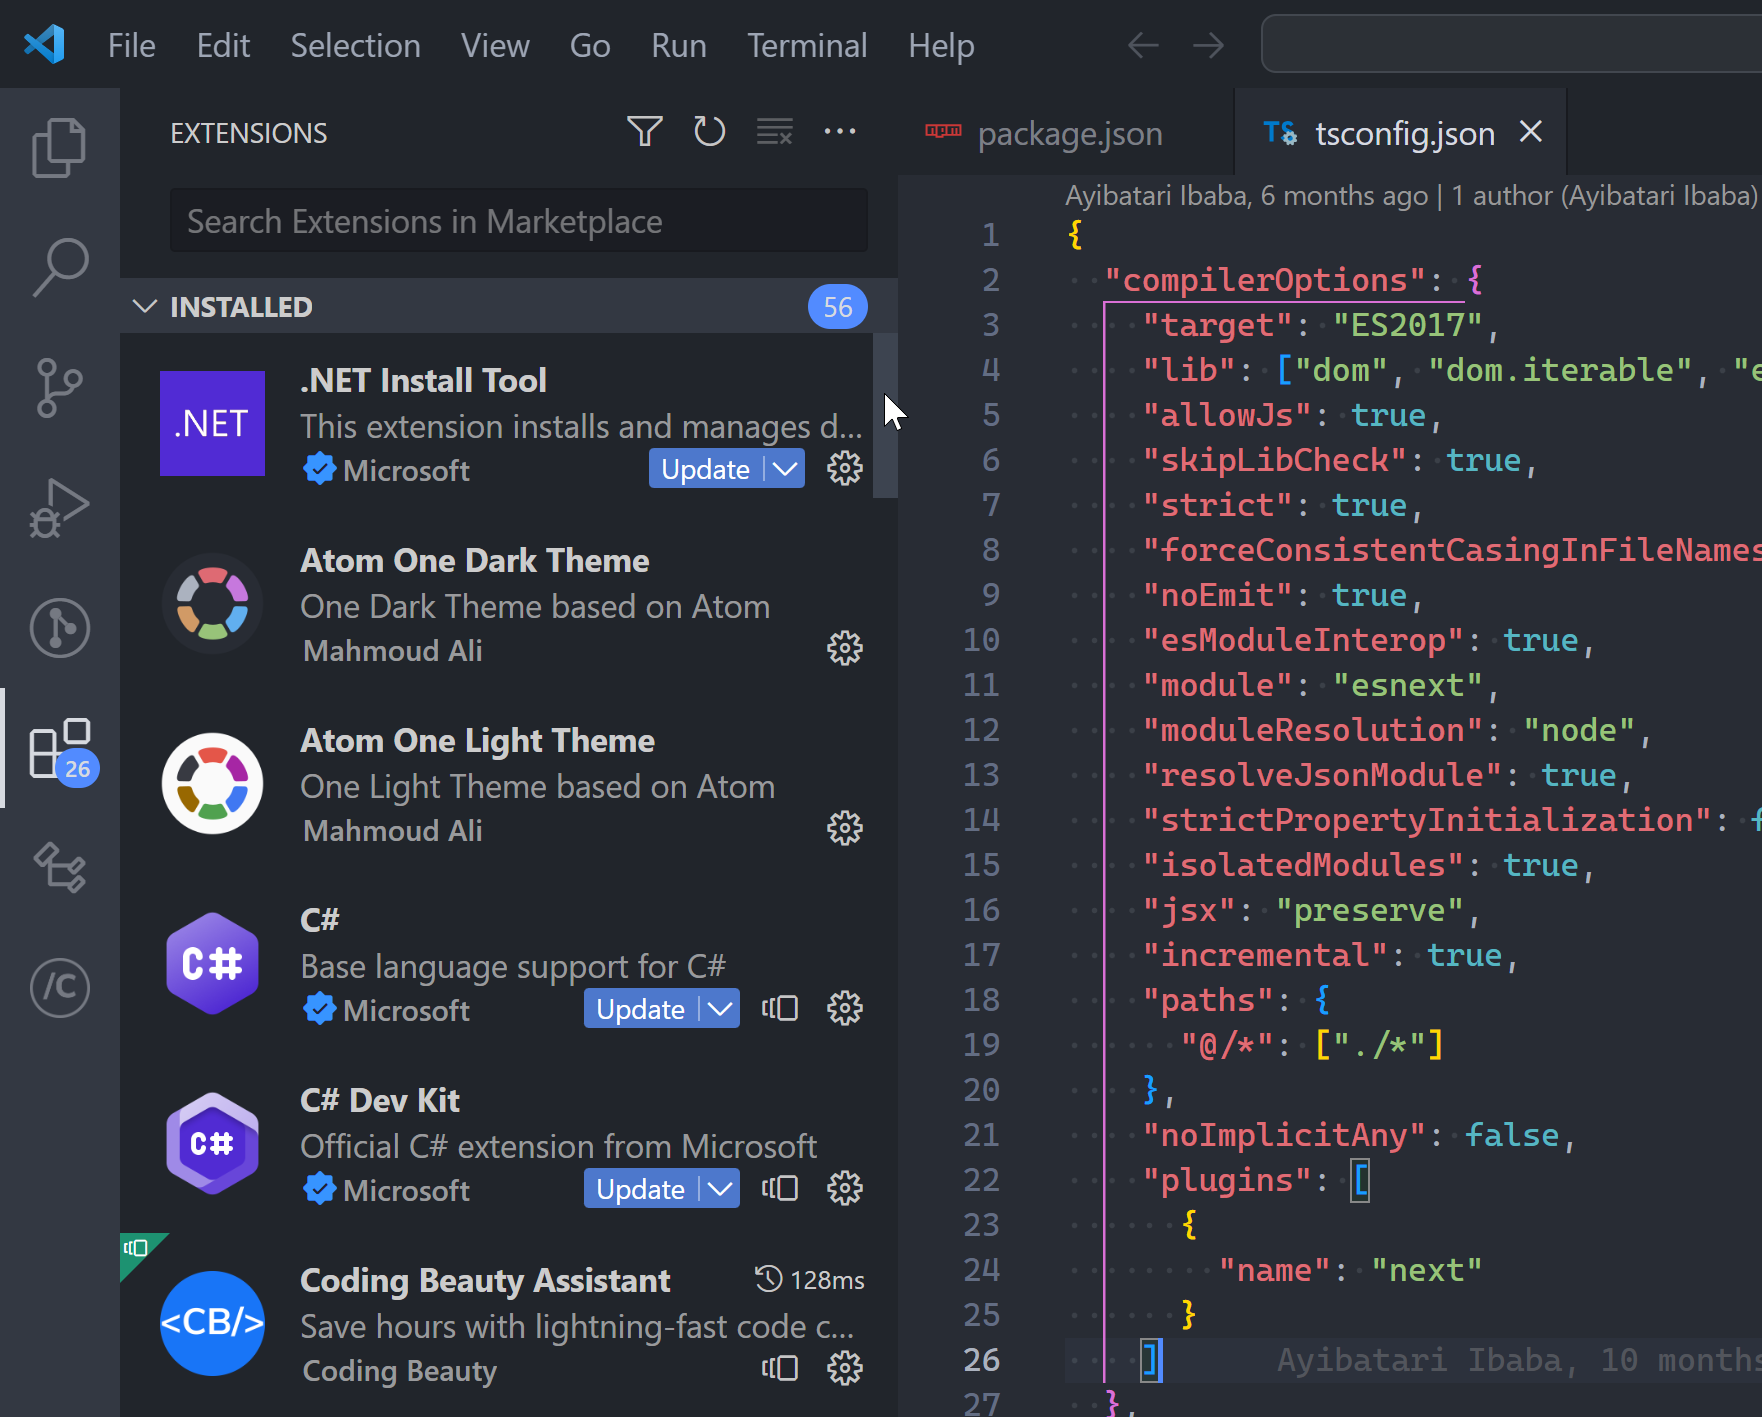
Can you count how many VS Code extensions you have right now?
Me: A whooping 56.
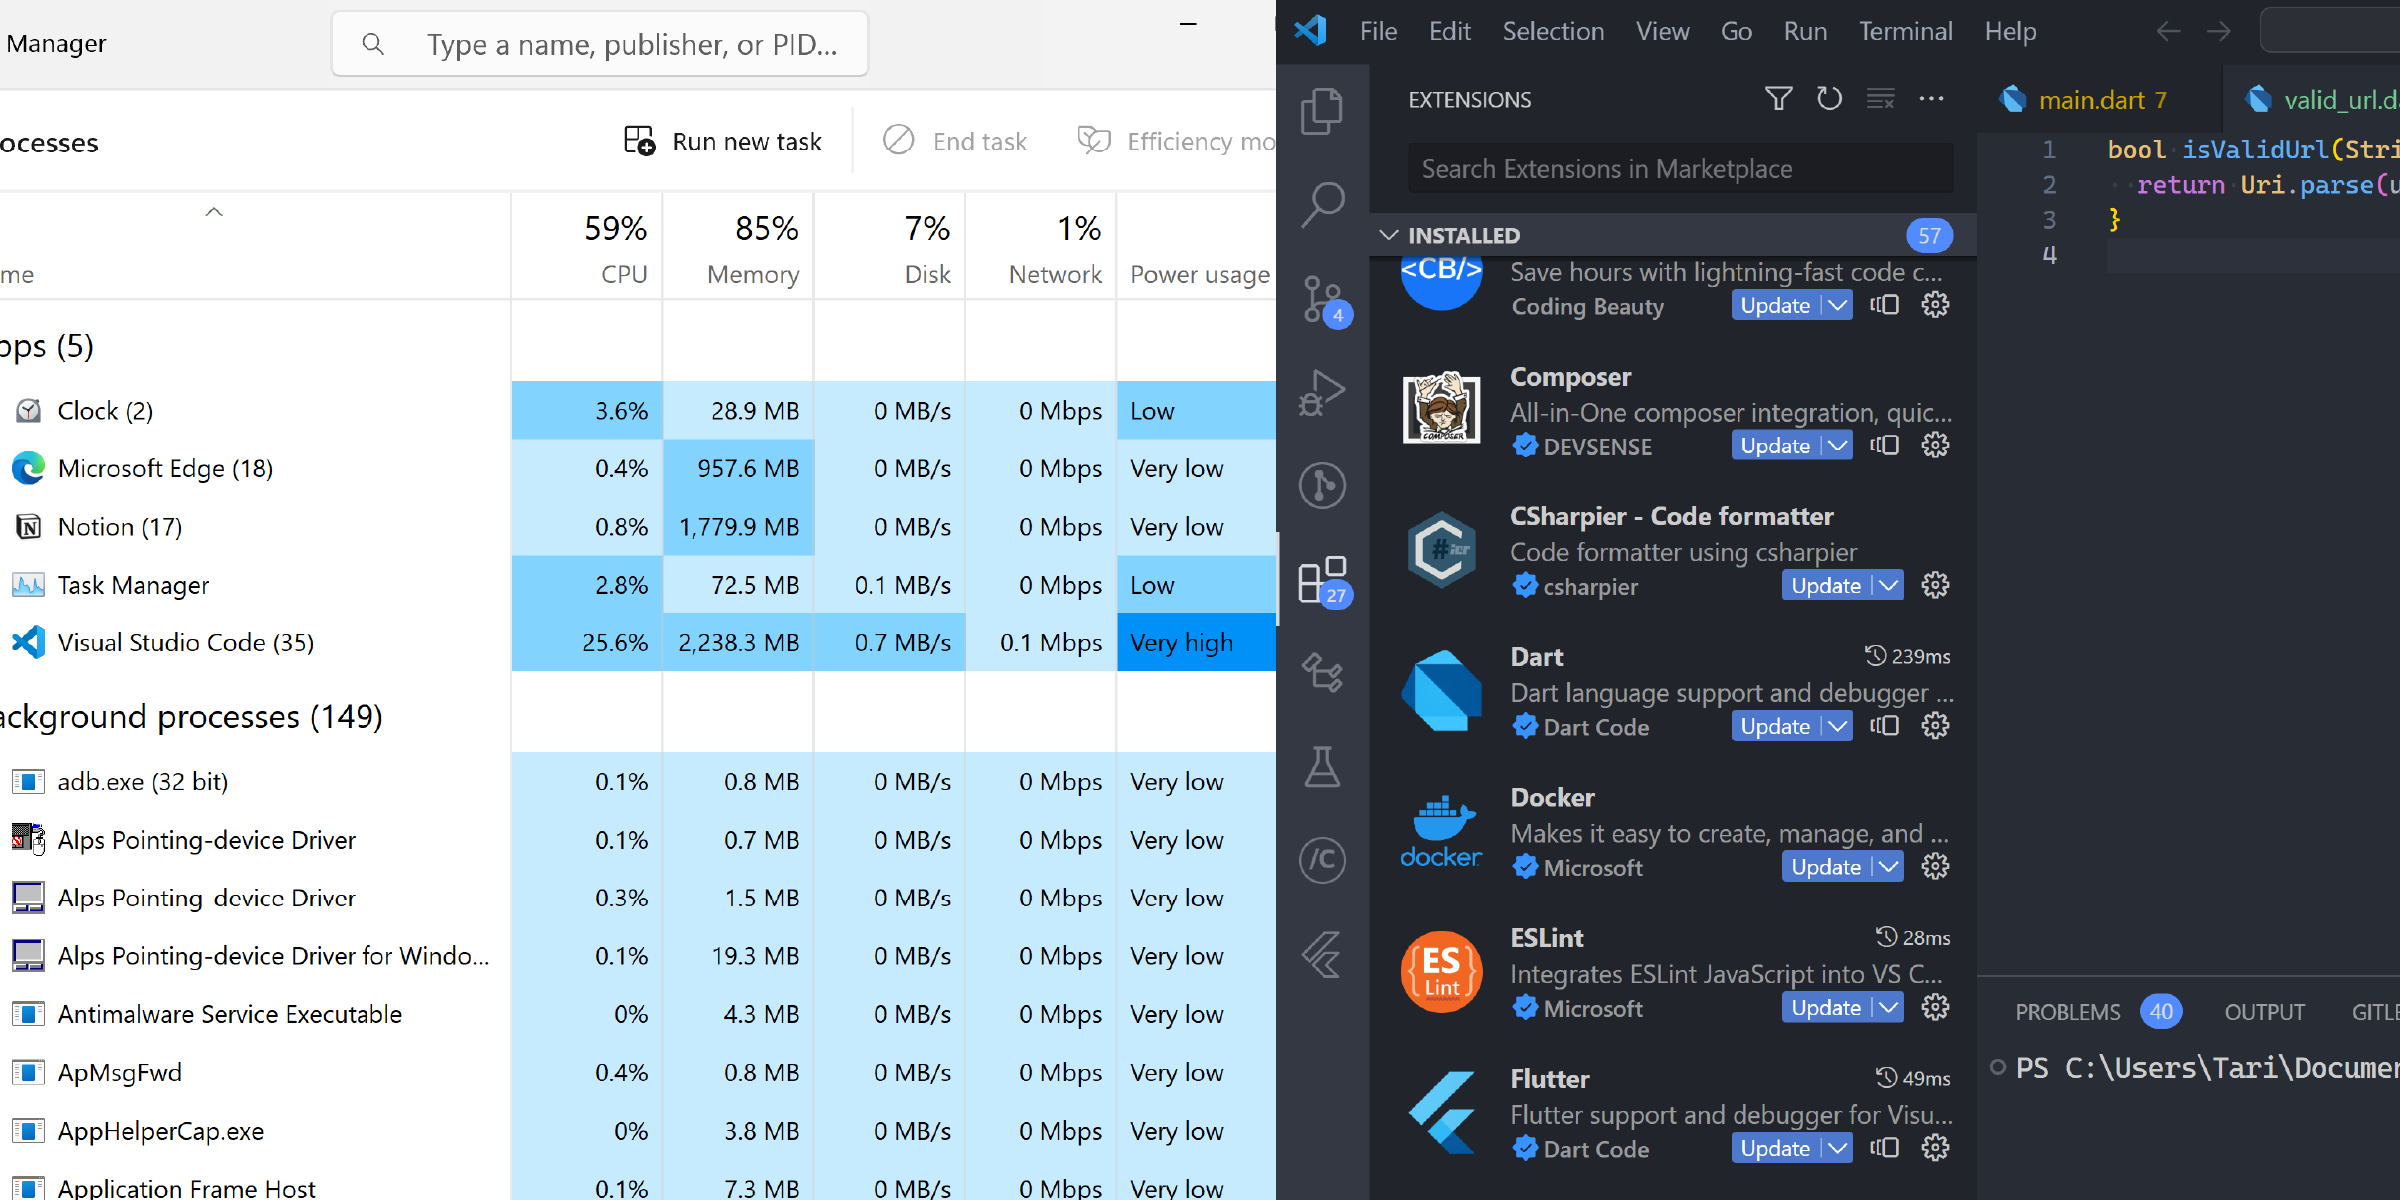
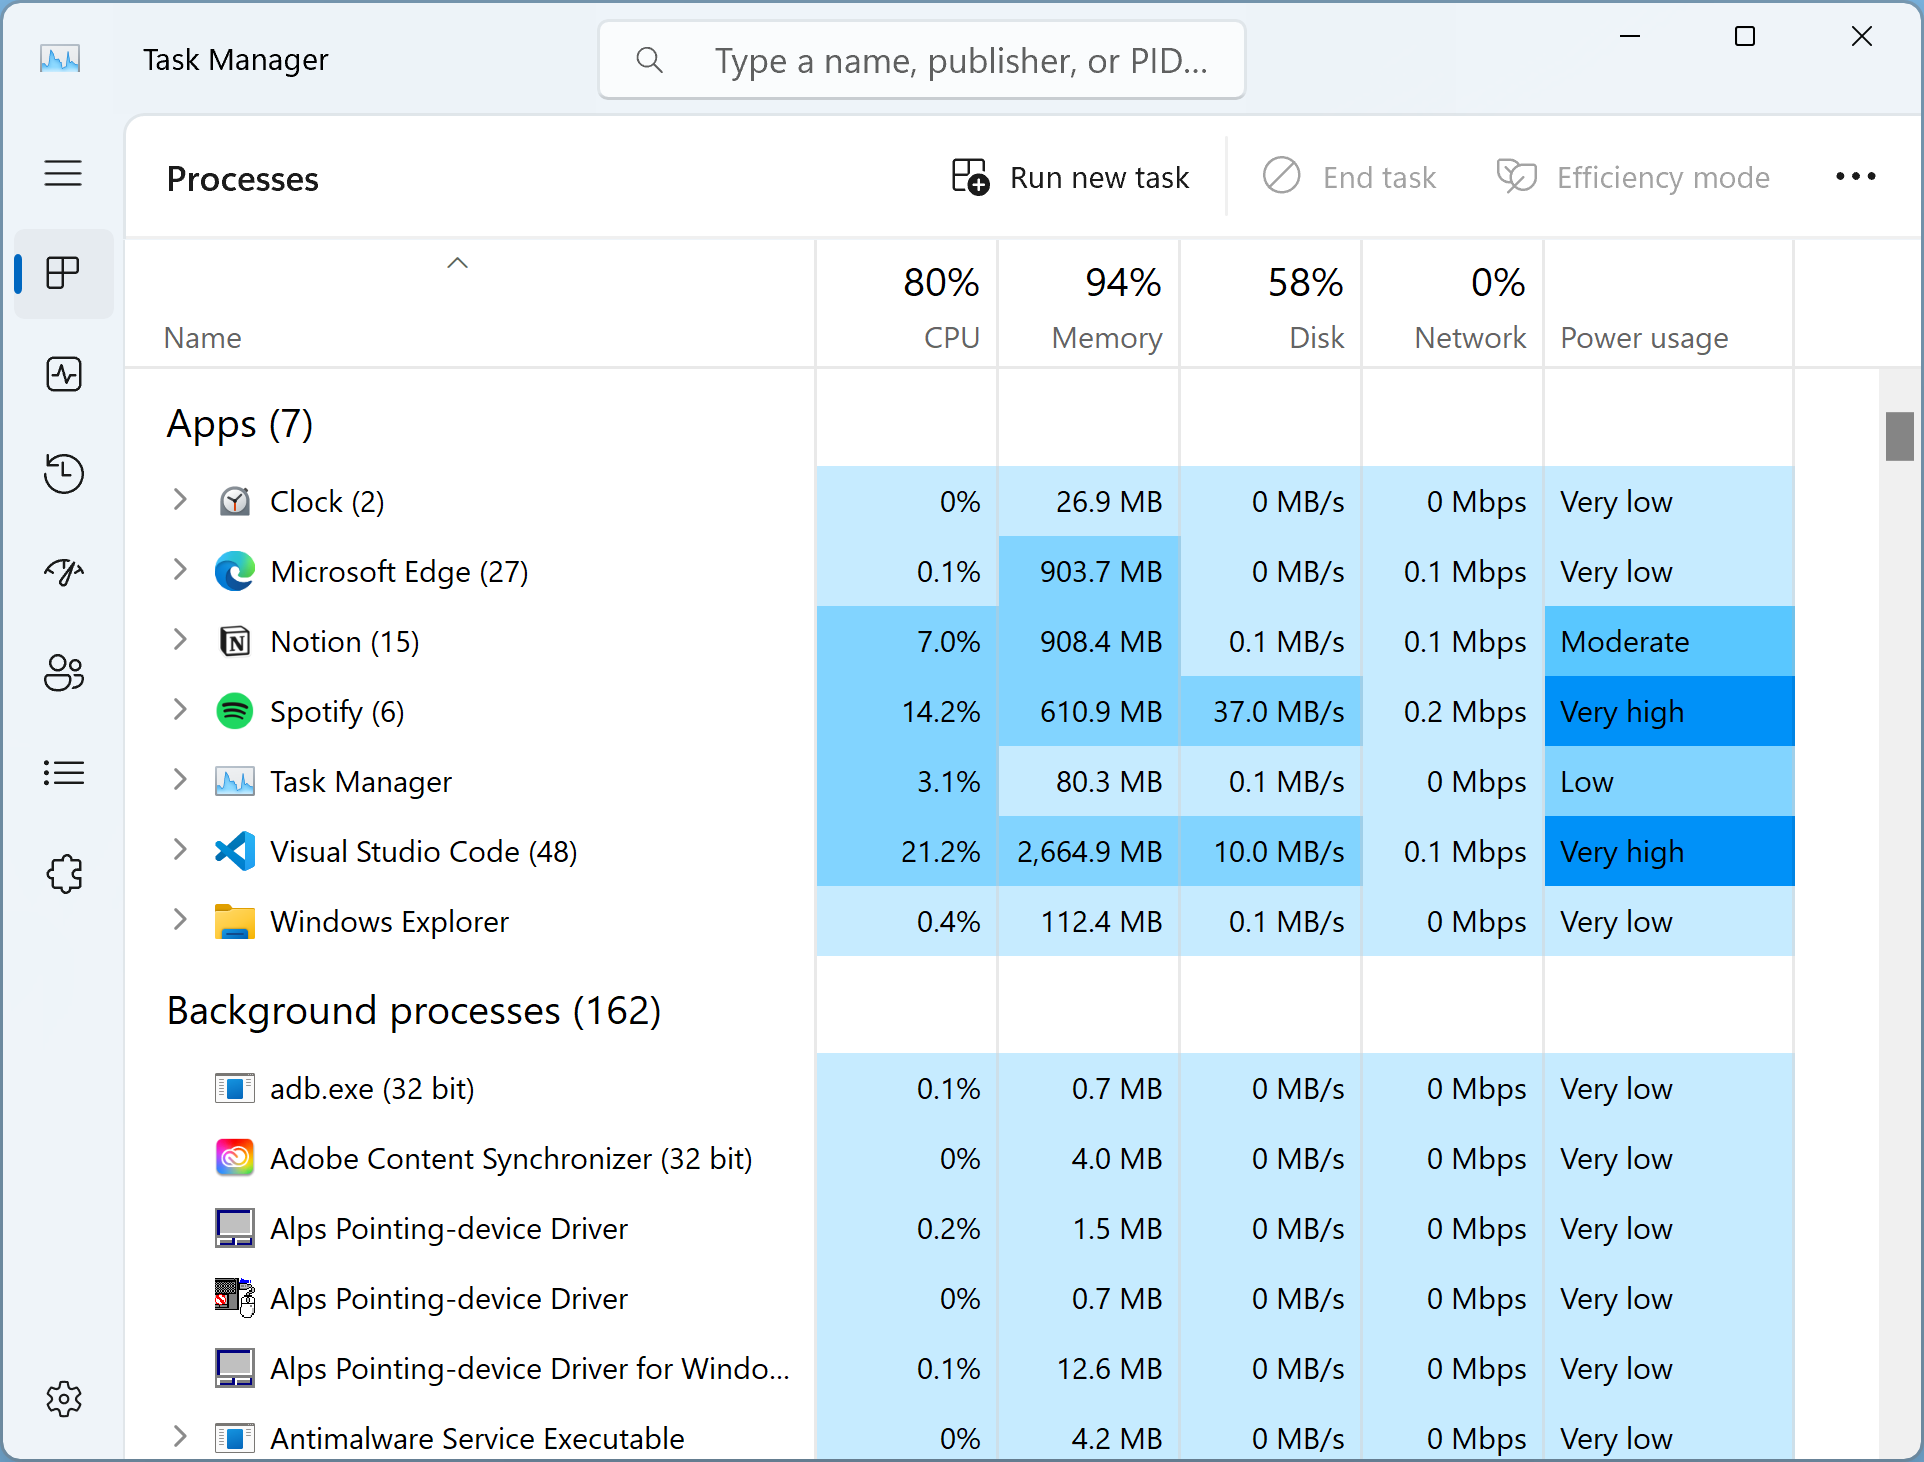
If you’re finding VS Code getting slower and more power-hungry with time, this number could well be the reason.
Because EVERY new extension added increases the app’s memory and CPU usage.
Coding is already challenging enough; Nobody need contend with this:
So we need to keep this number as low as possible to minimize this resource usage; ad also stopping these extensions from clashing with one another or with native functionality.
And you know, there’s a significant number of extensions in the Marketplace that provide functionality VSCode already has built-in.
Usually they were made when the feature wasn’t added yet; but once that happened they became largely redundant additions.
So below, I cover a list of these integrated VSCode features and extensions that provide them. Uninstalling these now dispensable extensions will increase your editor’s performance and efficiency.
I’ll be listing settings that control the behavior of these features. If you don’t know how to change settings, this guide will help.
Related: 10 Must-Have VSCode Extensions for Web Development
1. Auto closing of HTML tags
When you add a new HTML tag, this feature automatically adds the corresponding closing tag.
div is automatically added.Extensions for this
These extensions add the auto-closing feature to VSCode:
- Auto Close Tag (12.3M+ downloads): “Automatically add HTML/XML close tag, same as Visual Studio IDE or Sublime Text”.
- Close HTML/XML Tag (344K downloads): “Quickly close last opened HTML/XML tag”.
But feature already built in
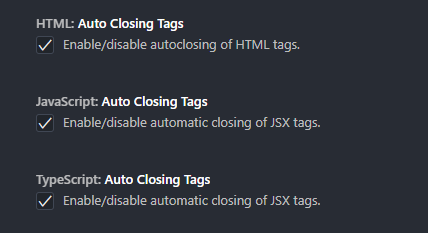
I use these settings to enable/disable the auto-closing of tags in VSCode:
HTML: Auto Closing Tags: “Enable/disable autoclosing of HTML tags”. It istrueby default.JavaScript: Auto Closing Tags: “Enable/disable automatic closing of JSX tags”. It istrueby default.TypeScript: Auto Closing Tags: “Enable/disable automatic closing of JSX tags”. It istrueby default.
Add the following to your settings.json file to turn them on:
settings.json
{
  "html.autoClosingTags": true,
  "javascript.autoClosingTags": true,
  "typescript.autoClosingTags": true
}
2. Path autocompletion
The path autocompletion feature provides a list of files in your project to choose from when importing a module or linking a resource in HTML.
Extensions for this
These extensions add the path autocompletion feature to VSCode:
- Path IntelliSense (12.5M+ downloads): “Visual Studio Code Plugin that autocompletes filenames”.
- Path Autocomplete (1.7M+ downloads): “Provides path completion for Visual Studio Code and VS Code for the web”.
But feature already built in
VS Code already has native path autocompletion.
When I type in a filename to import (typically when the opening quote is typed), a list suggested project files shows up for me to quickly choose from.
3. Snippets for HTML and CSS
These extensions help you save time by adding common HTML and CSS snippets using abbreviations you can easily recall.
Extensions for this
These extensions bring convenient HTML and/or CSS snippets to VSCode:
- HTML Snippets (10.1M+ downloads): “Full HTML tags including HTML5 snippets”.
- HTML Boilerplate (3.2M+ downloads): “A basic HTML5 boilerplate snippet generator”.
- CSS Snippets (225K+ downloads): “Shorthand snippets for CSS”.
But feature already built-in
Emmet is a built-in VSCode feature that provides HTML and CSS snippets like these extensions. As you’ll see in the official VSCode Emmet guide, it’s enabled by default in html, haml, pug, slim, jsx, xml, xsl, css, scss, sass, less, and stylus files.
Comprehensive to say the least.
When you start typing an Emmet abbreviation, a suggestion will pop up with auto-completion options; You’ll also see a preview of the expansion as you type in the VSCode’s suggestion documentation fly-out (if it is open).
As you saw in the demo, this:
ol>li*3>p.rule$turns into this:
<ol>
  <li>
    <p class="rule1">r</p>
  </li>
  <li>
    <p class="rule2"></p>
  </li>
  <li>
    <p class="rule3"></p>
  </li>
</ol>
Notice how similar the abbreviations are to CSS selectors. It’s by design; as stated on the official website, Emmet syntax is inspired by CSS selectors.
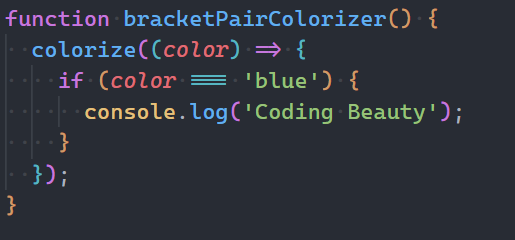
4. Bracket pair colorization
Bracket pair coloring is a popular syntax highlighting feature that colors brackets differently based on their order.
It makes it easier to identify scope and helps in writing expressions that involve many parentheses, such as single-statement function composition.
Extensions for this
Until VSCode had it built-in, these extensions helped enable the feature in the editor:
- Bracket Pair Colorizer 2 (6.1M+ downloads): “A customizable extension for colorizing matching brackets”. It has now been deprecated.
- Rainbow Brackets: (1.9M downloads): “A rainbow brackets extension for VS Code”.
I noticed Colorizer 2 has actually been deprecated since 2021 — wasn’t enough to stop millions from installing it every single year till date.
But feature already built in
After seeing the demand for bracket pair coloring and the performance issues involved in adding the feature as an extension, the VSCode team decided to integrate it into the editor.
In this blog, they say that the native bracket pair coloring feature is more than 10,000 times faster than Bracket Pair Colorizer 2.
Here’s the setting to enable/disable bracket pair colorization.
Editor > Bracket Pair Colorization: “Controls whether bracket pair colorization is enabled or not”. It istrueby default, there’s been some debate about whether this should be the case here.

You can enable this by adding the following to your settings.json
settings.json
{
"editor.bracketPairColorization.enabled": true
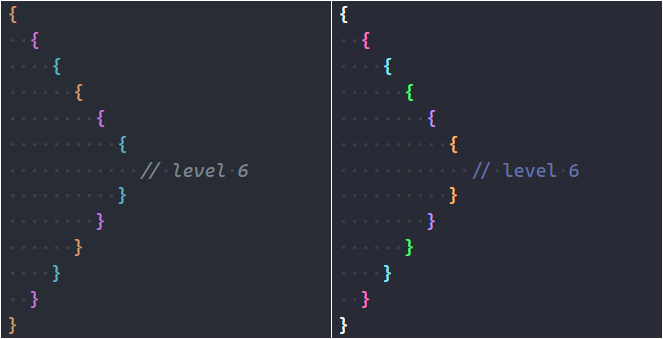
}There is a maximum of 6 colors that can be used for successive nesting levels. Although each theme will have its maximum. For example, the Dracula theme has 6 colors by default, but the One Dark Pro theme has only 3.
Nevertheless, you can customize the bracket colors for any theme with the workbench.colorCustomizations setting.
"workbench.colorCustomizations": {
"[One Dark Pro]": {
"editorBracketHighlight.foreground1": "#e78009",
"editorBracketHighlight.foreground2": "#22990a",
"editorBracketHighlight.foreground3": "#1411c4",
"editorBracketHighlight.foreground4": "#ddcf11",
"editorBracketHighlight.foreground5": "#9c15c5",
"editorBracketHighlight.foreground6": "#ffffff",
"editorBracketHighlight.unexpectedBracket.foreground": "#FF2C6D"
}
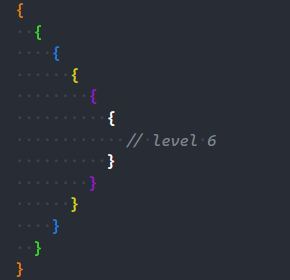
},We specify the name of the theme in square brackets ([ ]), then we assign values to the relevant properties. The editorBracketHighlight.foregroundN property sets the color of the Nth set of brackets, and 6 is the maximum.
Now this will be the bracket pair colorization for One Dark Pro:
5. Auto importing of modules
With an auto-importing feature, when a function, variable, or some other member of a module is referenced in a file, the module is automatically imported into the file, saving time and effort.
If the module files are moved, the feature will help automatically update them.
Extensions for this
Here are some of the most popular extensions providing the feature for VSCode users:
- Auto Import (3.8M downloads): “Automatically finds, parses, and provides code actions and code completion for all available imports. Works with Typescript and TSX”.
- Move TS (810K downloads): “extension for moving typescript files and folders and updating relative imports in your workspace”.
But feature already built in
You can enable or disable auto-importing modules in VSCode with the following settings.
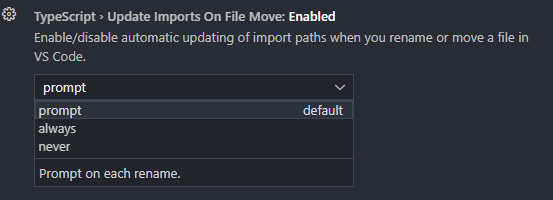
JavaScript > Suggest: Auto Imports: “Enable/disable auto import suggestions”. It istrueby default.TypeScript > Suggest: Auto Imports: “Enable/disable auto import suggestions”. It istrueby default.JavaScript > Update Imports on File Move: “Enable/disable automatic updating of import paths when you rename or move a file in VS Code”. The default value isprompt, meaning that a dialog is shown to you, asking if you want to update the imports of the moved file. Setting it toalwayswill cause the dialog to be skipped, andneverwill turn off the feature entirely.TypeScript > Update Imports on File Move: “Enable/disable automatic updating of import paths when you rename or move a file in VS Code”. Like the previous setting, it has possible values ofprompt,always, andnever, and the default isprompt.
You can control these settings with these settings.json properties:
{
  "javascript.suggest.autoImports": true,
  "typescript.suggest.autoImports": true,
  "javascript.updateImportsOnFileMove.enabled": "prompt",
  "typescript.updateImportsOnFileMove.enabled": "prompt"
}
You can also add this setting if you want your imports to be organized any time the file is saved.
"editor.codeActionsOnSave": {
    "source.organizeImports": true
}
This will remove unused import statements and arrange import statements with absolute paths on top, providing a hands-off way to clean up your code.
Final thoughts
These extensions might have served a crucial purpose in the past, but not anymore for the most part, as much of the functionality they provide has been added as built-in VSCode features. Remove them to reduce the bloat and increase the efficiency of Visual Studio Code.