To create a video element using JavaScript:
- Use the
document.createElement()method to create the video element - Set various attributes of the video element, such as
src,height,width, etc. - Include the video element in the HTML using the
appendChild()method.
Consider this sample HTML markup:
index.html
<!DOCTYPE html>
<html>
  <head>
    <title>Coding Beauty Tutorial</title>
  </head>
  <body>
    <div id="box"></div>

    <script src="index.js"></script>
  </body>
</html>
Here’s how we can create a video element from JavaScript:
index.js
// Create video element
const video = document.createElement('video');

// Use local file
// video.src = 'video.mp4';

// Use remote file
video.src =
  'https://archive.org/download/C.E.PriceCatWalksTowardCamera/cat_walks_toward_camera_512kb.mp4';


video.controls = true;
video.muted = false;
video.height = 240; // in px
video.width = 320; // in px

const box = document.getElementById('box');

// Include in HTML as child of #box
box.appendChild(video);
Now the video will be visible on the web page:
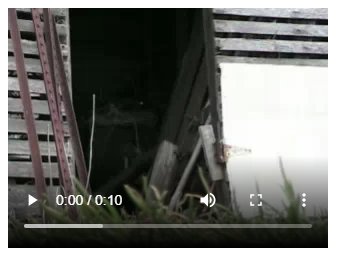
We can the controls to play the video if we want:
The document.createElement() method creates an HTML element specified by a tag name and returns the element. By passing a video tag, we create a video element.
The video element comes with a number of attributes that we can use to customize its appearance and behavior. Here are some of the most commonly used ones:
src: The most important attribute, which is set to a URL or file path to determine the video to be played.autoplay: This attribute specifies if the video should start playing automatically as soon as possible, without stopping to finish loading the data.controls: Thecontrolsattribute determines if the browser should show controls that allow the user to control video playback, i.e., adjusting volume, moving to a new position in the video (seeking), pausing/resuming, etc.poster: A URL for an image to be displayed while the image is still downloading.muted: This is a boolean attribute used to specify if the video should be muted by default.height: Sets the height of the video’s display area, in pixels.width: Sets the width of the video’s display area, in pixels.
For a complete list of all attributes supported by the video element, visit the MDN docs on the video element.
The appendChild() method can add a DOM element to the end of the list of children of a specified parent node. After accessing the #box element from our HTML with getElementById(), we call the appendChild() method on it to include the video element in the HTML by adding it as a child of the #box.
Ensuring Cross-Browser Compatibility for the Video Element
As browsers don’t all support the same video formats, when embedding video we’ll need to specify different formats depending on the one the user’s browser supports.
To check if the browser supports a particular video type, we can use the canPlayType() method.
// Create video element
const video = document.createElement('video');

video.autoplay = false;
video.controls = true;
video.muted = false;
video.height = 240; // in px
video.width = 320; // in px

if (video.canPlayType('video/mp4')) {
  video.src = 'video.mp4';
} else if (video.canPlayType('video/ogg')) {
  video.src = 'video.ogg';
} else {
  // Provide video link to user
}

const box = document.getElementById('box');

// Include in HTML as child of box
box.appendChild(video);
If the browser doesn’t support any of the video formats, the best thing to do is to provide the user with the link to the video for them to download it and watch it offline. That way, every user will be able to watch your video, regardless of the level of video support their browser has.
Every Crazy Thing JavaScript Does
A captivating guide to the subtle caveats and lesser-known parts of JavaScript.